


 11Likes
Thread: My 26T Coupe build thread


Results 1 to 15 of 426
 LinkBack URL
 About LinkBacks
Hybrid View
-
11-01-2010 03:38 AM #1
 CHR Member

- Join Date
- Apr 2009
- Location
- watford
- Car Year, Make, Model: 26T Coupe, 32 Roadster, 41 Willys Coupe
- Posts
- 2,363
Steve I don't want to go over the top

 Originally Posted by stovens

Its aweful lonesome in the saddle since my horse died.
-
11-01-2010 12:43 PM #2
CHR Member
- Join Date
- Apr 2009
- Location
- watford
- Car Year, Make, Model: 26T Coupe, 32 Roadster, 41 Willys Coupe
- Posts
- 2,363
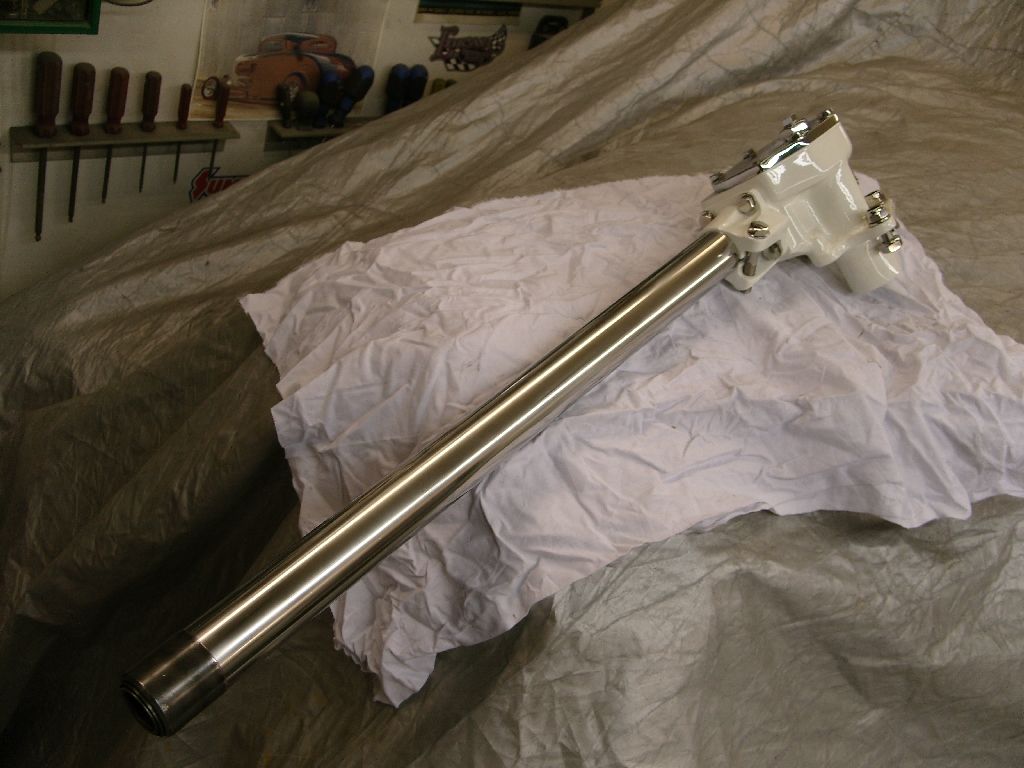
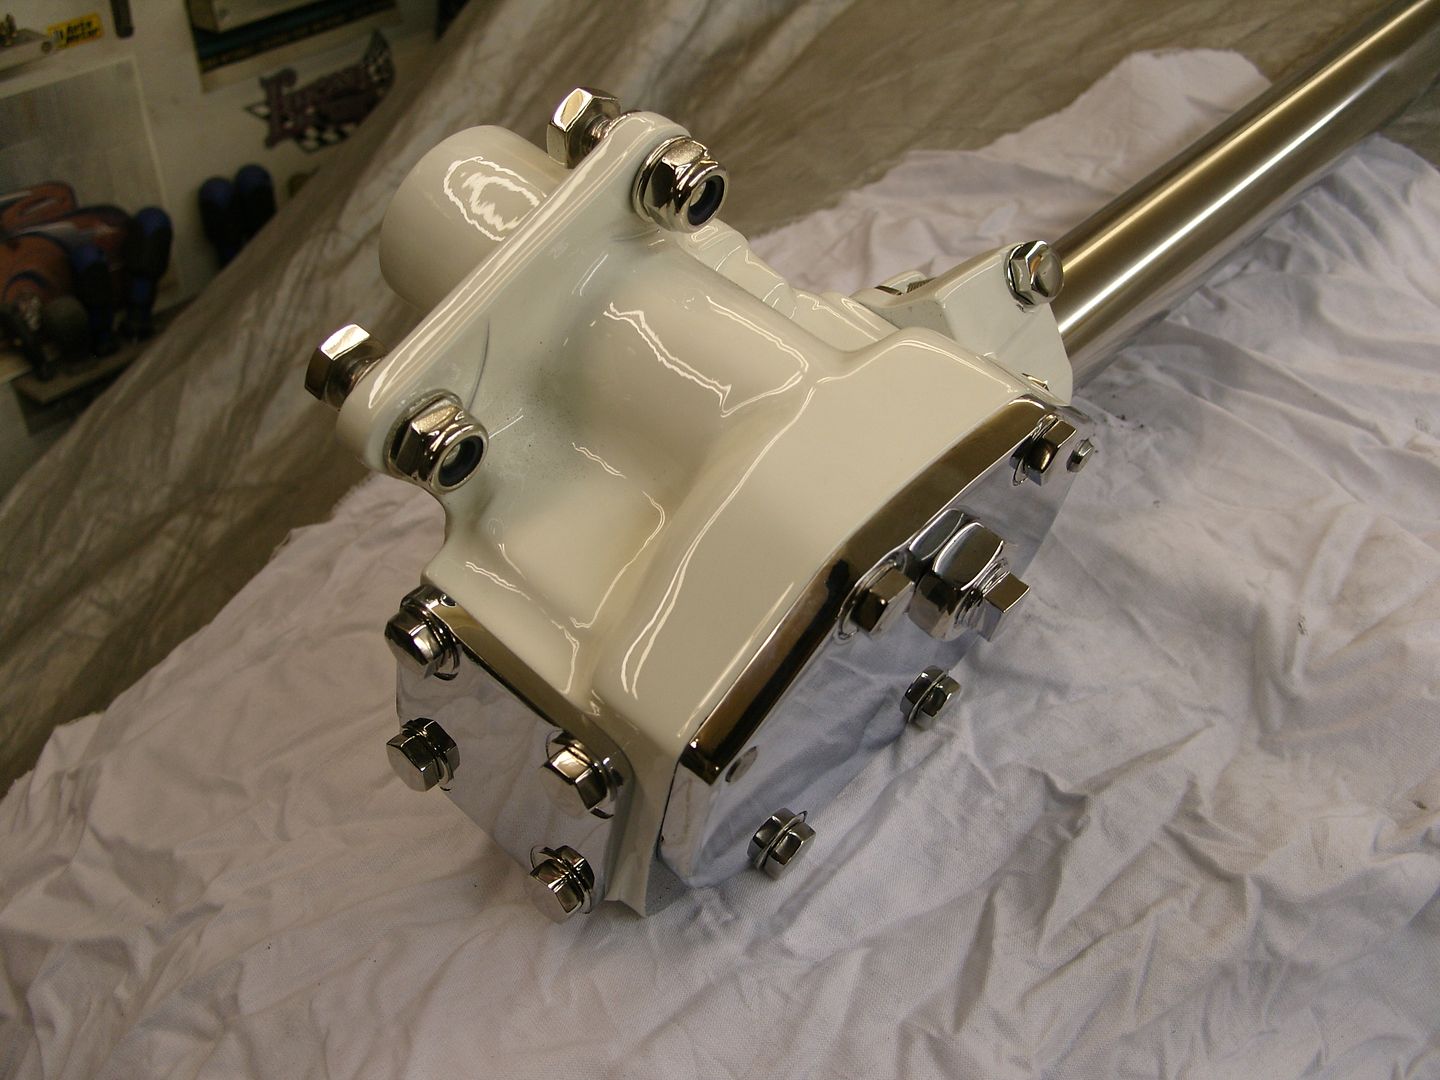
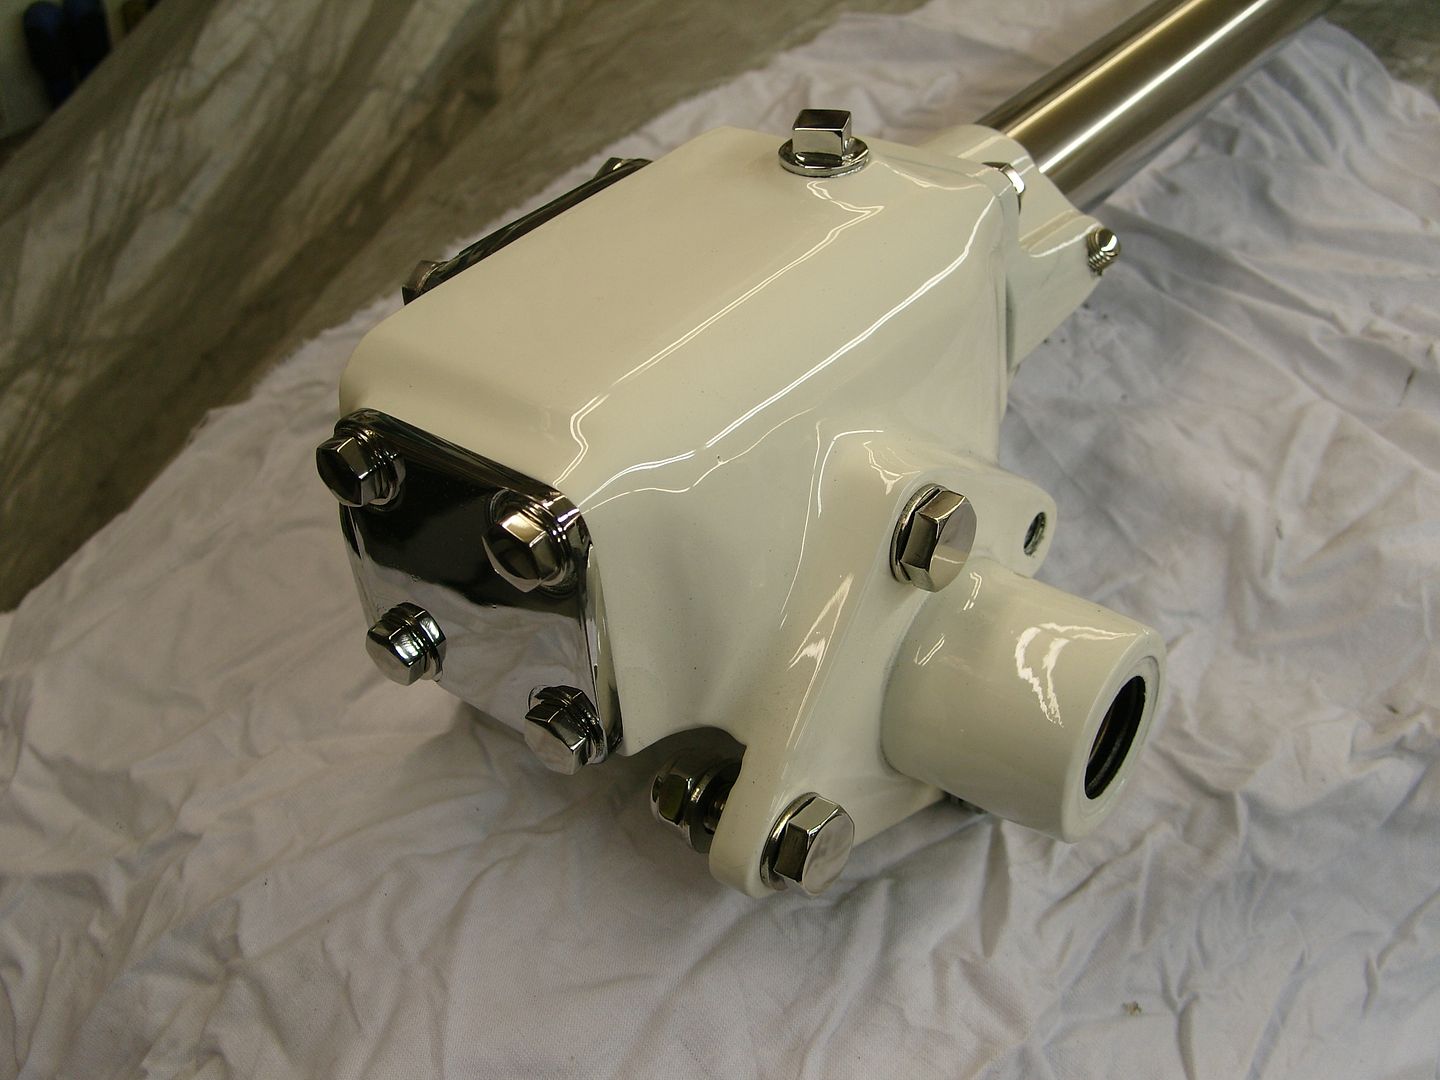
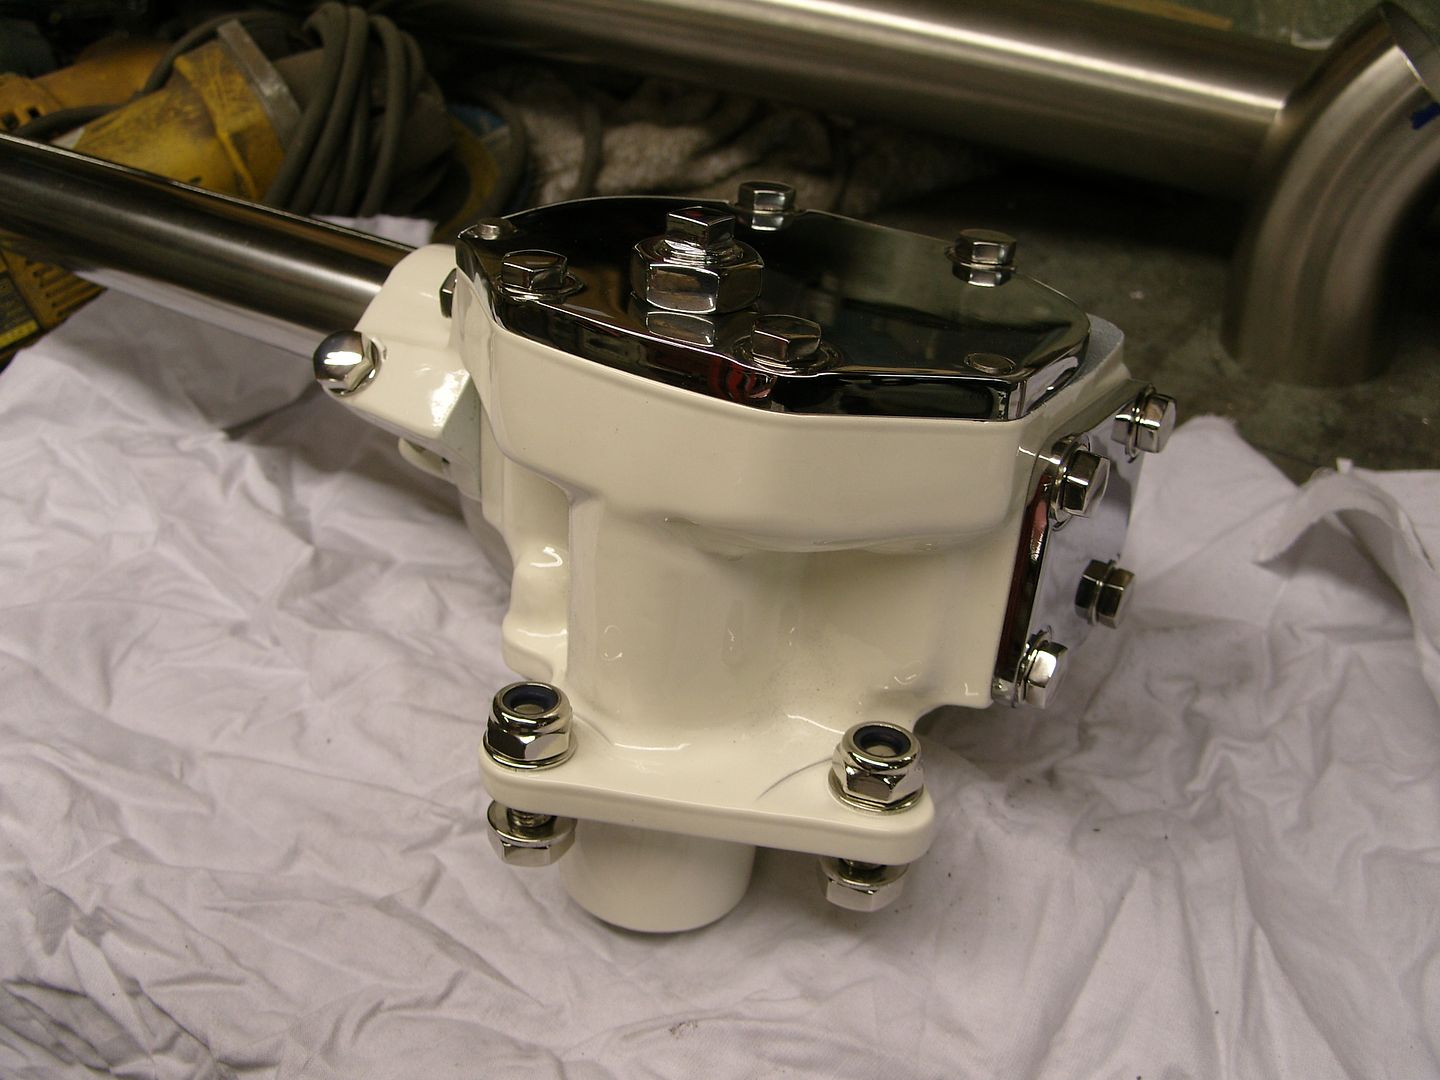
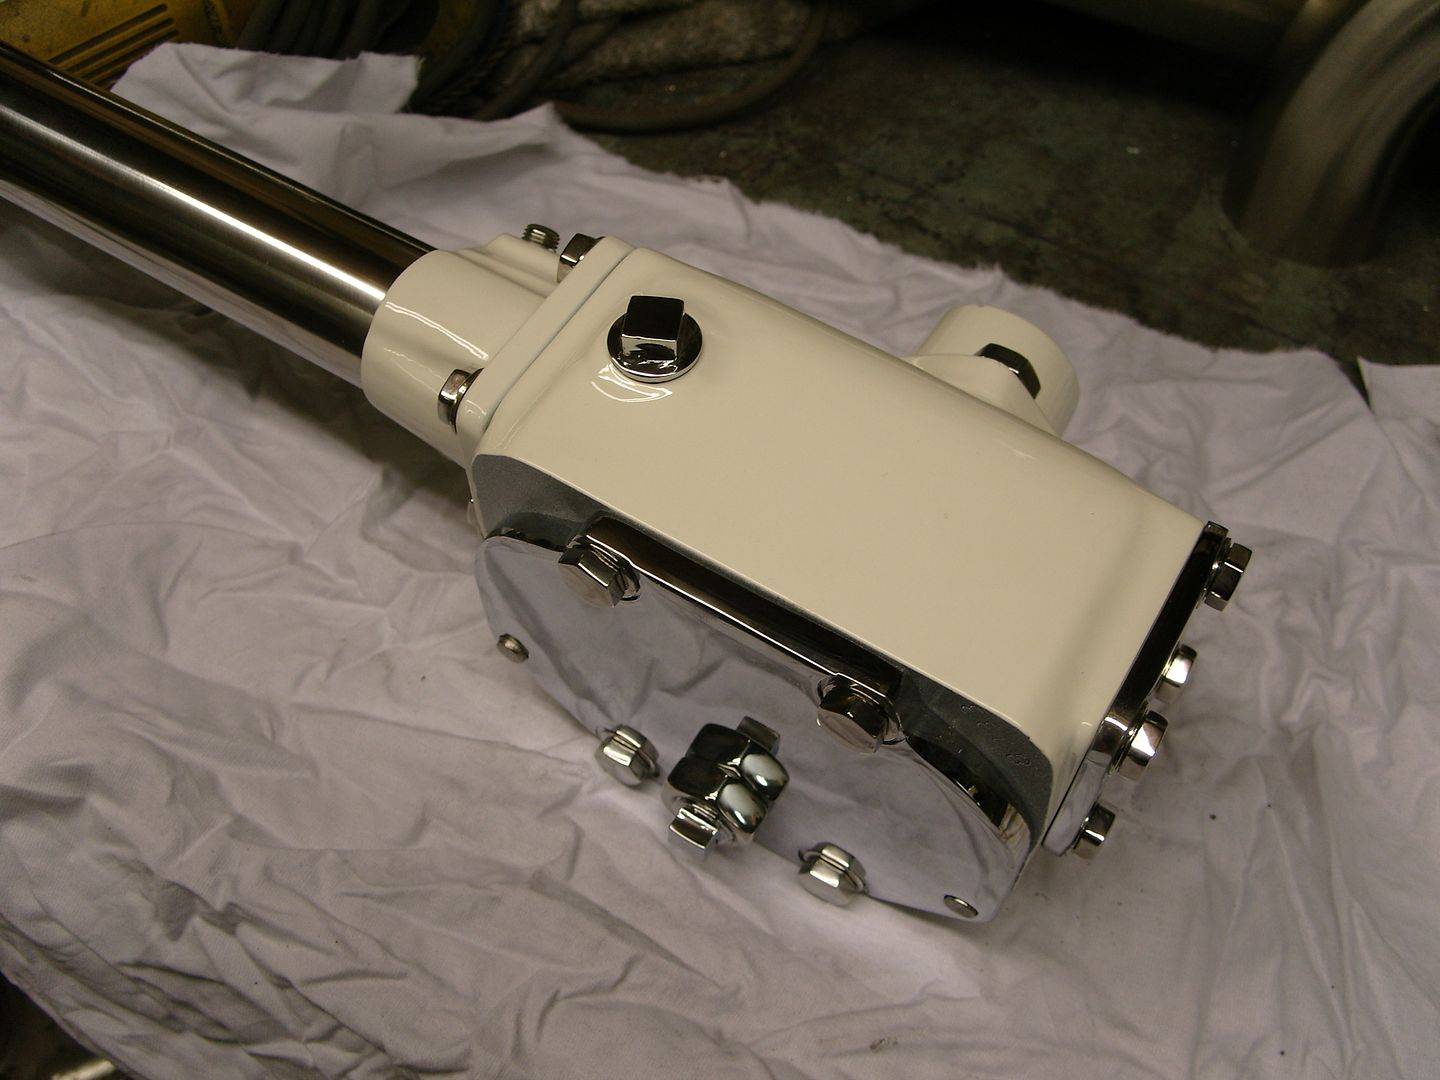
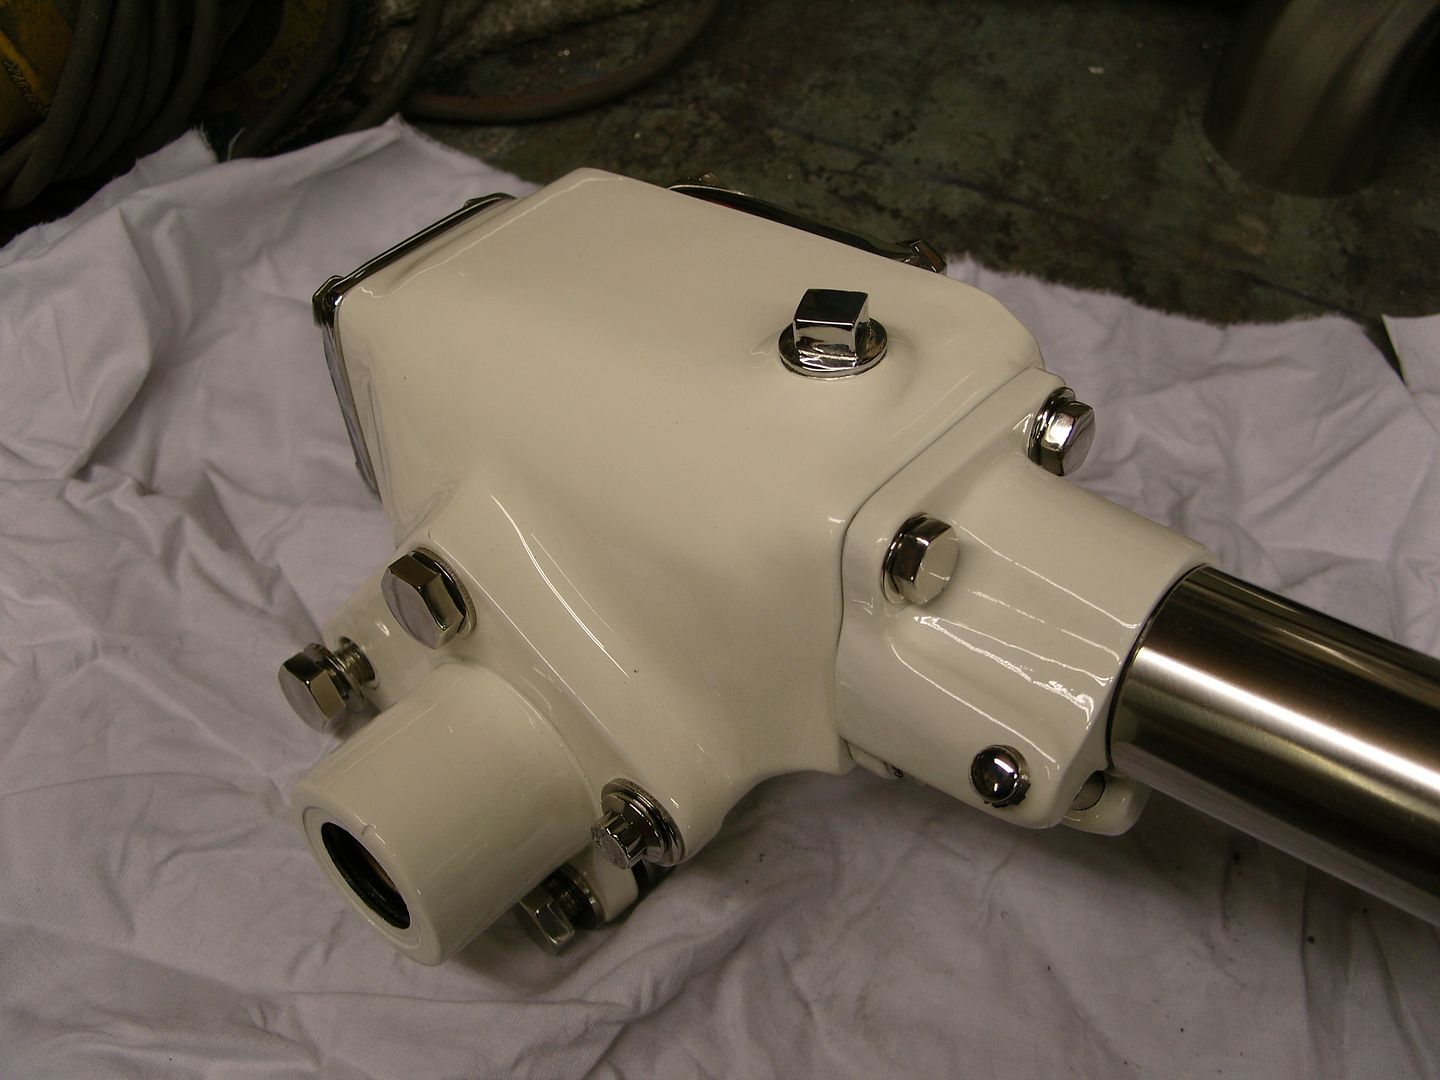
I got my steering box bits back from the platers today so bolted it back together, The sector shaft is missing as i'm using a cowl steer setup and it needs to be 5" longer, Its hardened so Steve (rusty coupe) is turning the relevant ends on it as my lathe tooling wouldn't touch it
Its a series 2 Land Rover box which will be mounted on my interior steel framework, the extended sector shaft is supported at the cowl side by a flanged 1" bore rose bearing which again will bolt to the steel frame.
It was in pretty good condition when i got it so just needed a good clean out, a couple of new seals and adjusting correctly.
Outer column is the original land rover with a stainless tube slid over the top, inner column is again land rover, both will be shortened the required amount when mounted.
The rough casing was smoothed off with a tungsten burr in a die grinder, a normal grinder and flap disc and small flap wheels for the corners, It then got 3 coats of black 2 pack epoxy primer and finally 2 coats of 2 pack Off white, Bolts replaced with polished stainless and cover and end plates chromed.
Its aweful lonesome in the saddle since my horse died.
-
11-01-2010 02:51 PM #3
CHR Member
- Join Date
- Feb 2010
- Location
- Pukekohe, New Zealand
- Car Year, Make, Model: '23 Ford T Roadster
- Posts
- 2,199
Are you crazy Steve???? No not at all because I and all of us here absolutely love the fine detail of everything you do and man that steering box looks so good it will be a pitty that most people will not notice it.I maybe a little crazy but it stops me going insane.
Isaiah 48: 17,18.
Mark.
-
11-01-2010 04:58 PM #4
CHR Member
- Join Date
- Nov 2004
- Location
- orange
- Car Year, Make, Model: 4- 32 fords
- Posts
- 1,609
Looks awesome!!!
Ken
-
11-02-2010 02:57 AM #5
CHR Member
- Join Date
- Apr 2009
- Location
- watford
- Car Year, Make, Model: 26T Coupe, 32 Roadster, 41 Willys Coupe
- Posts
- 2,363
Thanks Whip, Your probably right that no one will notice but i know its there
Originally Posted by Whiplash23T
Its aweful lonesome in the saddle since my horse died.
-
11-02-2010 06:21 AM #6
CHR Member/Contributor
- Join Date
- Jul 2003
- Location
- Madison
- Car Year, Make, Model: '67 Ranchero, '57 Chevy, '82 Camaro,
- Posts
- 21,160
Heck, it doesn't matter if anyone sees it or not!!!! Originally Posted by roadster32
Fit, finish, and detail is what it's all about and that is some really first rate work!!
Yesterday is history, tomorrow is a mystery, Live for Today!
Carroll Shelby
Learning must be difficult for those who already know it all!!!!
-
11-02-2010 01:03 PM #7
CHR Member
- Join Date
- Apr 2009
- Location
- watford
- Car Year, Make, Model: 26T Coupe, 32 Roadster, 41 Willys Coupe
- Posts
- 2,363
Thanks Dave, appreciate the comment.
Originally Posted by Dave Severson
Its aweful lonesome in the saddle since my horse died.
-
11-11-2010 03:00 AM #8
CHR Member
- Join Date
- Apr 2009
- Location
- watford
- Car Year, Make, Model: 26T Coupe, 32 Roadster, 41 Willys Coupe
- Posts
- 2,363
Well after 25 hours of smoothing the block is finally done I did it in bursts of 3 or 4 hours over a few days as its a bit of a soul destroying job.
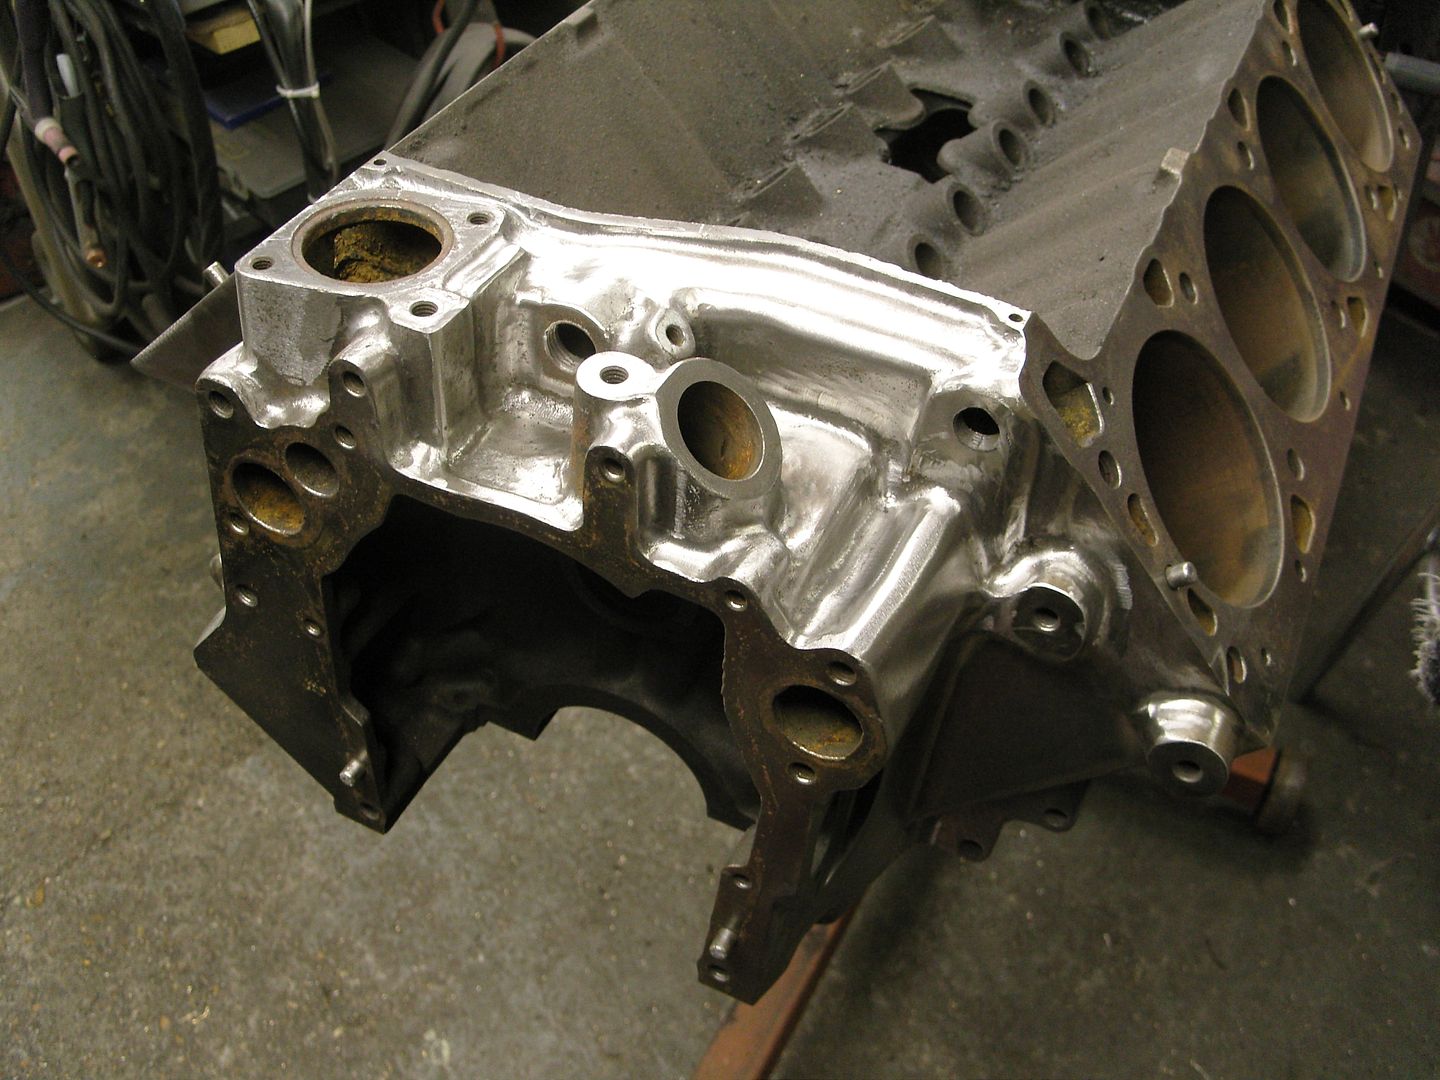
Tools used were a 80 grit flap wheel in a 4" grinder, a power file and various shaped tungsten burrs in a die grinder. The sides were pretty easy to do as you can get in everywhere easily but the front and back easily took twice as long due to the many nooks and crannys. Its a lot smoother than it looks in the pics, the various scratches will be filled in nicely by the epoxy primer.
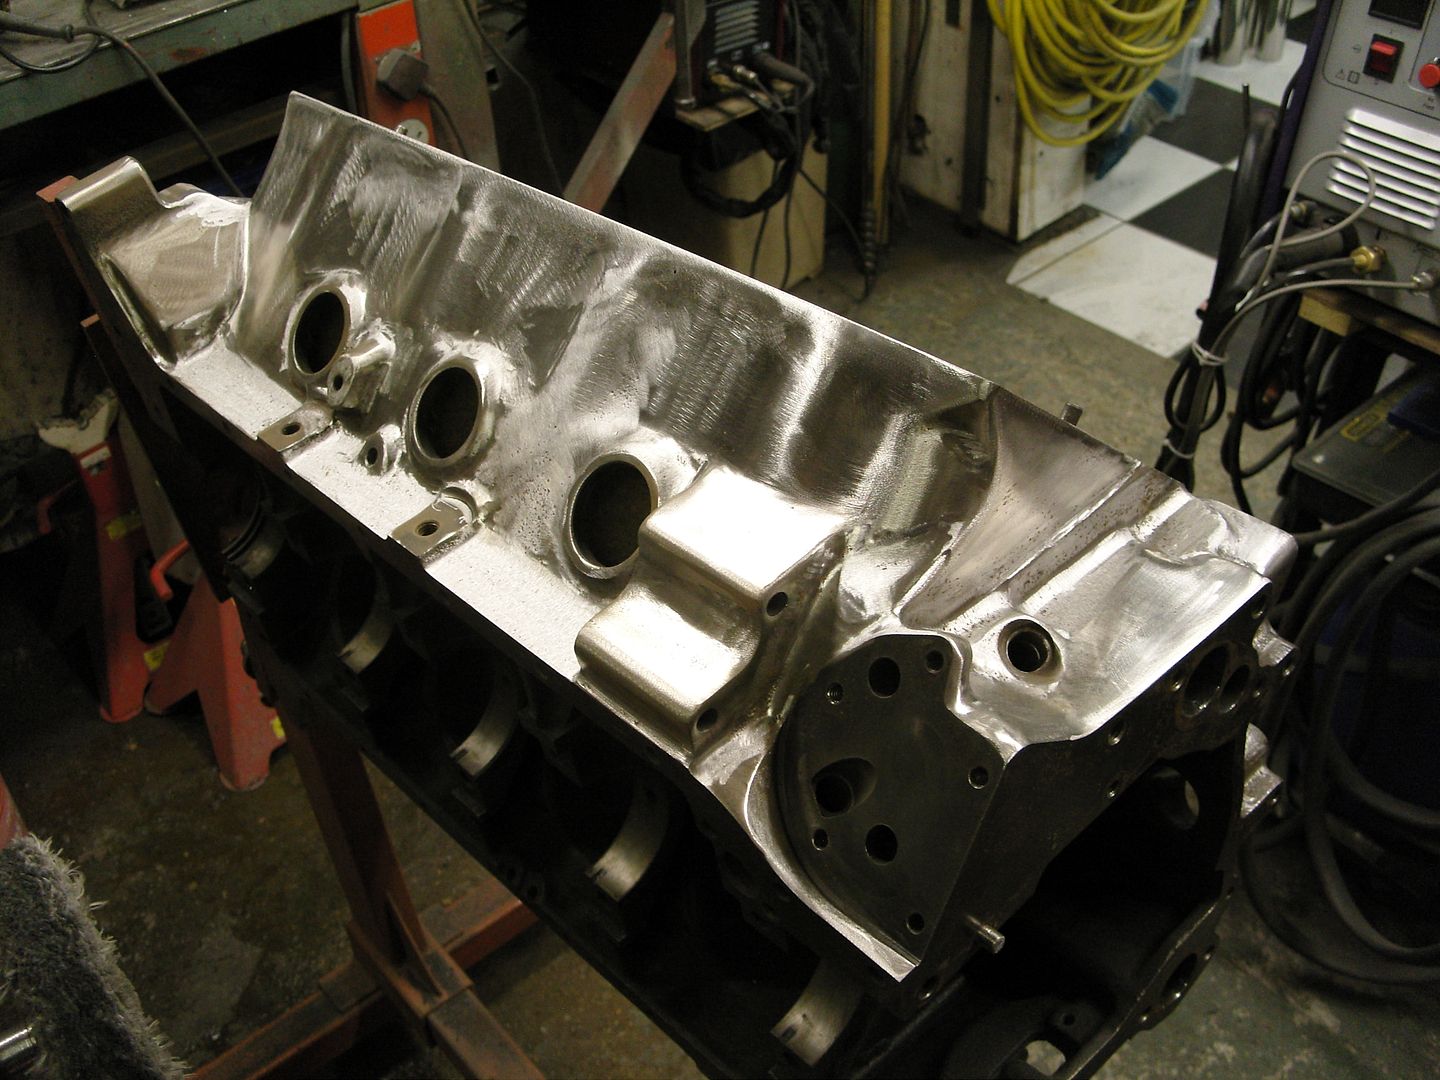

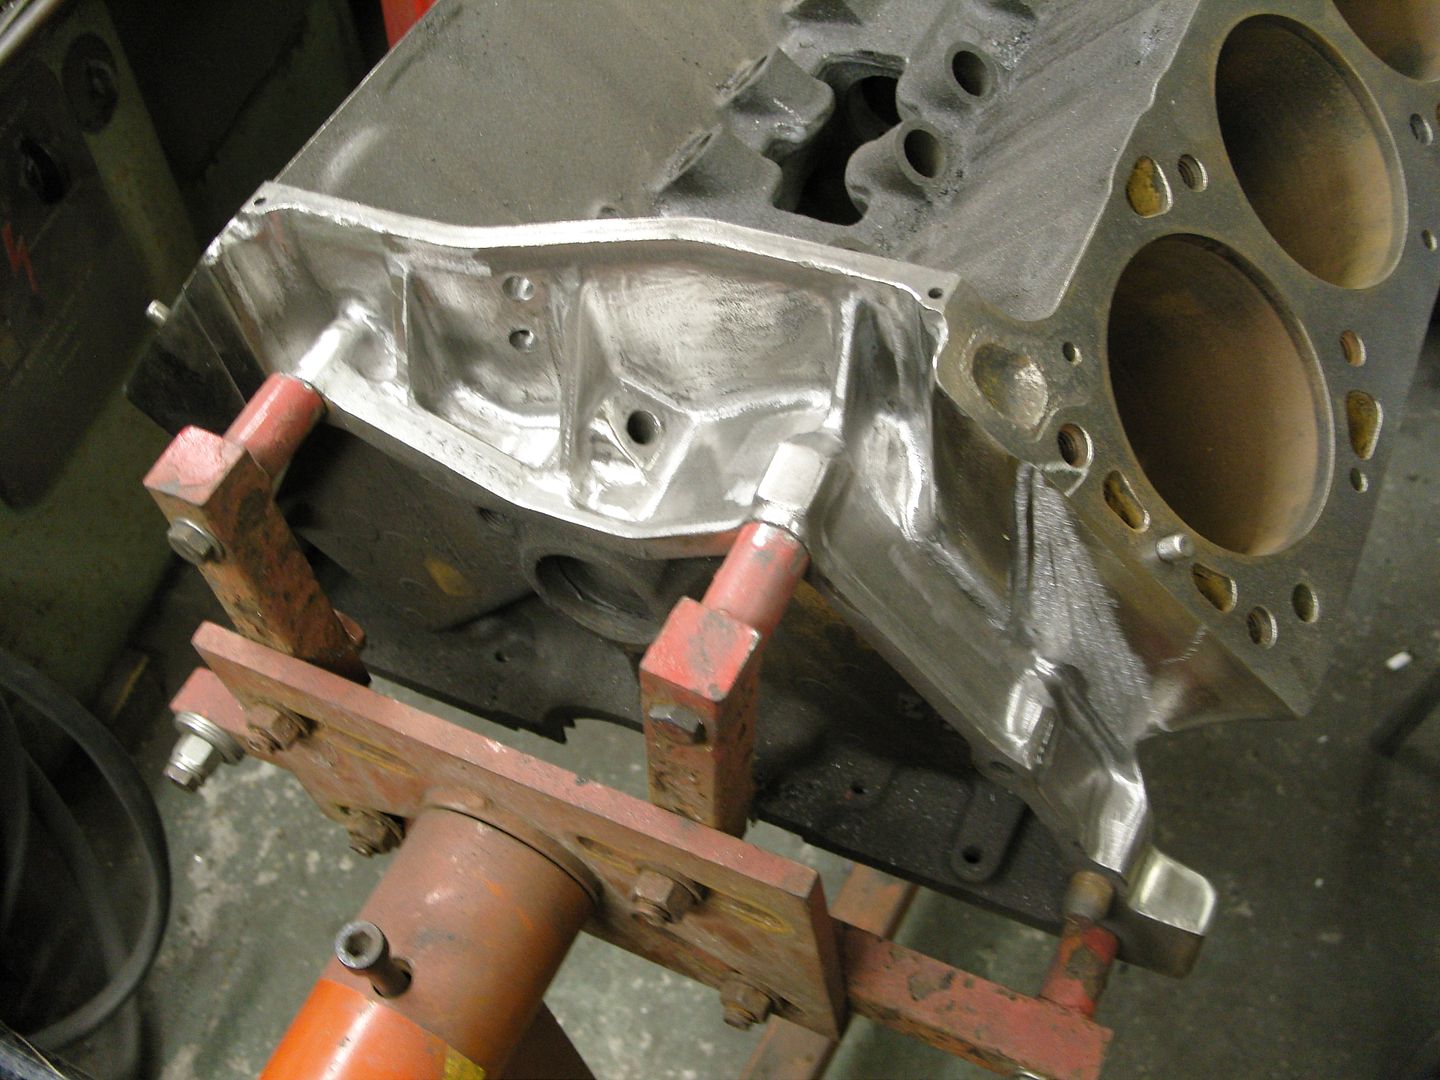
While i was there i removed all the flashing in the lifter gallery so the oil had a quicker route back to the sump.

All the gallery pipe plugs were removed ready for when the block gets hot tanked and drilled & tapped to recieve NPT pipe plugs, Only one plug came out easily with the rest being drilled out.


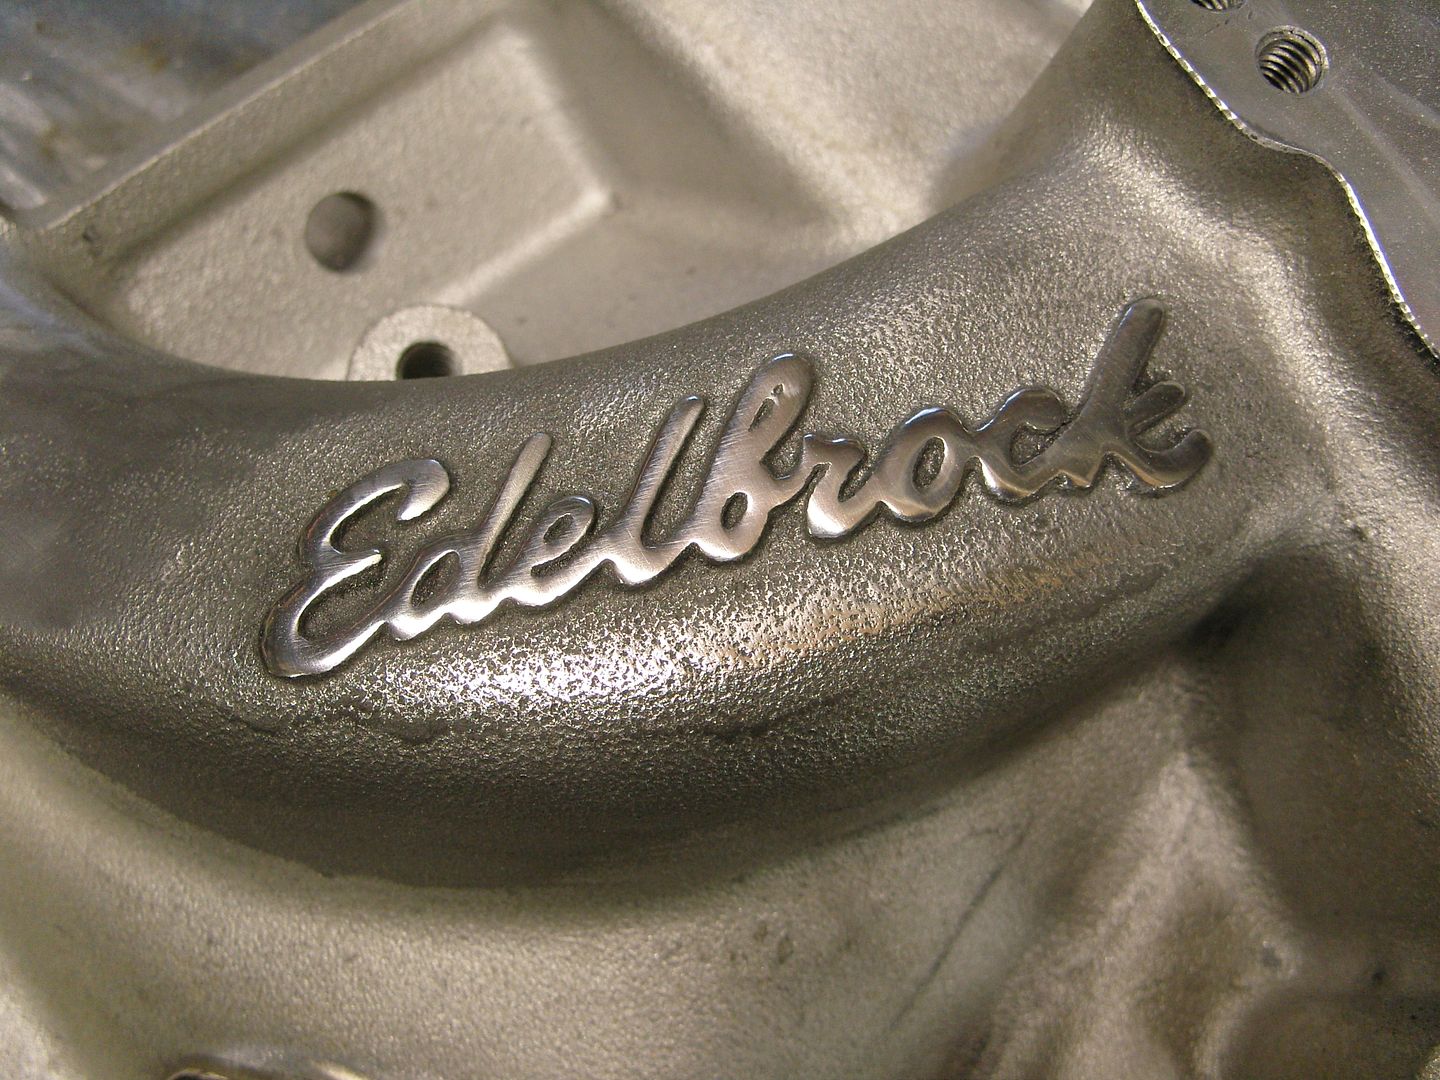
While the grinding tools were out i removed the various sticky out bits from the Edelbrock inlet manifold and polished the Edelbrock lettering so it would look good with the inlet painted.
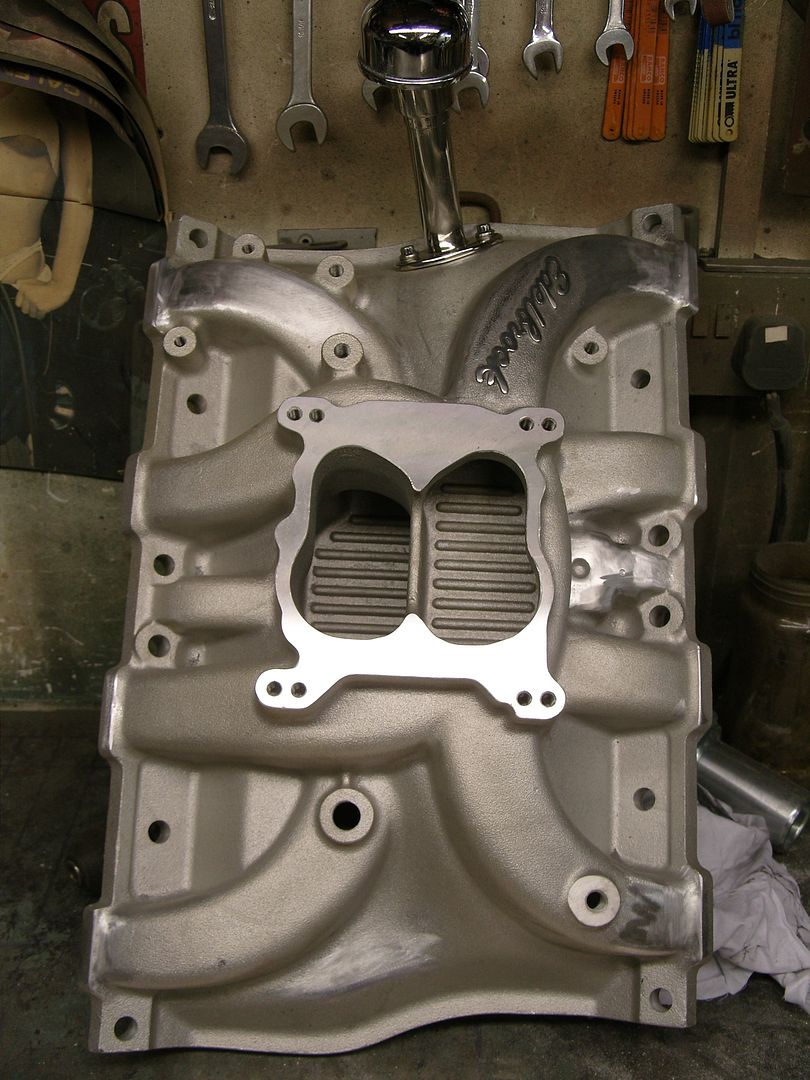
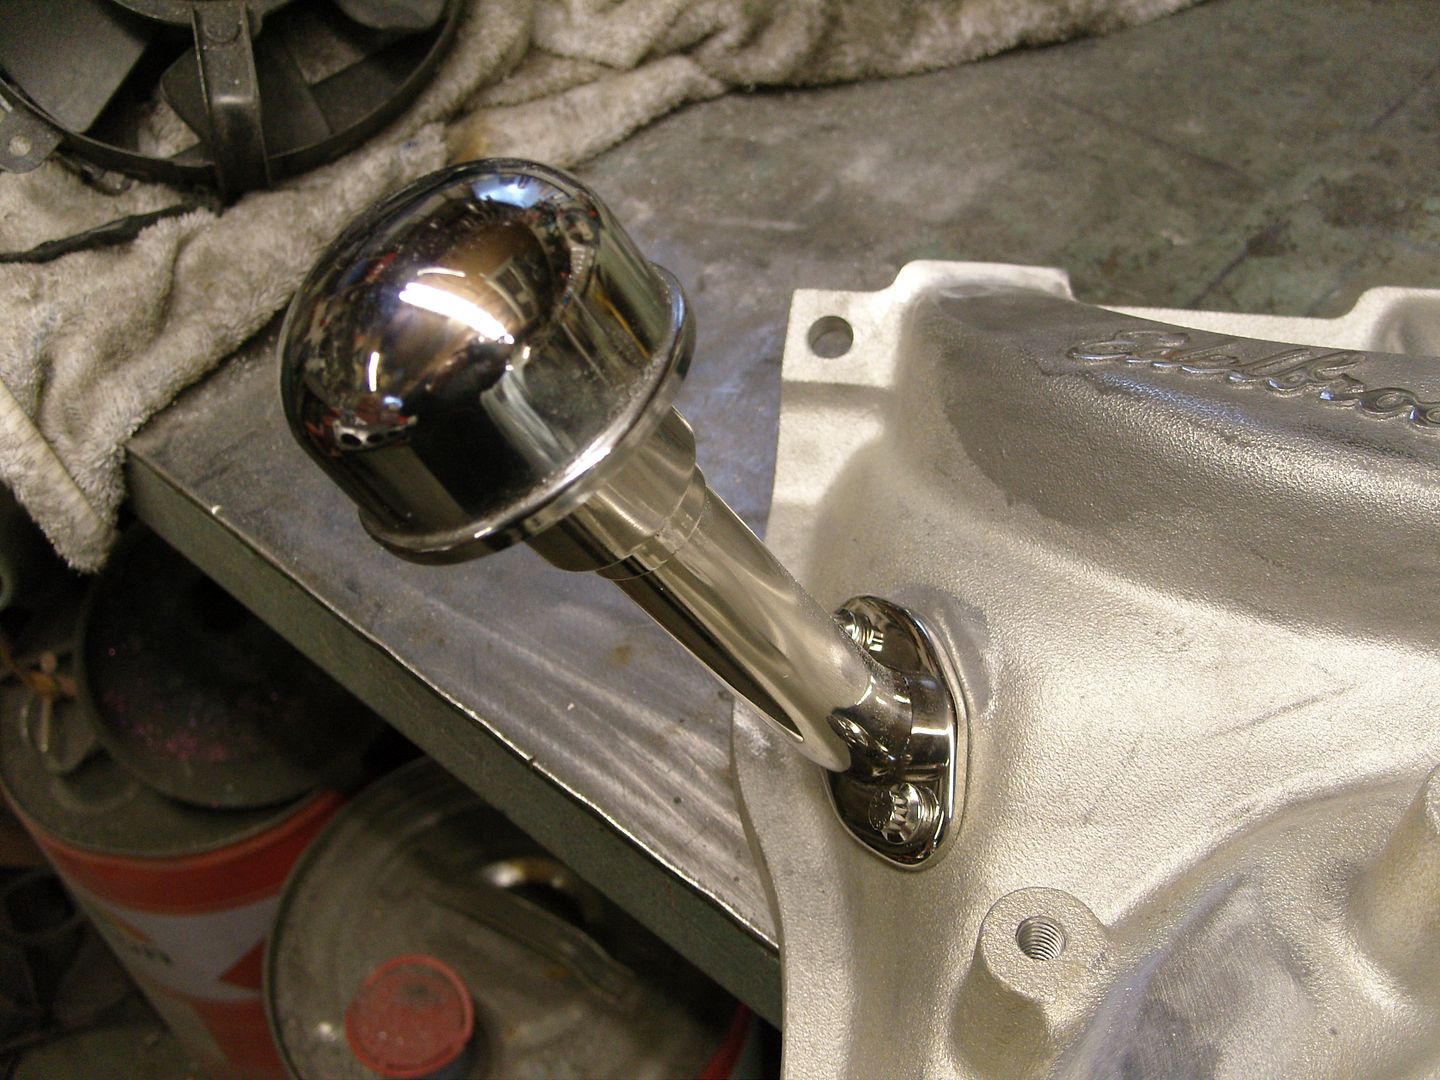
Because the Cadillac was originally filled with oil through the rocker covers and I'm using early covers without holes i needed to add a filler to the inlet, there was a flat area on the front of the inlet so a 1" holes was put in with a holesaw and a flange made from a scrap of 6mm stainless and fitted with a stainless tube, This was then capped off with a chrome breather cap.
I recently did a polished exhaust system for a customer and had a few offcuts that were left over and after looking at them for a while i decided to use them to make some tailpipes, I had always intended to have 4 pipes at the rear, very 60's. They are over length at the moment so they can be trimmed when fitted.
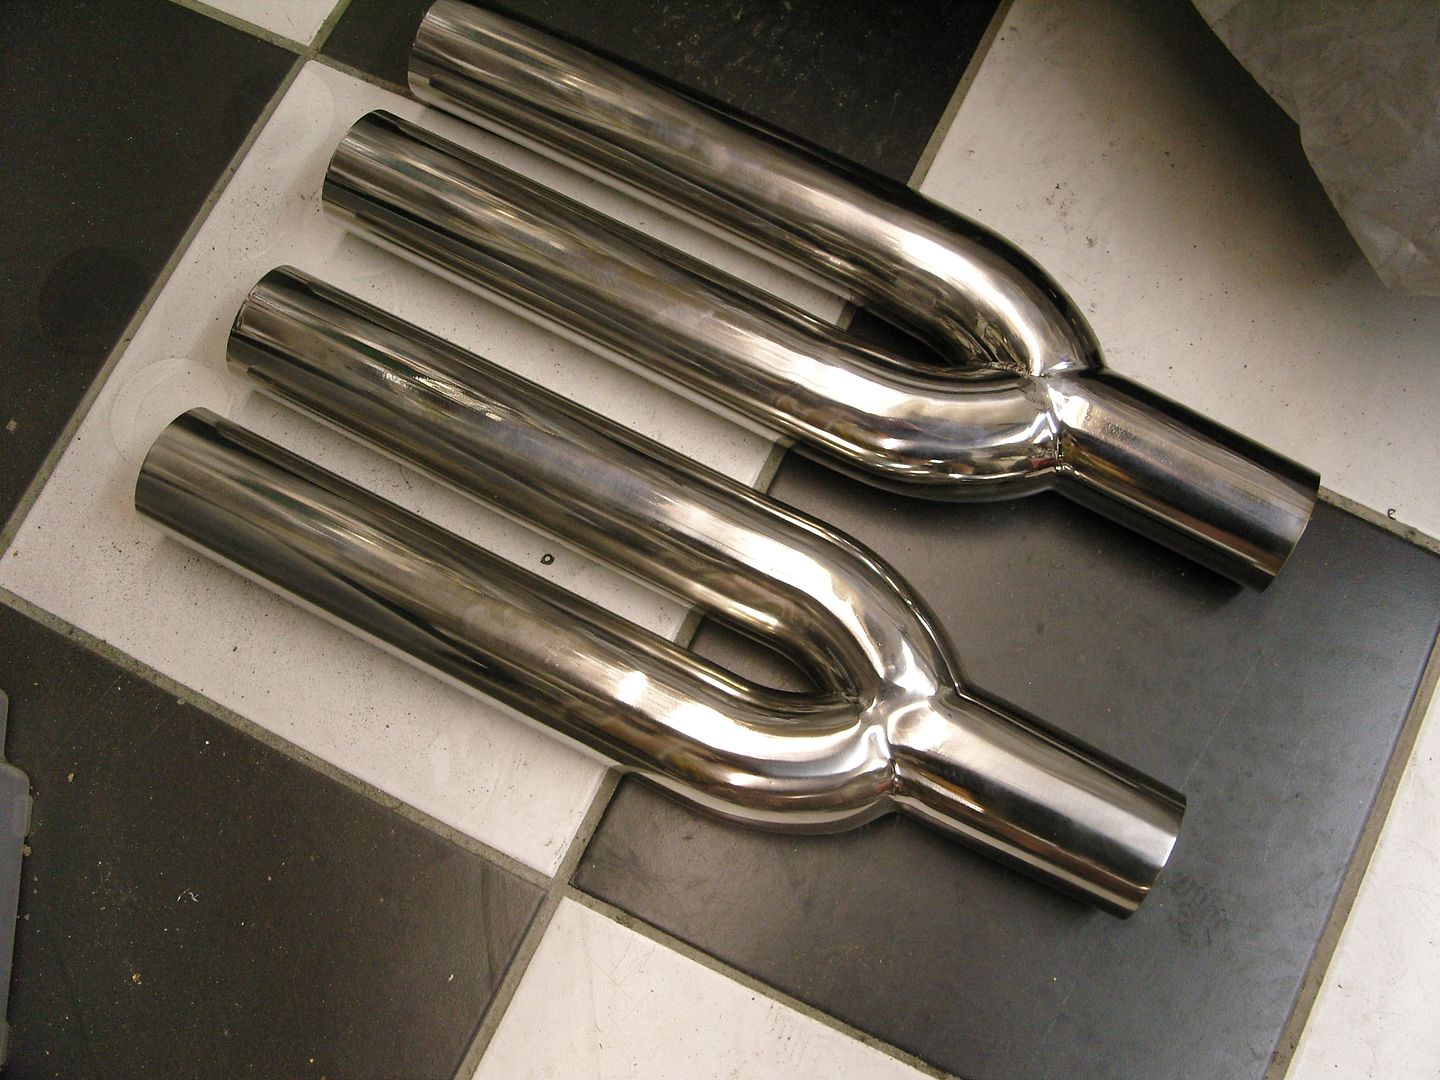
Its aweful lonesome in the saddle since my horse died.
 Reply With Quote

Posting Permissions
- You may not post new threads
- You may not post replies
- You may not post attachments
- You may not edit your posts

time for a new forum to visit. when they sold sr.com it went down hill fast. no more forum just a cheap site selling junkie cars. the canadians killed hr.com. mods are real pricks. as with any site...
Where is everybody?