


 11Likes
Thread: My 26T Coupe build thread
Results 1 to 15 of 426
 LinkBack URL
 About LinkBacks
Threaded View
-
05-30-2010 02:29 PM #6
 CHR Member

- Join Date
- Apr 2009
- Location
- watford
- Car Year, Make, Model: 26T Coupe, 32 Roadster, 41 Willys Coupe
- Posts
- 2,363
Well the new year is nearly here and i had a spare day so decided to drill my front axle and wishbones, Hopefully i can get the various chassis parts assembled on the chassis jig sometime next week and get it all finish welded, I should hopefully have a rolling frame in the next couple of weeks
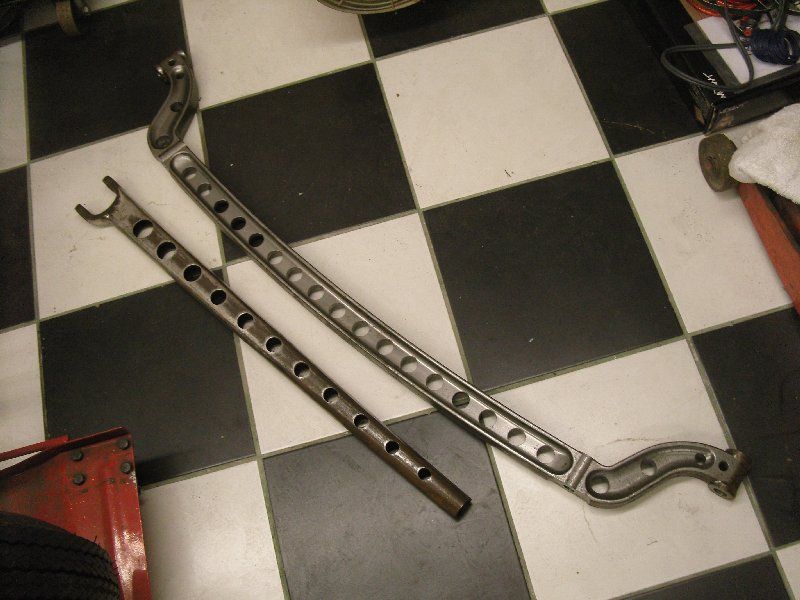
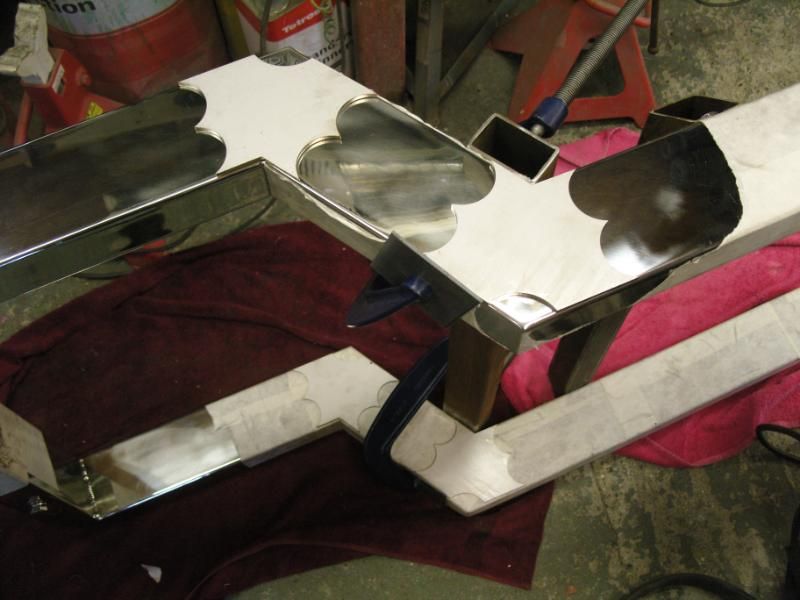
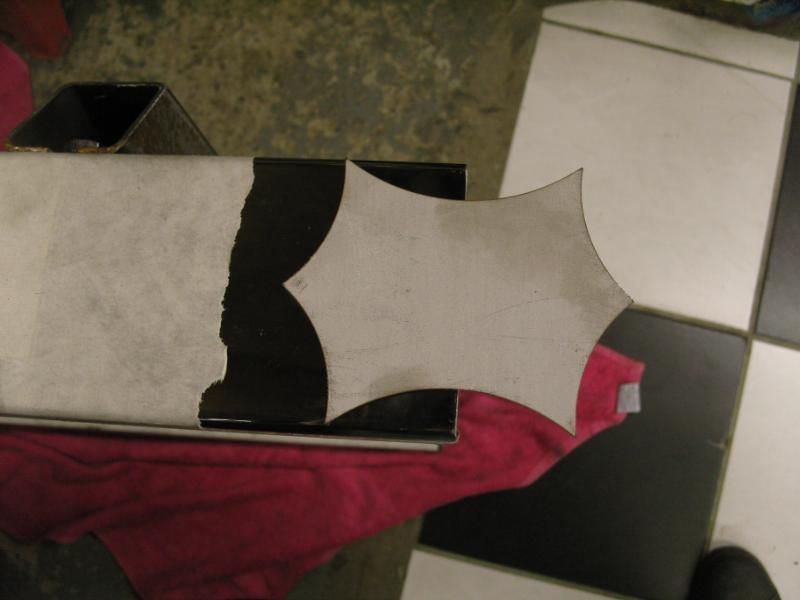
I've been dabbling with some different designs for mounting the gauges in and came up with these, they will be riveted to the dash.
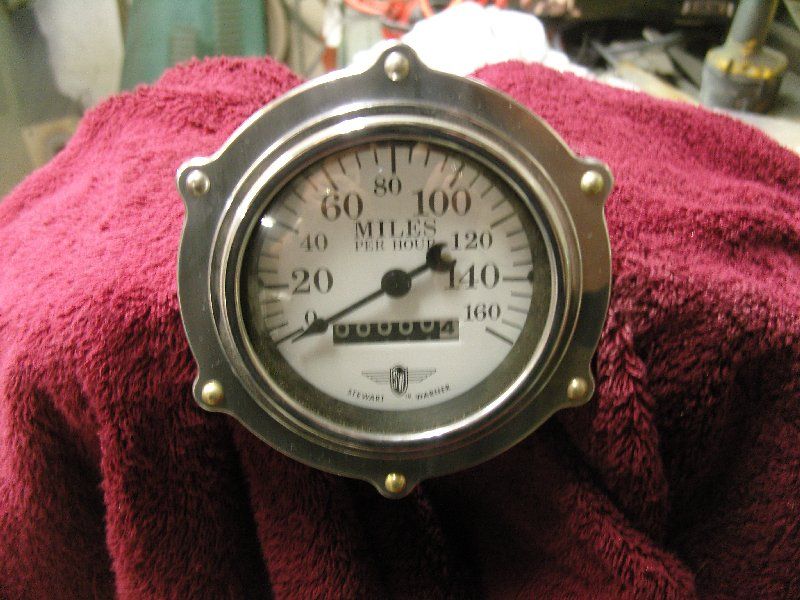
Well made a bit of headway but its taking longer than i thought Its a real pain working with polished stainless as even your fingers leave marks if your not careful and after each stage it needs to be repolished
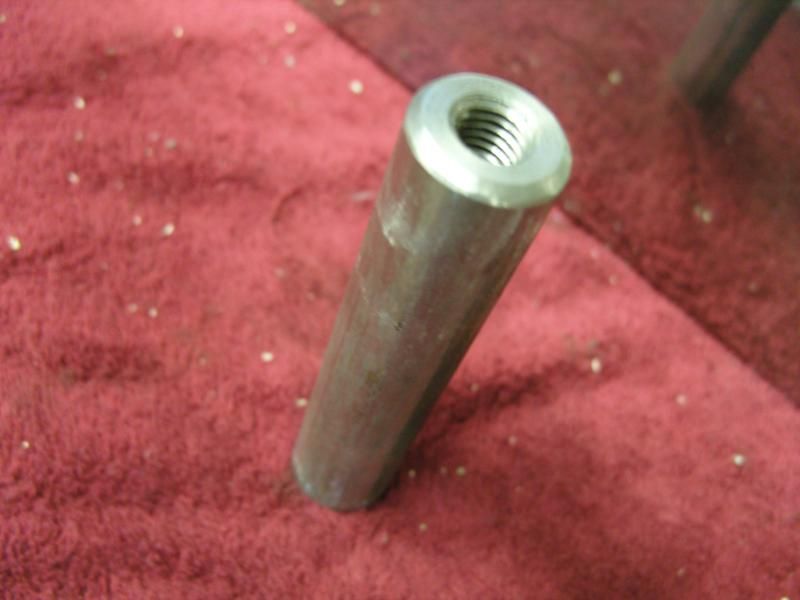
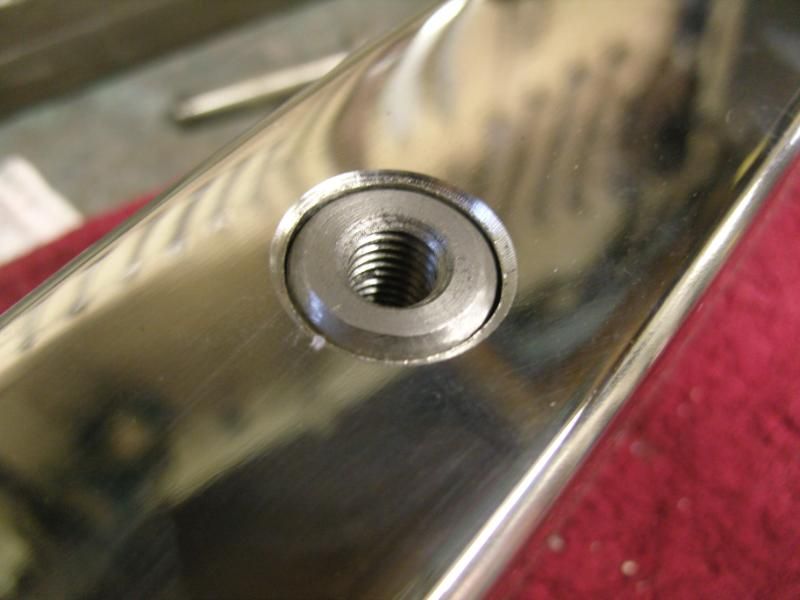
Well i got the body mounts all in the frame while its not welded together as its easier to handle, they go right through the frame rails and are welded top & bottom. They are tapped 10mm x 1.25
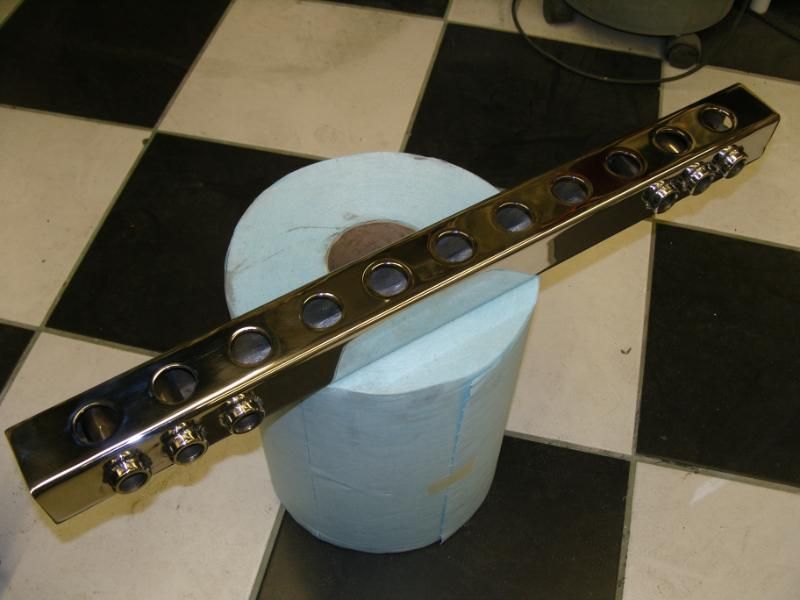
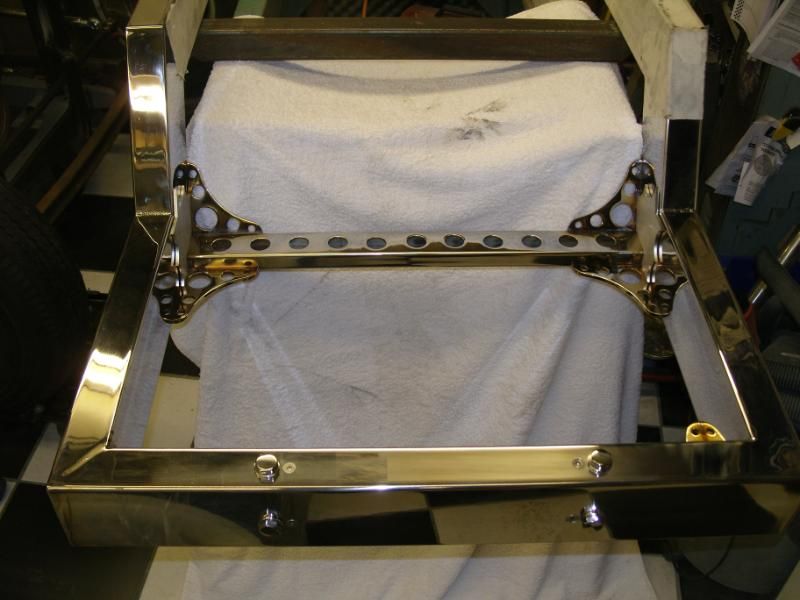
Got the rear x member made up with 3 positions for rear coilovers for adjustability.
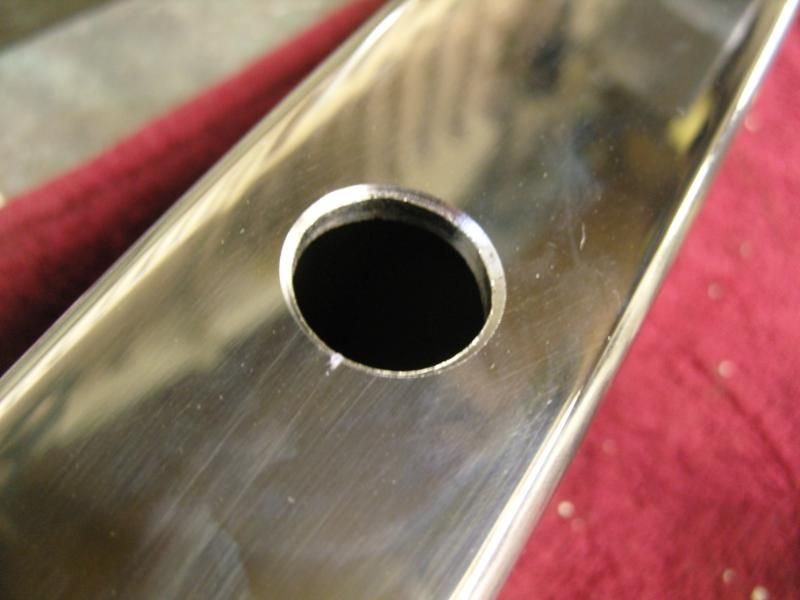
This was the worse bit of stainless i've had so far, real grainy and a pig to polish. Maybe i should of used round tube as that always seems to have a really good finish which means less polishing
Its a bolt in jobbie so end caps will be welded on when in the jig.
The chassis is now on the jig ready to be welded so hopefully some more interesting pics next couple of days.
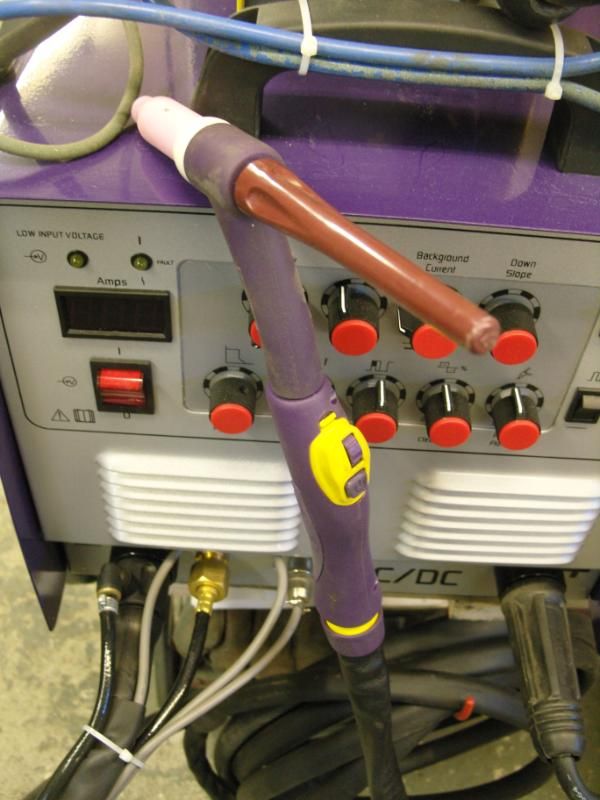
I bought a new TIG torch as welding on the chassis is difficult with the pedal, this one has a roller button on the torch for varying the current, I need to practise for a couple of days to get used to it but so far its very good, another useful feature is it has a flexible head which saves bending your wrist for those awkward bits.
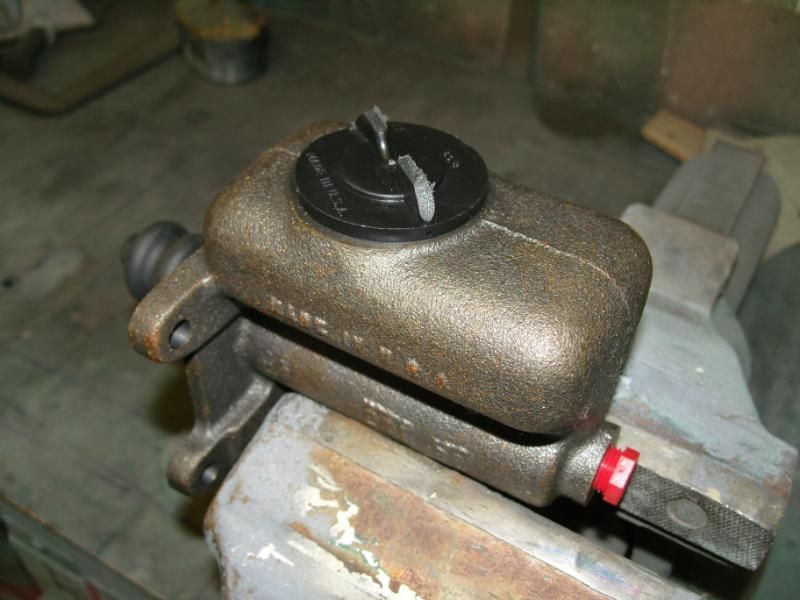
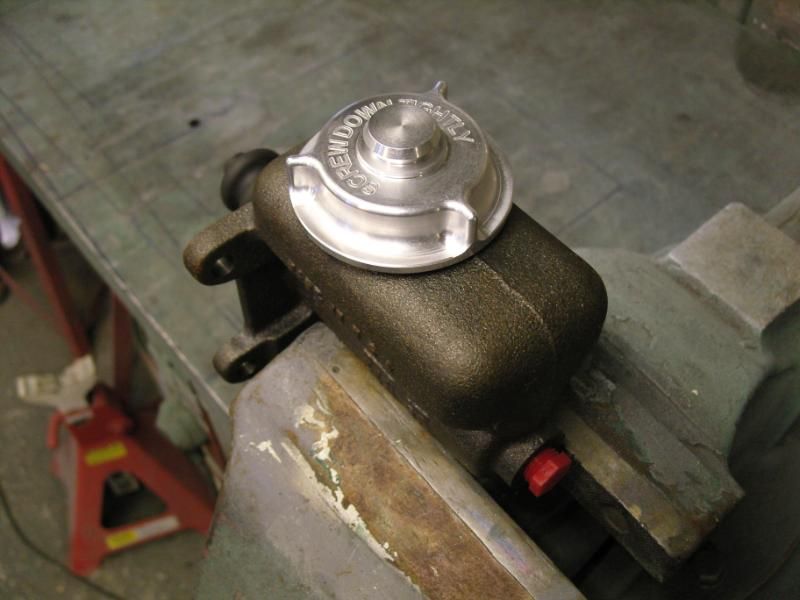
I'm using a 55 f100 master cylinder that will be chromed, I didn't like the black plastic cap it came with and was wondering what to do with it when steve (rustycoupe) produced this aircraft cap, i had to chuck it in the lathe and remove the theaded portion but now fits a treat, thanks Stevie.
It will get polished to take off the billet look later.
Well took a day off today as I needed a hand with the frame and my good mate Des (Tiki Des) came over to help, He was quickly dispatched on polishing duty while i welded some bits up.
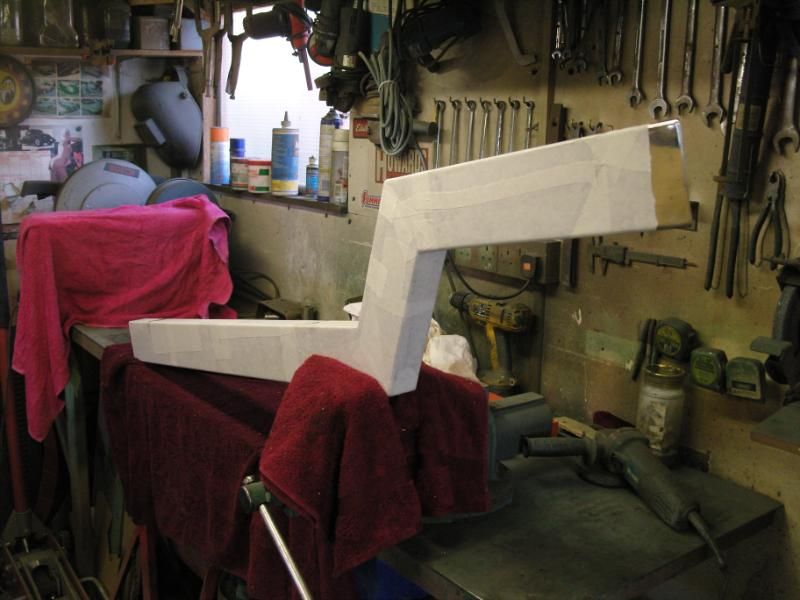
The chassis is made in 2 halves as it needs repolishing after each bout of welding with a hand held polisher.
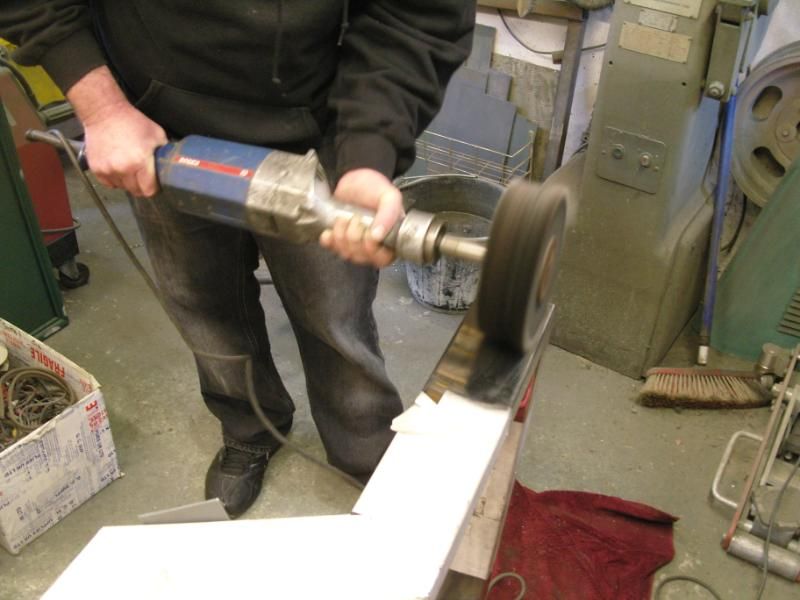
Another good mate Ian (Bigbossman) got me some low tack vinyl stuff to protect the polished surface as its very easy to mark so the rails were covered up.
The postman came this morning with some bits i've been waiting for, They are the fishplates for the inside and outside of the kick up and also the firewall joint in the main side rails, The fit a treat but need polishing before being welded in place. thanks Paul.
Kickup fishplates
Firewall joint fishplates
The main rear section rails are now fully welded so needed to add the rear crossmember to tie them together, also added a kickup spreader and weld in some gussets I had laser cut.
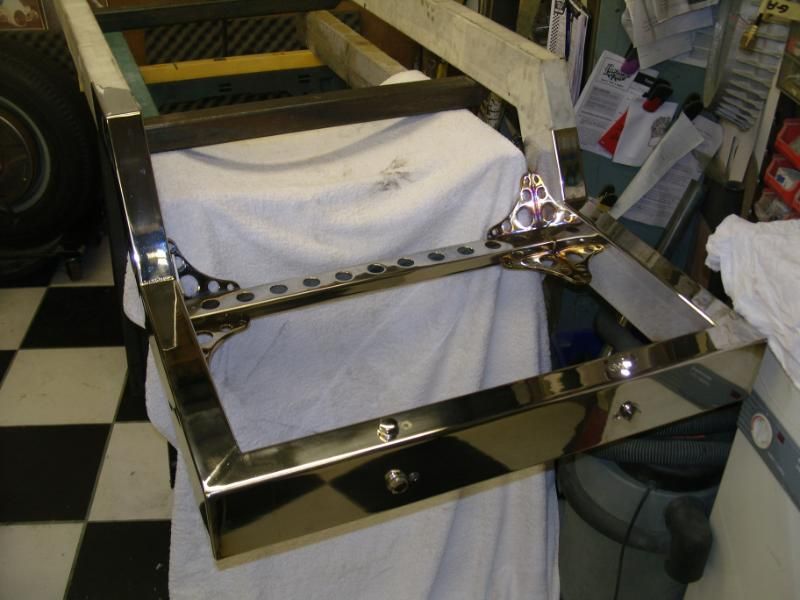
Hope to get the front section finished as soon as and get the 2 halves put together .
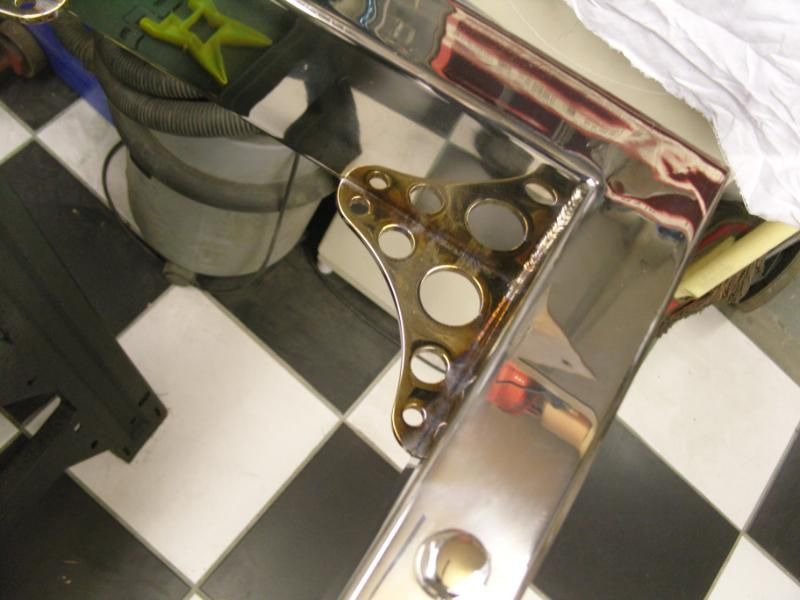
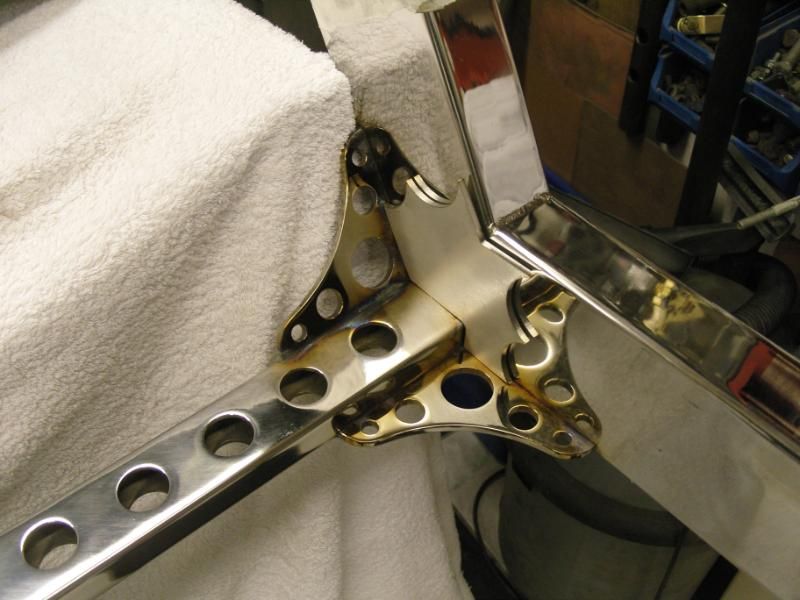
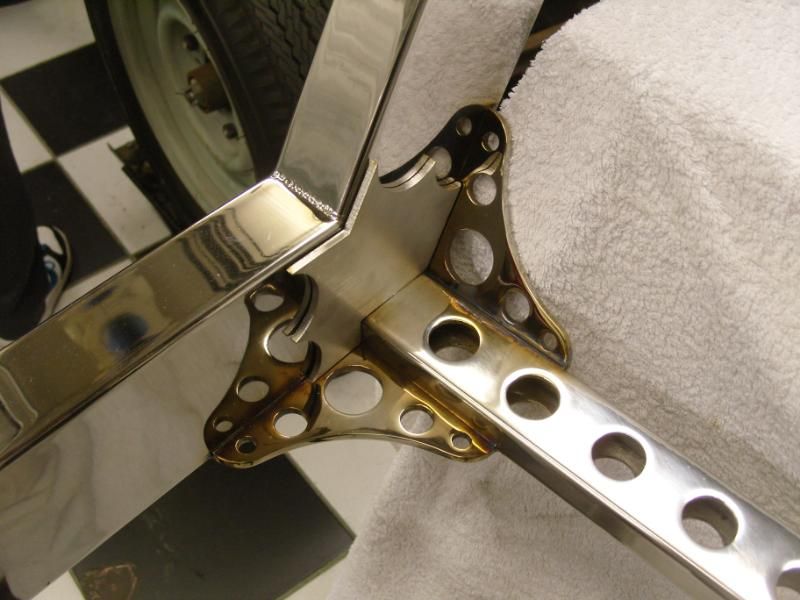
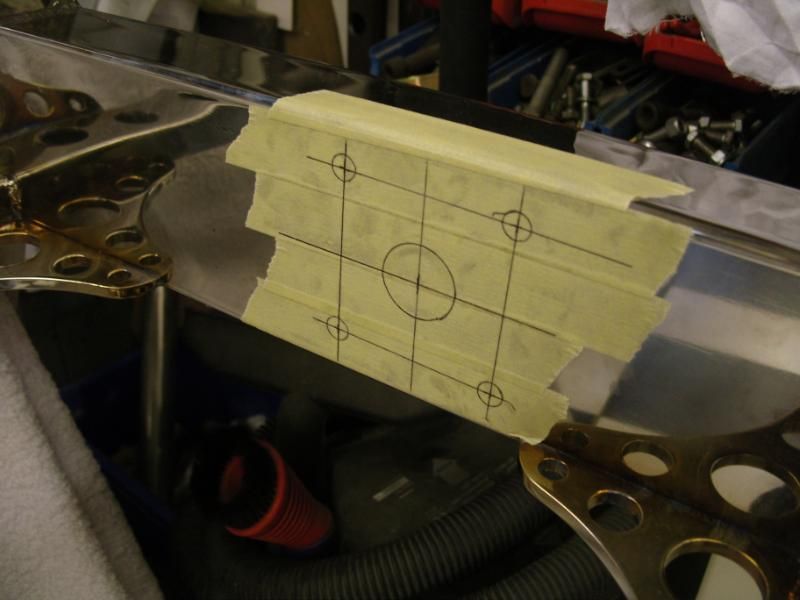
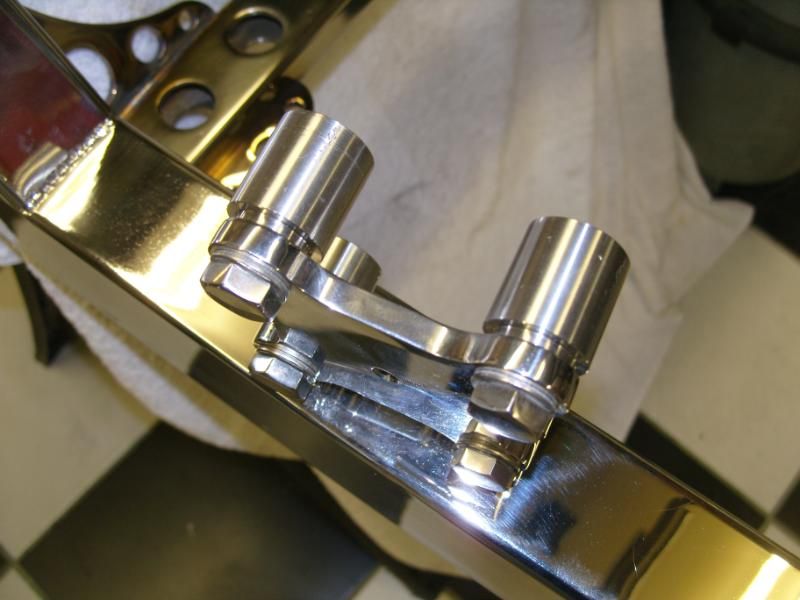
the rear x member, So here's how i fitted the rear x member
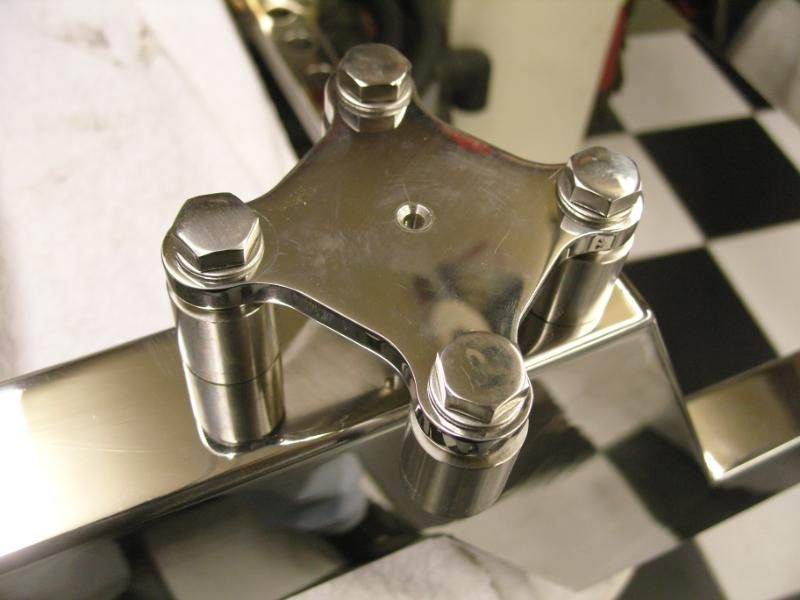
first the holes are marked and also the large hole in the middle, this is where the bungs get put in. then the 8 bolt holes are drilled to 20mm to locate the shoulder on the bungs, then they are welded in from the outside.
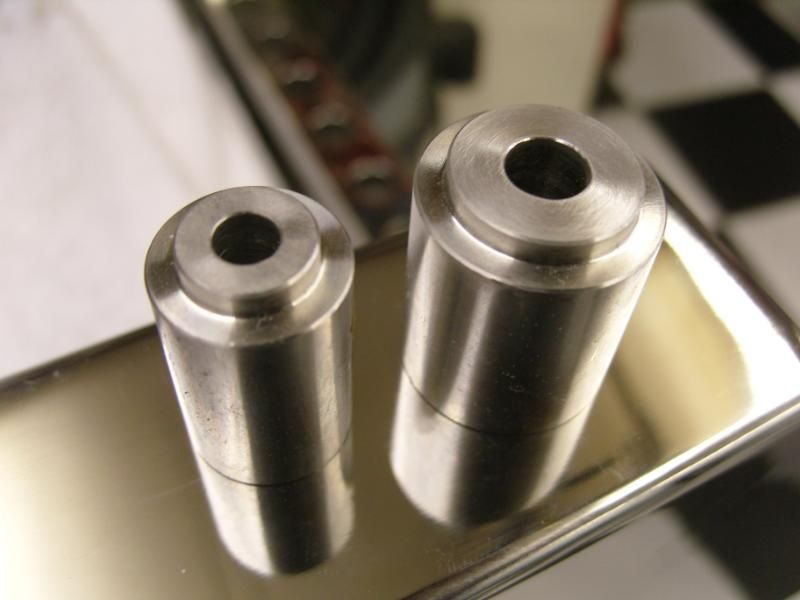
The bungs were spun up for me in 316L stainless on a CNC lathe as there is a few of them, cheers Dazza, There are 2 different sizes, I drill and tap to suit.

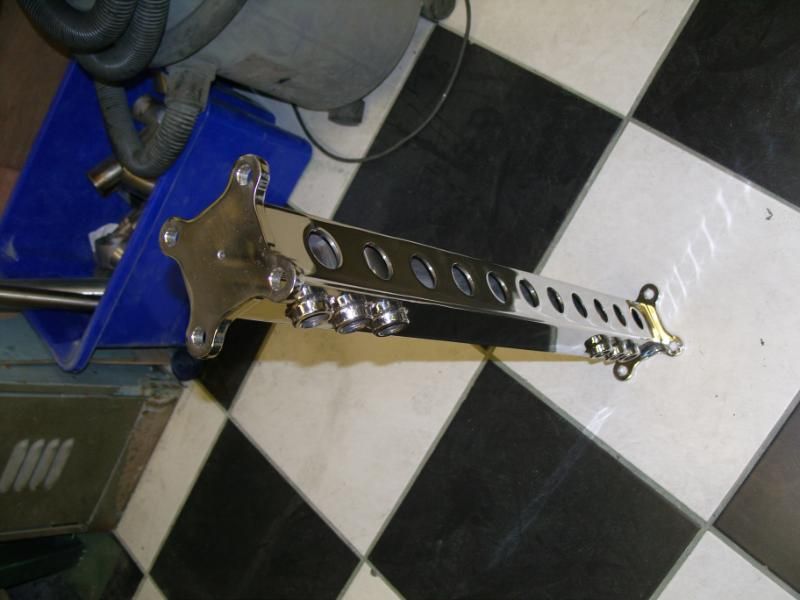
Then the plates are bolted in and the x member welded to them.
Its aweful lonesome in the saddle since my horse died.

 Reply With Quote
Posting Permissions
- You may not post new threads
- You may not post replies
- You may not post attachments
- You may not edit your posts

I'm happy to see it back up, sure hope it lasts.
Back online