


 282Likes
Results 31 to 45 of 176
 LinkBack URL
 About LinkBacks
Threaded View
-
08-17-2019 06:26 AM #1
 CHR Member

- Join Date
- Apr 2001
- Location
- Byron, Mi.
- Car Year, Make, Model: '88 Astro Van-BAD AST
- Posts
- 871
'56 hit by a deer this morning...
On my way to Downtown Flint for Back to the bricks... Less then a half mile from the house. Two bucks running hard out of a cornfield right alongside the road. JUST missed the first one, the second one ran right into the side of the right front fender.
Police report and a claim in to Hagerty and we will see how this goes...
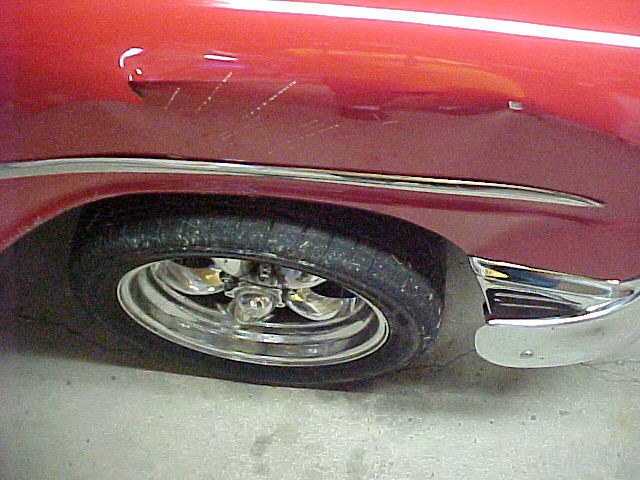

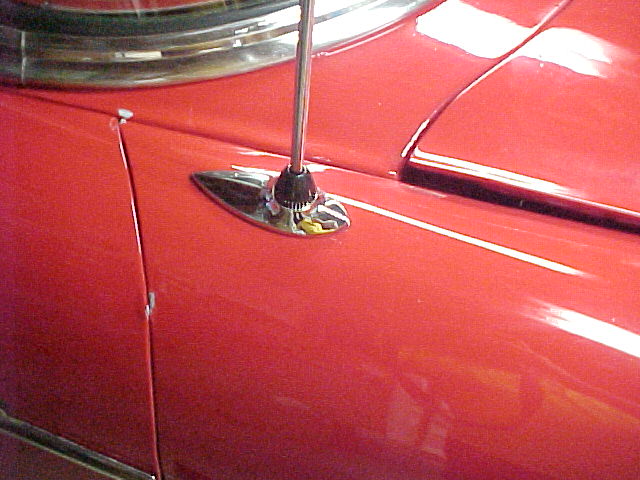
I will be looking for a fender and trim if anyone has them laying around.
MarkIf money is the root of all evil... Women must be the fertilizer...
Link to my BAD AST Build Thread:
http://www.clubhotrod.com/suspension...van-build.html

 Reply With Quote
Posting Permissions
- You may not post new threads
- You may not post replies
- You may not post attachments
- You may not edit your posts

i've enjoyed the years here . made a lot of friends. most who have left. i see no reason to continue with this so hope to see you somewhere else. i dont think this site will ever be back. it's lived...
Dead!