


 322Likes
Thread: '37 Dodge sedan
Results 1 to 15 of 195
 LinkBack URL
 About LinkBacks
Threaded View
-
12-21-2017 11:53 AM #11
 CHR Member

- Join Date
- Dec 2017
- Location
- Stanwood
- Car Year, Make, Model: '37 Dodge sedan
- Posts
- 104
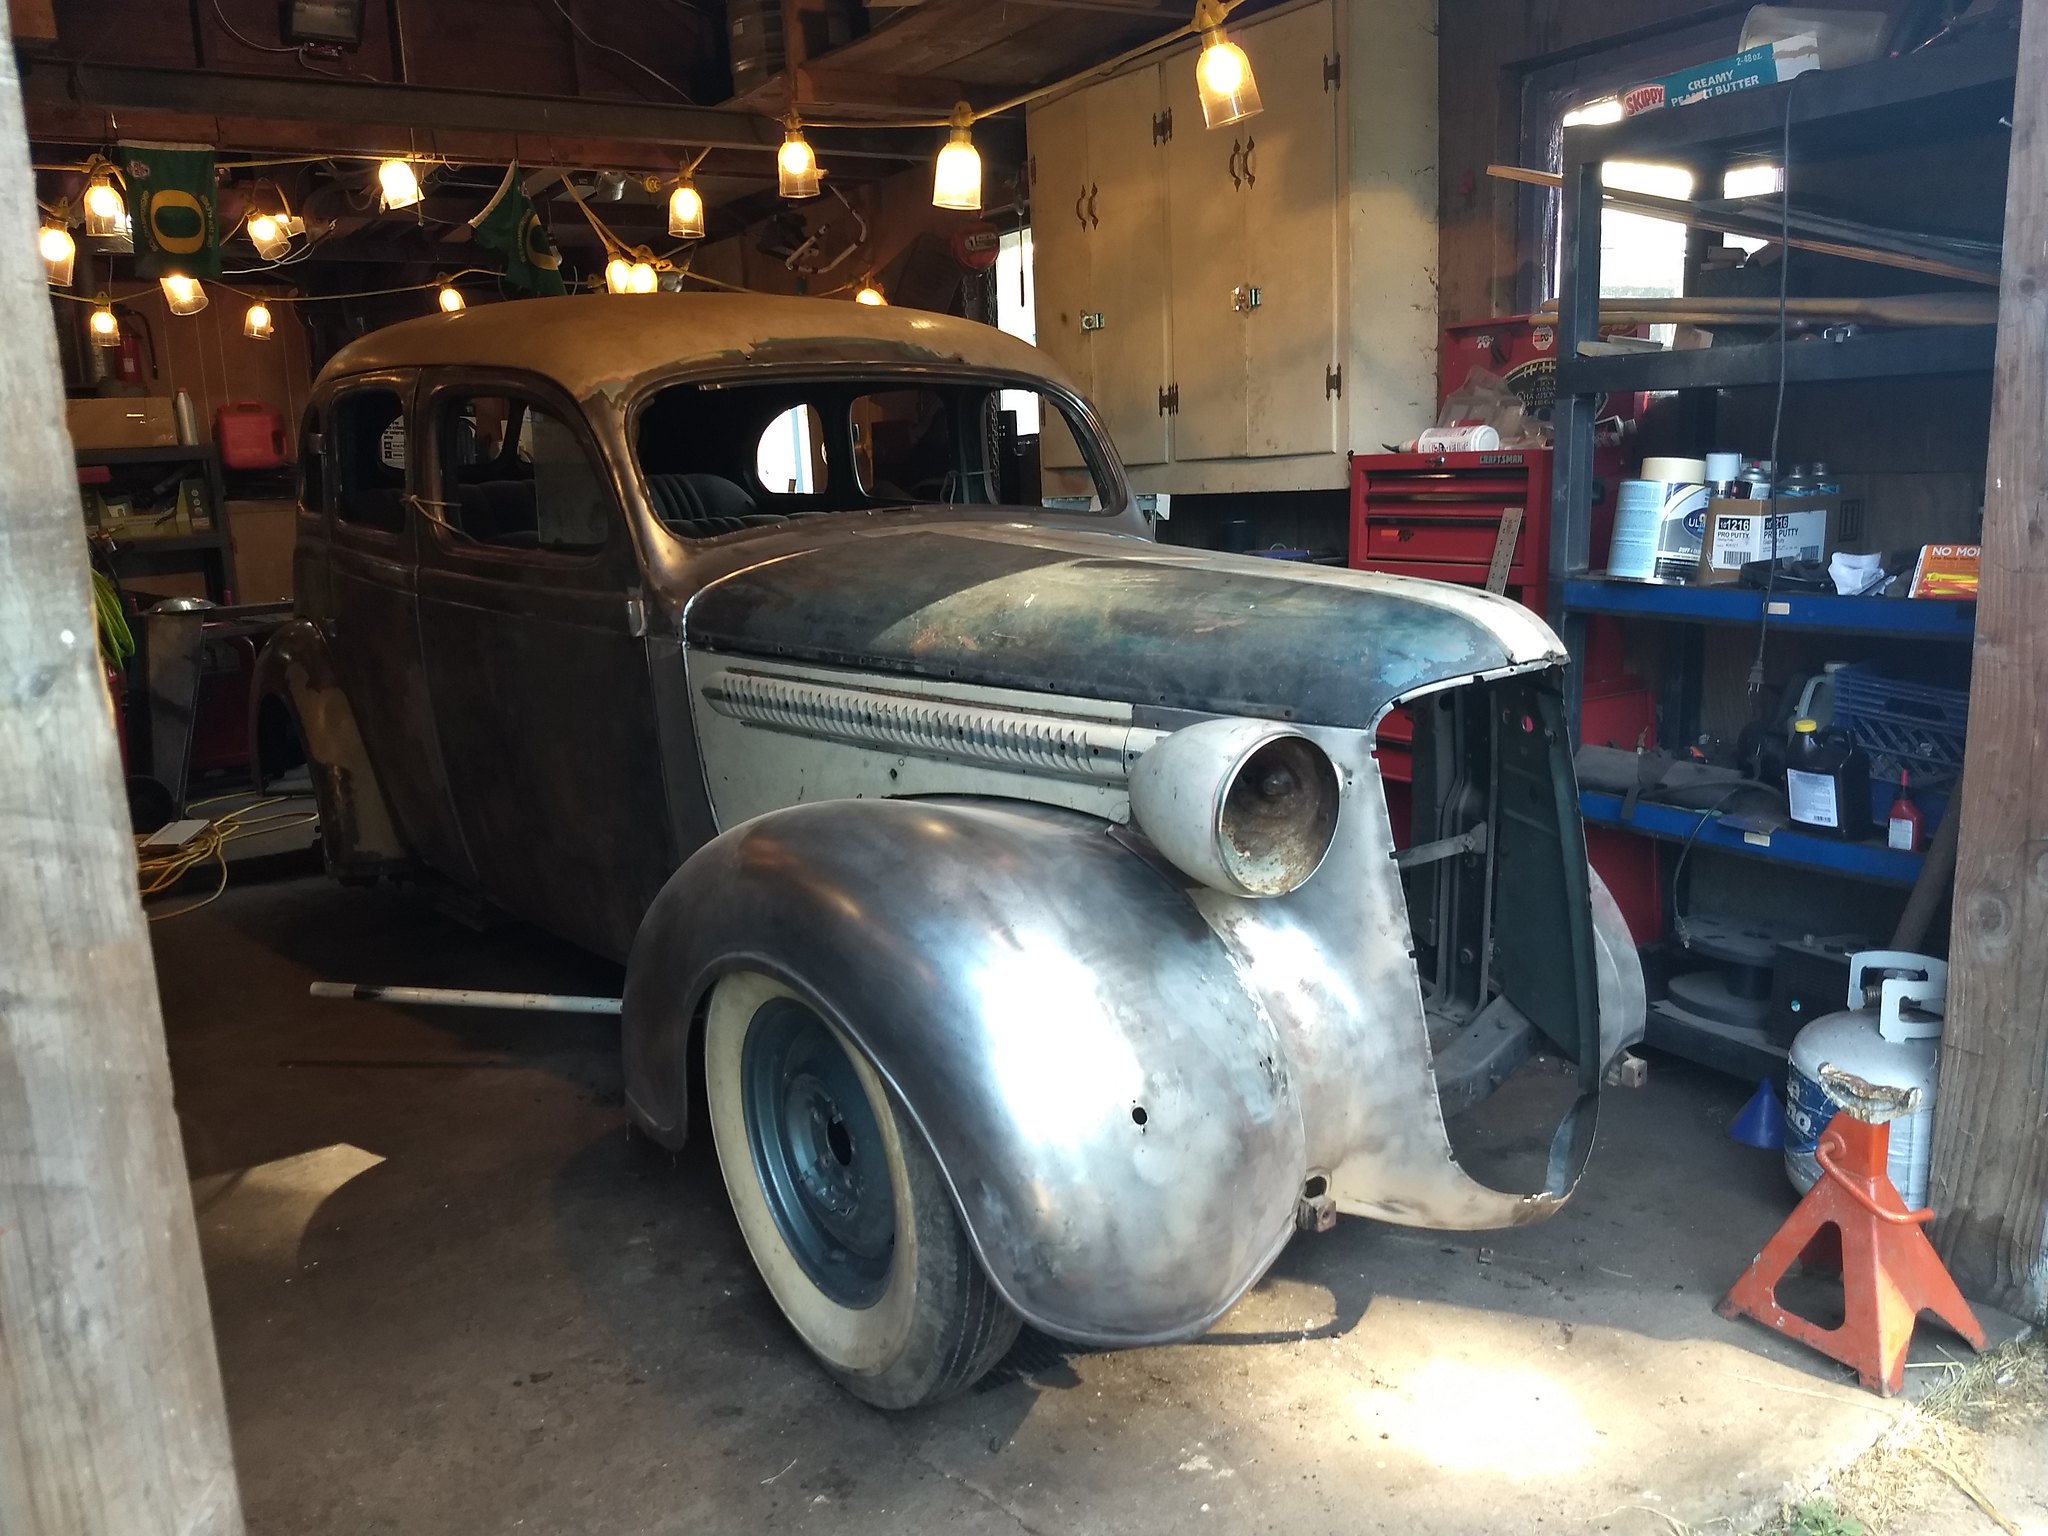
Let's get into the build. From the pictures you'll notice I've begun stripping off the 7 layers of paint and primer on the body panels. I figured it's a tedious job that has to be done, and I have no interest in doing it all at once, nor the funds to have the whole car dipped or blasted. The money that would cost is better spent spoiling my daughter anyhow. So that job has become my "waiting for parts to arrive" time killer. I do a little at a time when I can't move forward until something else arrives, or when I'm not in the mood to do anything that requires thinking.
I knew I wanted a Mustang 2 front end, so I started my research there. Turns out, there's not a lot of info on the web for installing the kits on the old Mopars, so the information was very sparse, usually vague, and mostly only pictures with no explanation. I did a lot of measuring and head scratching before I settled on a plan, then I remeasured and scratched my head some more and put it into action. I started by hanging the fenders and front sheet metal on the body and determining the ride height and getting the front tire centerline marked on the frame rails.
 IMG_20170824_155337538 by Ryan Mazingo, on Flickr
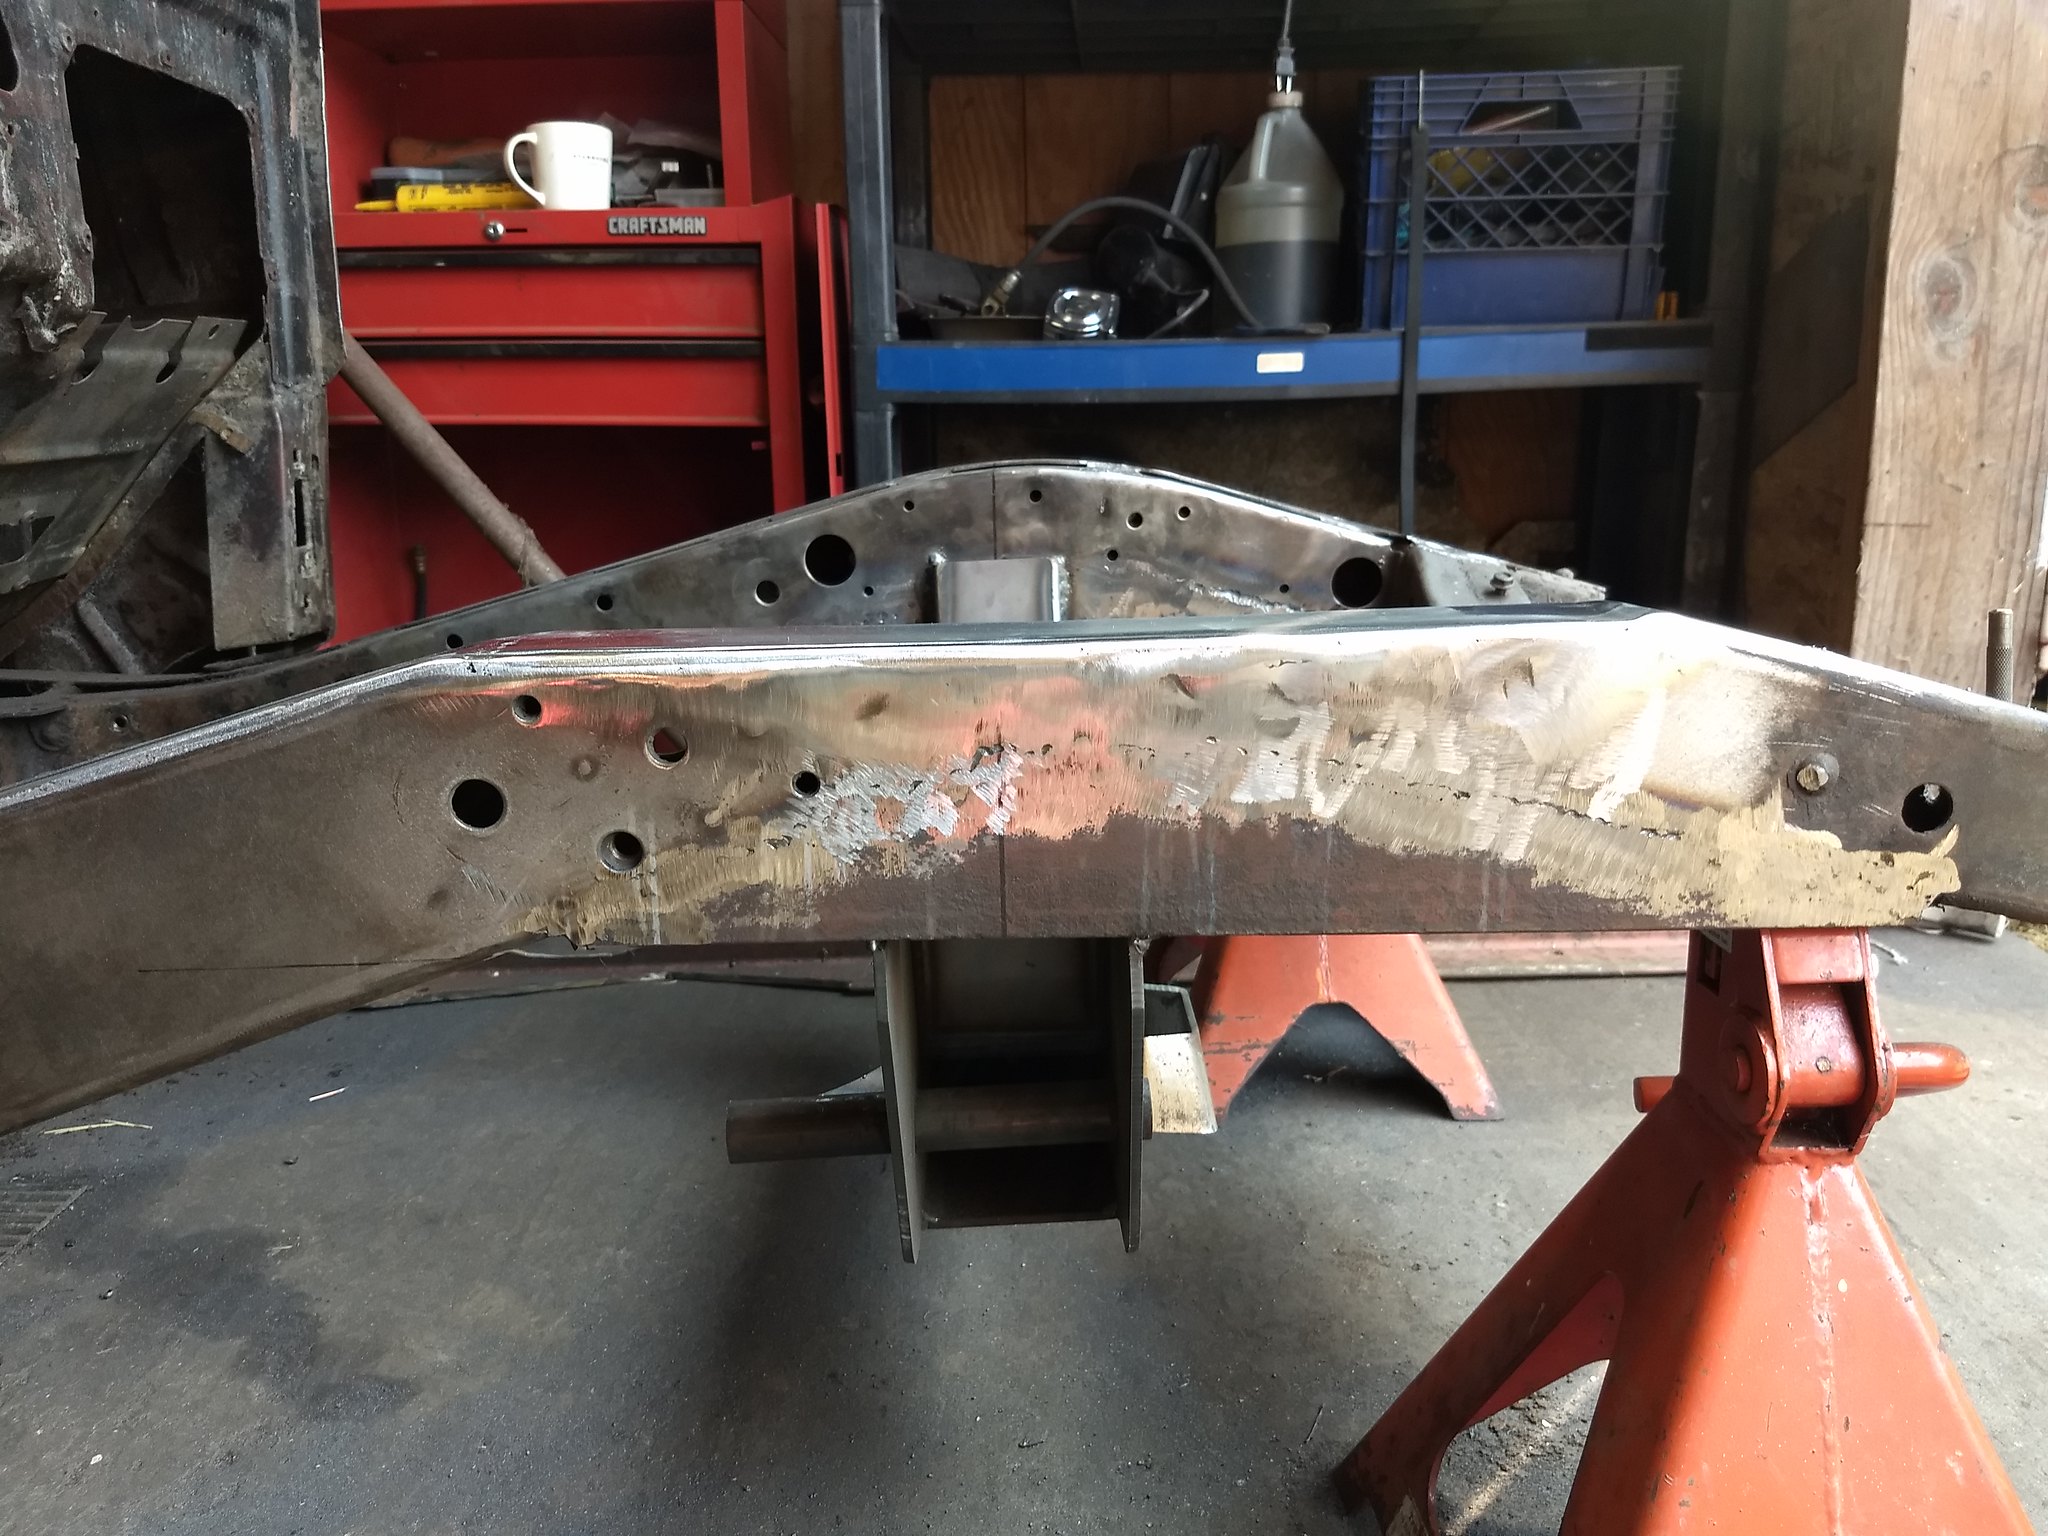
The next step was to remove all of the front sheet metal and weld in a piece of angle iron. The Dodge frame has a hump to clear the original tube axle, but the hump is so high that mounting the new cross member and the hats is impossible without first modifying the rails to run more parallel with the rest of the frame. I also tacked in the cross member at this point to determine the position of the spring hats, because the hat's position ultimately determined how much of the top of the humps would have to be removed. With the angle iron added, as well as a plate on the inside to fully box in the new piece, the tops of the humps we're cut off and a plate welded on to cover the hole.
 IMG_20170903_150446003 by Ryan Mazingo, on Flickr
Next, I notched the hat's to slide over the top of the rails, making sure to tip them back 3° for anti-dive. In this picture I had loosely installed both control arms to verify everything works as designed before welding. Check clearance for adjustment, ensure the control arms swing up and down without binding up, ect. I also rounded the corners of the hat's with the grinder before installing them: might save me from scraping up my knuckles somewhere down the line doing maintenance on the car.
 IMG_20170903_172118746 by Ryan Mazingo, on Flickr
With everything tacked in place I stopped all work and broke out the tape measure. I verified all previous measurements and double checked that the car was still sitting level. With the knowledge that everything was as it should be, I finished up the install by welding everything up solid and mounted most of the moving parts.
 IMG_20170904_161718420 by Ryan Mazingo, on Flickr

 Reply With Quote
Posting Permissions
- You may not post new threads
- You may not post replies
- You may not post attachments
- You may not edit your posts

I know this is a little early but, this site is down more than it's up, so...................... Here's hoping everybody has a great holiday season and my best wishes for a great and prosperous new...
Merry Christmas and Happy New year