


 516Likes
Thread: 1931 Model A Coupe


Results 1 to 15 of 515
 LinkBack URL
 About LinkBacks
Hybrid View
-
01-30-2015 04:36 AM #1
 CHR Member

- Join Date
- Sep 2013
- Location
- Portage
- Car Year, Make, Model: 31 A Coupe
- Posts
- 567
[IMG]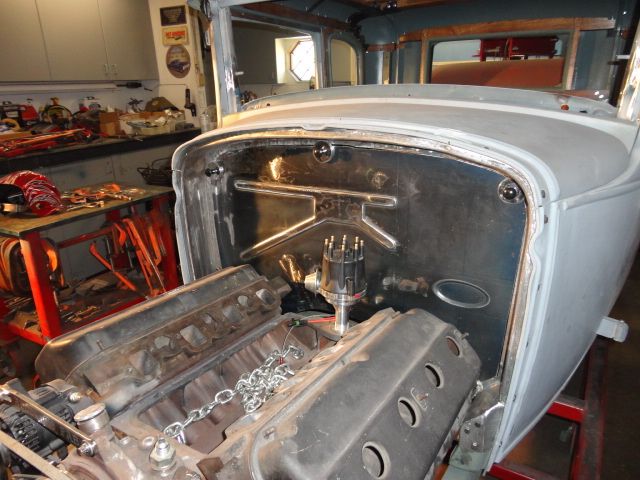 [/IMG]
All ready to tack in, piece of cake! Well maybe not, sharp eyes would note this
piece is hot rolled 16 gauge, and the previous pics showed cold rolled with no
surface mill scale. I was not happy with the first effort, and tried a practice
piece out of hot rolled which turned out to good to not use.
[IMG]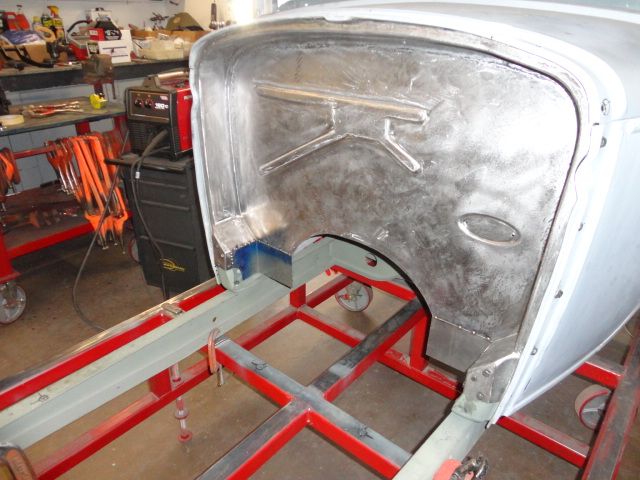 [/IMG]
All welded, and cleaned up, but far from finished.
Rich


 Reply With Quote

Posting Permissions
- You may not post new threads
- You may not post replies
- You may not post attachments
- You may not edit your posts

Even though I know he won't see this, I still want to wish a Happy Birthday to my best friend, Richard Moore aka techinspector1
Happy Birthday techinspector1