


 1584Likes
Thread: Project Sebring GT Spyder
Results 1 to 15 of 838
 LinkBack URL
 About LinkBacks
Threaded View
-
06-12-2017 05:46 PM #11
 CHR Member

- Join Date
- Feb 2007
- Location
- Vidalia
- Car Year, Make, Model: 1946 Ford Coupe, 1962 Austin Healey 3000
- Posts
- 1,508
Next up is the front sway bar. As I said I used a sprint car torsion bar here too. I had to wait until I actually had the wheel mounted, because I knew it was going to be a tight fit.

I made a crude wood mock up of the tire to check frame and sway bar clearance. I just clamp it around the rim with a ratchet strap. It looks like I will have to limit rack travel a little to keep the tires from rubbing on the frame. I get to that a little later. My mockup should simulate about a 255 width. I might just go with a 245 to keep from limiting rack travel too far.
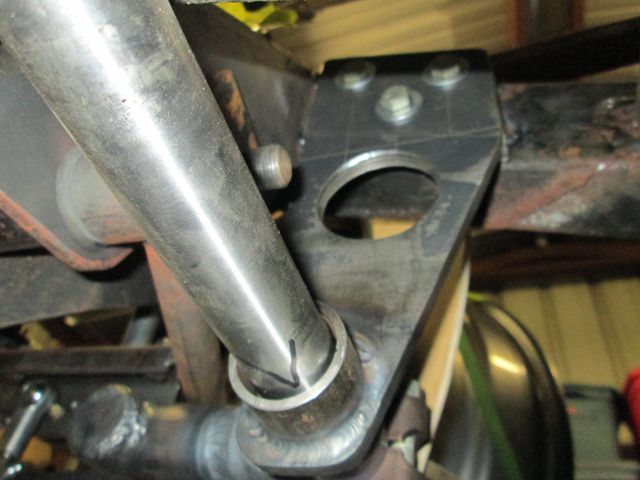
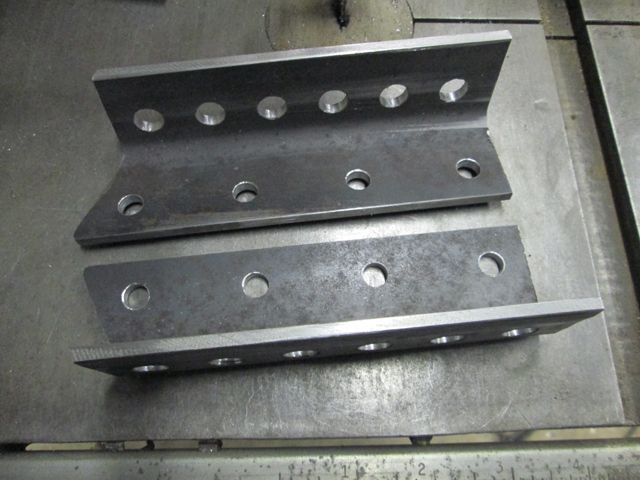
The bar supports had to drop a long way to get from the kicked up frame rail to the control arm. I had to go under the CA just to get some room for the adjustment that I wanted. I used the same type of Delrin bushings that are on the rear bar. I had intended to bolt the drop bracket directly to the frame rails, but the rails aren't exactly parallel and I had to add some small stand off brackets to the frame to get a good straight surface.
I also made a small angle bracket that bolts to the lower control arm for the links. There’s not as much adjustment in it as I would like, but it’s about all I could get.
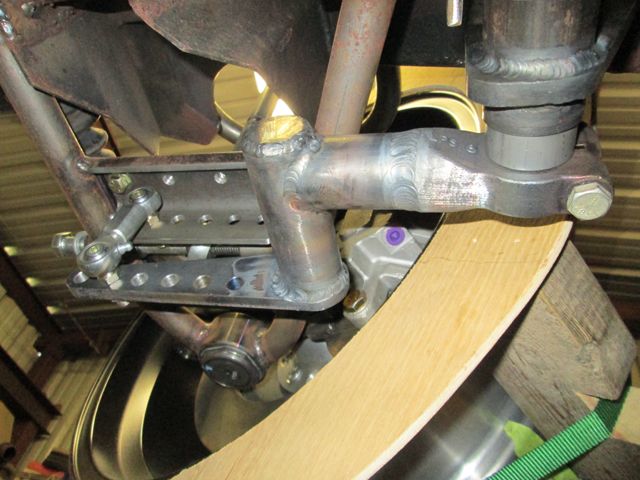
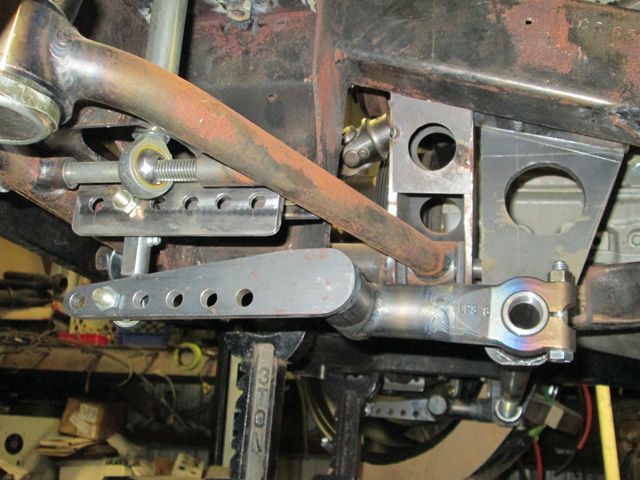
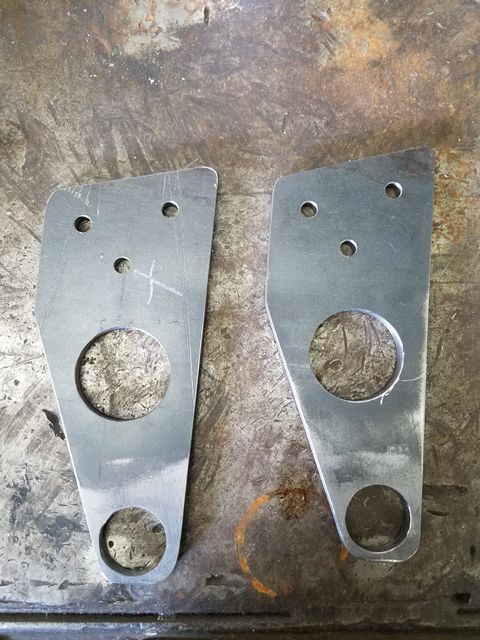
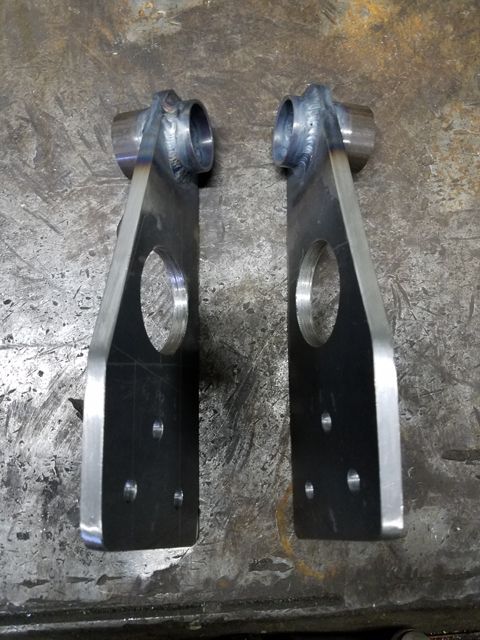
The arms for this bar have to take a pretty complicated path to get to the lower control arm. I also wanted to build in some rate adjustment just like in the rear. I suppose I could have heated and bent the aluminum arms, but wasn’t sure that I could make the tight bends with such a thick bar (1”). I switched over to a steel splined end that is made to attach to a tubular arm. I made a saddled joint and welded on a flat arm similar to the rear set up. Yes, these arms look very non-traditional, but they are strong, stiff, adjustable and more important, they clear everything and fit where they need to go.Last edited by Hotrod46; 06-12-2017 at 05:49 PM.


 Reply With Quote
Posting Permissions
- You may not post new threads
- You may not post replies
- You may not post attachments
- You may not edit your posts

Sprayed the cab, it's a long story, I had to re shoot it. Color sanding and buffing it now.
Stude M5 build