


 113Likes
Thread: Grandkids Coaster Car build.


Results 1 to 15 of 127
 LinkBack URL
 About LinkBacks
Hybrid View
-
08-19-2012 03:13 PM #1
 CHR Member

- Join Date
- Mar 2003
- Location
- SW Arizona
- Car Year, Make, Model: 68 Ply Valiant, 83 El Camino
- Posts
- 3,872
Motorizing the car is a down the road project but I wanted to make sure we wouldn’t have to completely rebuild the car to do it.
Cade had asked why we couldn’t we just run a pulley on the axle and belt it to the motor instead of using the transaxle (smart kid). I explained that the little motor we have probably wouldn’t have the power to pull the car without it being geared down quite a bit more than we would be able to do with just pulleys.
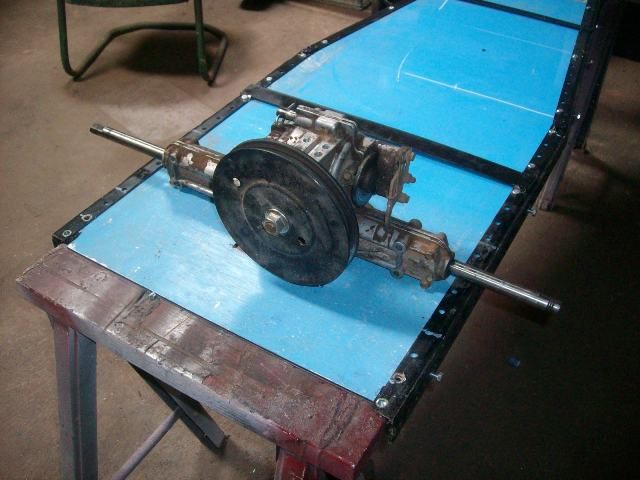
The transaxle has a few things going for it (besides being on hand ). It’s single speed, with a forward, neutral and reverse, which makes the direction the motor rotates a non-issue. As far as I can tell it’s geared at about 20:1 not counting whatever the ratio we use on the engine/transaxle pulleys. Hopefully that will allow the little motor we have to be able to push the car around. It also has a built in brake.
The down side is I have to rotate it 90 degrees so the driven pulley is vertical instead of horizontal. It will eat up a lot of ground clearance that way but as smooth as the yard is that really shouldn’t be a problem. I will also have to extend the axels a couple of inches on each side, but that shouldn’t be a big deal either.
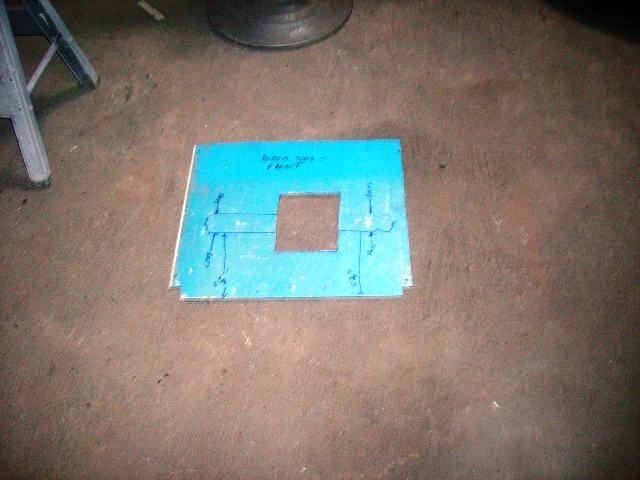
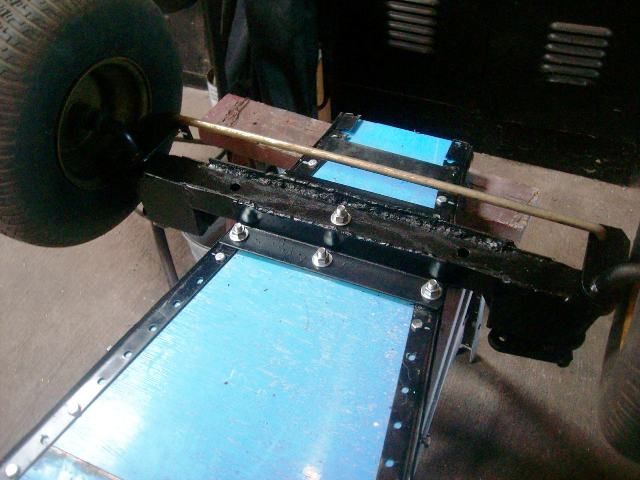
We made the rear section of the floor removable in anticipation of adding the engine. Earlier in the week I went ahead and cut a second floor panel to use as a template for the steel floor that will go in when we motorize it. I did an initial test fit of the transaxle and marked where I’ll need to make the mounting brackets and then marked where the axel center line would be. I then bolted the original floor panel back in and set transaxle and template aside till we get to that point.
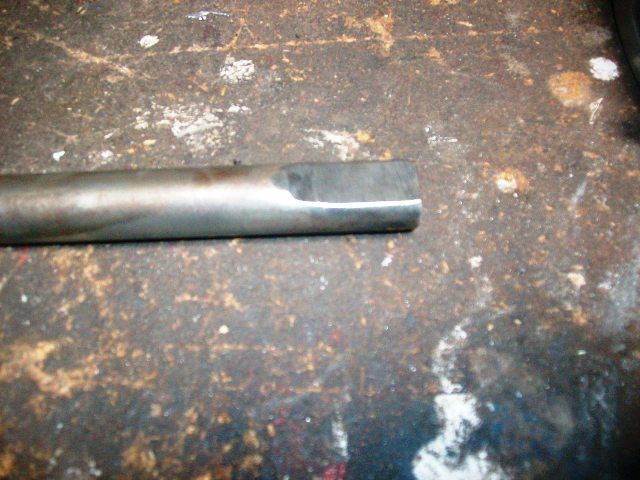
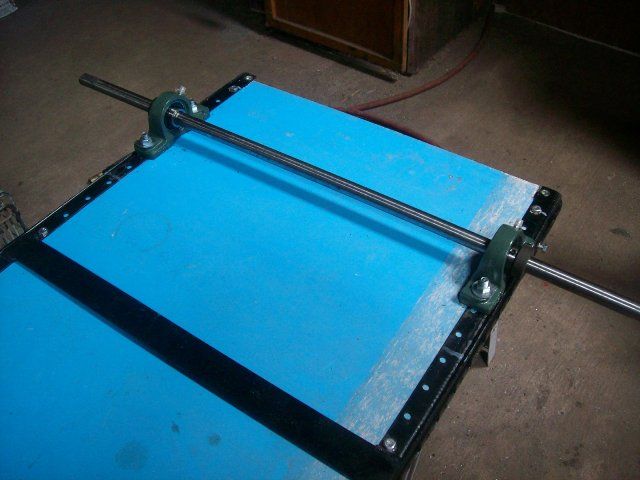
The axles on the transaxles are 3/4" and have 2 flats milled into them with a bolt and washer to retain the wheel. I duplicated that on a piece of 3/4" round stock I had lying around.
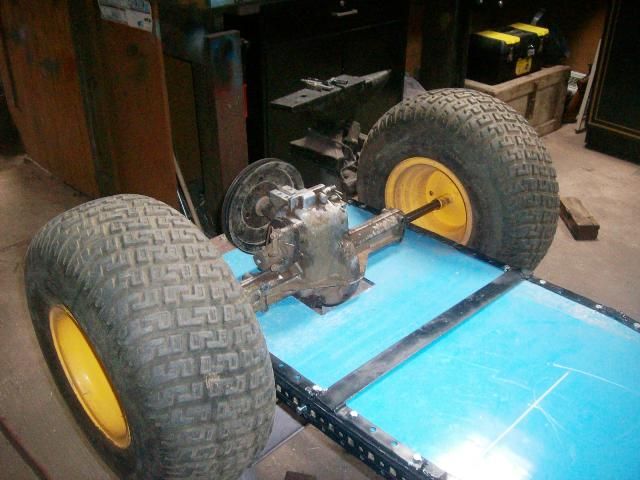
We bolted the axle to the frame with a pair of pillow blocks and put the back tires on.
I wanted to show him that on turn one wheel turns faster than the other and why real cars have differentials in them. So we set the frame down on the ground and I had Cade try to turn the car. He was kind of surprised when one tire tried to turn backwards (LOL).
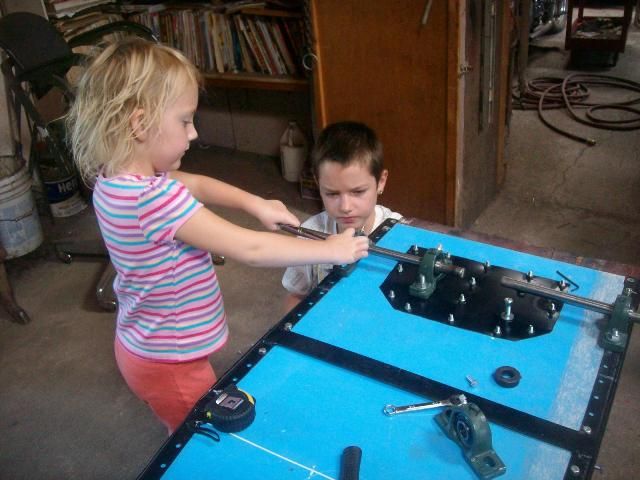
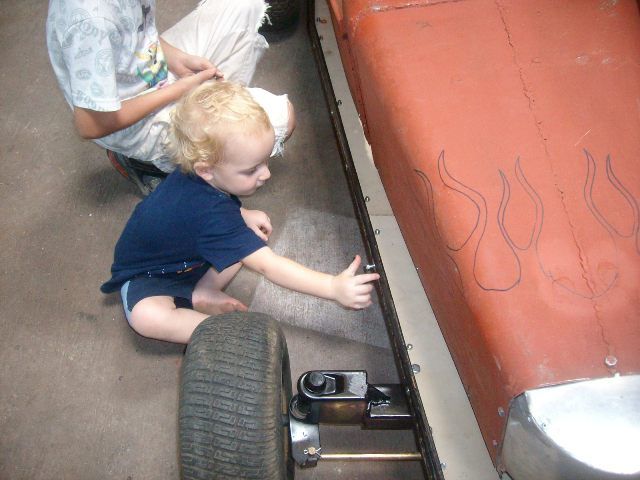
So back up on the saw horses where we pulled the axle back out, cut a section out then supported the inner ends on another set of pillow blocks (with reinforcement plates under them). Grandpa even got a bit of a break on a couple of bolts as Elise worked the ratchet from the top and Cade held the bolt from the bottom (all I had to do was watch). It turns a whole lot easier now and Cade was able to actually see that the outside wheel has to turn faster on a turn than the inside one to prevent the tires from skidding around corners.
It’s kind of a balancing act when I’m trying to explain how things work to Cade. I want him to understand, but at the same time it’s easy to overwhelm with too much information. Actually showing him what is happening makes it a lot easier.

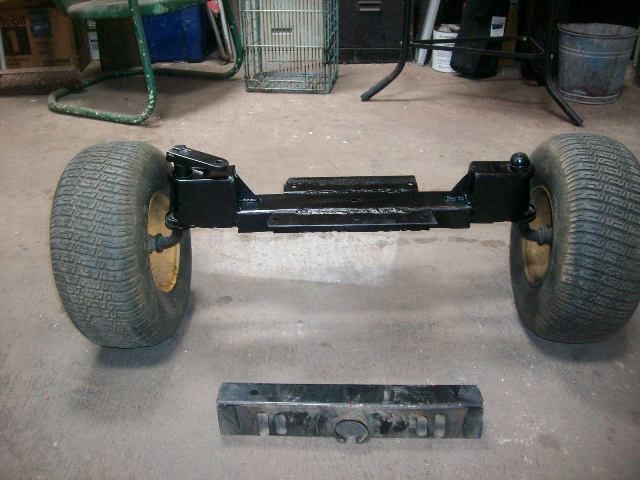
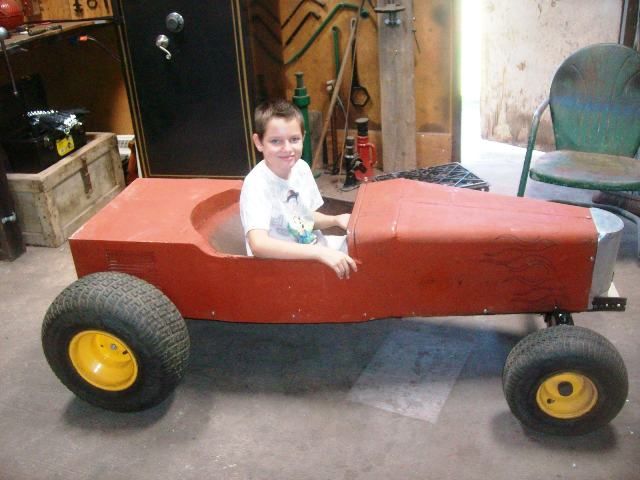
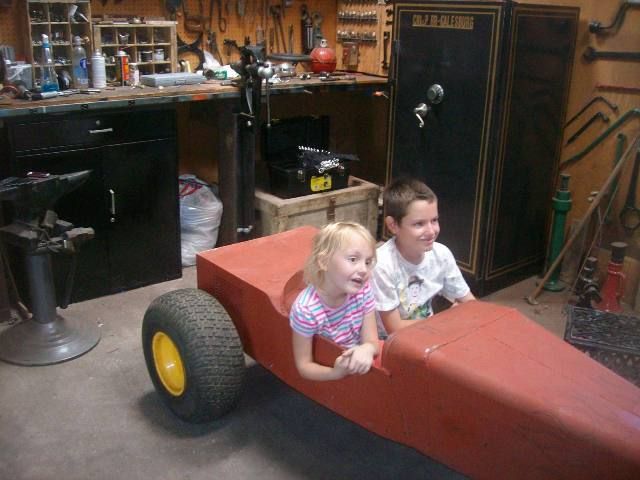
With the rear axles done we moved on to the front end. The front axle and steering we got off the old mower was a little tall to use like it was and really set the nose up in the air. During the week I cut a section out of it and re-boxed it back in. I really wanted to put more rake into the car, but didn’t want to cut any more out of the front crossmember so I ended up settling on it sitting level. I did add gussets where I removed the center but that was mostly to show Cade how to strengthen something after you remove a section like we did on this.
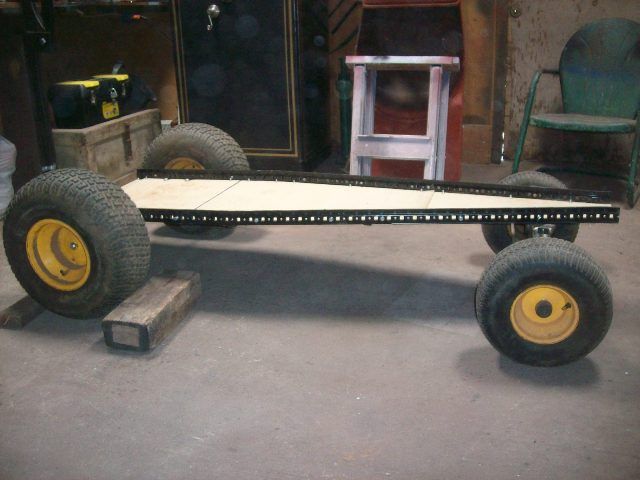
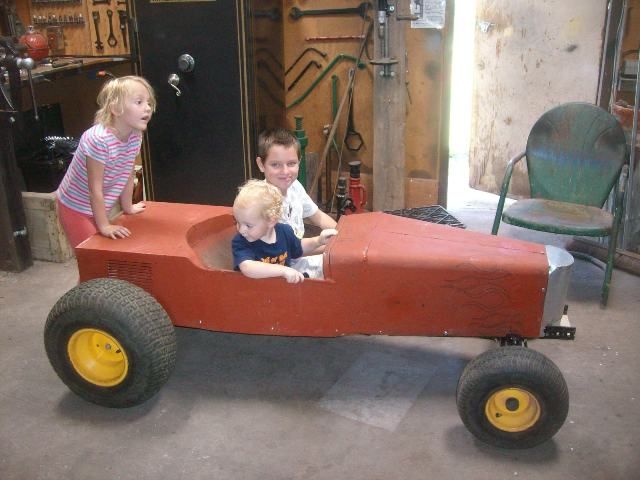
With both the front and rear end and tires on it was off the saw horses and back on the ground and the body was set back on with a couple of bolts on each side to hold it. Austin got into helping on that part, removing the bolts we had left in the frame. When the body was back on that was about it for working on the car for today. The rest of the morning was spend with the kids getting in and out of it and in general just having a ball.
.Last edited by Mike P; 08-19-2012 at 03:16 PM.
I've NEVER seen a car come from the factory that couldn't be improved..... 
 Reply With Quote

Posting Permissions
- You may not post new threads
- You may not post replies
- You may not post attachments
- You may not edit your posts

Yep. It’s pretty sad.
Dead!