


 57Likes
Thread: 1932 Ford Coupe Project Thread
Results 106 to 120 of 224
 LinkBack URL
 About LinkBacks
Threaded View
-
02-26-2012 06:40 AM #1
 CHR Member

- Join Date
- Oct 2011
- Location
- Glen Burnie
- Car Year, Make, Model: 1932 5W Coupe
- Posts
- 138
1932 Ford Coupe Project Thread
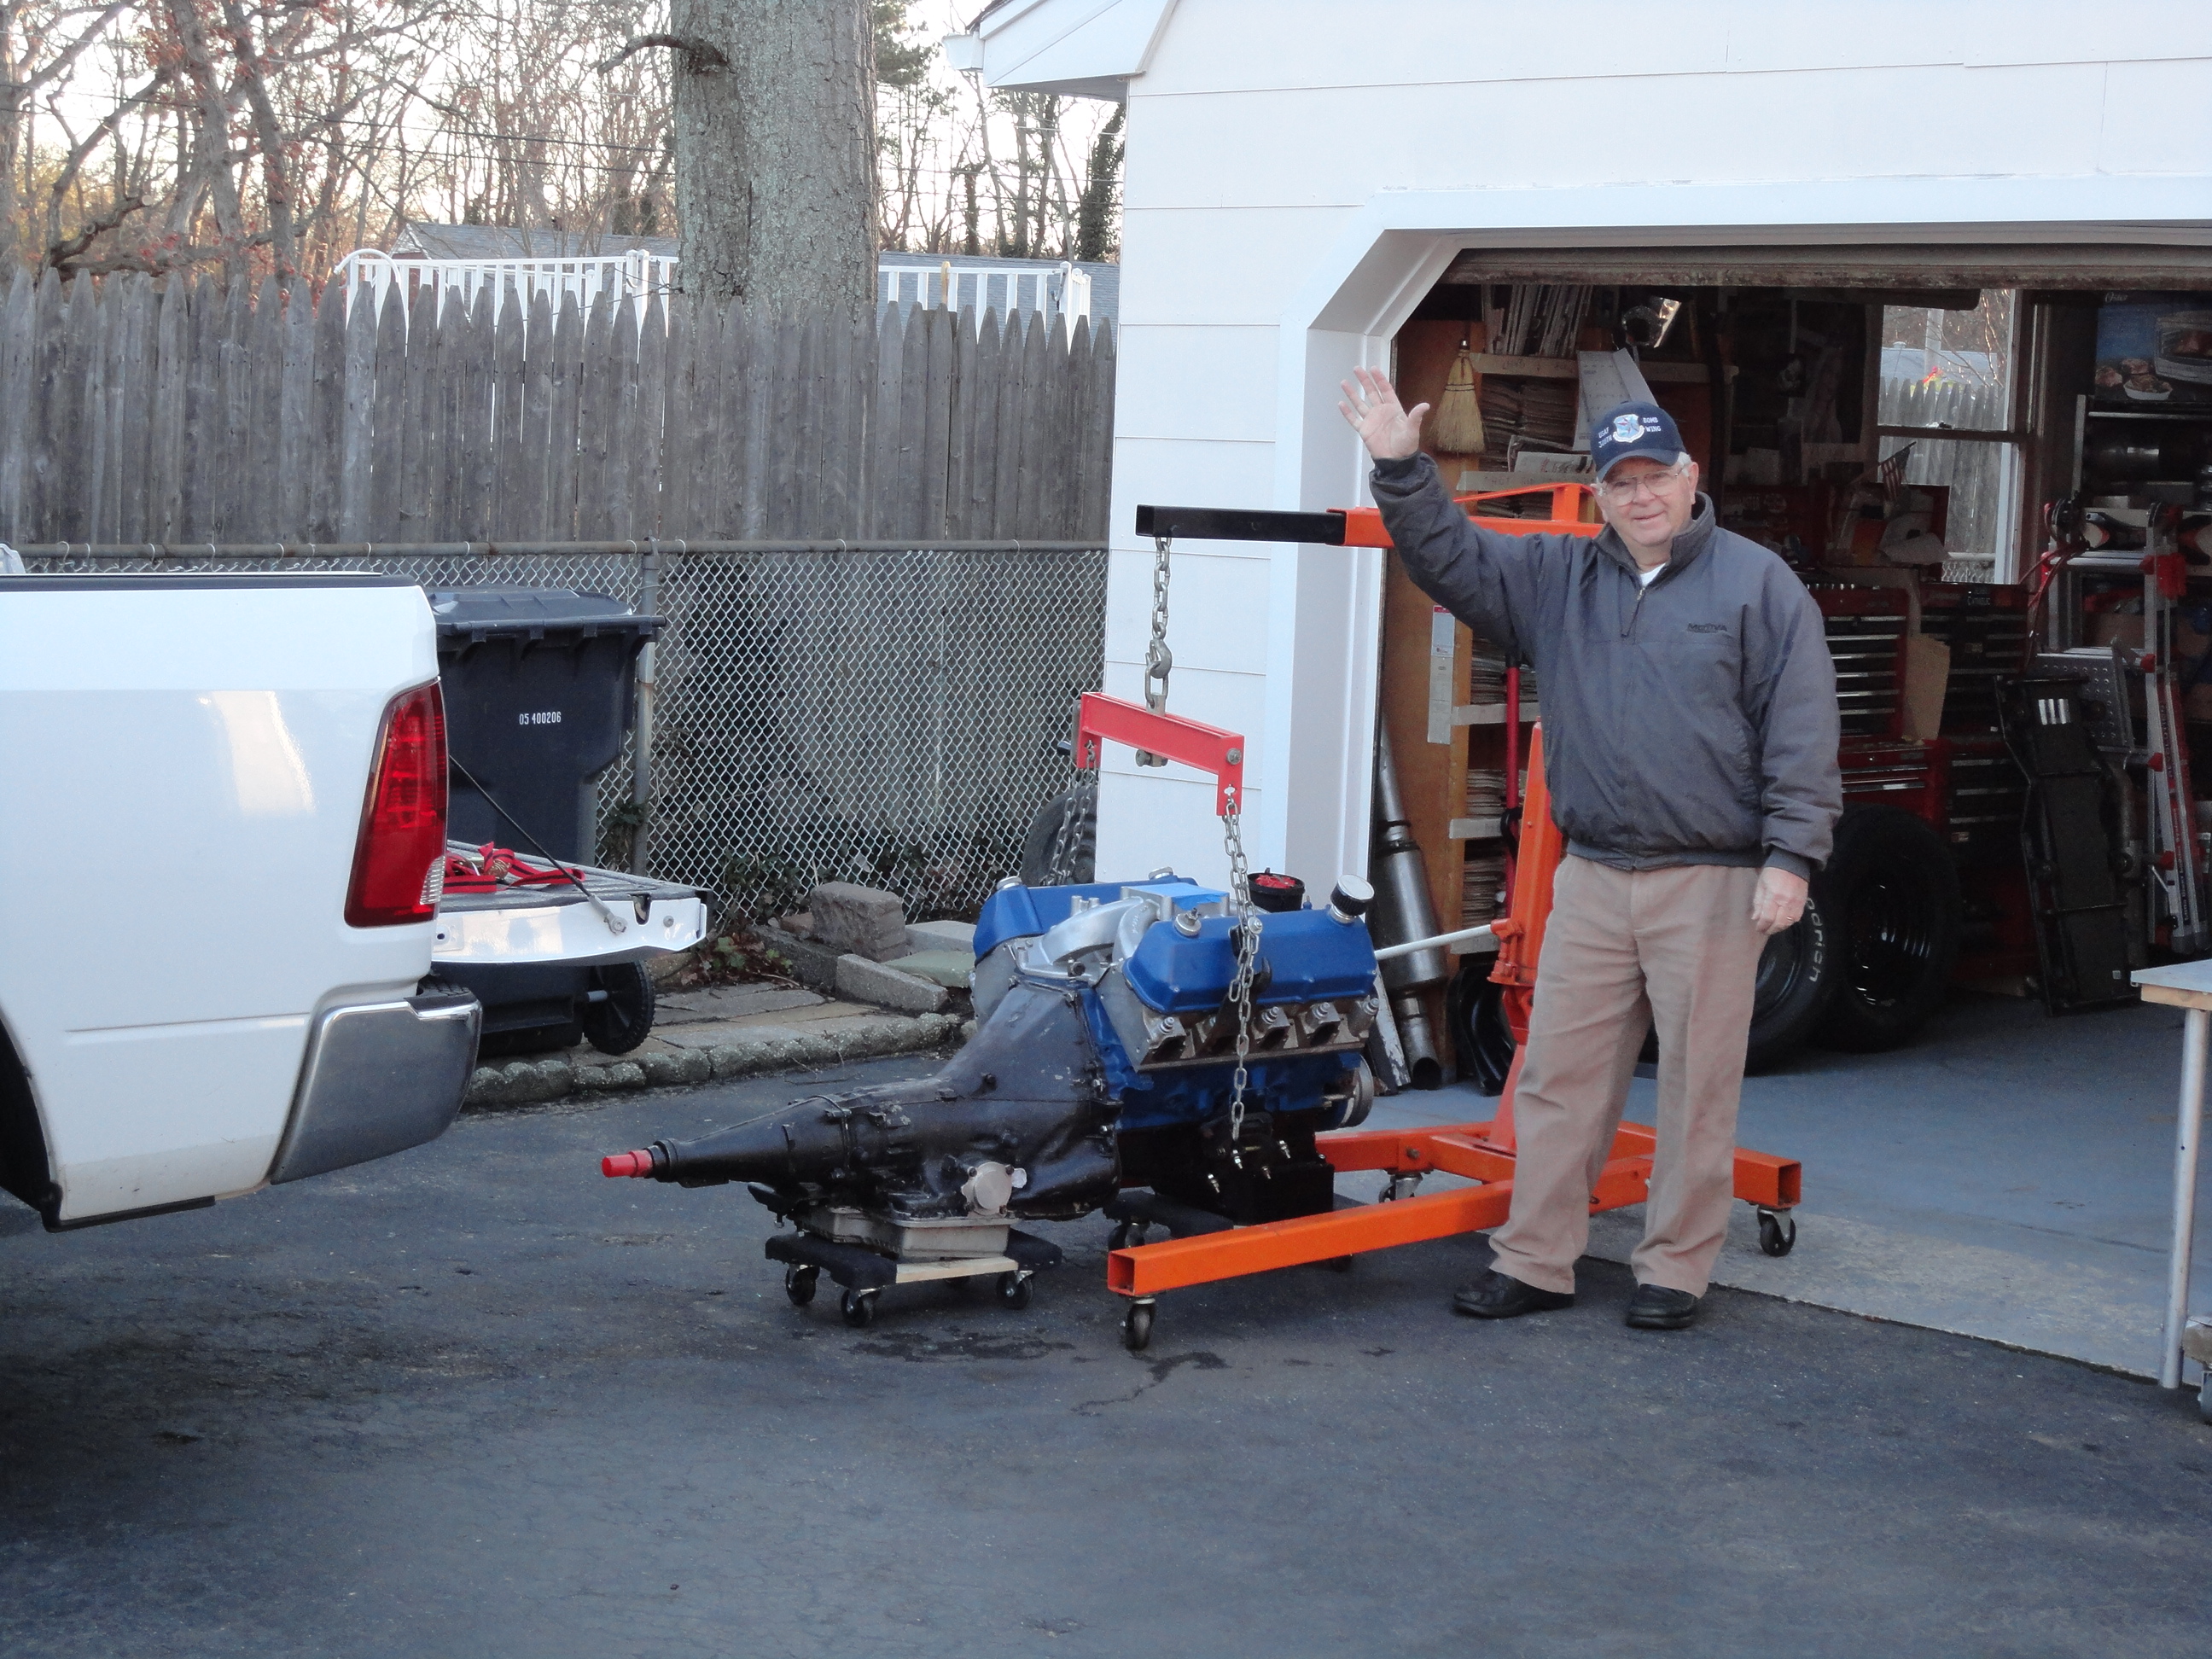
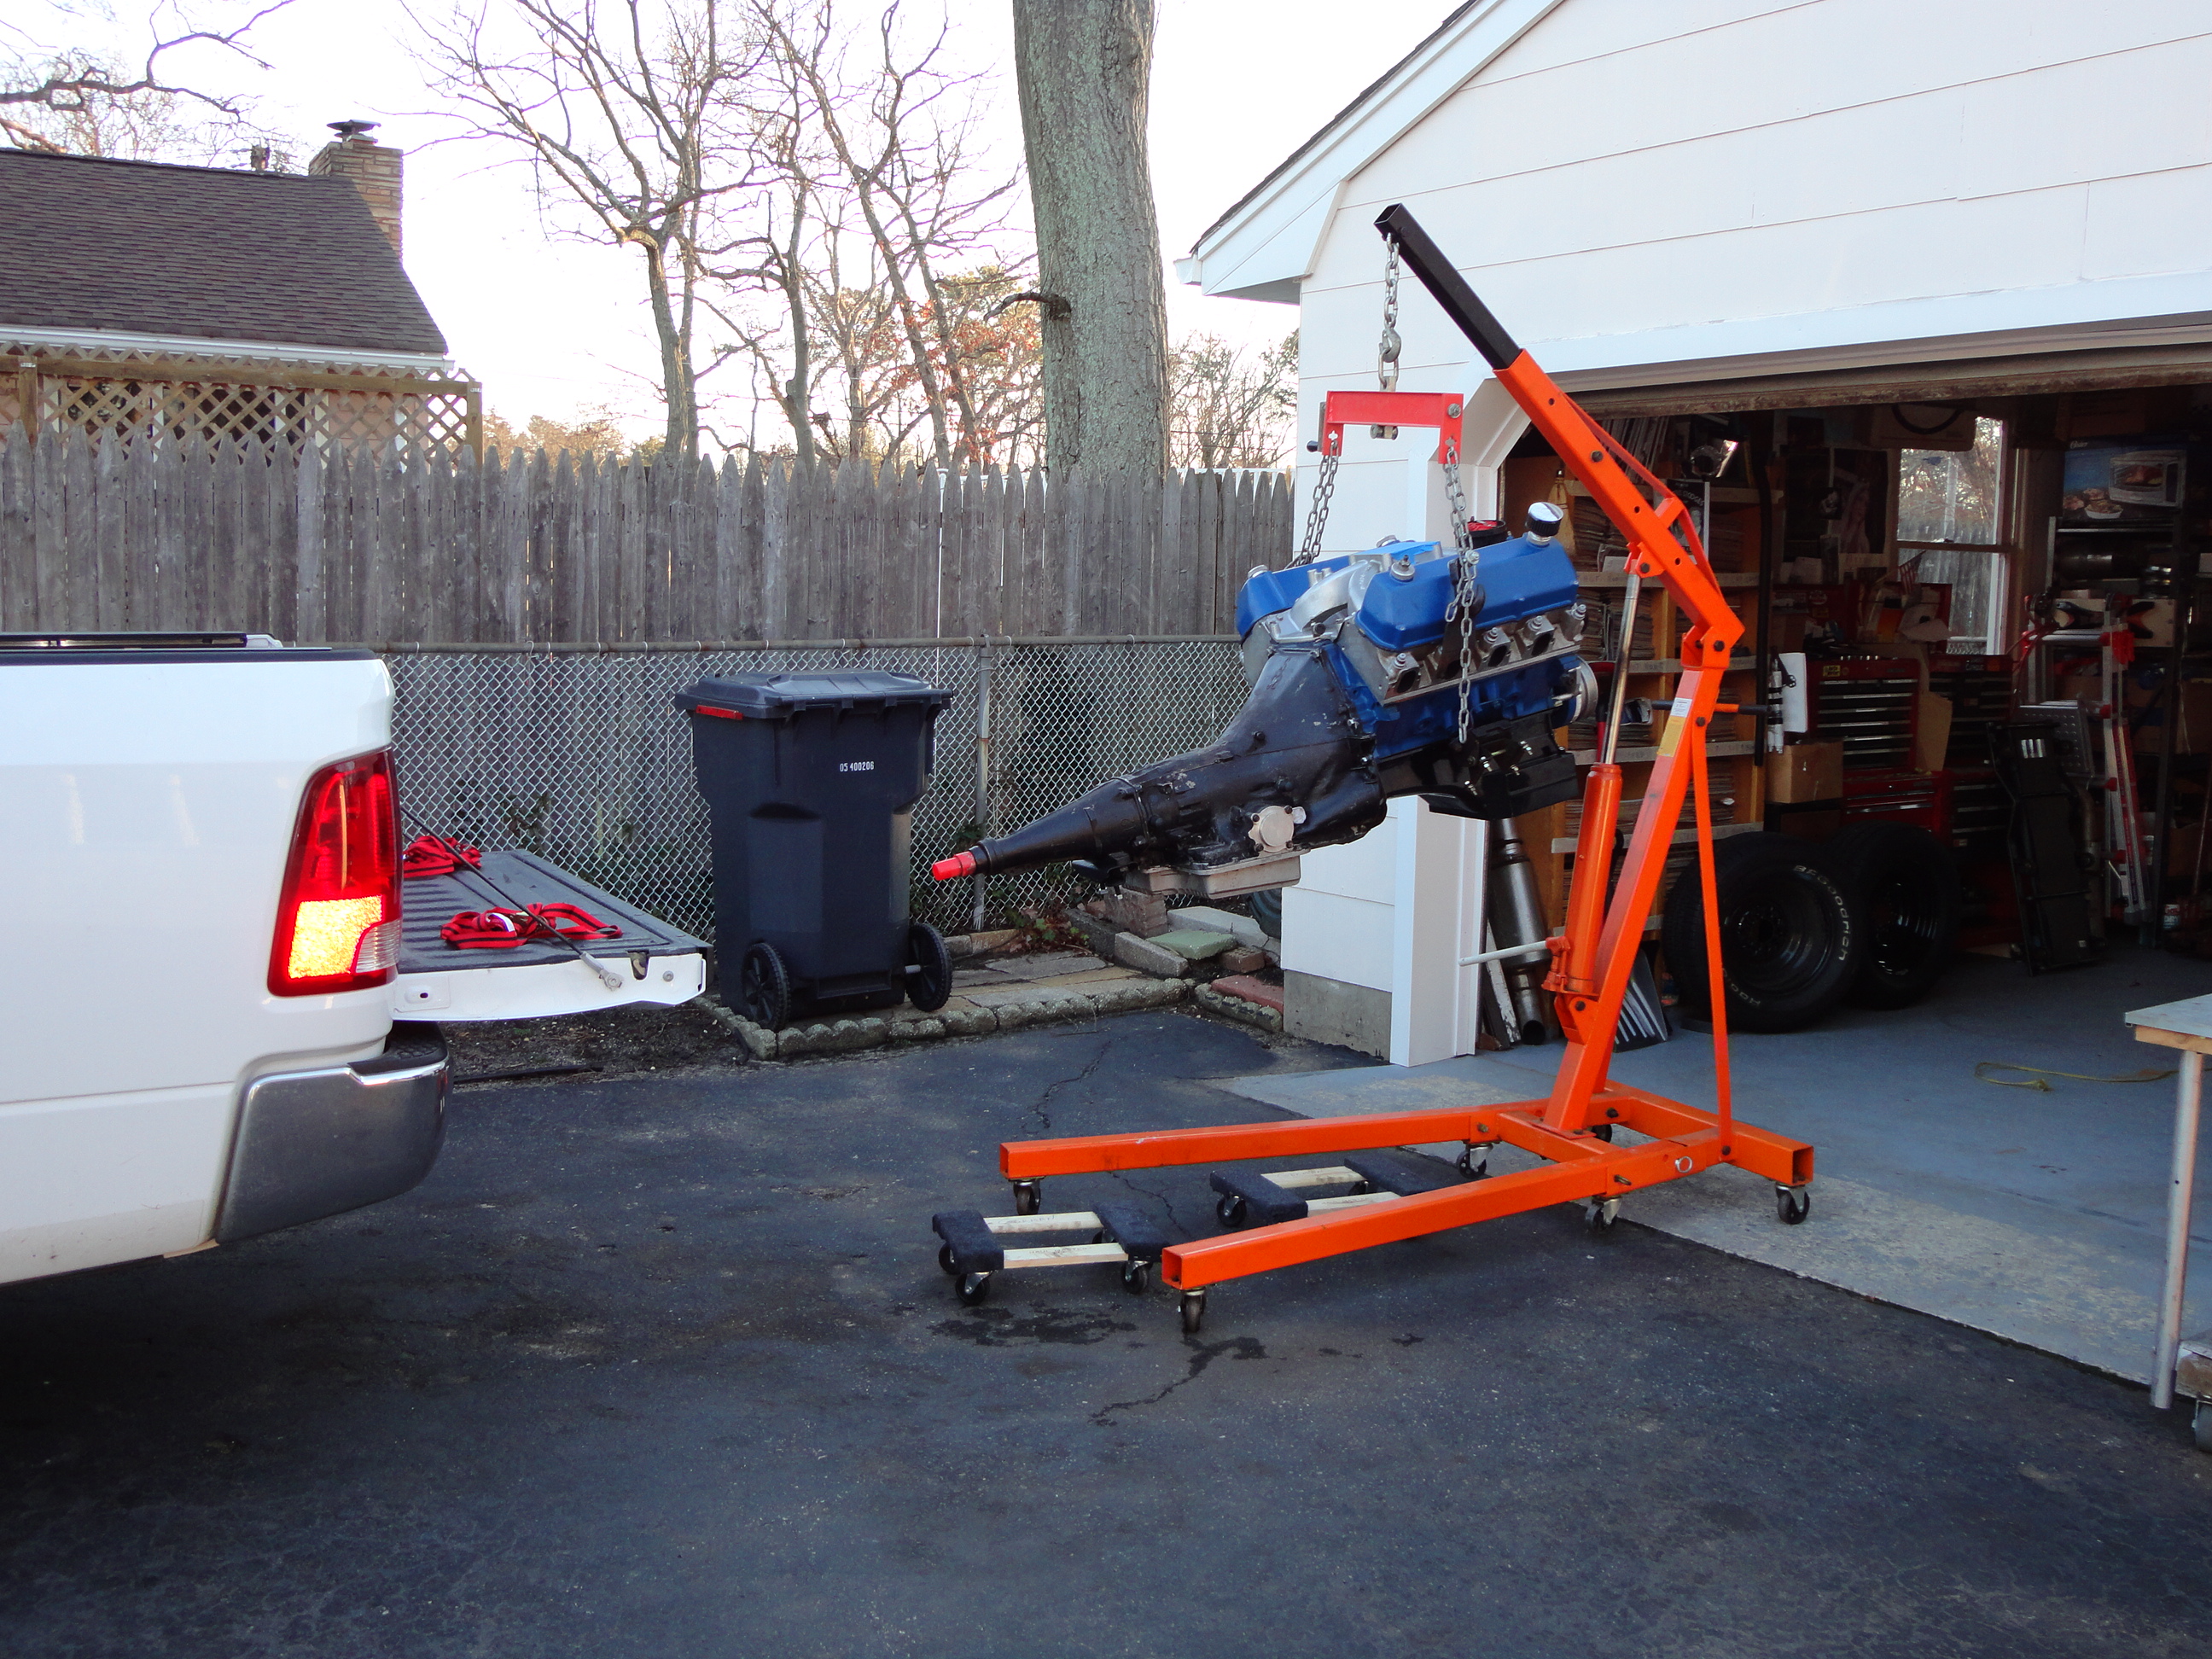
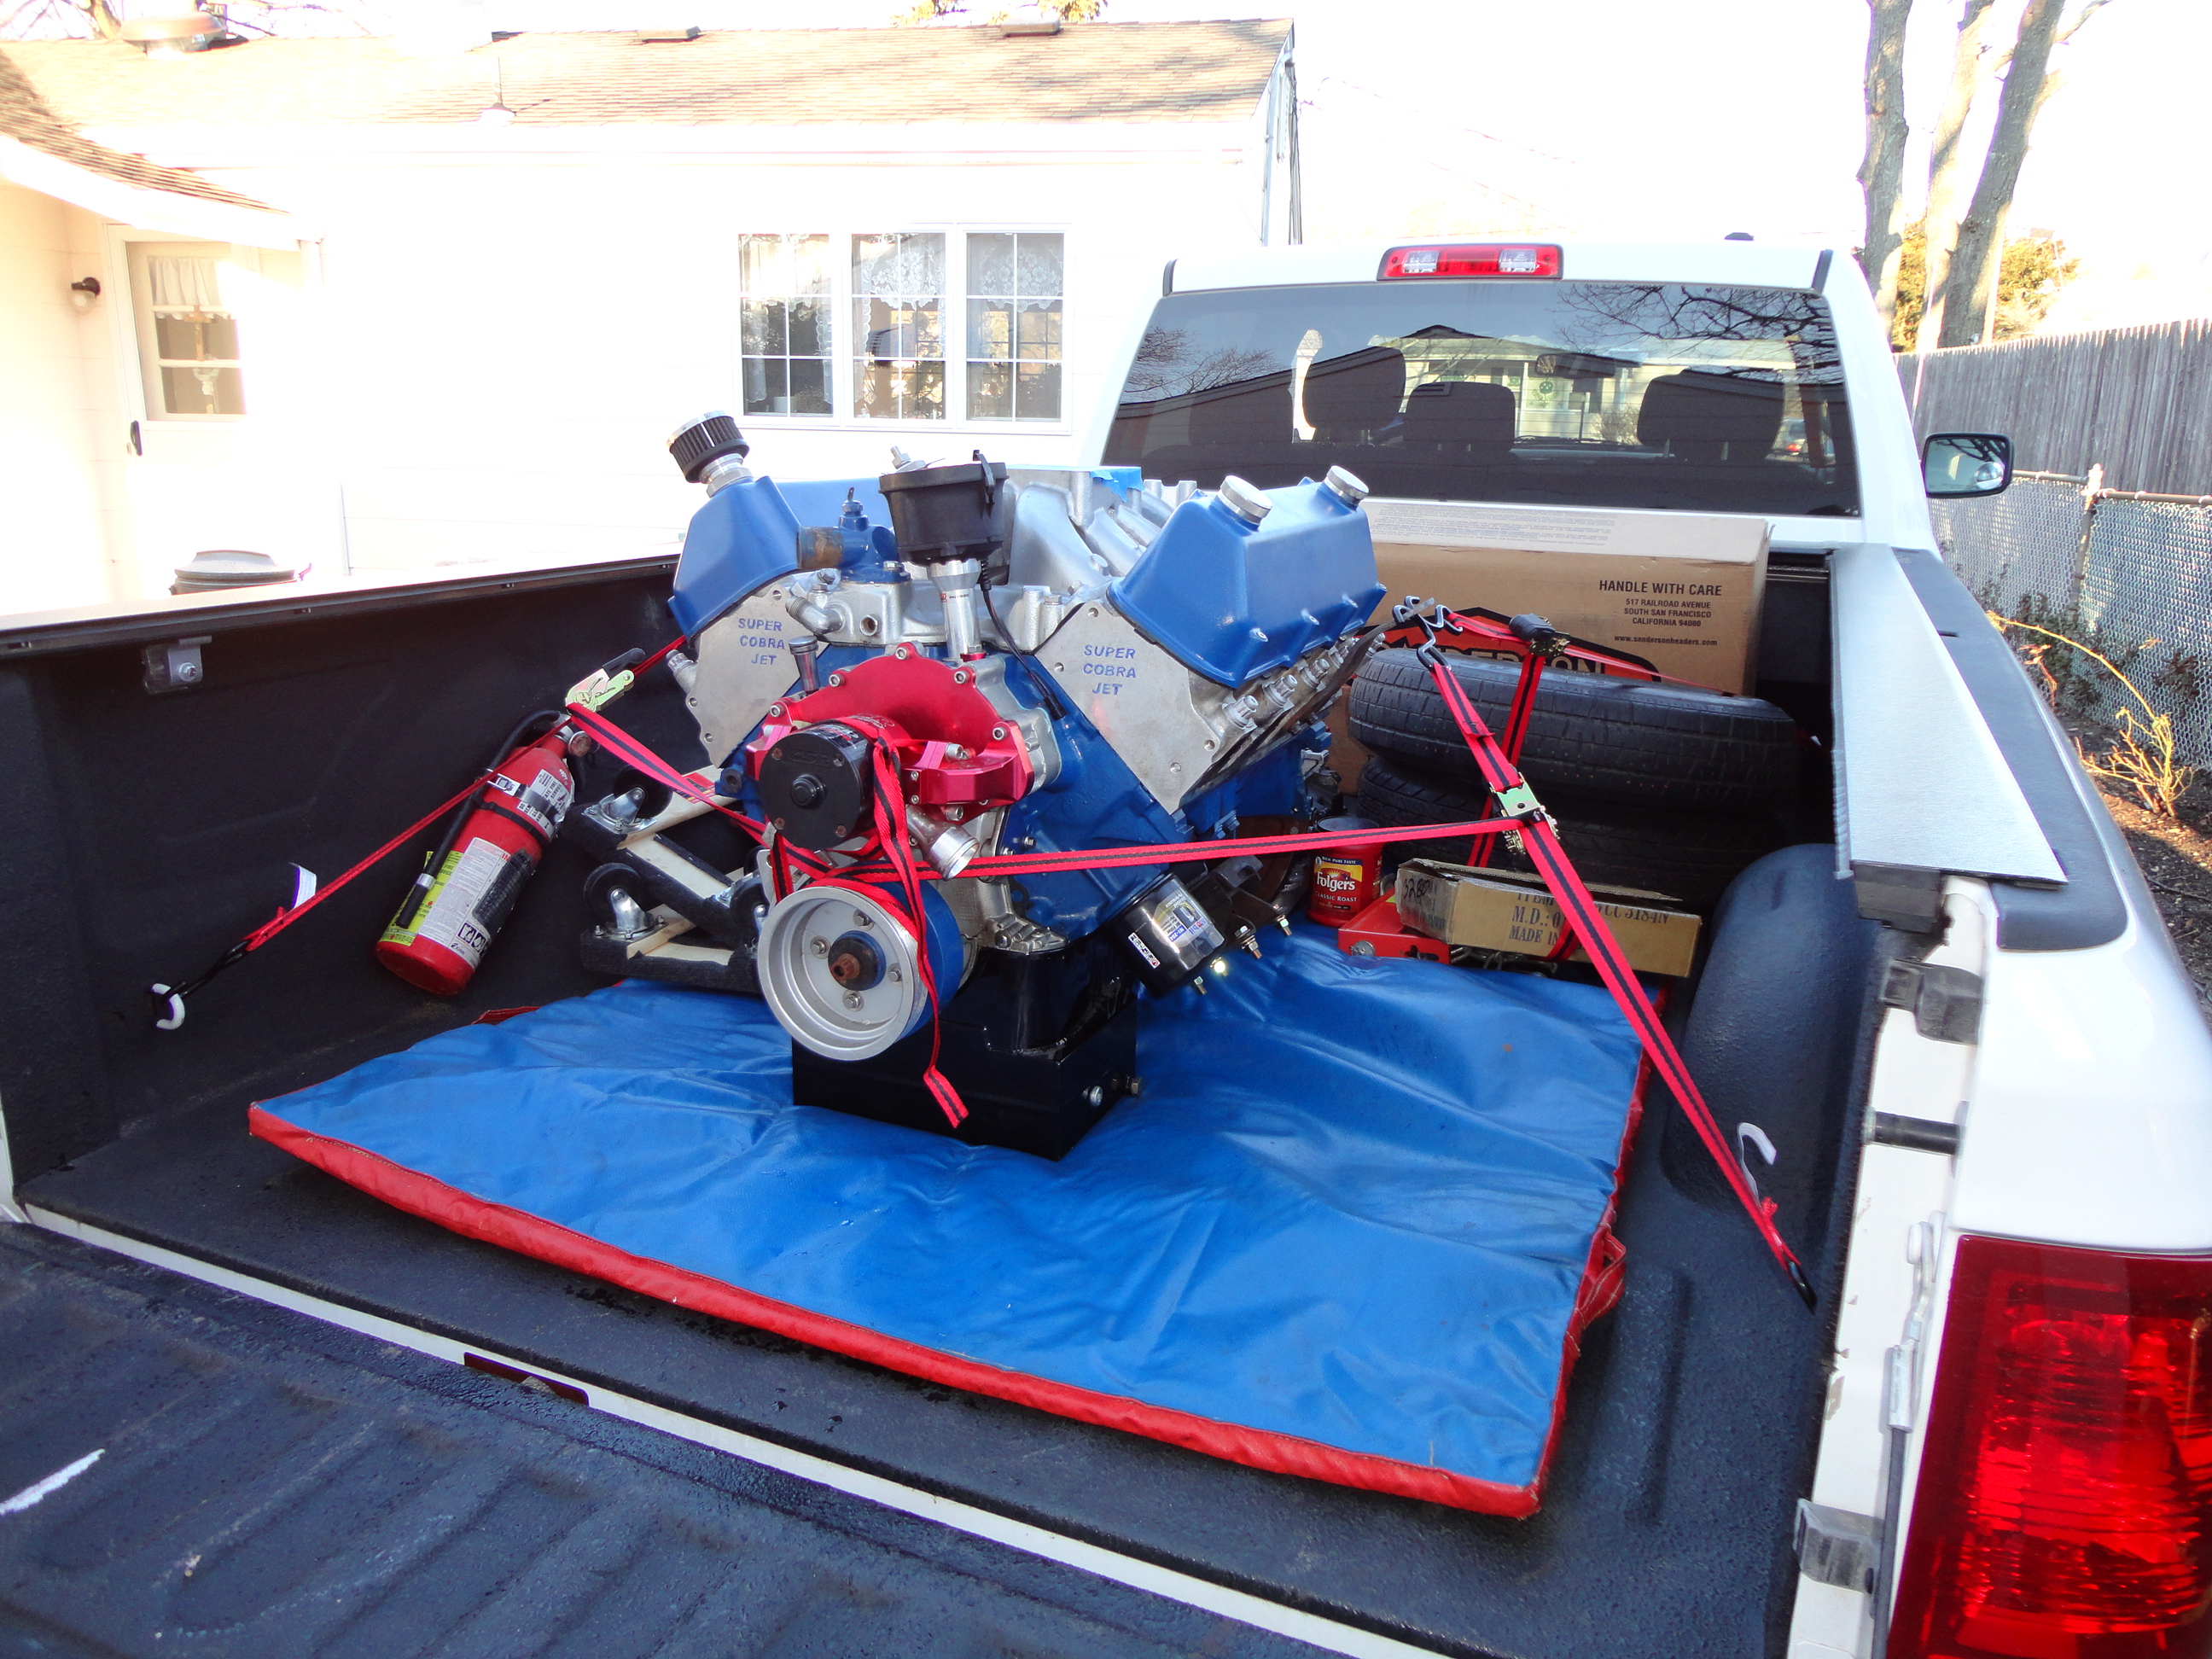
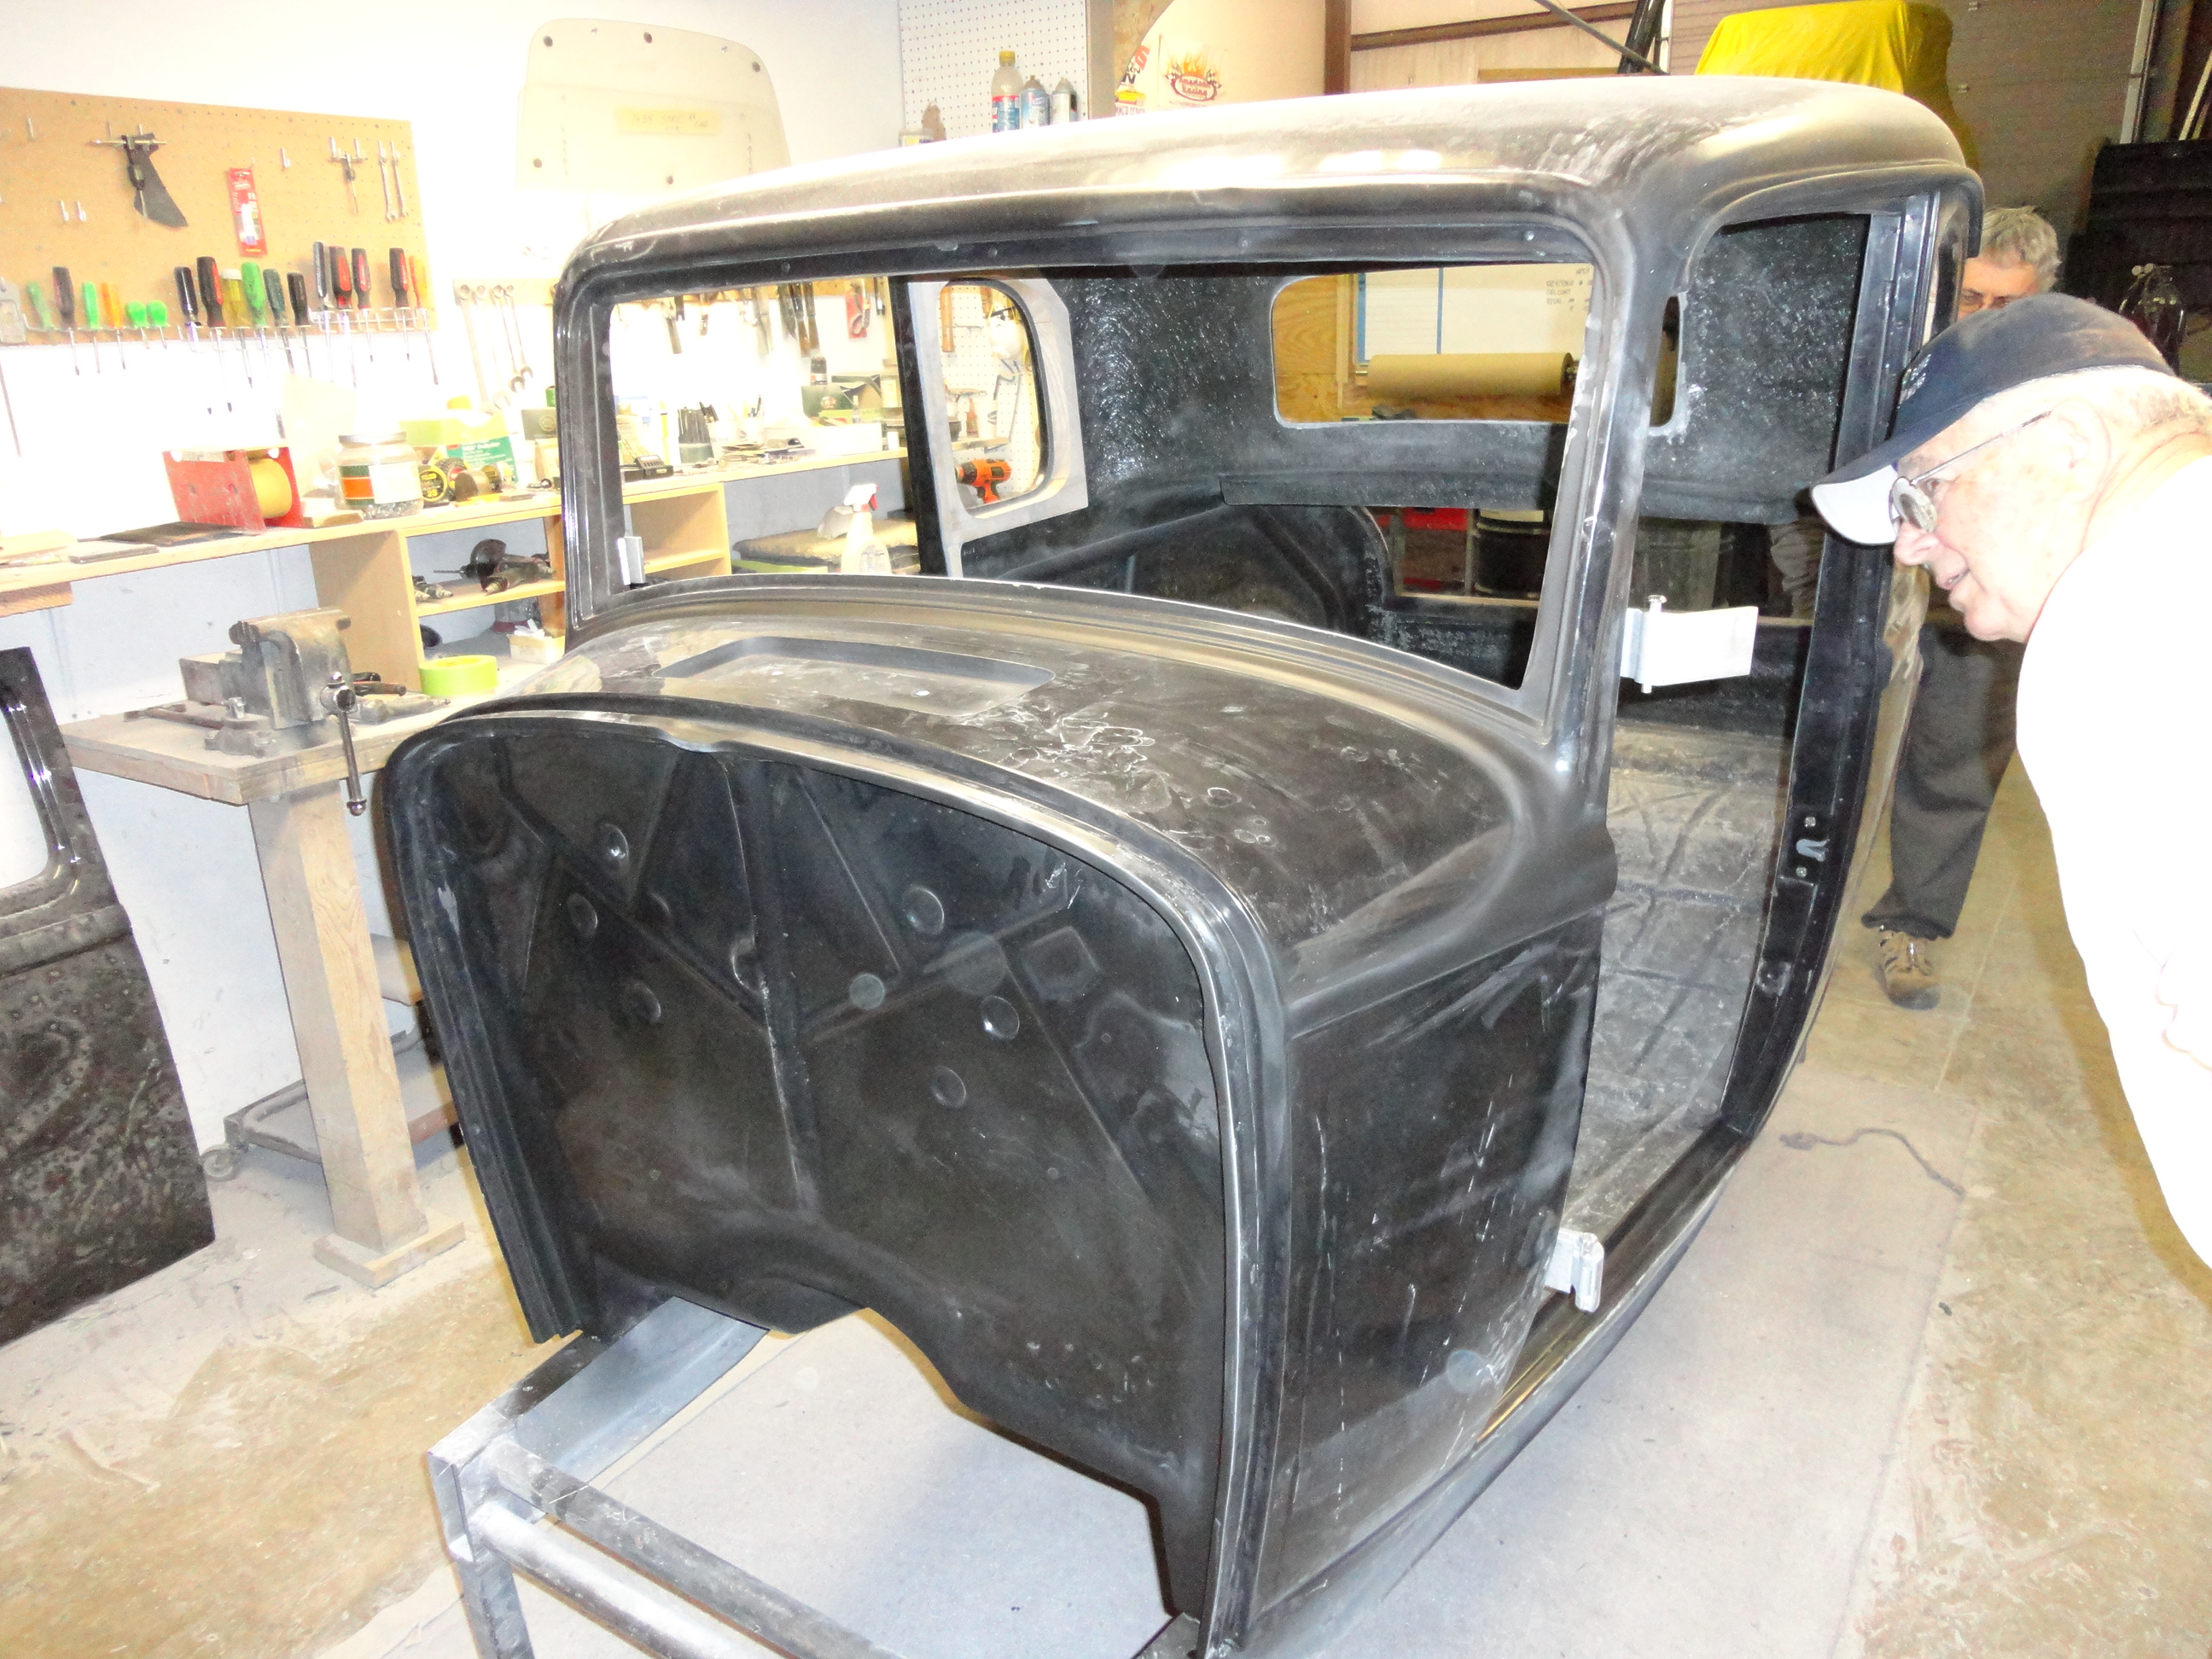
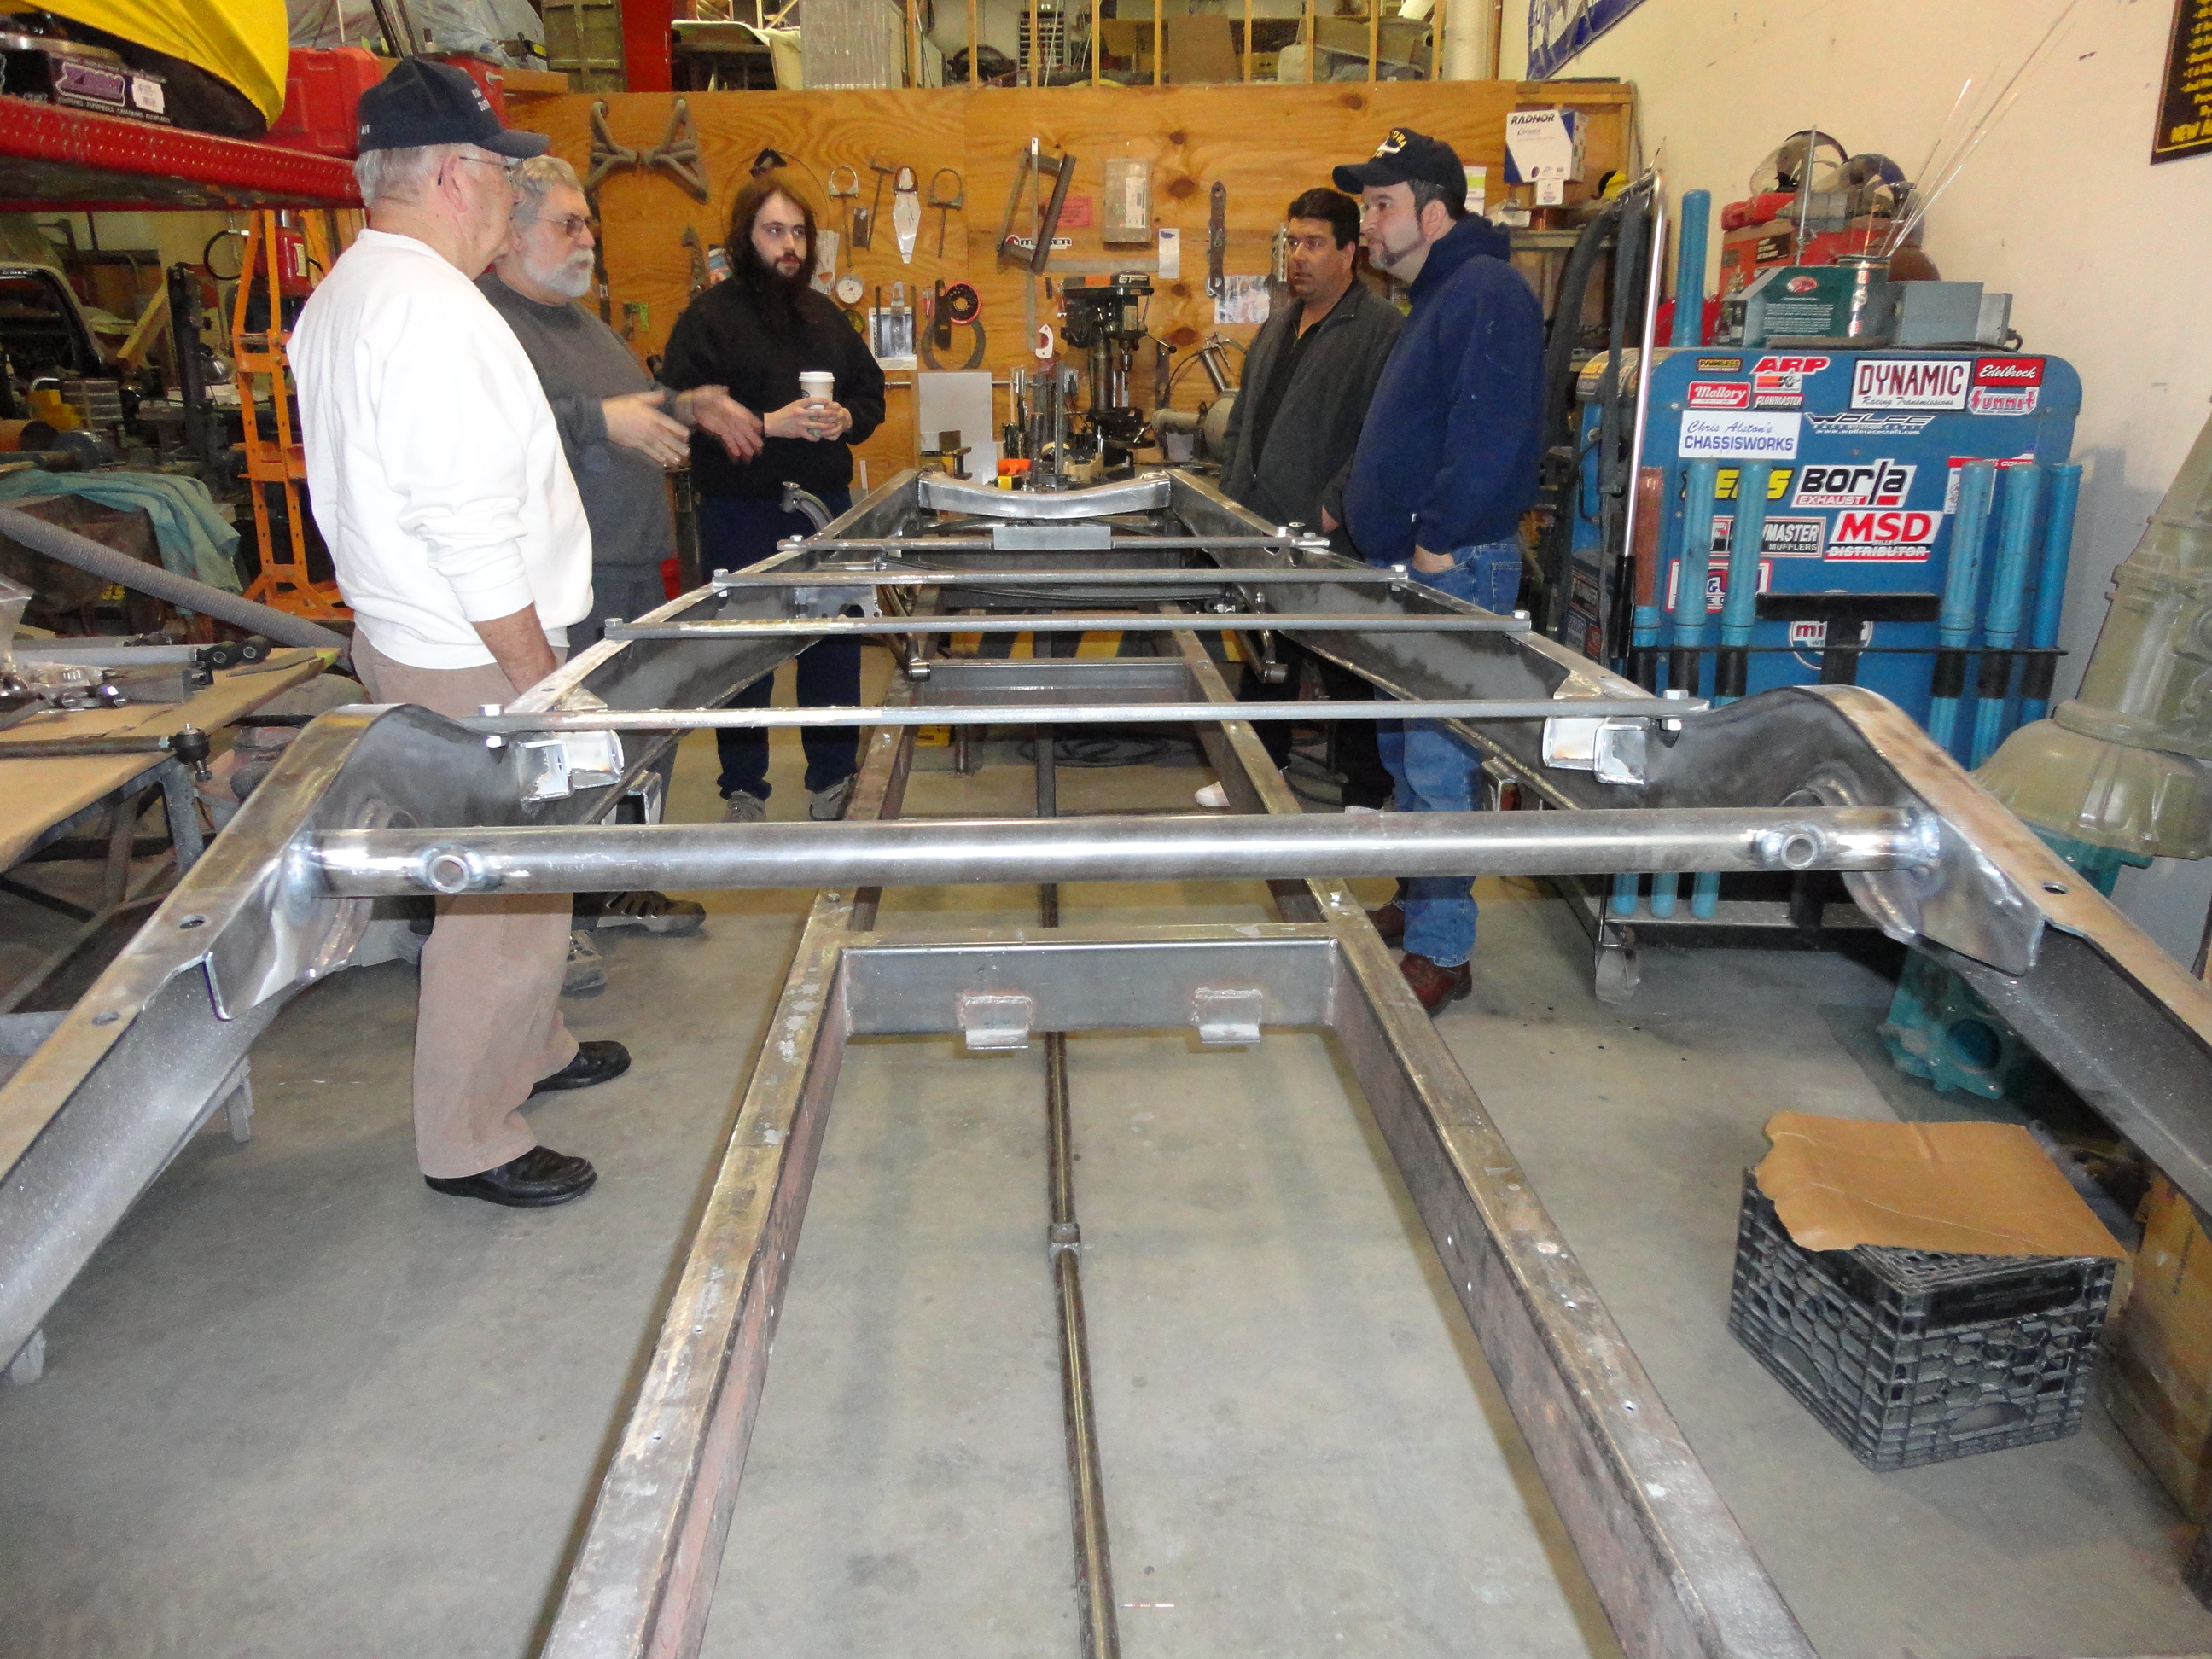
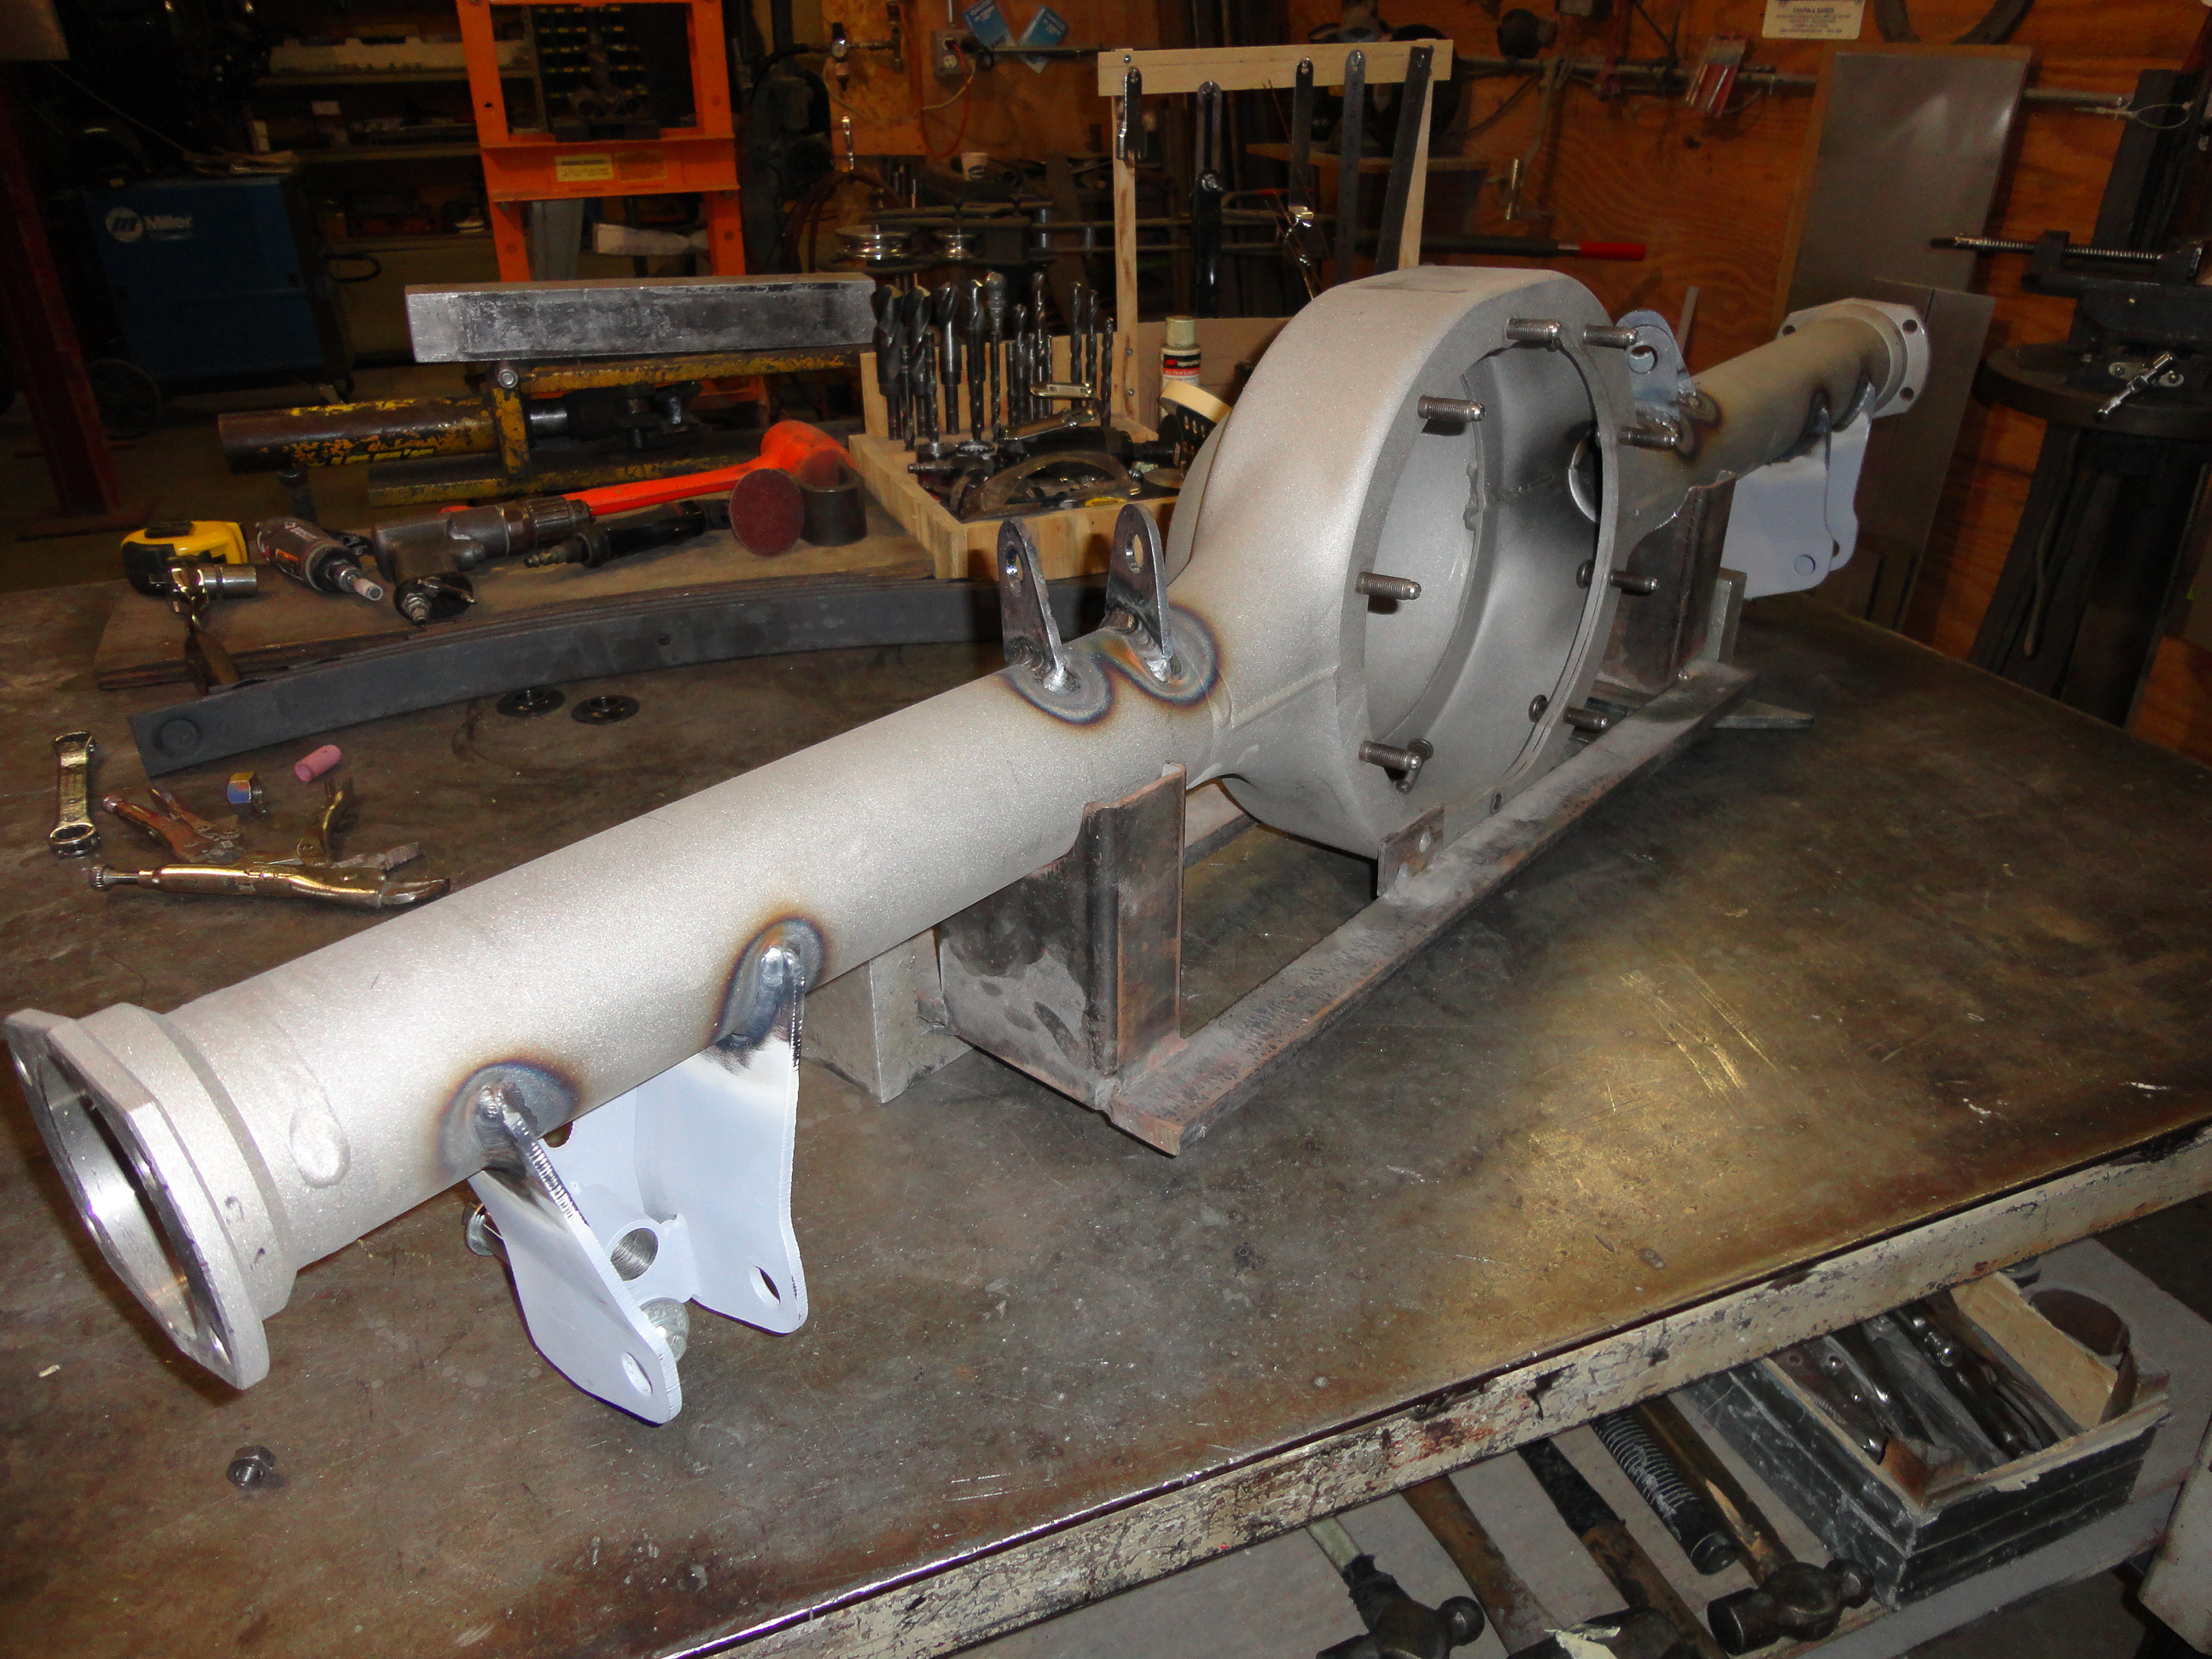
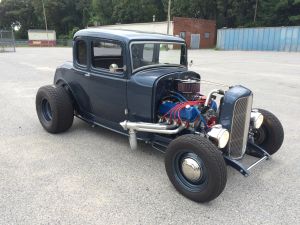
Okay, I'm going to start my 1932 Ford 5 Window Coupe project here, so here we go. I dropped off the engine and trans to Ed and Chris at New Age Motorsports in Connecticut yesterday, with my Dad and brothers, so we are getting close. Enjoy the pics! If anyone is considering a glass body and chassis, these are the guys you want to buy from. They take so much time with you as a customer and friend. I give them two thumbs up!!!
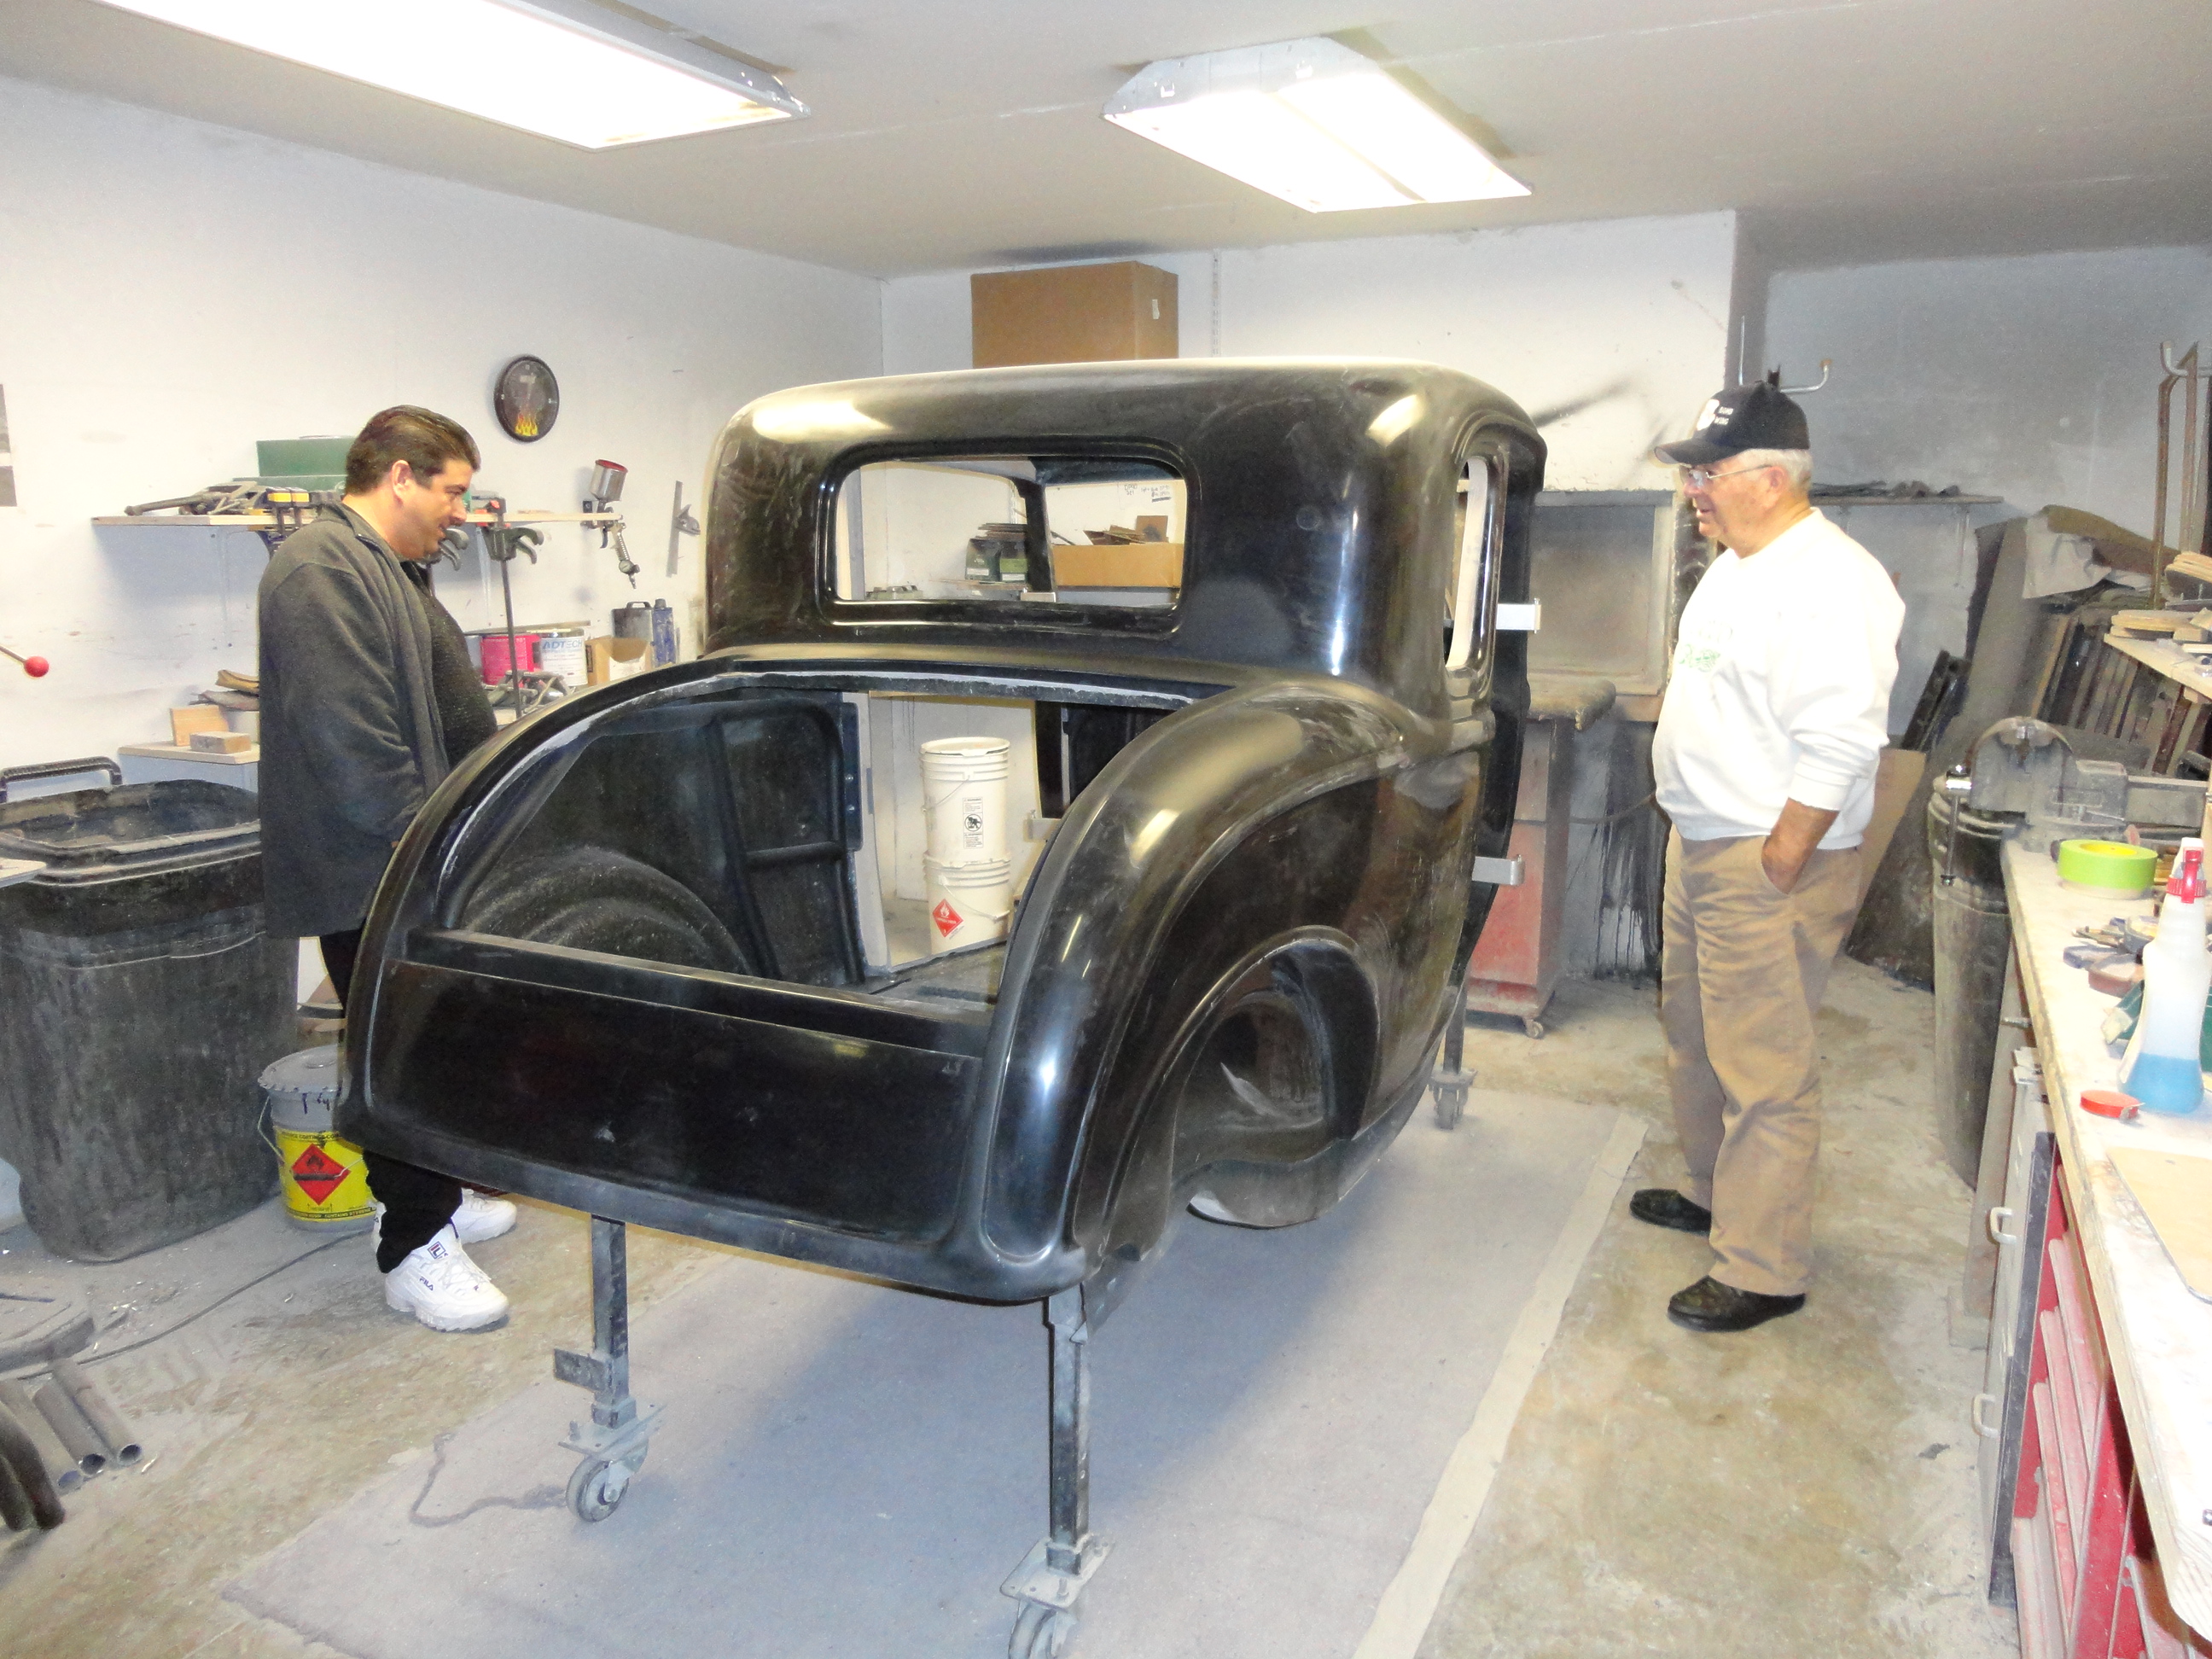
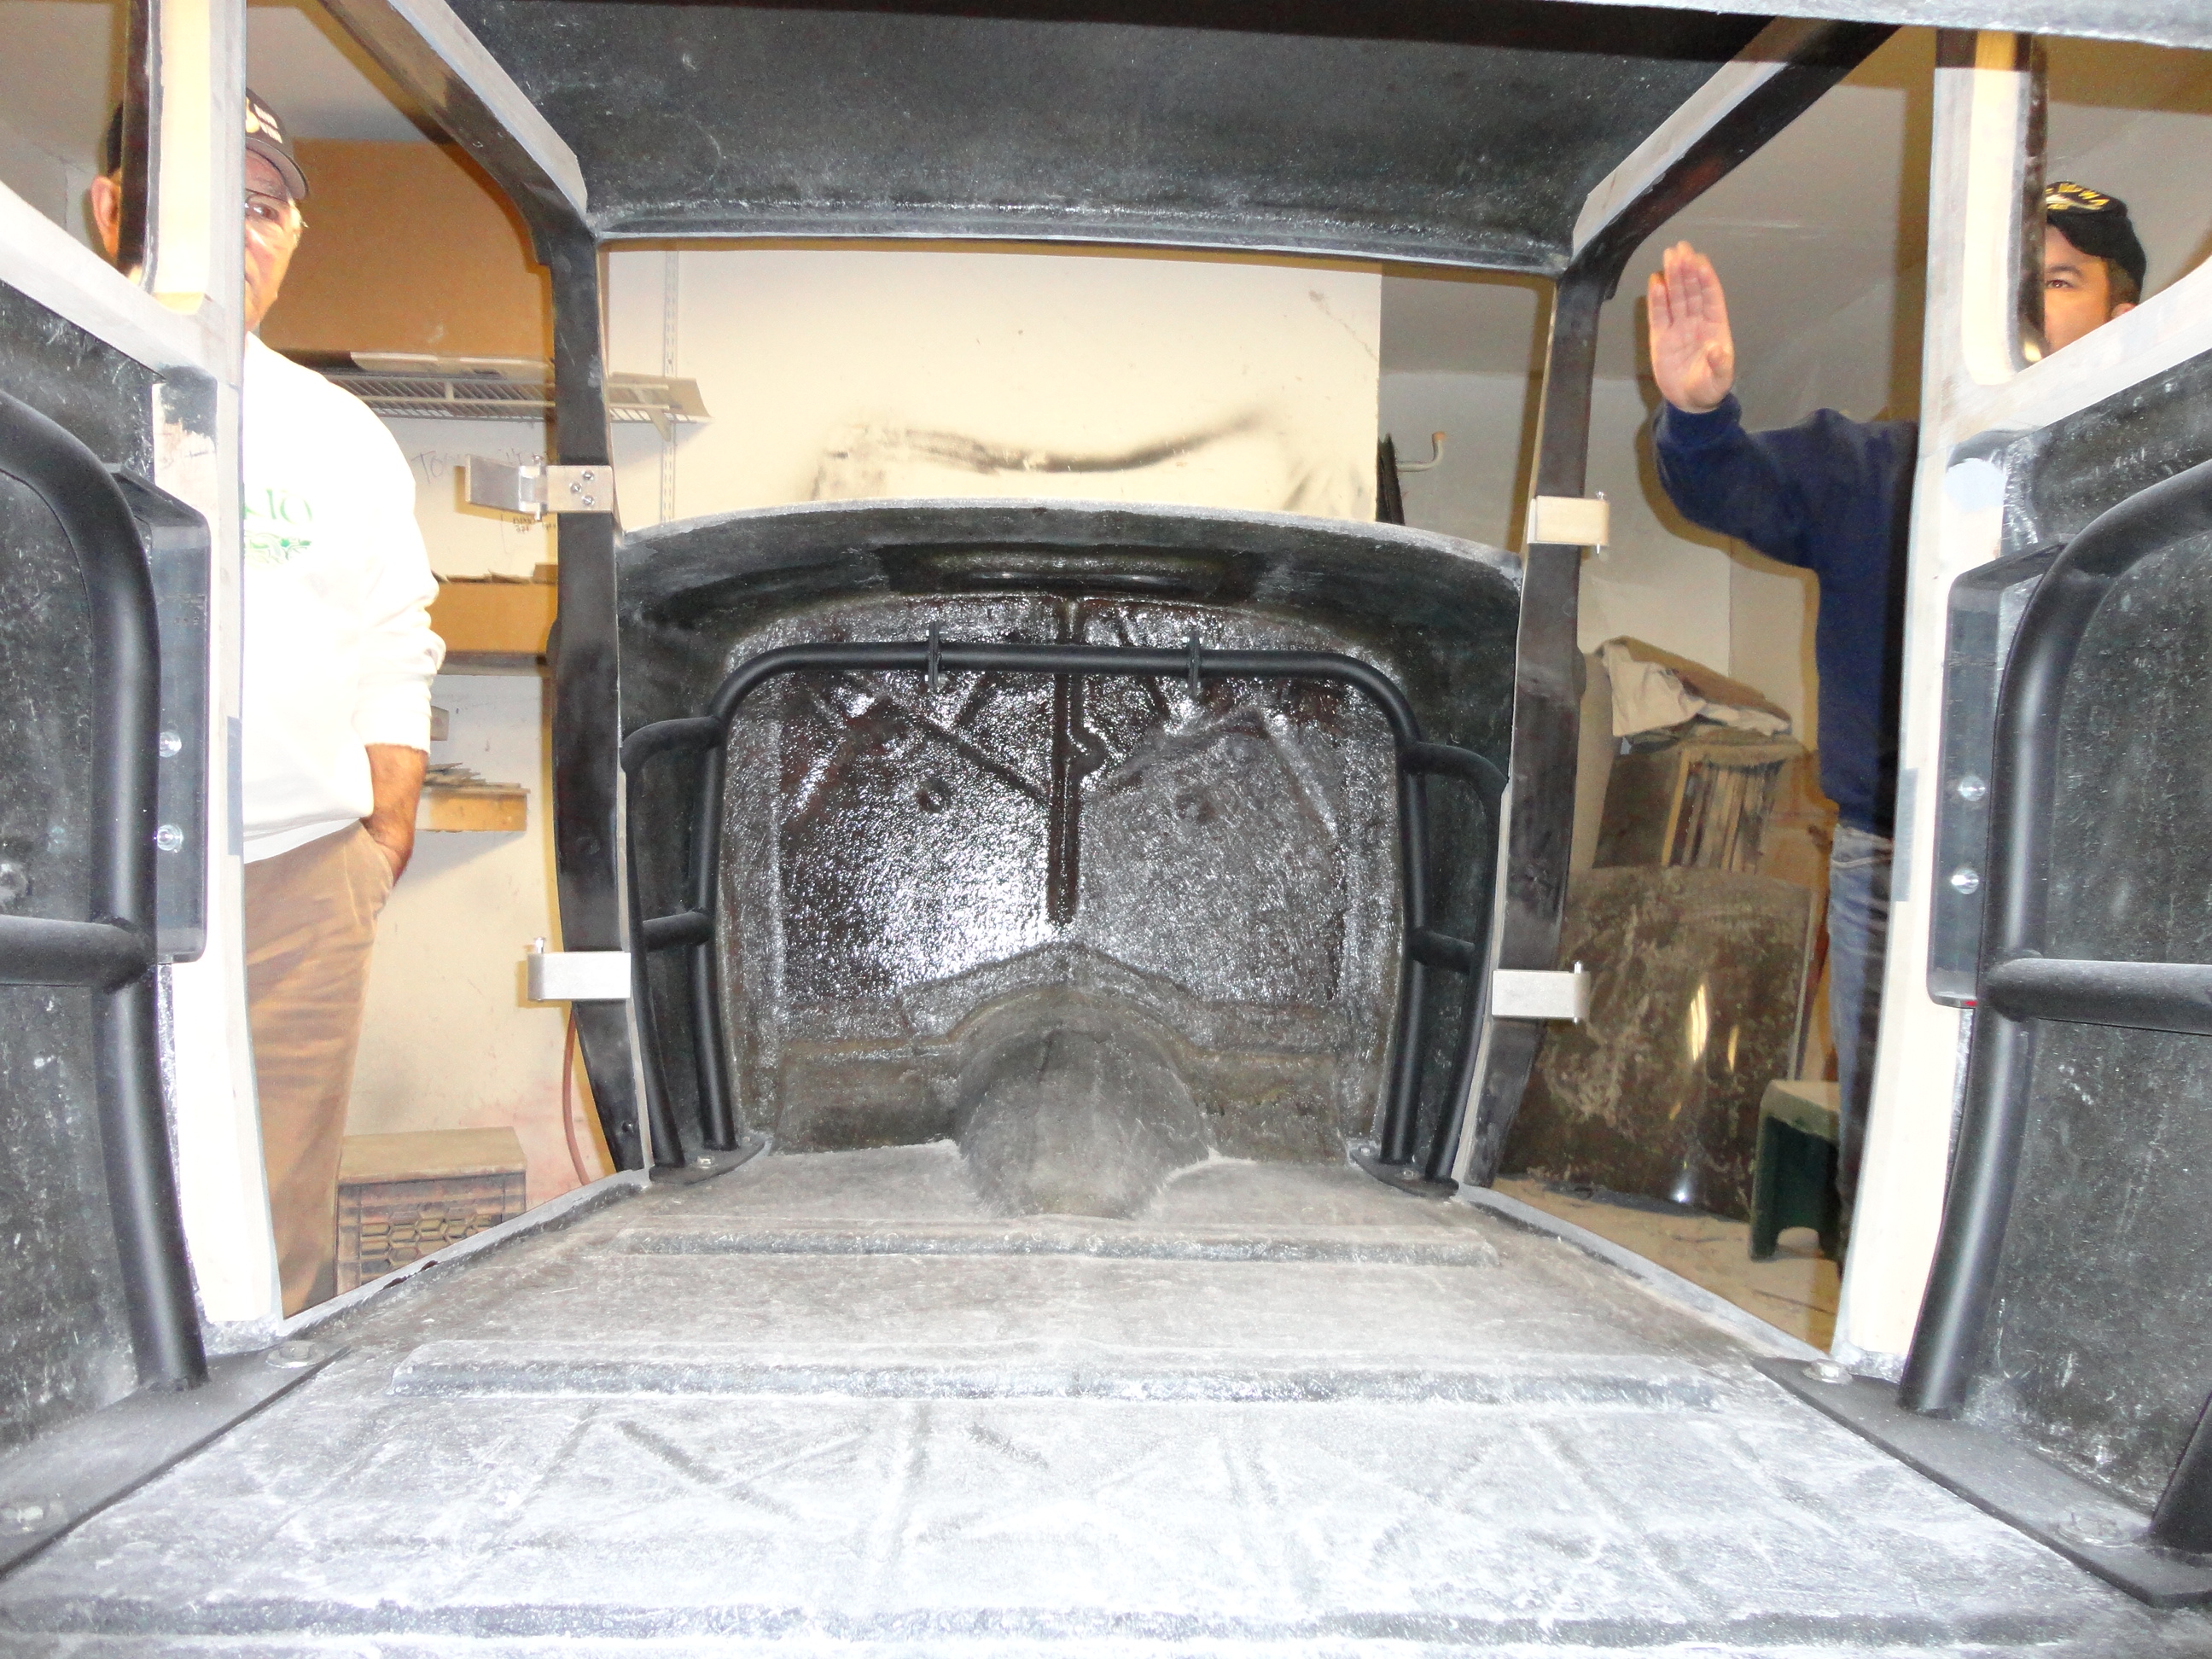
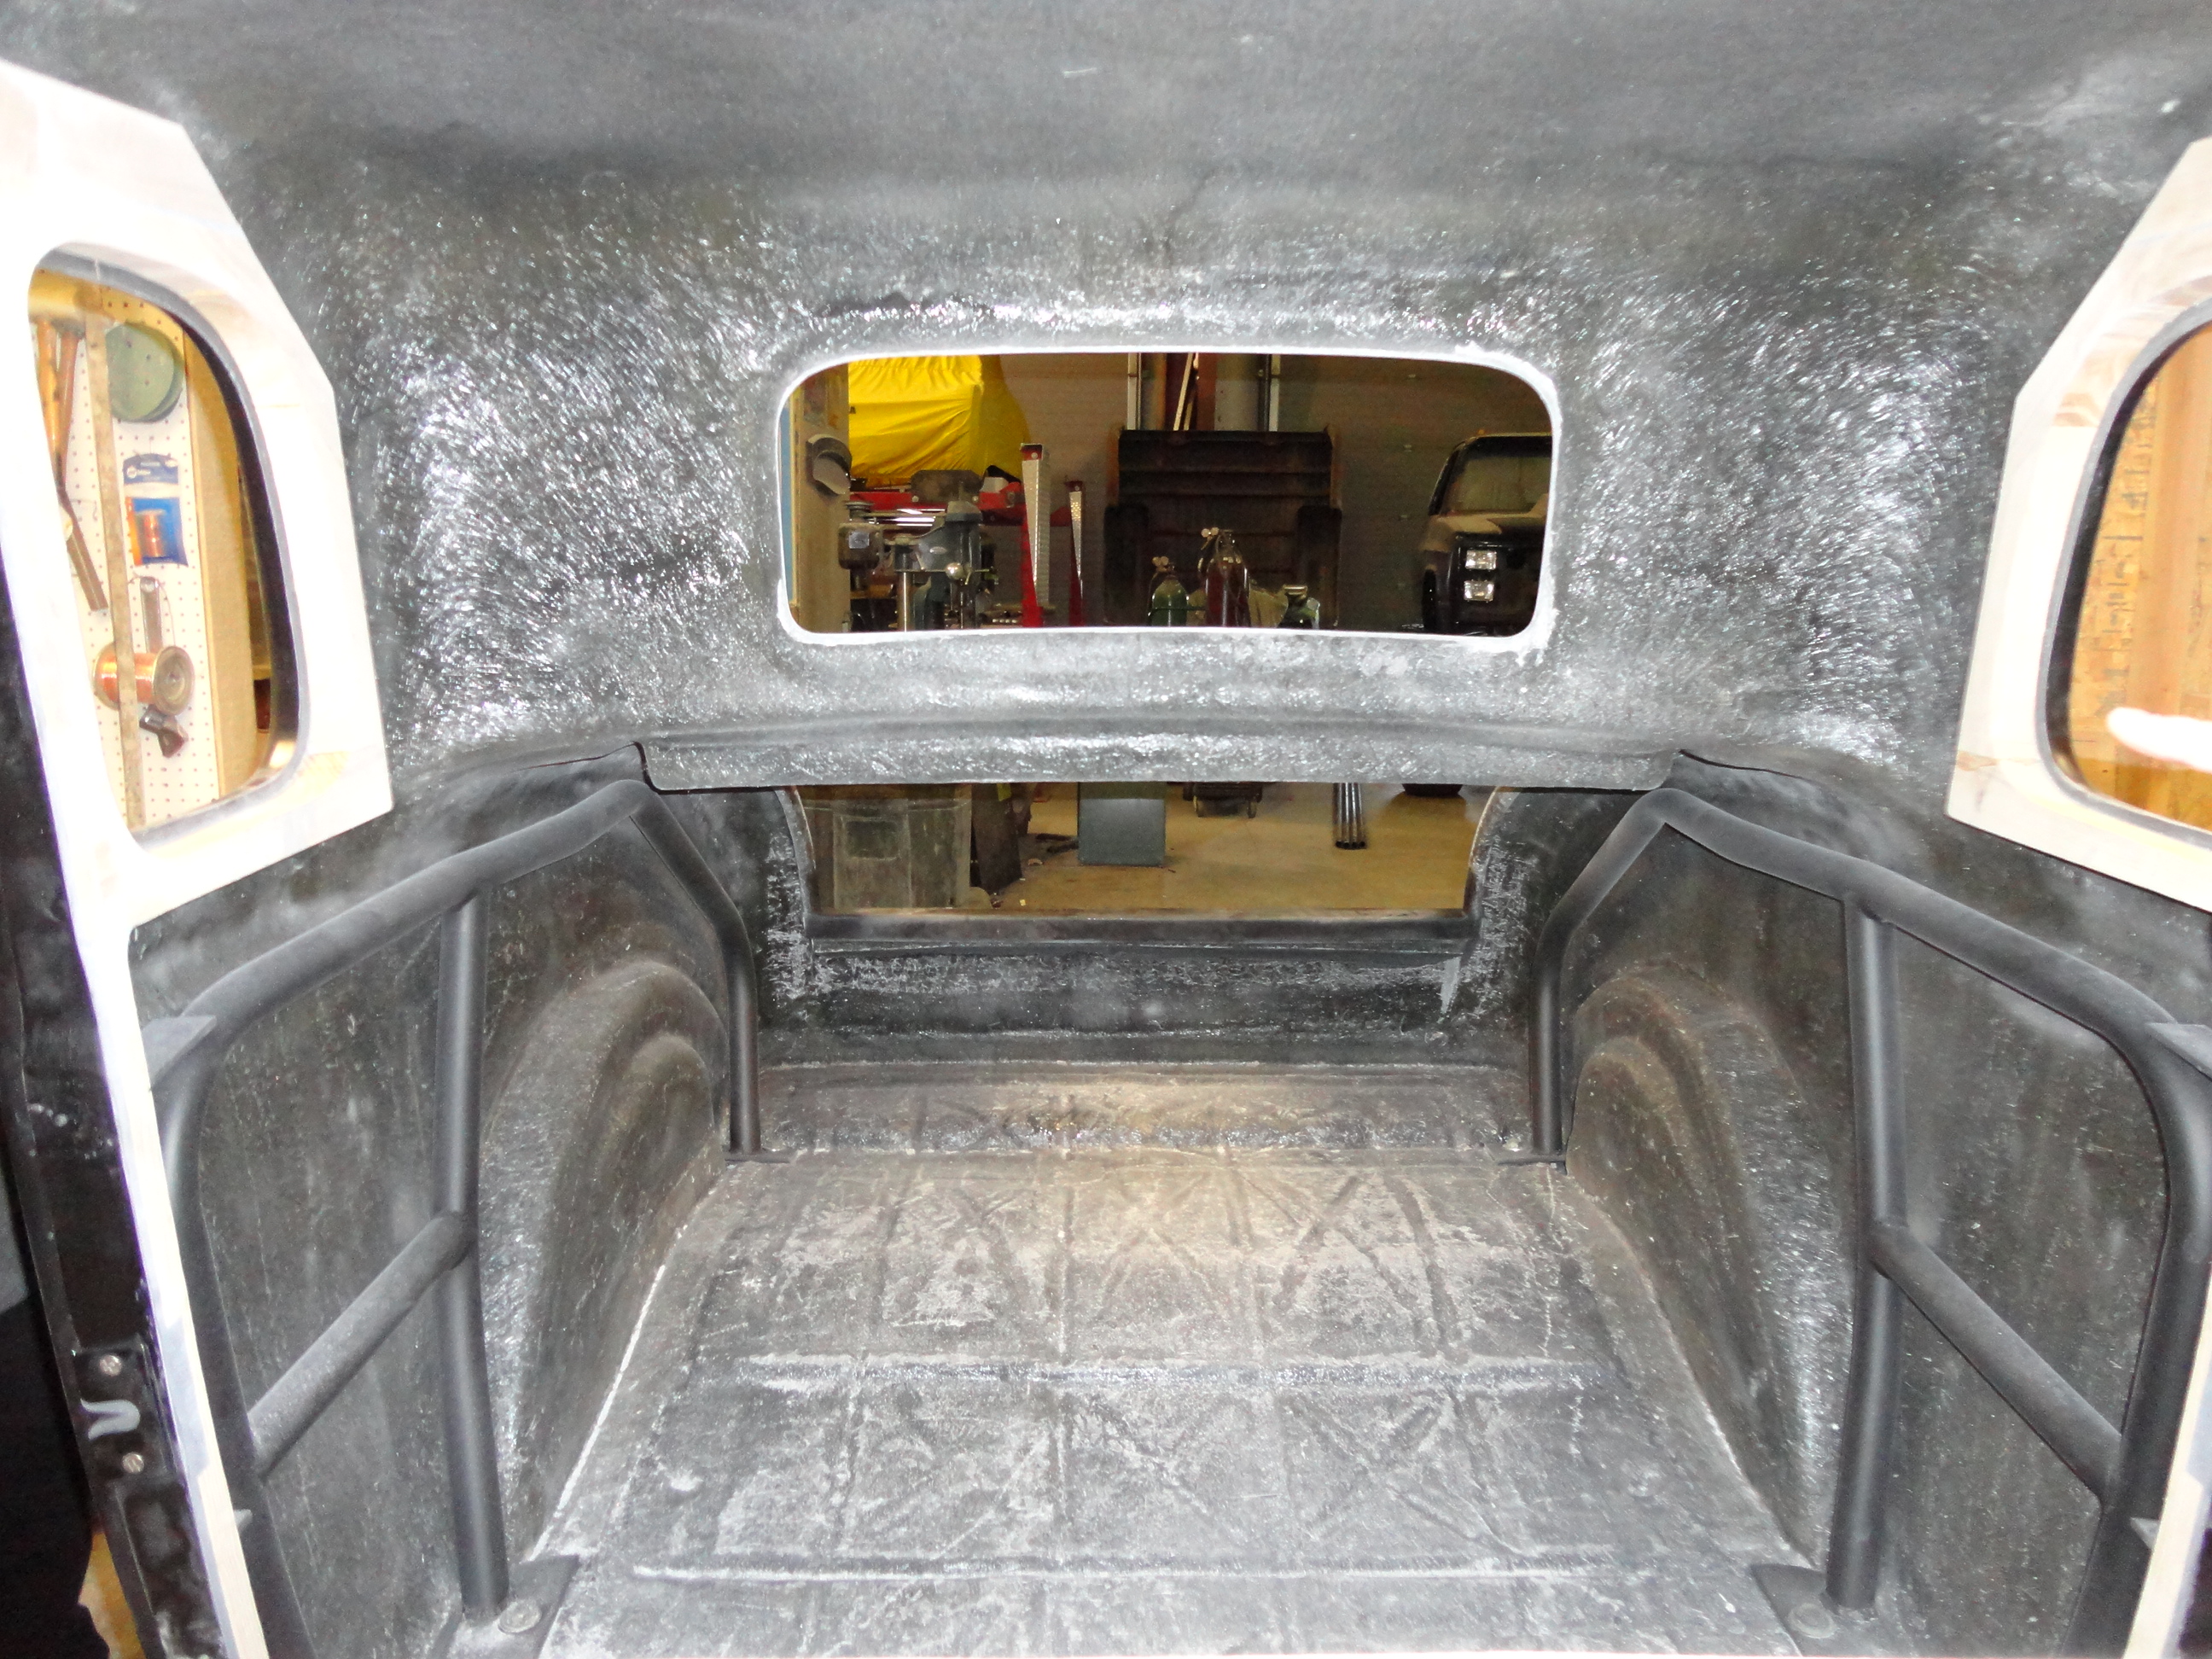
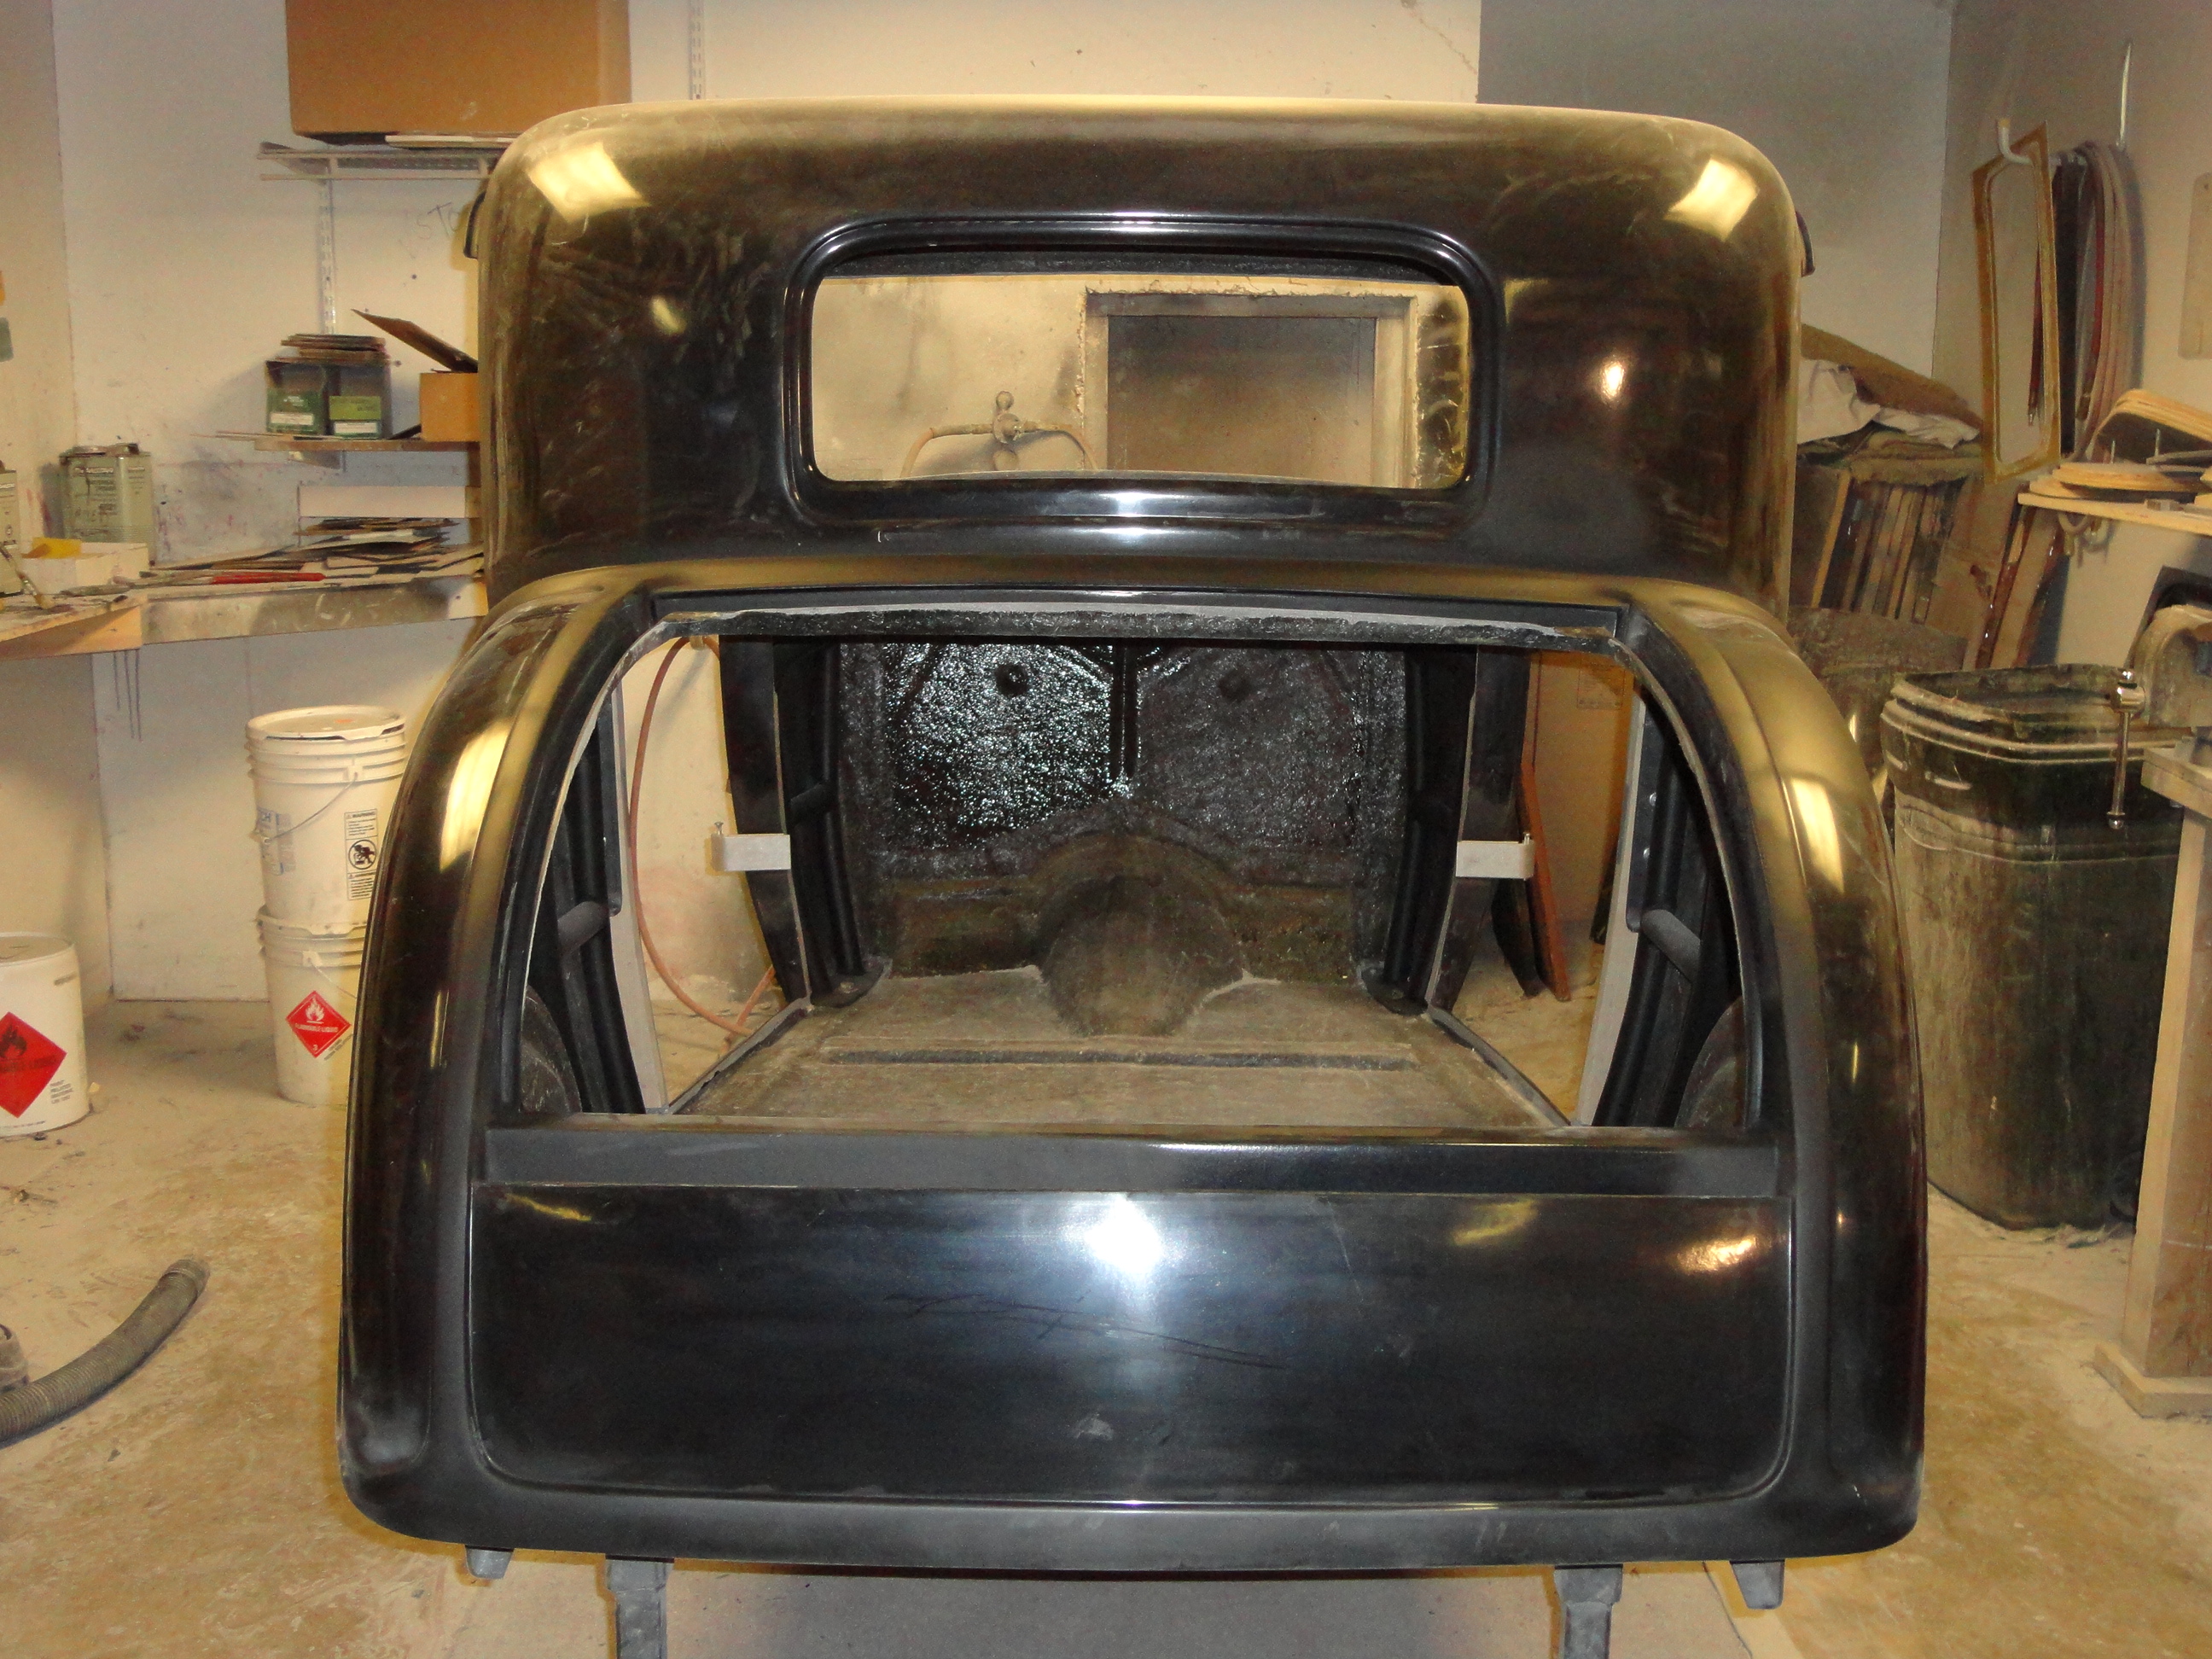
We delivered the 521/C6 to New Age Motorsports yesterday, and we couldn't believe how much progress was made since the pictures Ed sent us. We hope to get it back by the end of March. We aren't rushing them at all, and stressed that, but he does have 3 cars after ours going on. 8) Here's some more pics of our Coupe in progress. BTW, I drove up with Dad and my two brothers, and it was priceless! We are a close family, and just being with them all was worth more than the Coupe. I love my brothers and Dad so much! I'm so glad we bought our Coupe from Ed and Chris; these guys are so knowledgeable and even added some changes knowing the engine we were putting in. :cheers:
Last edited by patfromjersey; 02-15-2013 at 08:51 AM.
New Age Motorsports 32 5/W 521/C6

 Reply With Quote
Posting Permissions
- You may not post new threads
- You may not post replies
- You may not post attachments
- You may not edit your posts

This site is up more often lately, but very little traffic.
Dead!