


 71Likes
Thread: 73 charger the saga


Results 121 to 135 of 223
 LinkBack URL
 About LinkBacks
-
09-12-2015 02:20 PM #121
 CHR Member

- Join Date
- Sep 2005
- Location
- Hamilton
- Car Year, Make, Model: 69 nomad, 73 charger, 74 vega
- Posts
- 3,900
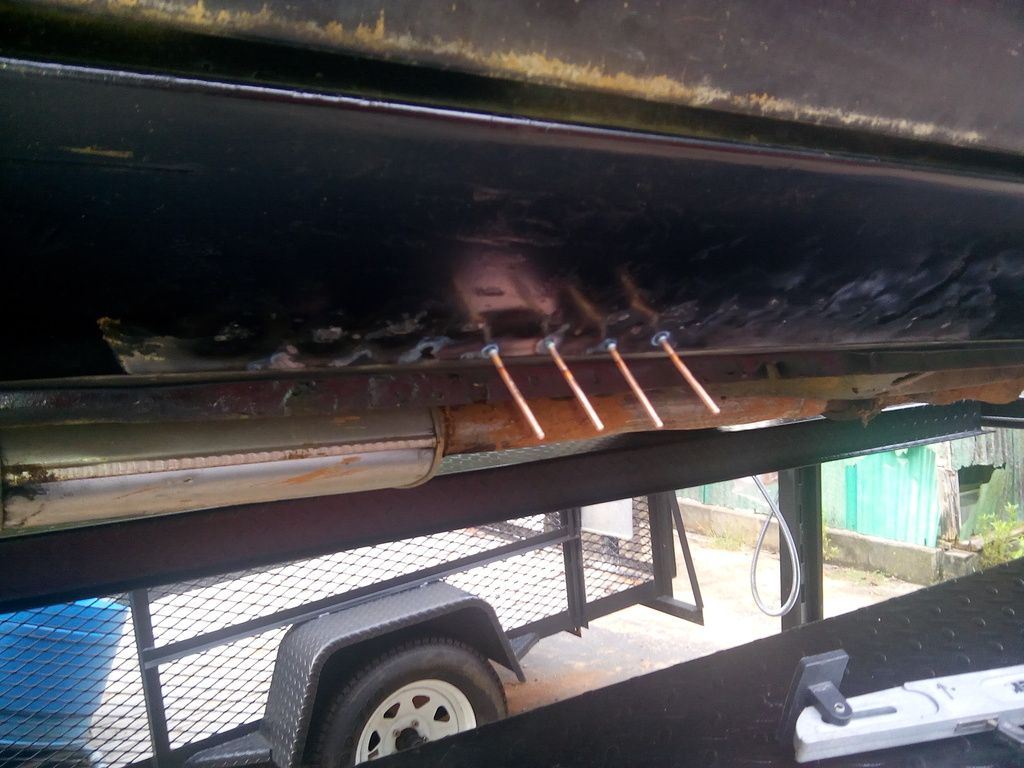
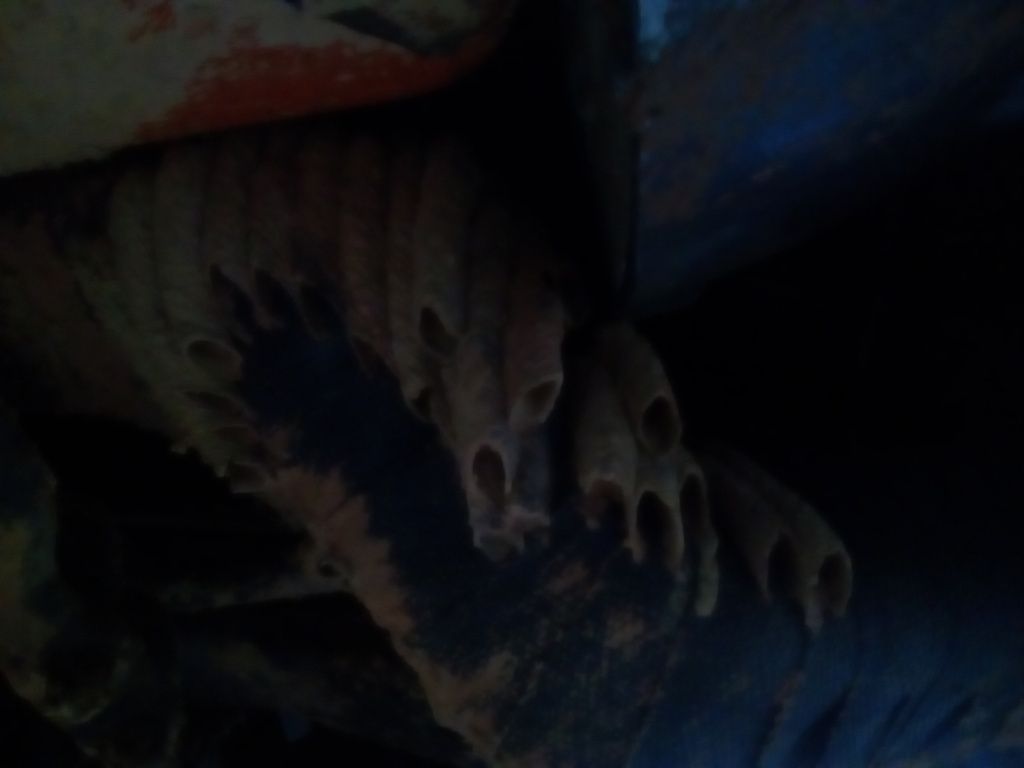
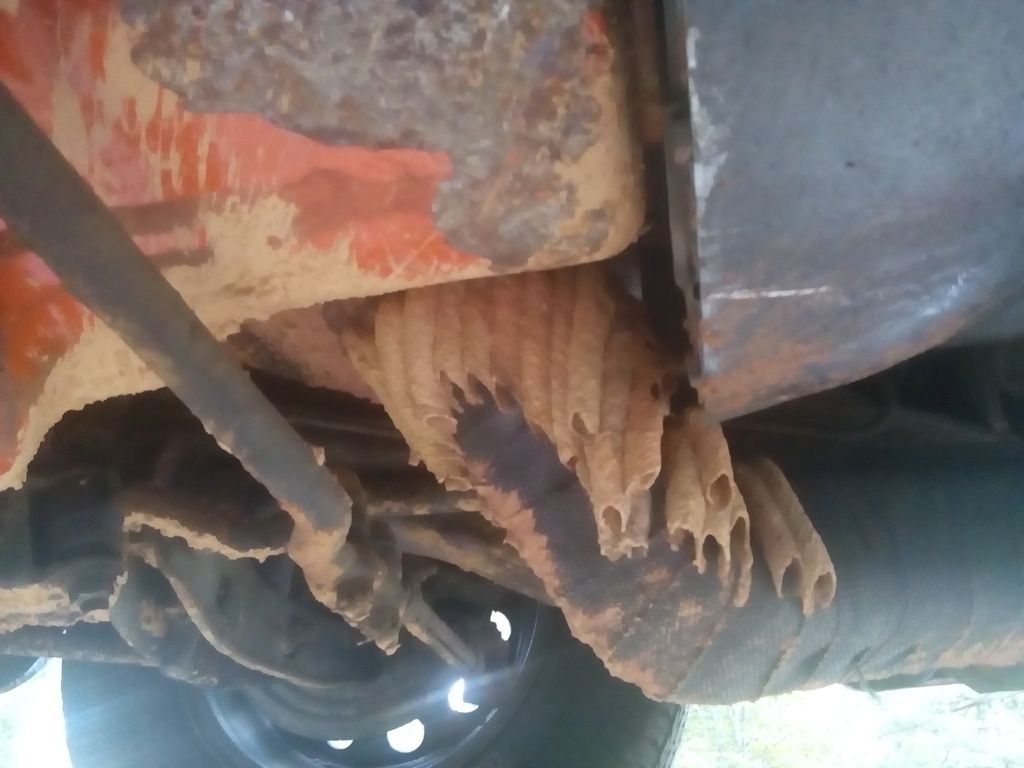
One fitting needed an additional half turn, to remedy a small leak. Otherwise, no surprises. Except, perhaps, the mud dauber wasp tubes on the headders. Oh, I did get that wrench made, and as for the nut, I coupled an extra half inch drive socket to the nut, using a short spacer cut from some emt.Last edited by firebird77clone; 09-12-2015 at 03:19 PM.
.
Education is expensive. Keep that in mind, and you'll never be terribly upset when a project goes awry.
EG
-
Advertising

- Google Adsense
- REGISTERED USERS DO NOT SEE THIS AD
-
09-13-2015 02:46 PM #122
CHR Member
- Join Date
- Sep 2005
- Location
- Hamilton
- Car Year, Make, Model: 69 nomad, 73 charger, 74 vega
- Posts
- 3,900
Today I got a good look at my previous work, and saw a bunch of pin holes, so I fixed that.
Then I tackled the passenger rear quarter. Turns out I didn't get enough overlap for me to weld up the inner and outer panels along the lip. So, I drilled a series of holes and plug welded the two panels together.
The drivers side was a very good fit, and I was easily able to butt weld the entire length, grind pretty, spot weld the pin holes, and grind smooth. Sprayed some Krylon, and undercoat. The rust repair on the rear lower quarters is done.
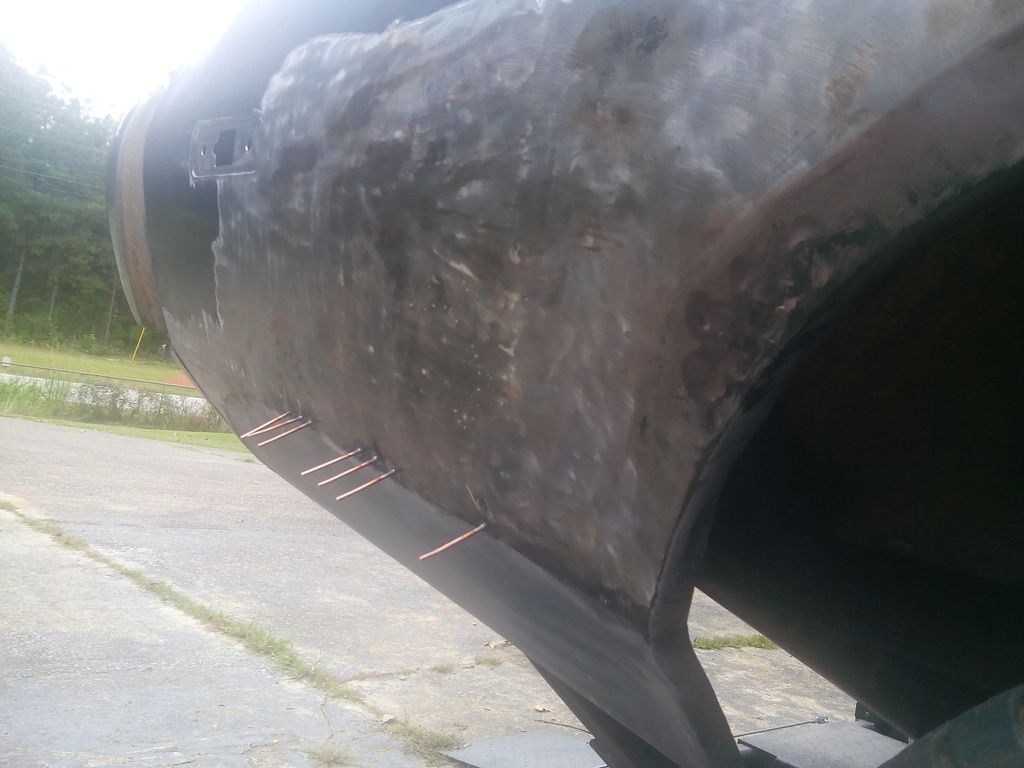
Also today I broke out the gas axe, and got rid of some old exhaust hangers. Then I repaired the rear frame rails. It looked to me as if a trailer hitch had been attached, and subsequently overloaded, ripping the bolts out. Anyway, I heat and beat the damaged steel back into place. I also used the same technique to repair a couple small puckers in the rear bumper.Last edited by firebird77clone; 09-13-2015 at 02:56 PM.
.
Education is expensive. Keep that in mind, and you'll never be terribly upset when a project goes awry.
EG
-
09-14-2015 06:35 PM #123
CHR Member
- Join Date
- Sep 2005
- Location
- Hamilton
- Car Year, Make, Model: 69 nomad, 73 charger, 74 vega
- Posts
- 3,900
Last night, I ordered assorted clip nuts and fender washers. I'll need the nuts for the rear valence panel. Speaking of which, tonight I cleaned it up and dollied out its dings and straightened its brackets.
Amazing what one can see with the car up in the air.
I decided to re-work the pass side running board. Where I used the pull studs, I had little bumps. I heated each one cherry red, and knocked it down with a small ball pein. The area could use a little more attention..
Education is expensive. Keep that in mind, and you'll never be terribly upset when a project goes awry.
EG
-
09-14-2015 07:38 PM #124
CHR Member
- Join Date
- Apr 2011
- Location
- Prairie City
- Car Year, Make, Model: 40 Ford Deluxe, 68 Corvette, 72&76 K30
- Posts
- 7,301
- Blog Entries
- 1
It sounds like you're making great progress! Congrats on getting the hoist up and working too!Ryan
1940 Ford Deluxe Tudor 354 Hemi 46RH Electric Blue w/multi-color flames, Ford 9" Residing in multiple pieces
1968 Corvette Coupe 5.9 Cummins Drag Car 11.43@130mph No stall leaving the line with 1250 rpm's and poor 2.2 60'
1972 Chevy K30 Longhorn P-pumped 24v Compound Turbos 47RH Just another money pit
1971 Camaro RS 5.3 BTR Stage 3 cam, SuperT10
Tire Sizes
-
09-14-2015 08:08 PM #125
CHR Member/Contributor
- Join Date
- Sep 2007
- Location
- Gardner, KS
- Car Year, Make, Model: '33 HiBoy Coupe, '32 HiBoy Roadster
- Posts
- 11,245
Just curious, did you find a used lift locally?Roger
Enjoy the little things in life, and you may look back one day and realize that they were really the BIG things.
-
09-15-2015 03:52 PM #126
CHR Member
- Join Date
- Sep 2005
- Location
- Hamilton
- Car Year, Make, Model: 69 nomad, 73 charger, 74 vega
- Posts
- 3,900
Working out a wrinkle near body line.
Education is expensive. Keep that in mind, and you'll never be terribly upset when a project goes awry.
EG
-
09-15-2015 04:21 PM #127
CHR Member
- Join Date
- Sep 2005
- Location
- Hamilton
- Car Year, Make, Model: 69 nomad, 73 charger, 74 vega
- Posts
- 3,900
I forgot to search for a used one.
Thx on the congrats..
Education is expensive. Keep that in mind, and you'll never be terribly upset when a project goes awry.
EG
-
09-20-2015 07:41 PM #128
CHR Member
- Join Date
- Sep 2005
- Location
- Hamilton
- Car Year, Make, Model: 69 nomad, 73 charger, 74 vega
- Posts
- 3,900
A pitiful little to report for a three-day weekend, but little is better than none. My clip nuts assortment came in, so I remounted the rear pan using some 1/4-20s fender bolts. Then I finished repairing the rear frame rail where the bolts ripped out from trailer hitch. I even did a fair job of overhead welding. My MIG works right nice. Then I grabbed a body hammer and finessed a couple bent pieces which escaped my attention until I was able to look at it on a lift. Next, I want to pressure wash the under carriage, then undercoat..
Education is expensive. Keep that in mind, and you'll never be terribly upset when a project goes awry.
EG
-
09-25-2015 04:34 PM #129
CHR Member
- Join Date
- Sep 2005
- Location
- Hamilton
- Car Year, Make, Model: 69 nomad, 73 charger, 74 vega
- Posts
- 3,900
Natural ceramics, a positive additional addition to the heat wrap.
.
Education is expensive. Keep that in mind, and you'll never be terribly upset when a project goes awry.
EG
-
09-26-2015 03:56 PM #130
CHR Member
- Join Date
- Sep 2005
- Location
- Hamilton
- Car Year, Make, Model: 69 nomad, 73 charger, 74 vega
- Posts
- 3,900
Today, I detailed the bottom edges of the sheet metal. I dollied out some wrinkles, removed some trim clip studs, and welded in and ground smooth trim screw holes.
Then, I grabbed the chatter gun and lowered the front end, with the height adjuster screw. Can't wait to test drive it, and see if it handles different.Last edited by firebird77clone; 09-26-2015 at 04:01 PM.
.
Education is expensive. Keep that in mind, and you'll never be terribly upset when a project goes awry.
EG
-
09-27-2015 02:32 PM #131
CHR Member
- Join Date
- Sep 2005
- Location
- Hamilton
- Car Year, Make, Model: 69 nomad, 73 charger, 74 vega
- Posts
- 3,900
Ground out 3/8" bondo, beat it flat, desperately trying to restore the body line.
Education is expensive. Keep that in mind, and you'll never be terribly upset when a project goes awry.
EG
-
09-27-2015 04:16 PM #132
CHR Member
- Join Date
- Sep 2005
- Location
- Hamilton
- Car Year, Make, Model: 69 nomad, 73 charger, 74 vega
- Posts
- 3,900
Having driven the steaming turd, the handling actually improved a tad. The front wheels were up on their tip-toes, was part of the squirrelly handling. When I put the rear back where it belongs, it might track..
Education is expensive. Keep that in mind, and you'll never be terribly upset when a project goes awry.
EG
-
10-09-2015 04:03 PM #133
CHR Member
- Join Date
- Sep 2005
- Location
- Hamilton
- Car Year, Make, Model: 69 nomad, 73 charger, 74 vega
- Posts
- 3,900
A better picture of the ceramic type heat insulation..
Education is expensive. Keep that in mind, and you'll never be terribly upset when a project goes awry.
EG
-
10-09-2015 04:13 PM #134
CHR Member
- Join Date
- Sep 2005
- Location
- Hamilton
- Car Year, Make, Model: 69 nomad, 73 charger, 74 vega
- Posts
- 3,900
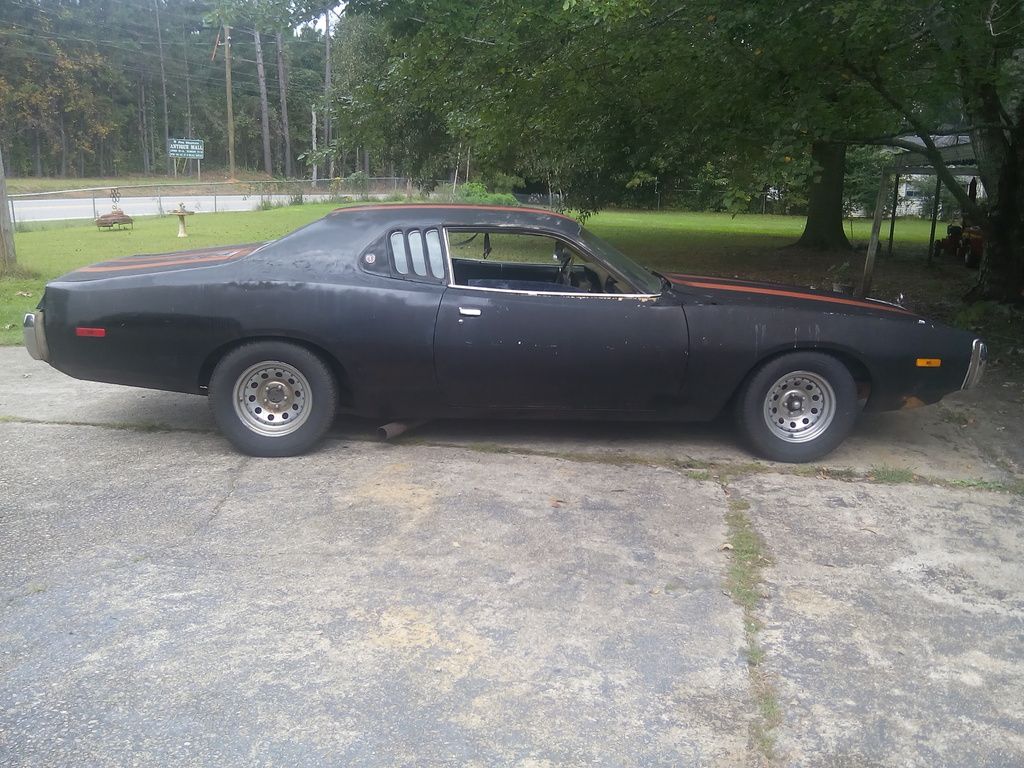
The new stance. Rear springs de-arched
Yes it handles better, yes YOU TOLD ME SO.
I may lower it more, but the exhaust needs to be completely reworked first..
Education is expensive. Keep that in mind, and you'll never be terribly upset when a project goes awry.
EG
-
10-09-2015 04:47 PM #135
CHR Member
- Join Date
- Sep 2005
- Location
- Hamilton
- Car Year, Make, Model: 69 nomad, 73 charger, 74 vega
- Posts
- 3,900
I hope this doesn't double post.
The new stance. Leaf springs de arched and kept the coil over shocks. After the exhaust is reworked I can ditch the coil overs and it will sit an inch lower..
Education is expensive. Keep that in mind, and you'll never be terribly upset when a project goes awry.
EG
 Reply With Quote

Posting Permissions
- You may not post new threads
- You may not post replies
- You may not post attachments
- You may not edit your posts

Either return this forum to what was or get the HELL OUT!
Dead!