


Thread: Door gaps on the 55 wagon
Results 1 to 4 of 4
 LinkBack URL
 About LinkBacks
Threaded View
-
04-28-2012 08:15 PM #1
 CHR Member

- Join Date
- Jun 2008
- Location
- Leonardtown
- Car Year, Make, Model: Walking
- Posts
- 1,228
Door gaps on the 55 wagon
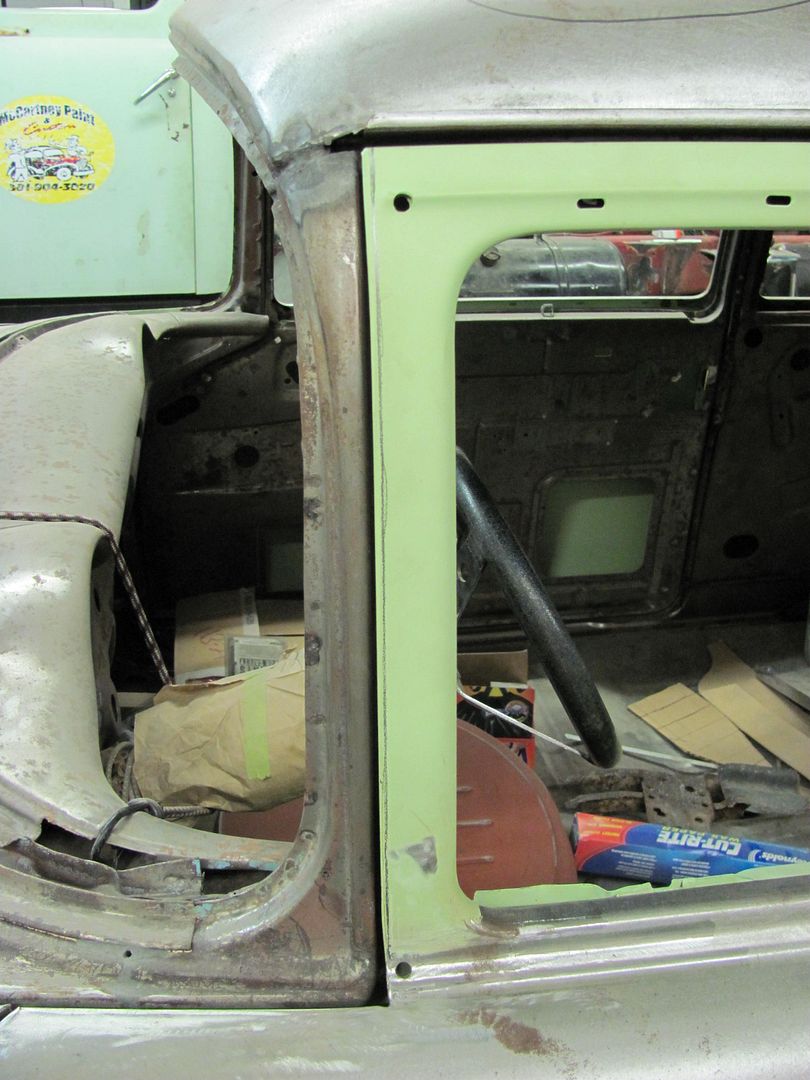
Tying up some loose ends, time to finish the door gaps. Pulled the door off again to fold the leading edge of the door skin. I had neglected it earlier as the fender was not installed. I prefer to compare between the two for better gaps.
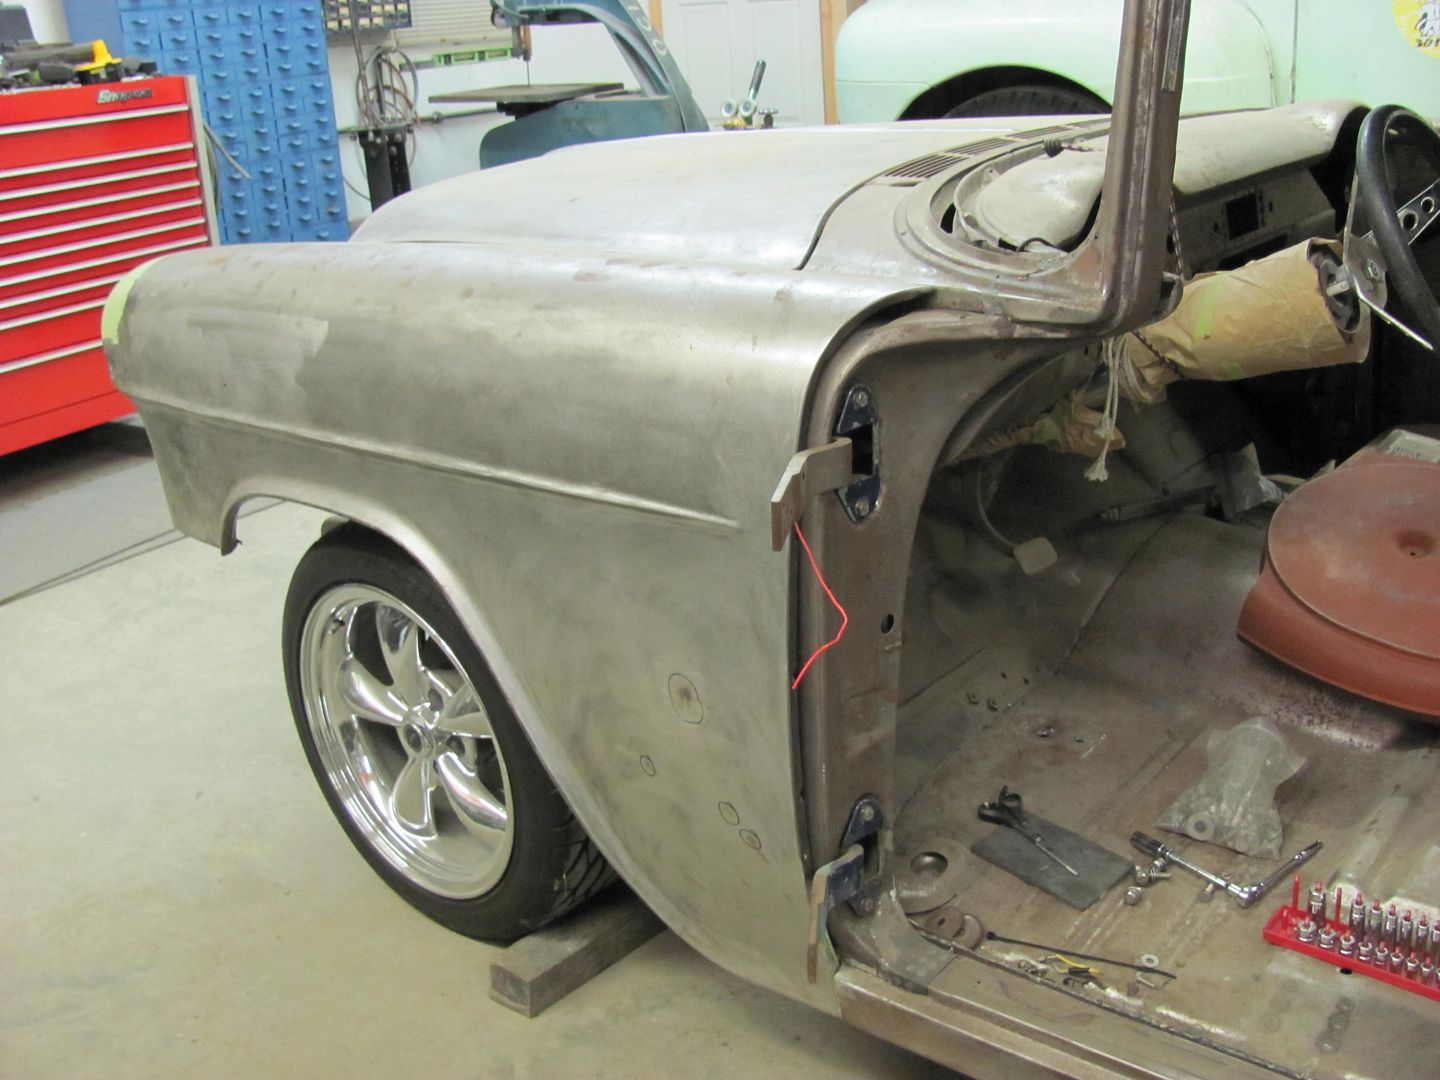
As the gaps looked close, I used the existing fold and wrapped tight up to where the radius up top starts. The flange there is almost left straight, so it's hard to judge while on the car, as it hits the fender. I folded that one partially so it could be adjusted again, if need be.

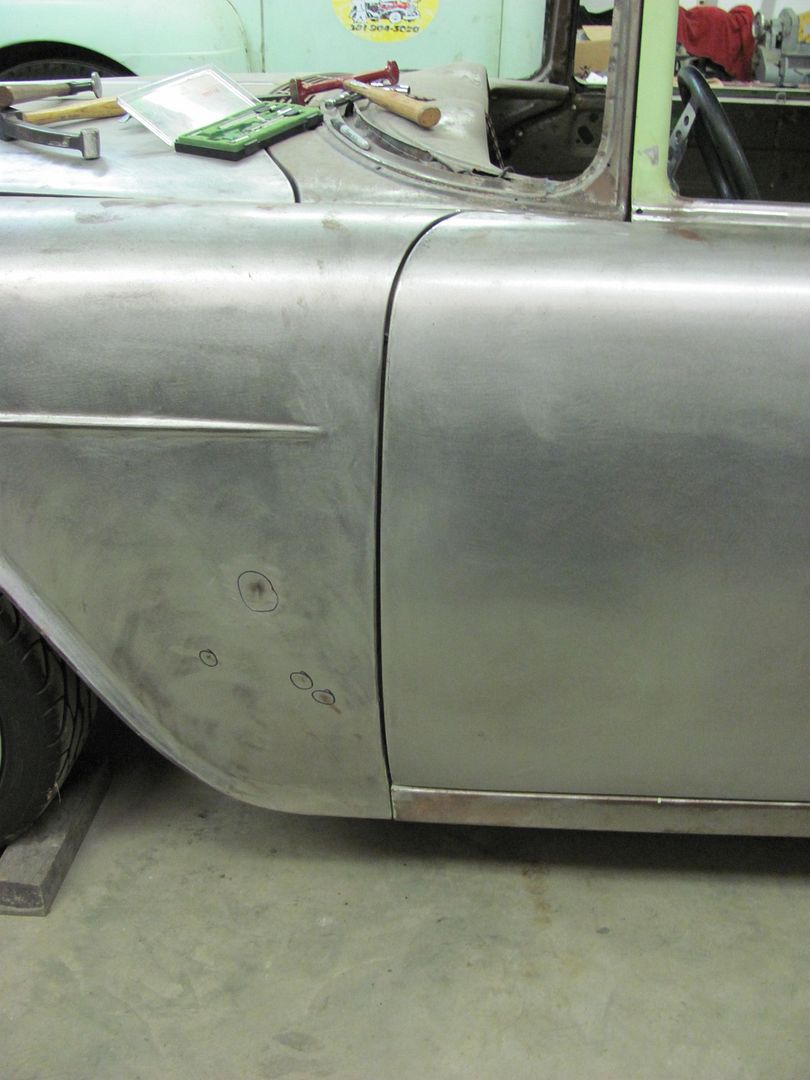
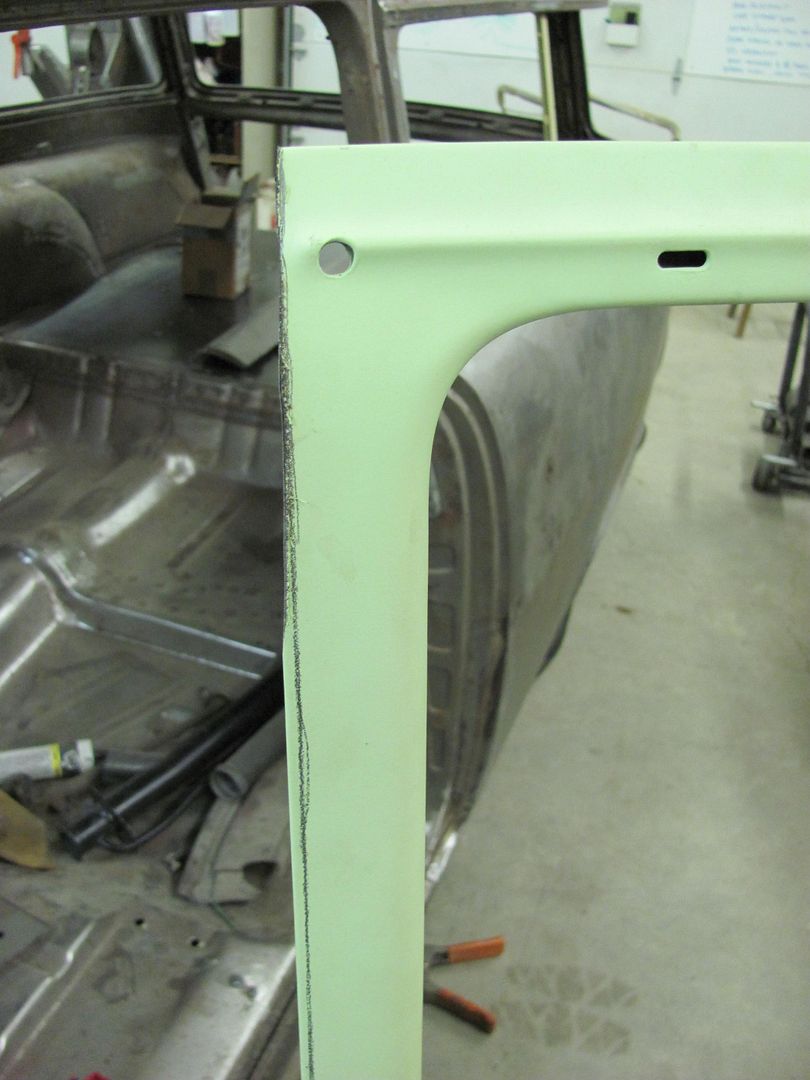
Once installed again, with the upper flange not sticking straight forward and hitting the fender you can better judge the gap. Here I'll use a compass the add a parallel line on the front edge of the door. Keep in mind as you get higher on the door, keep the compass paralled with the side of the car, and not perpendicular to the fender edge, or the mark will get wider for an incorrect gap..
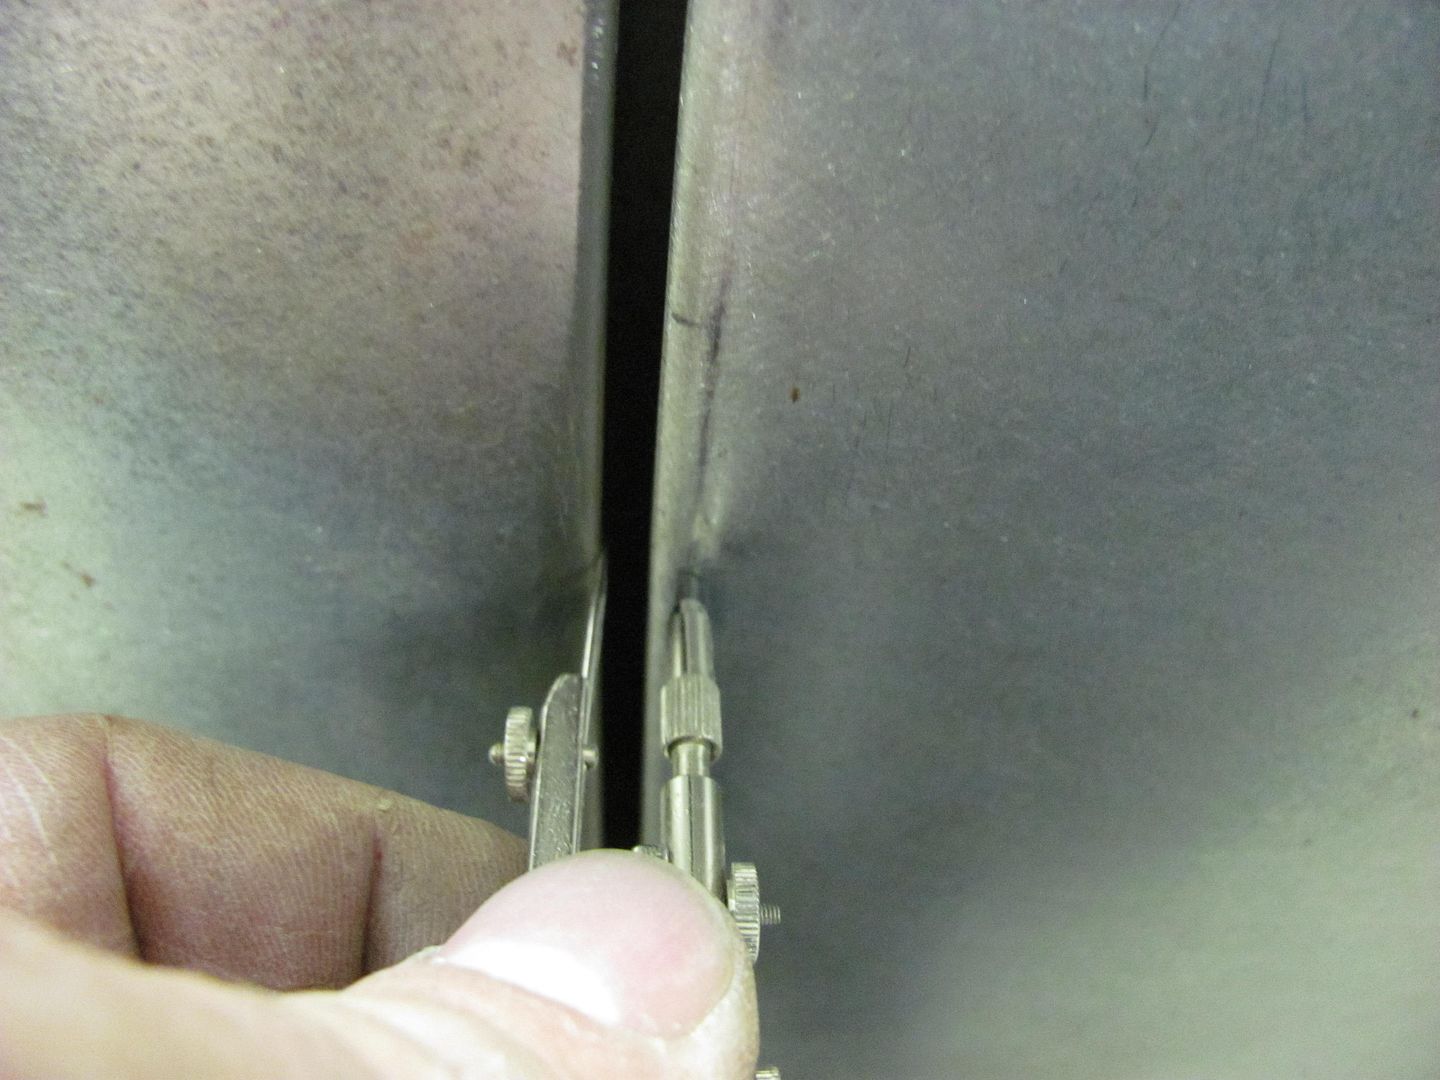

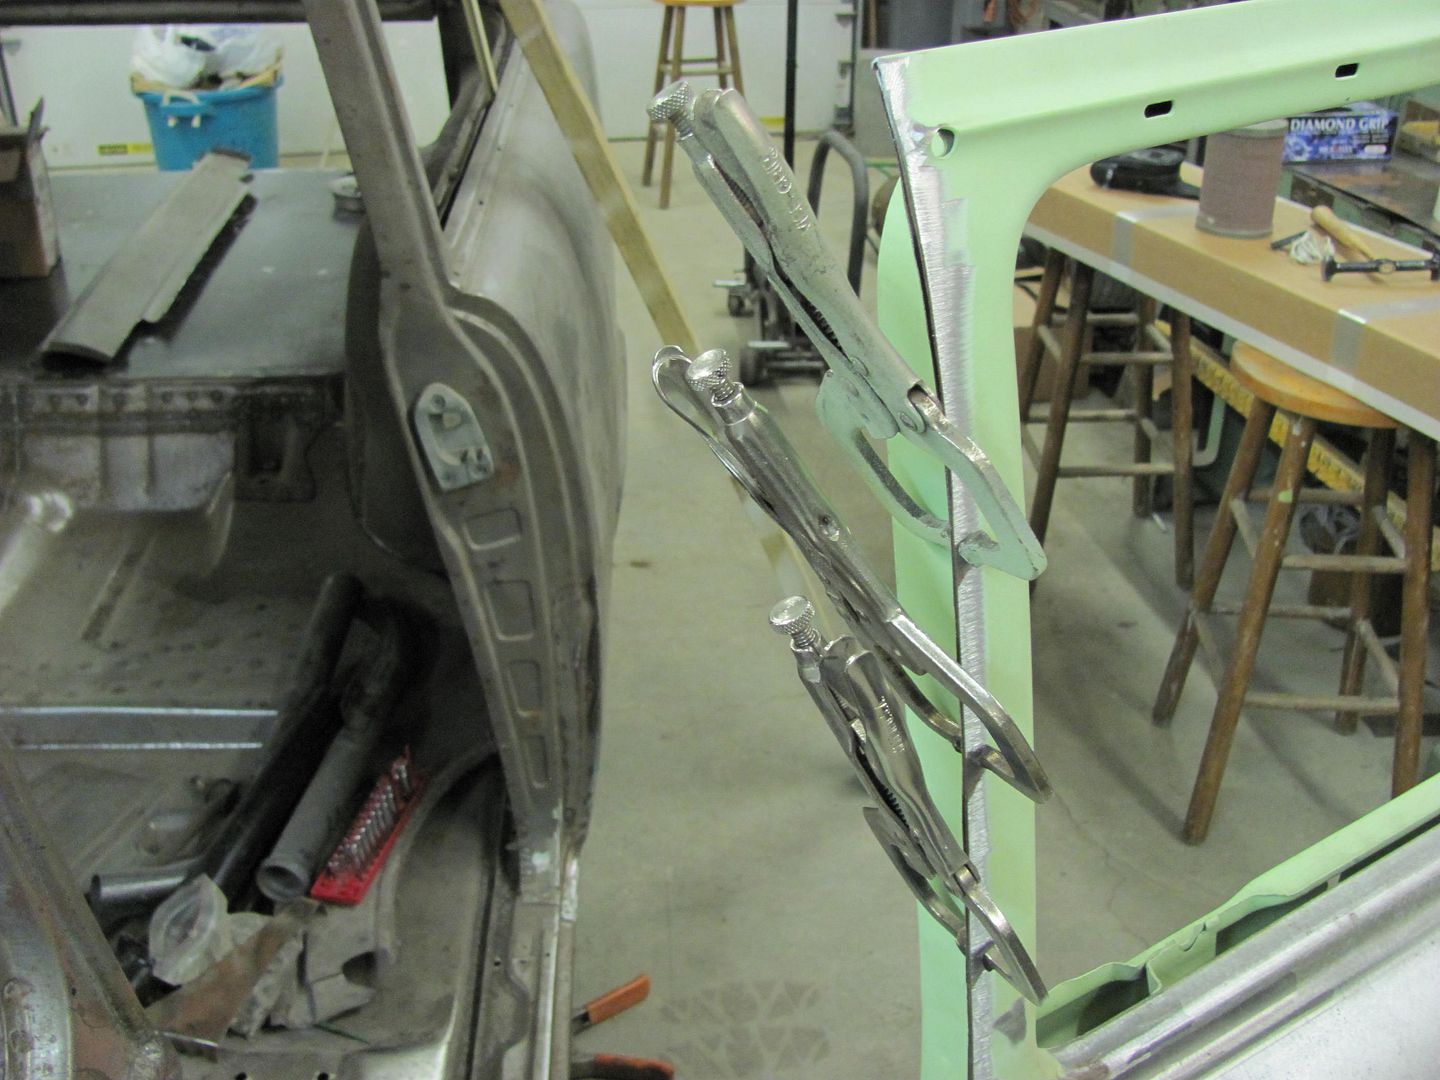
The compass mark will help to realign the fold for a more precise gap.. There was a widening at about the center of the radius, so some vice grips were used to "tweak" the flange around, until the compass mark is parallel to the new flange crease...

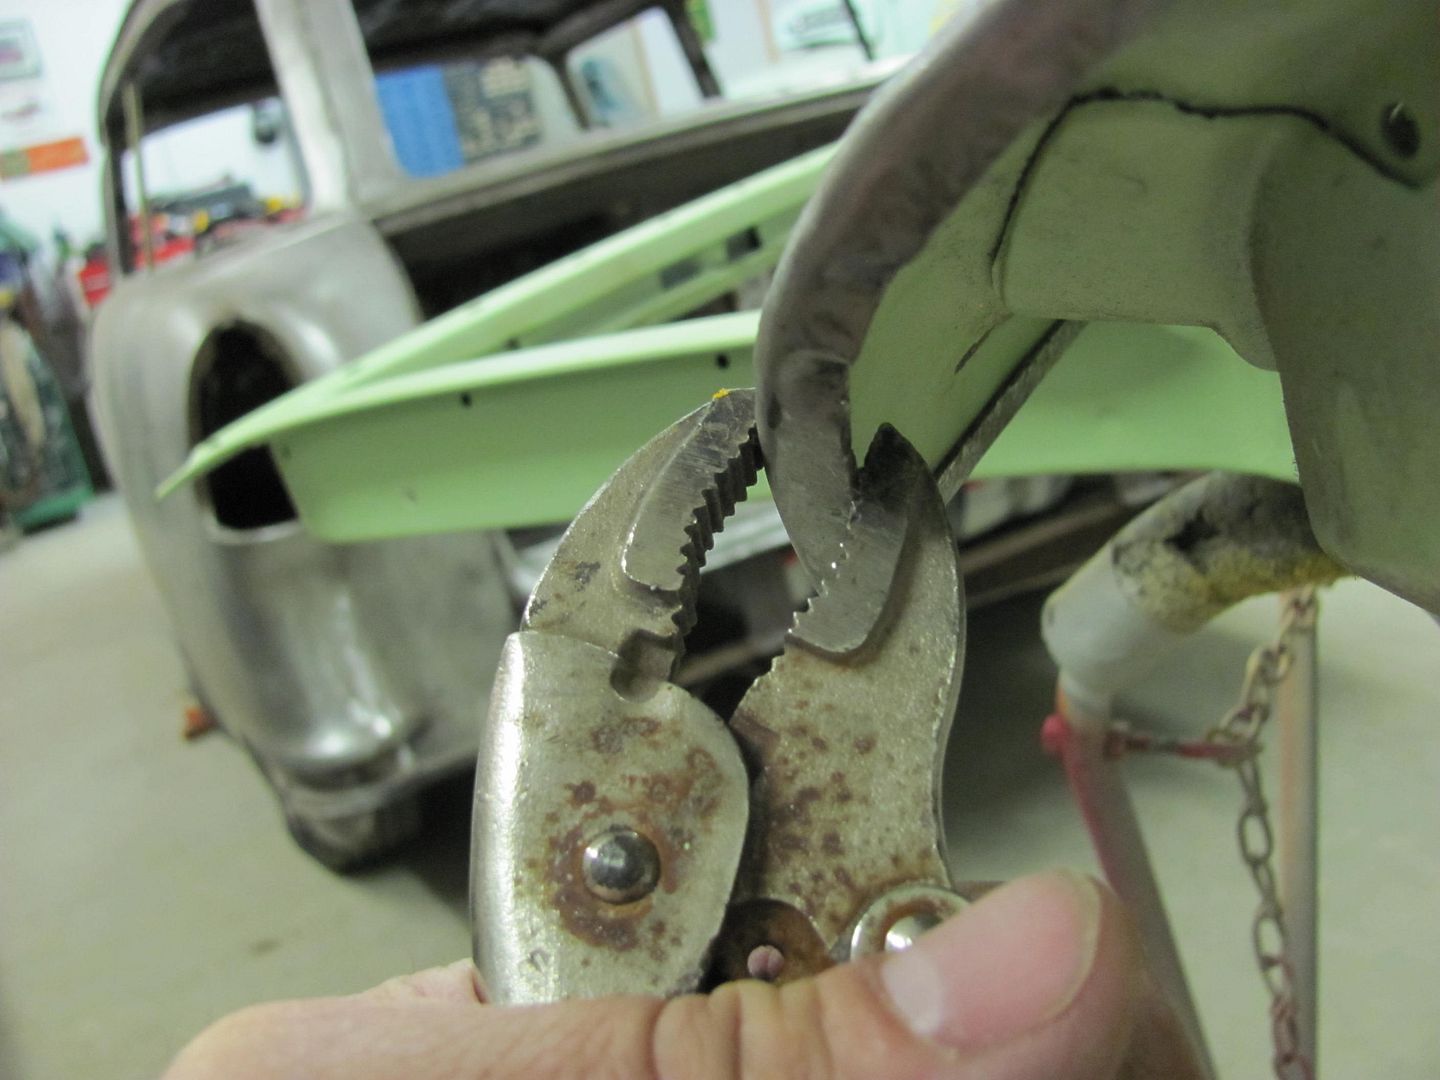

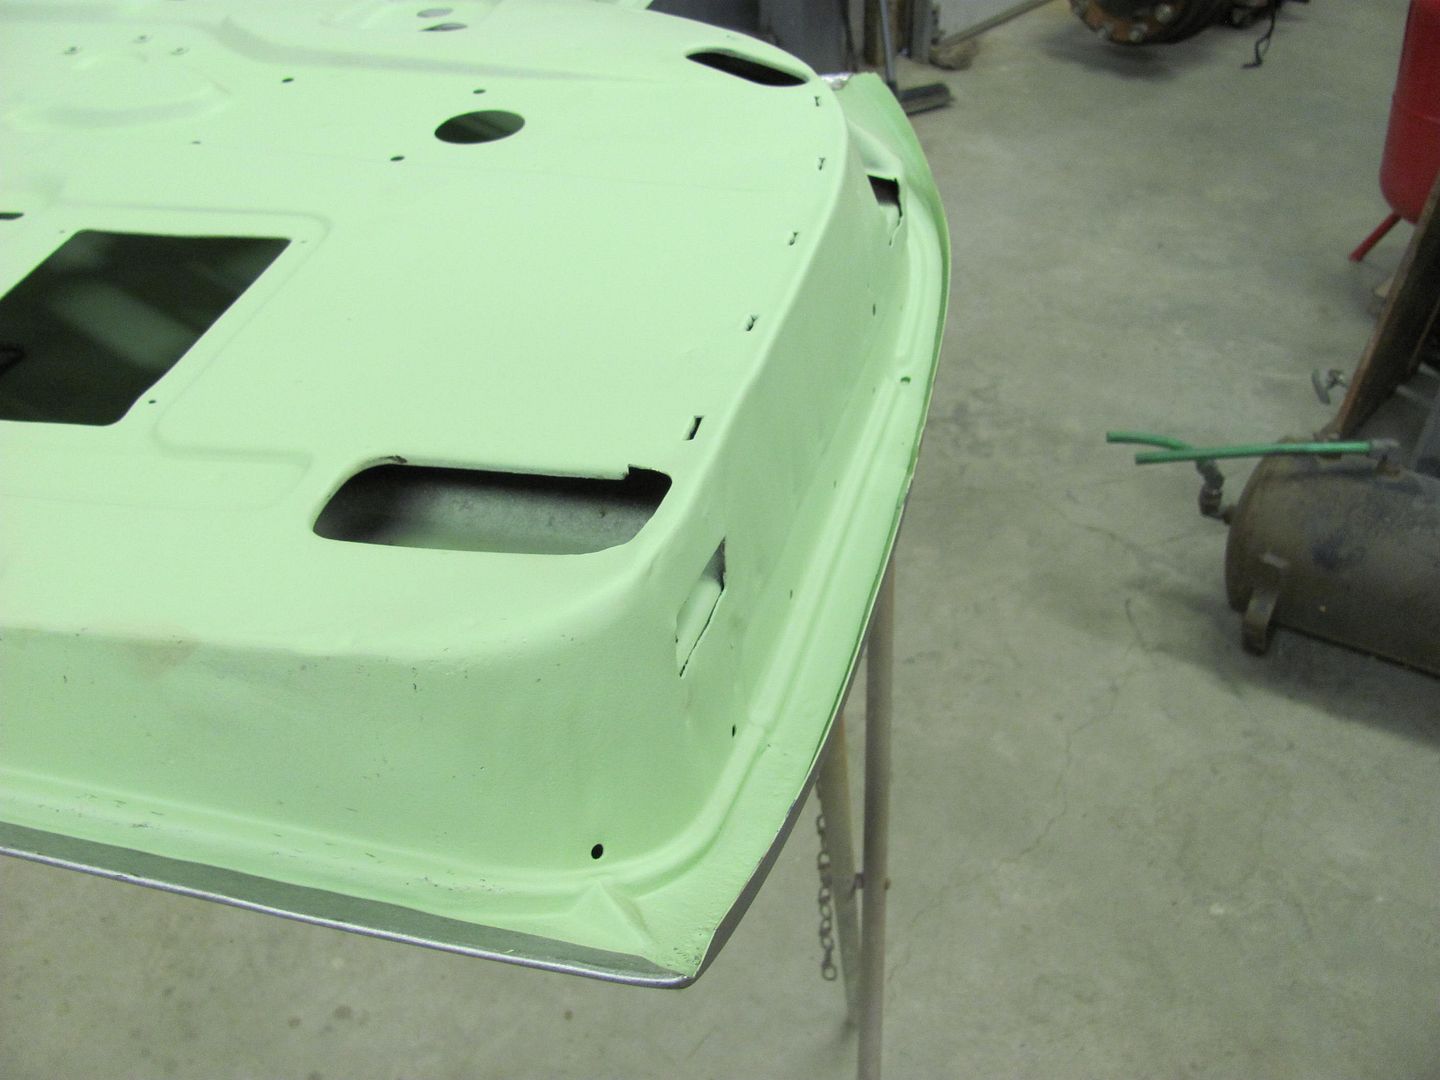
For the finished door gaps...
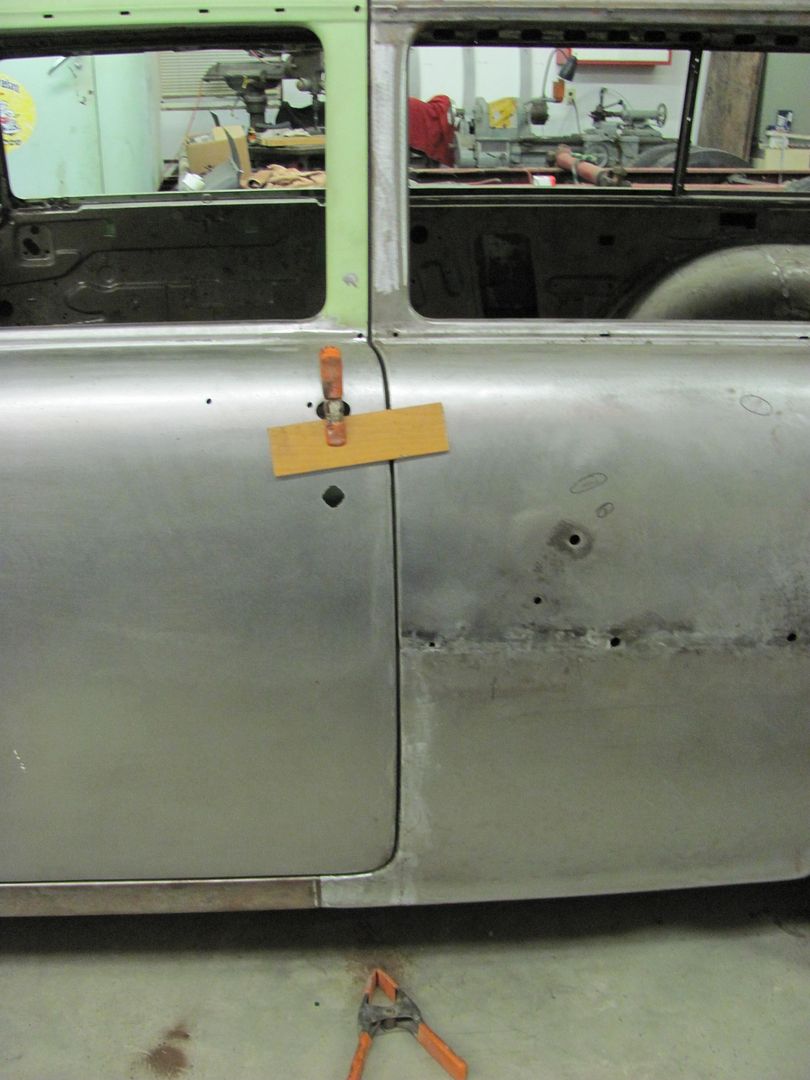
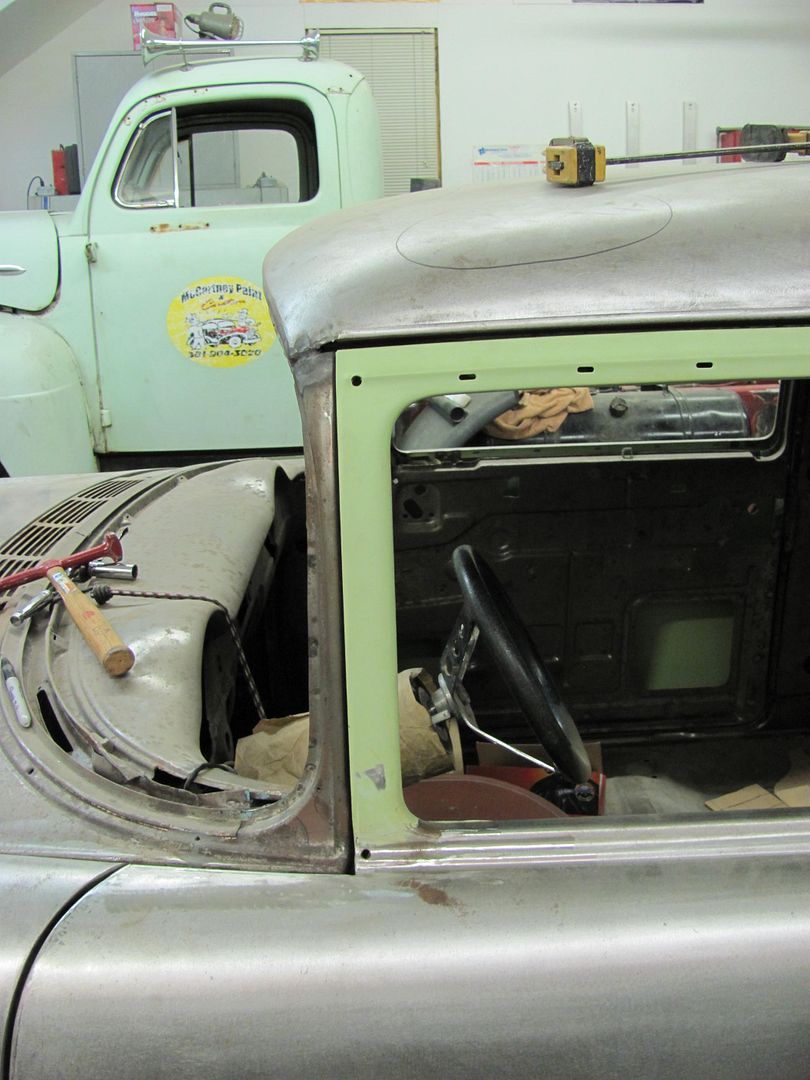
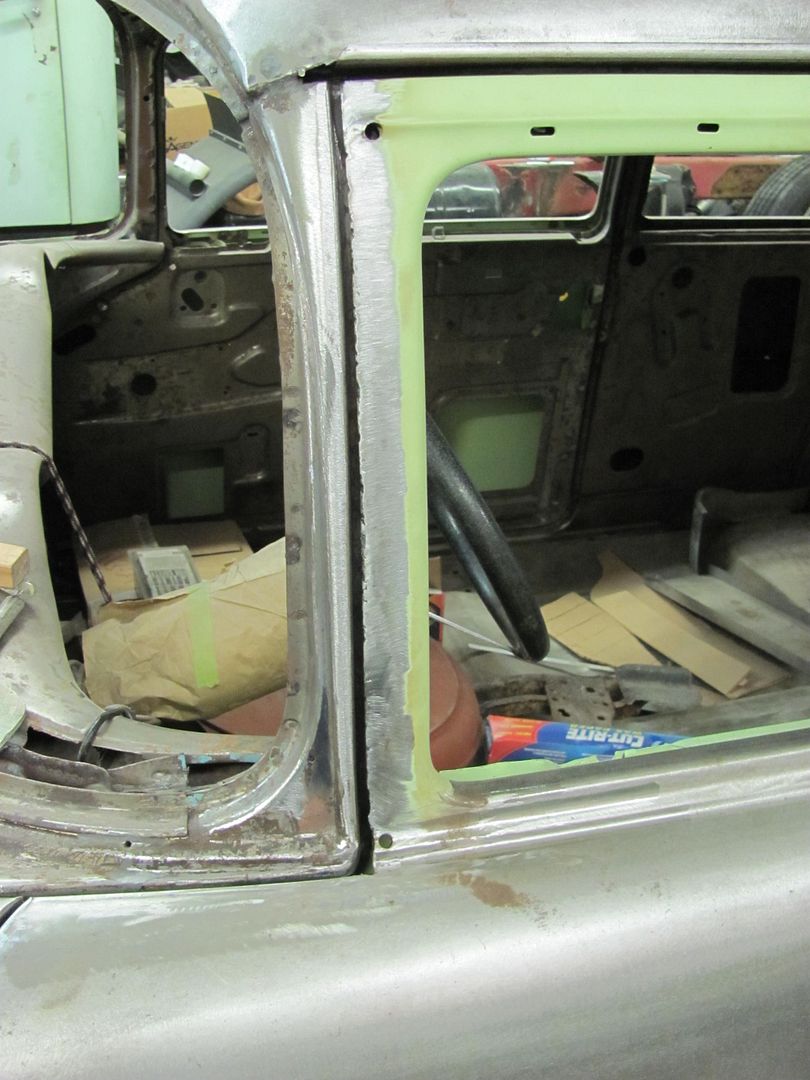
Now the typical tight area on these cars, the door to windshield post. These are too close at the top and will risk paint chips.
Time to use the compass again...

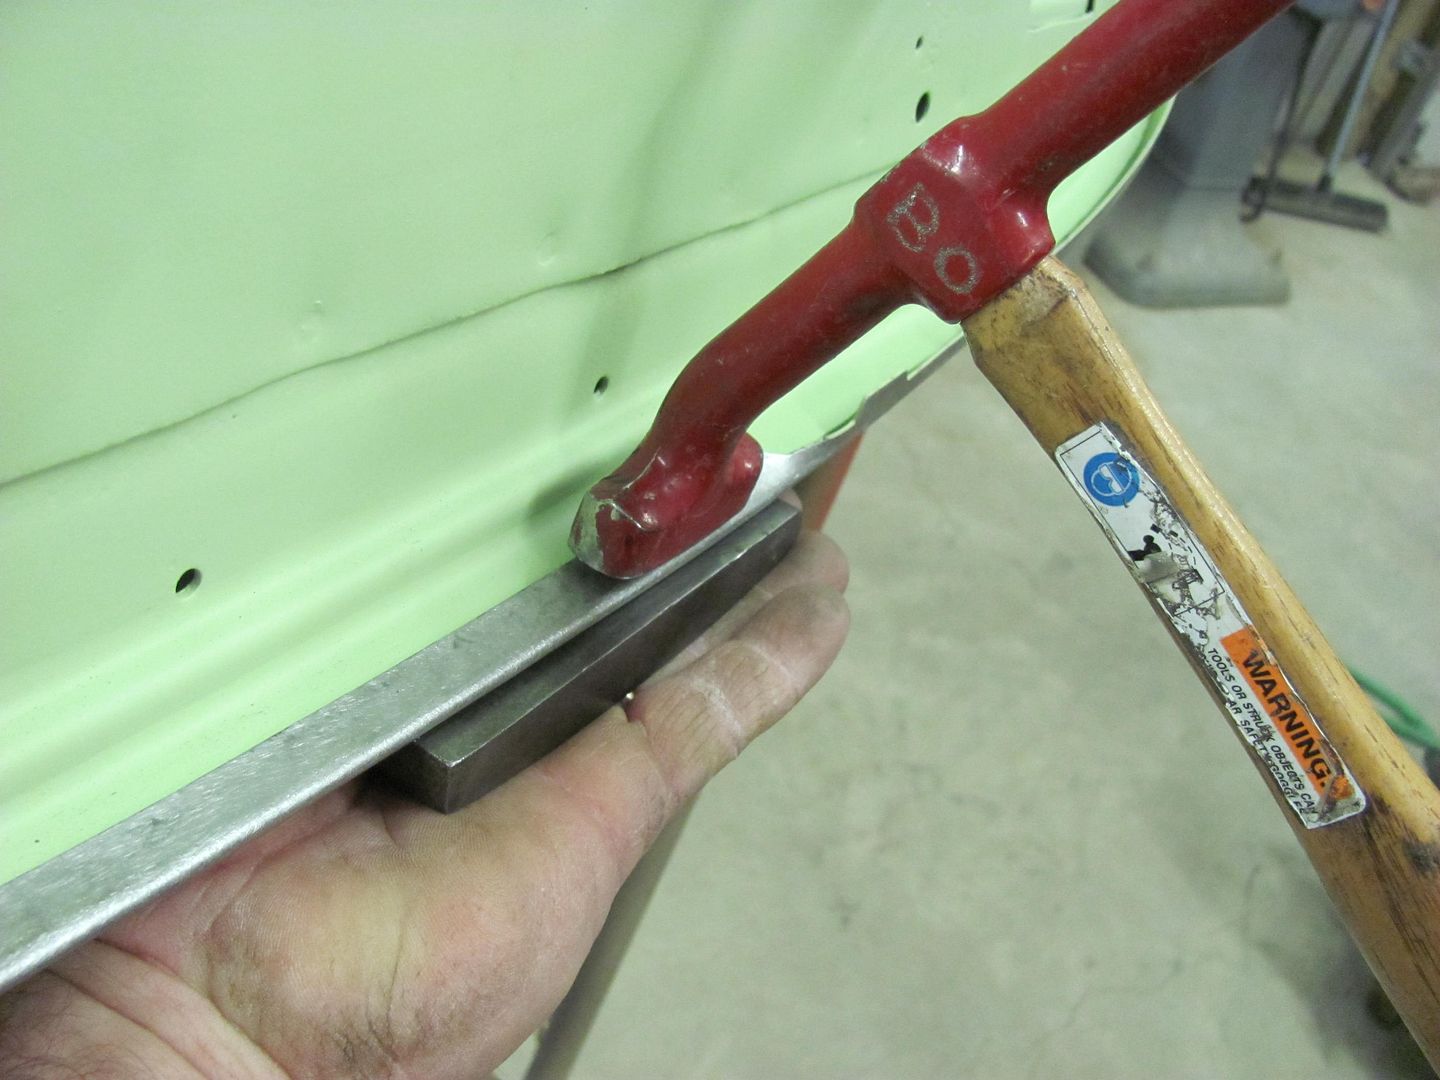
And a 4-1/2 sander trims it down to the line, also opening up the flange seam....
The seam is pinched together as it's welded...
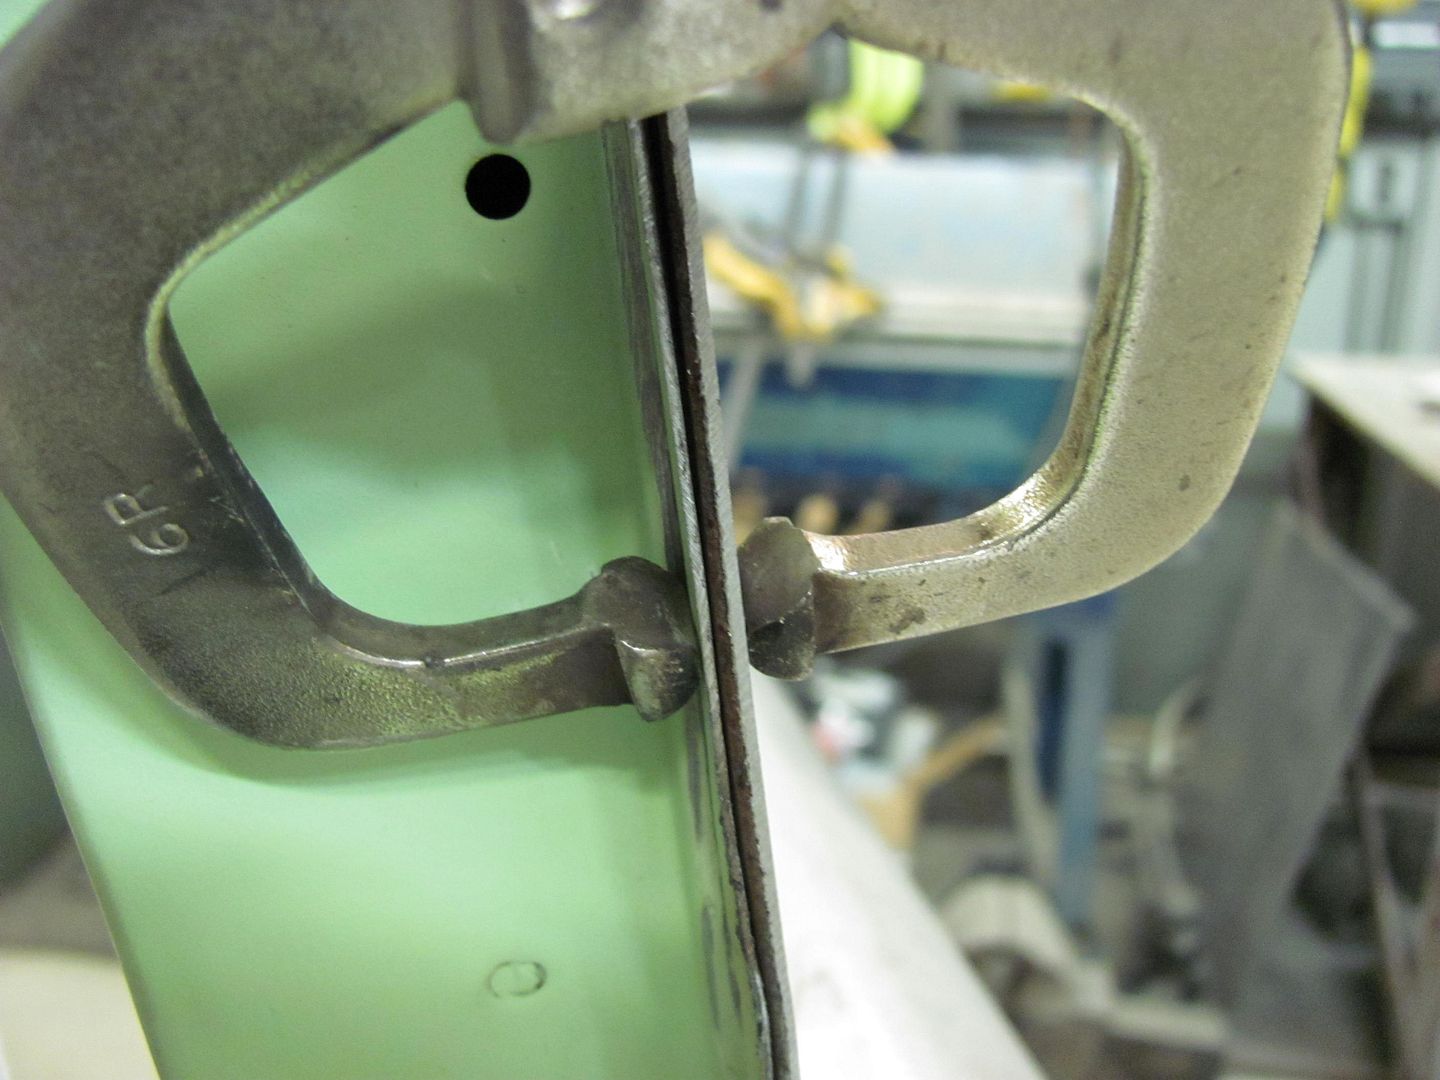
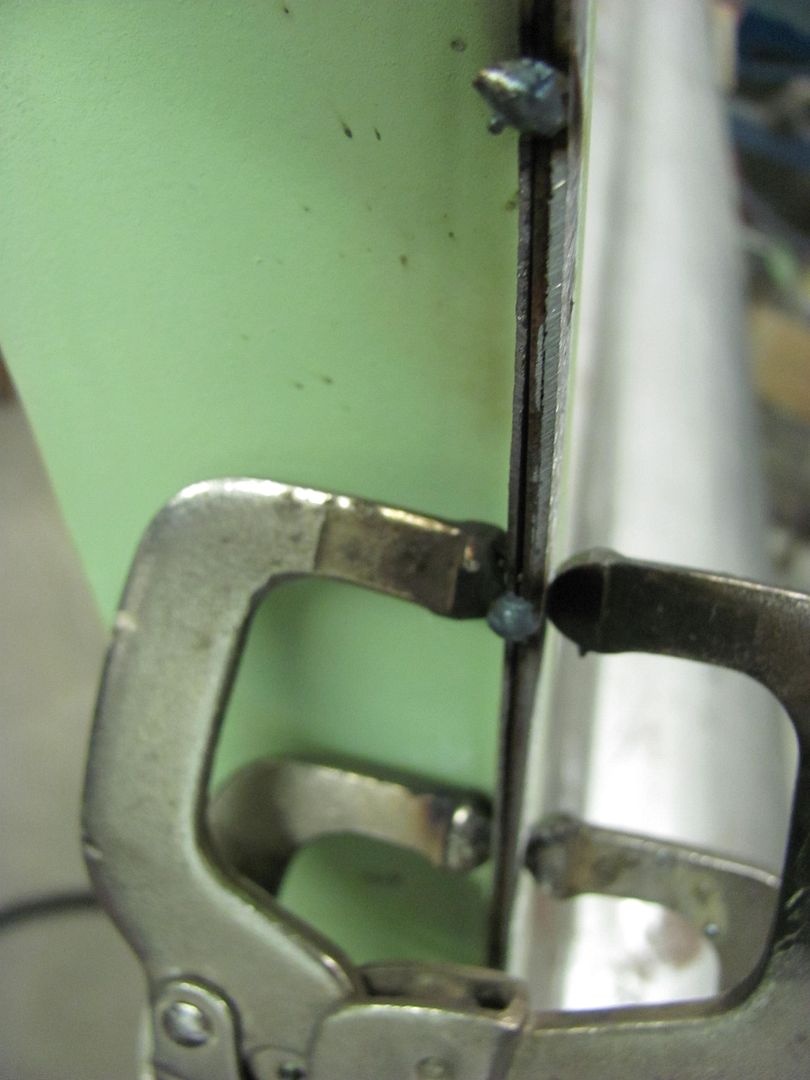

The front and rear is sanded first to get rid of the bulk of the weld, then the edge is dressed up a bit..

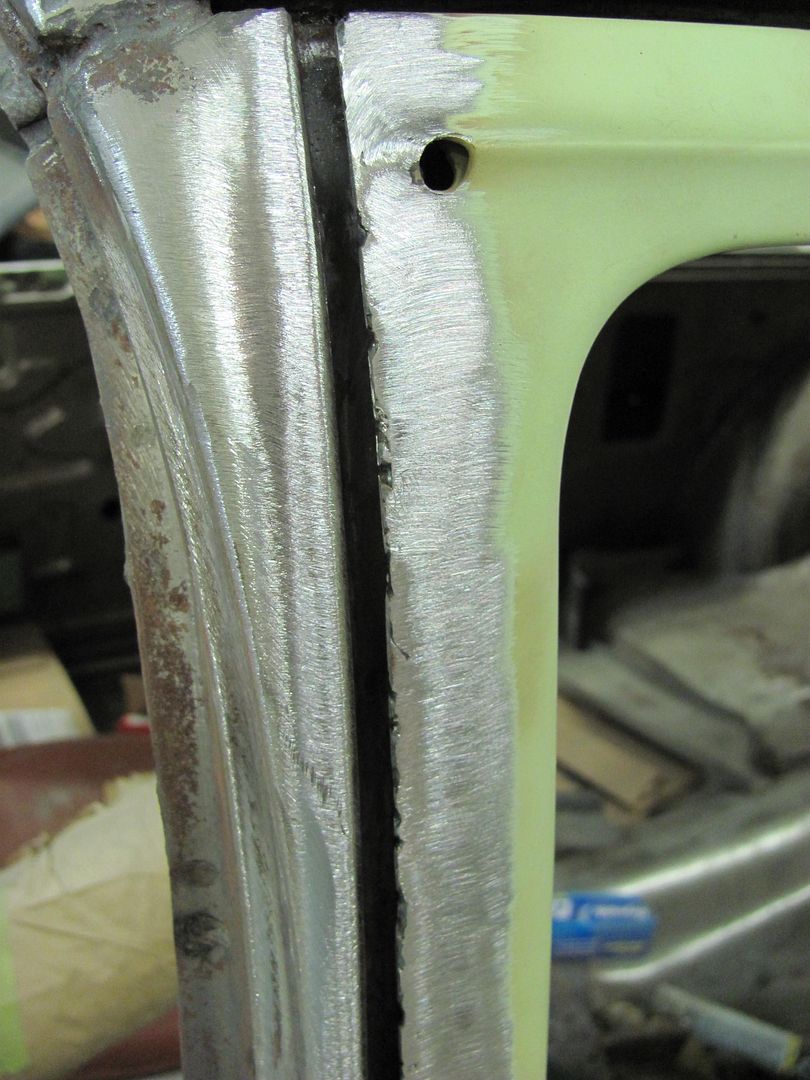
Dressed, it will need one more weld bead down the edge and clean up again. Getting late this evening, so we'll save that for another day..
Robert

 Reply With Quote
Posting Permissions
- You may not post new threads
- You may not post replies
- You may not post attachments
- You may not edit your posts

This site is up more often lately, but very little traffic.
Dead!