


 348Likes
Thread: 57 Plymouth
Results 136 to 150 of 187
 LinkBack URL
 About LinkBacks
Threaded View
-
10-16-2017 06:29 AM #1
 CHR Member

- Join Date
- Mar 2003
- Location
- SW Arizona
- Car Year, Make, Model: 68 Ply Valiant, 83 El Camino
- Posts
- 3,872
57 Plymouth
A few days ago I got a letter from my High School Reunion committee. I made my 25th reunion, and our 50th reunion is a couple of years off in 2020. It got me thinking what I would drive back.
Back in 95 I built a 57 Coronet specifically to take to the reunion, fun car but the dual quad 440 sure liked premium fuel …..A LOT
 57 Dodge by M Patterson, on Flickr
I’ve about decided that I may make some changes to the 57 Plymouth and drive that one back this time. The paint and upholstery have held up well over the 10 years since I’ve built it and I would have no qualms about jumping in it today and heading back to Illinois.
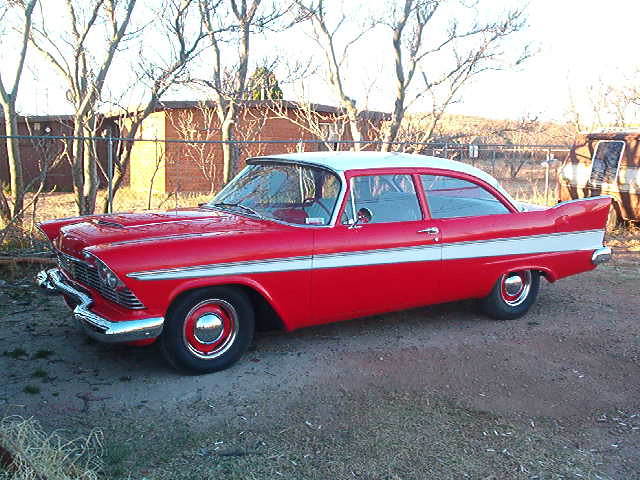 57 Plymouth by M Patterson, on Flickr
I usually don’t revisit cars once they are built, just drive them till I’m tired of them and eventually sell them off. The problem is I’m really not tired of the Plymouth and kind of like having one 50s car around.
One of the issues the car currently has is the steering box is getting a little loose. I built the car with manual steering because I just don’t like the feel of the 57-61 power steering (had it on the 57 Dodge). The smaller manual gear also lets me run the better flowing 56 Hemi manifolds on the car and if I went with the factory style PS I’d either have to use the more restrictive 57-8 manifolds or custom headers. Anyway I ran into a friend at the car show Saturday who happens to have a buildable manual box that I’ll probably pick up this week and send out to be rebuilt. A while back I started reading about the electric PS units and as long as I’m going to have the box and column out anyway I think I’ll do a bit more research.
The other major upgrade will likely be the clutch or transmission. The 57 has always had a pretty stiff clutch. It’s not horrible but the last year or so my left leg has started giving me a few problems……nothing major just old age. I’ve been kicking around changing over from the mechanical linkage to a hydraulic set up. Of course now that I’ve driven the 37 a little bit, building another 46RH overdrive automatic is starting to look like something that’s also an option (although a expensive one).
At lastly I may change out the Tri-Power out for dual quads.
Oh well it looks like it time to start collecting parts again")
.Last edited by Mike P; 11-10-2017 at 01:26 AM.
I've NEVER seen a car come from the factory that couldn't be improved..... 

 Reply With Quote
Posting Permissions
- You may not post new threads
- You may not post replies
- You may not post attachments
- You may not edit your posts

Turn out the lights, the party's over THIS PLACE IS DEAD!
Dead!