


 3275Likes
Thread: 55 Wagon Progress


Results 571 to 585 of 1817
 LinkBack URL
 About LinkBacks
-
07-26-2015 08:58 PM #571
 CHR Member

- Join Date
- Jun 2008
- Location
- Leonardtown
- Car Year, Make, Model: Walking
- Posts
- 1,207
Yeah, surprisingly so....
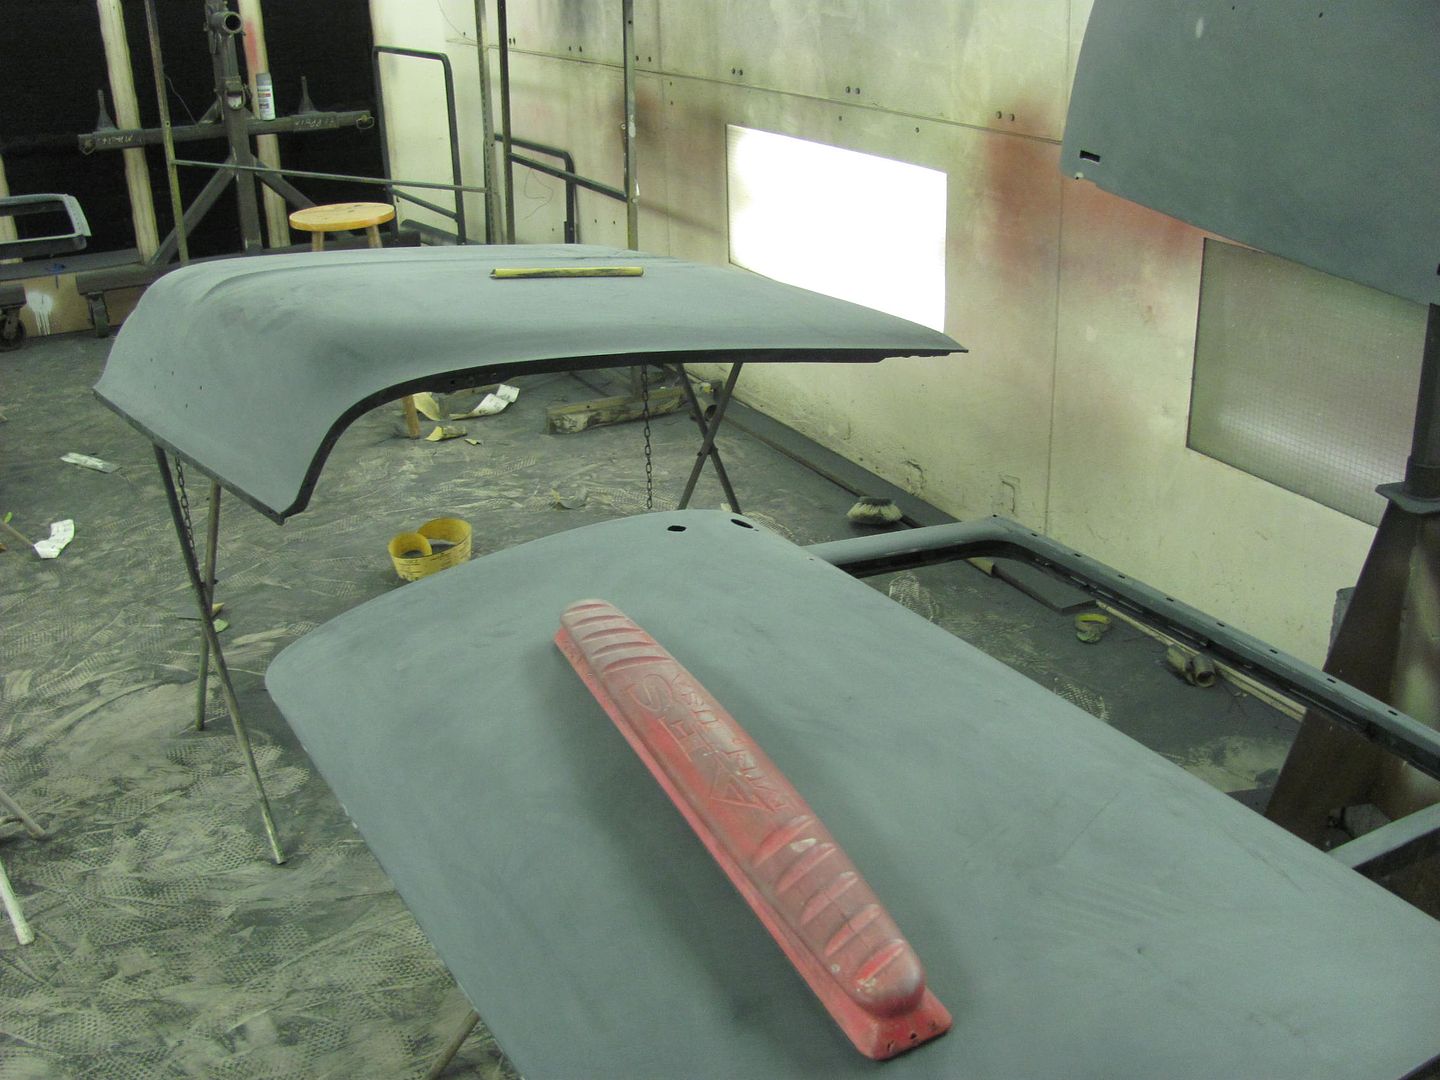
Got some more SPI Epoxy sprayed, here's the parts for Katie's truck that she prepped...
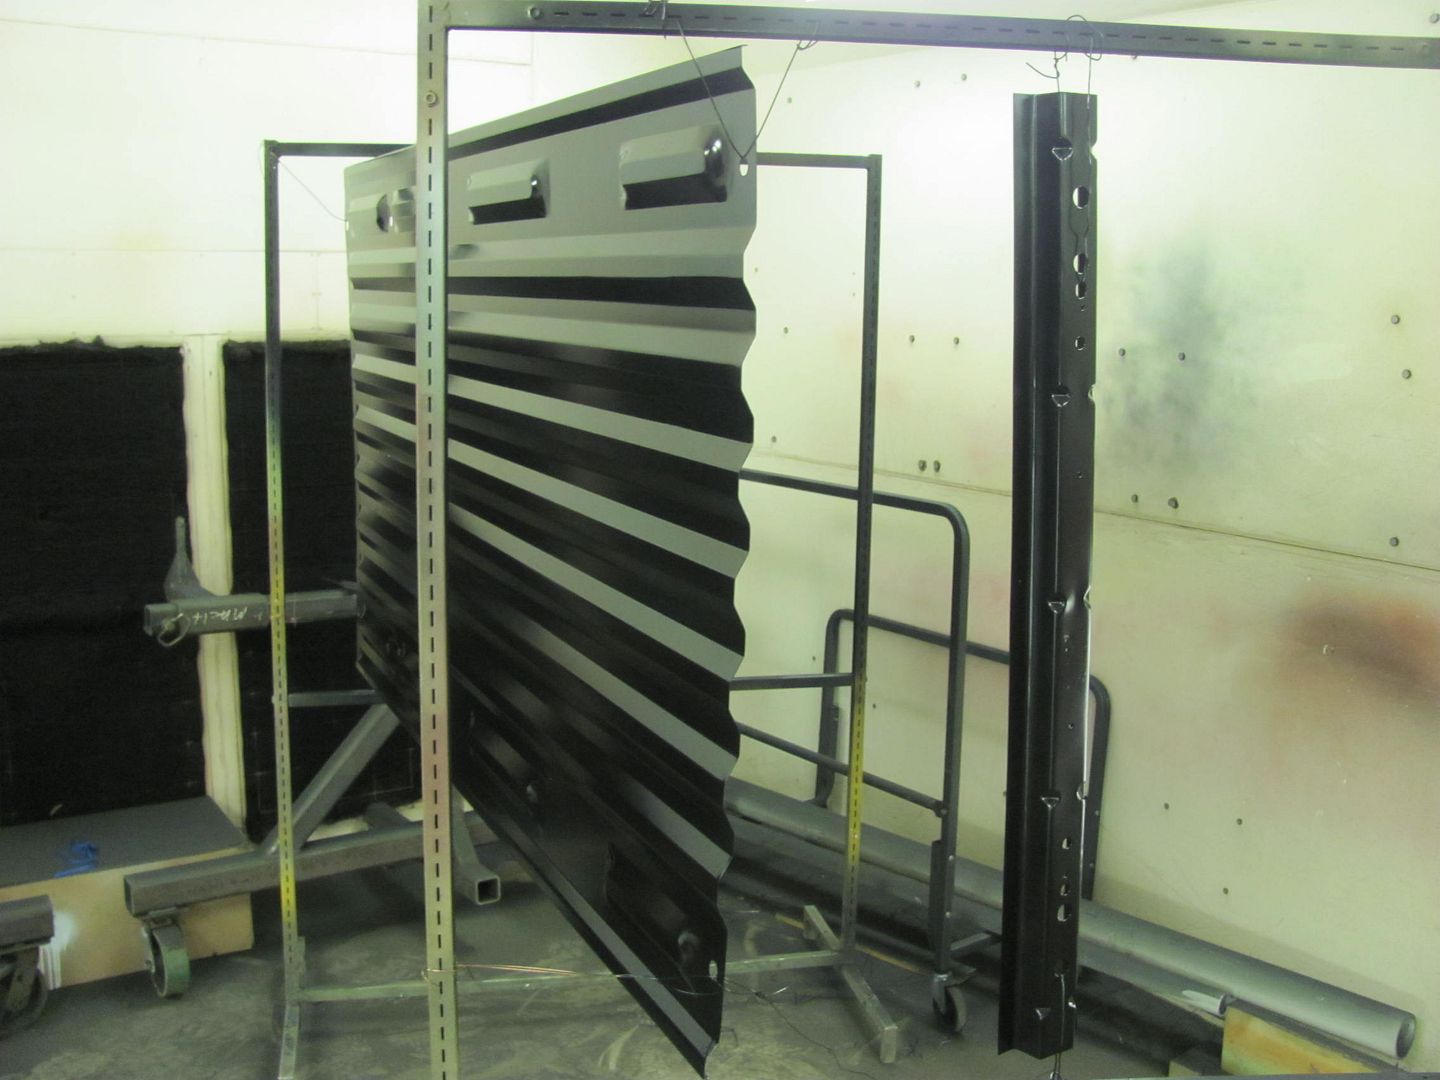
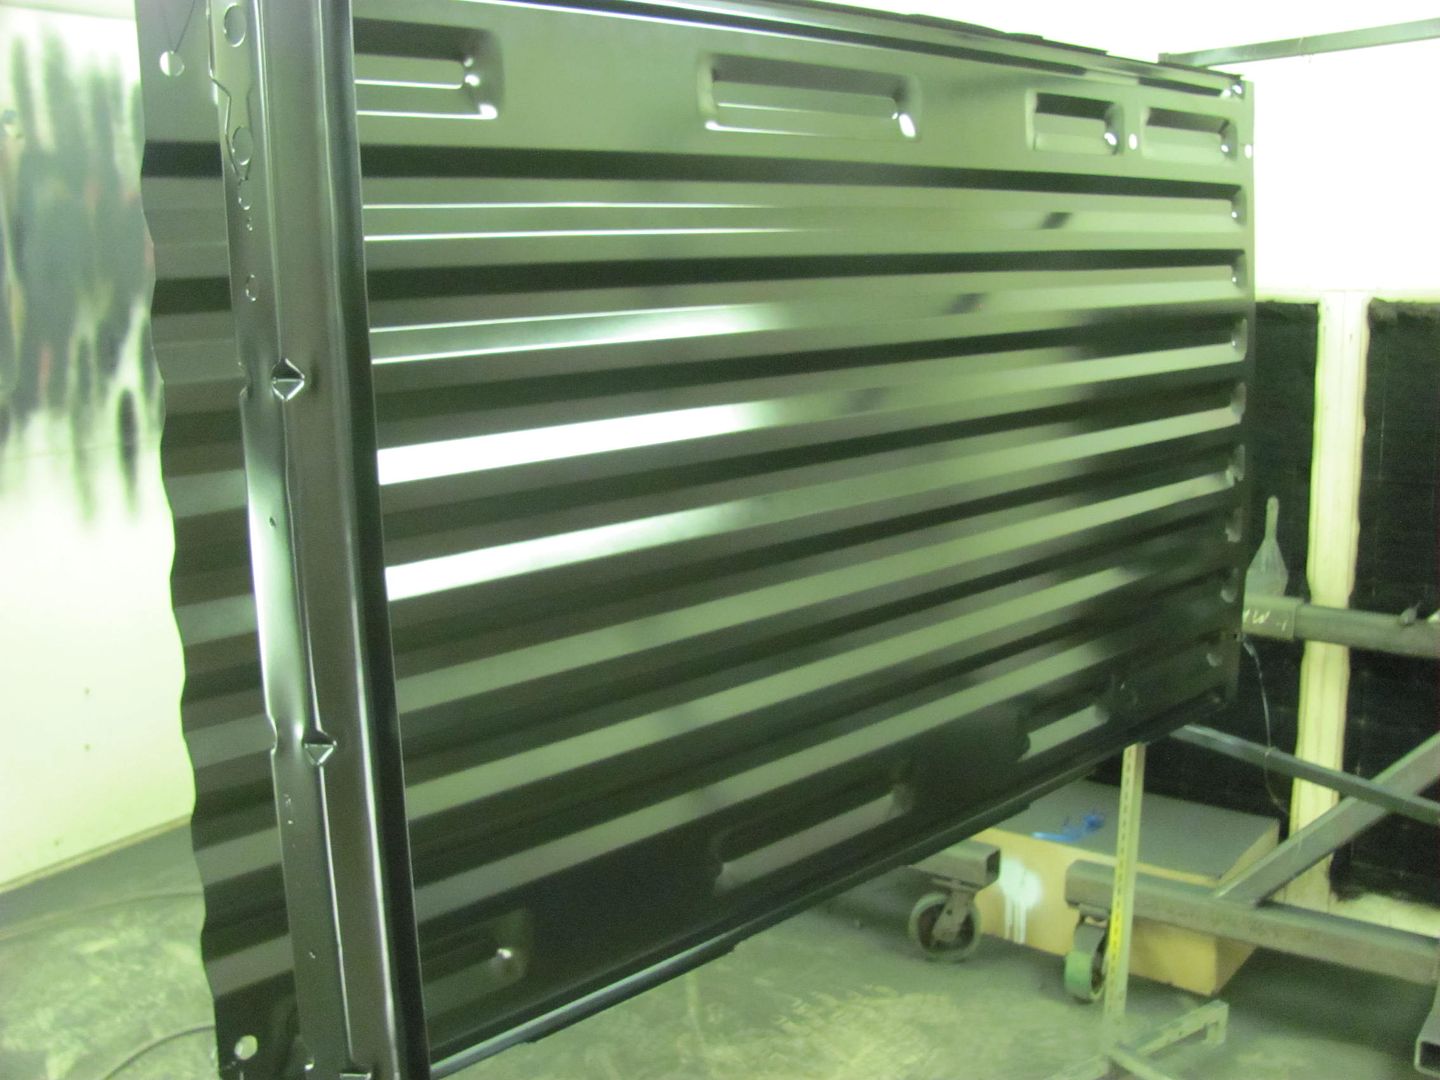
....and some more on the wagon parts....
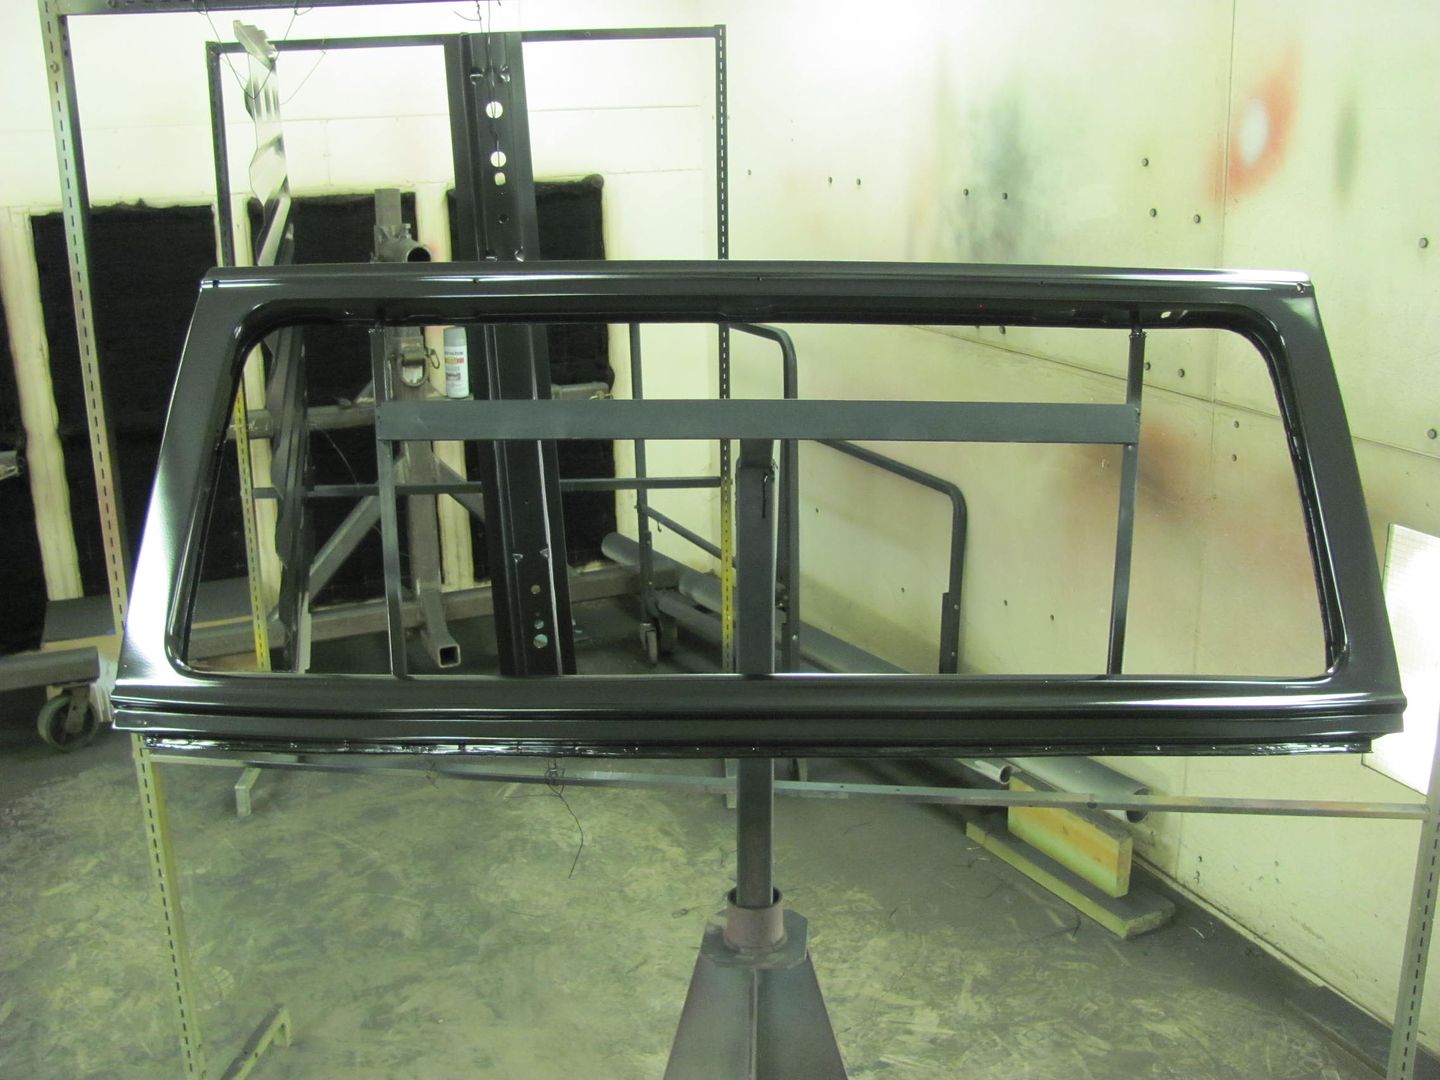

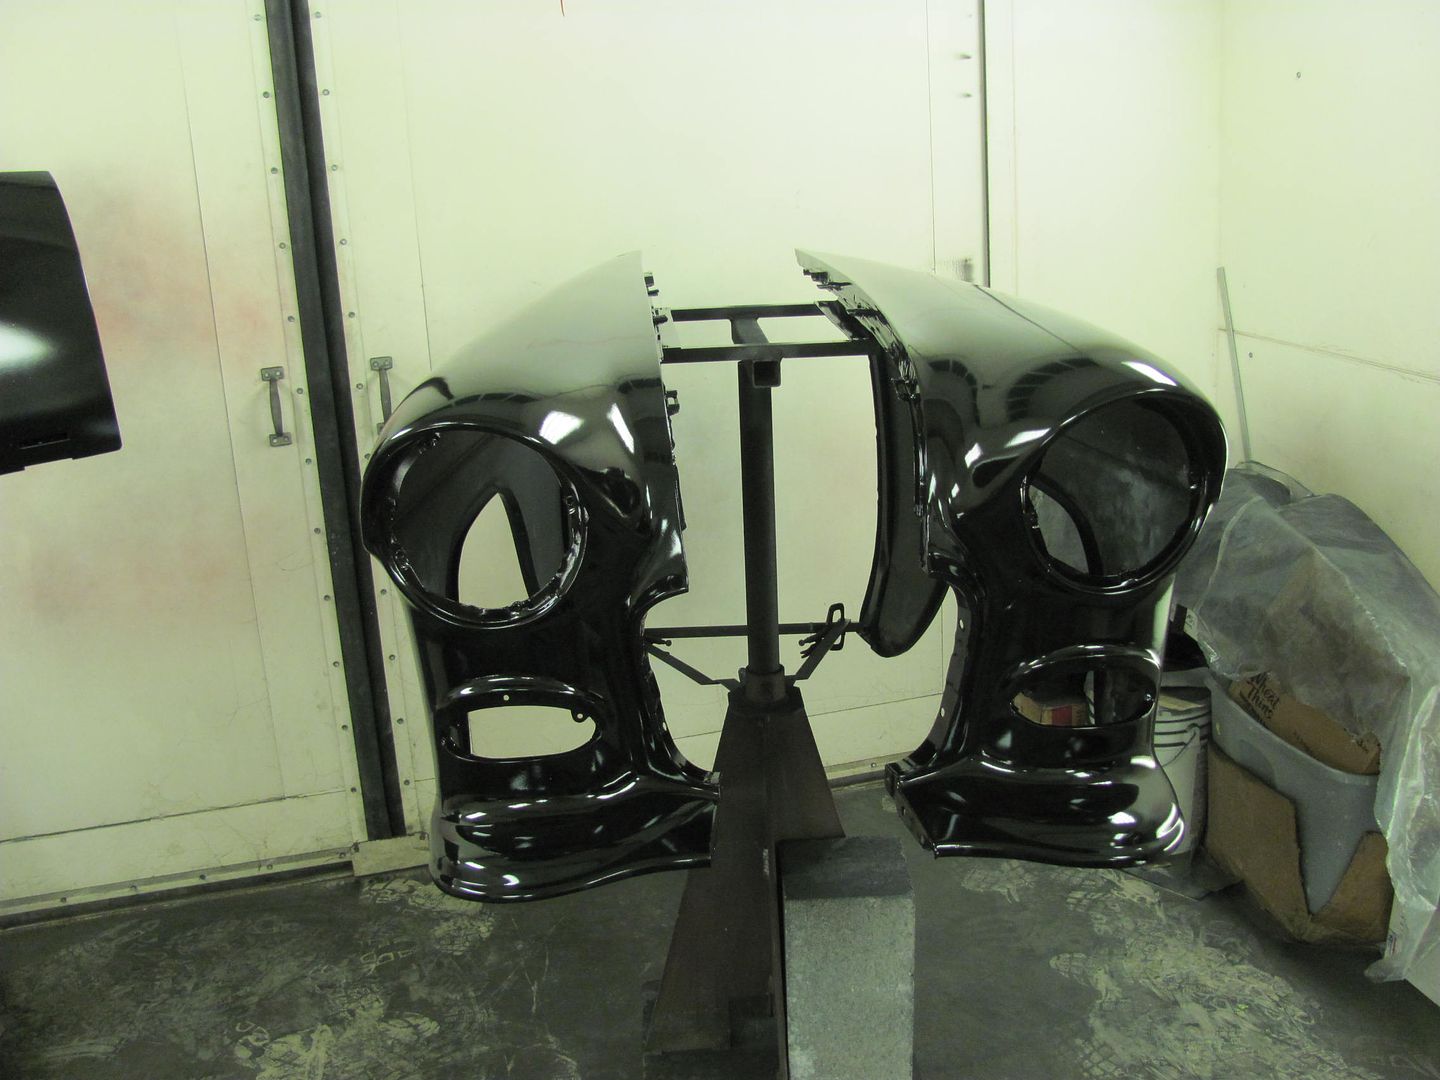
Robert
-
Advertising

- Google Adsense
- REGISTERED USERS DO NOT SEE THIS AD
-
07-27-2015 08:56 AM #572
CHR Member
- Join Date
- Oct 2007
- Location
- Petaluma
- Car Year, Make, Model: 48 Ford F1
- Posts
- 9,778
Looks fantastic!"  "No matter where you go, there you are!" Steve.
-
08-04-2015 07:49 PM #573
CHR Member
- Join Date
- Jun 2008
- Location
- Leonardtown
- Car Year, Make, Model: Walking
- Posts
- 1,207
Thanks!
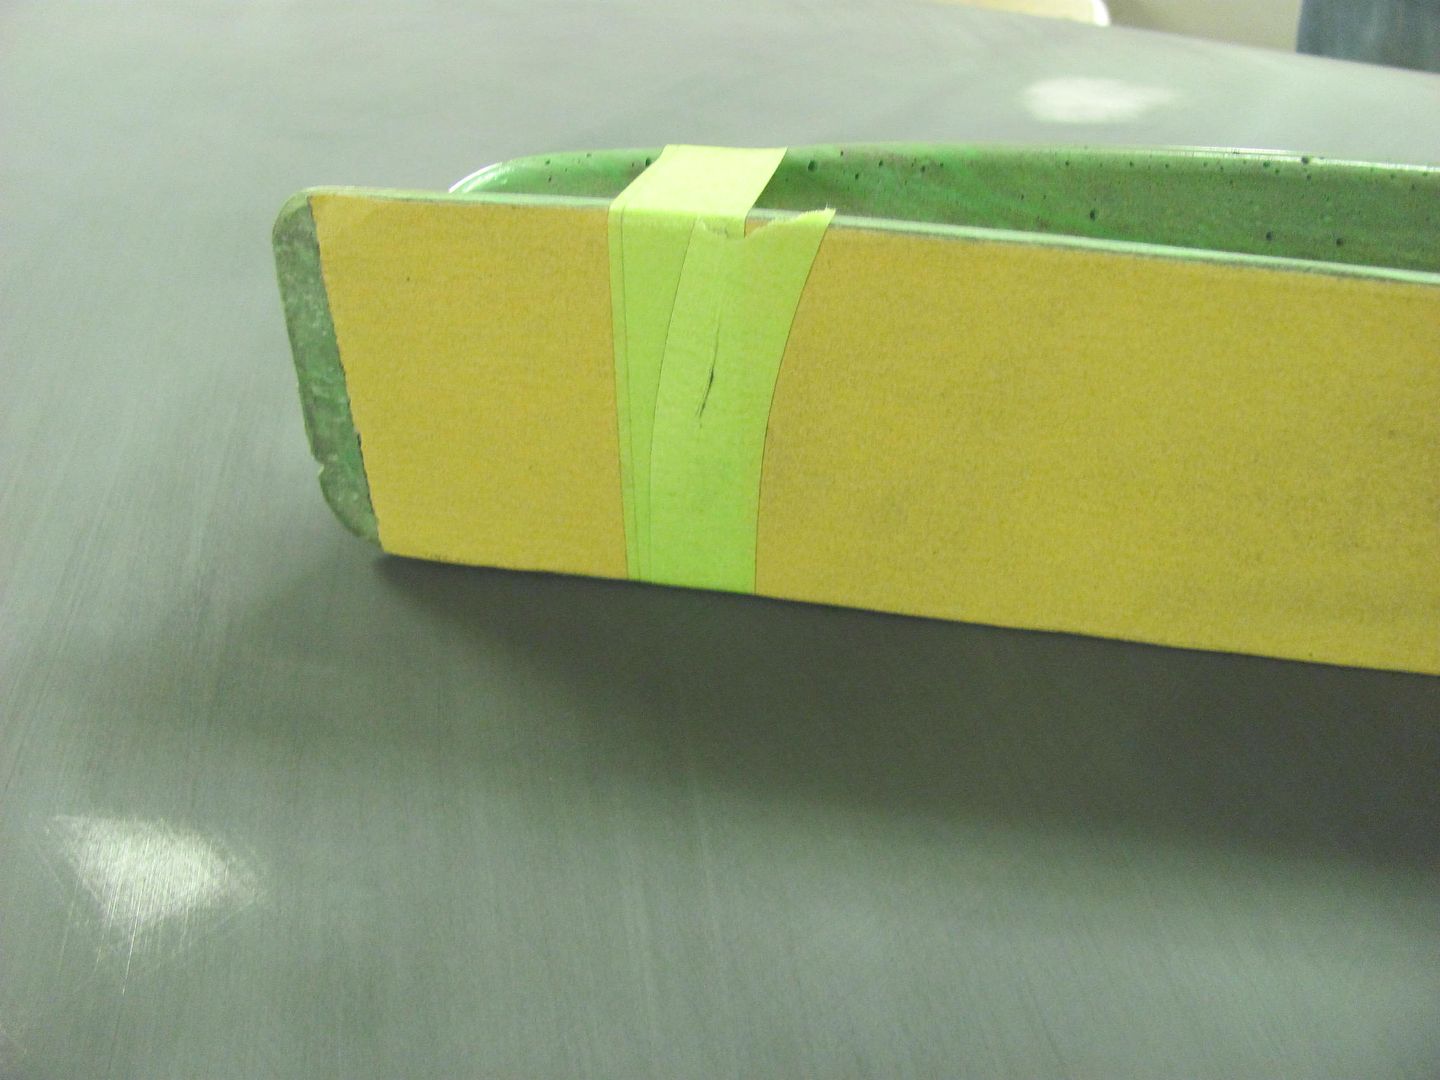
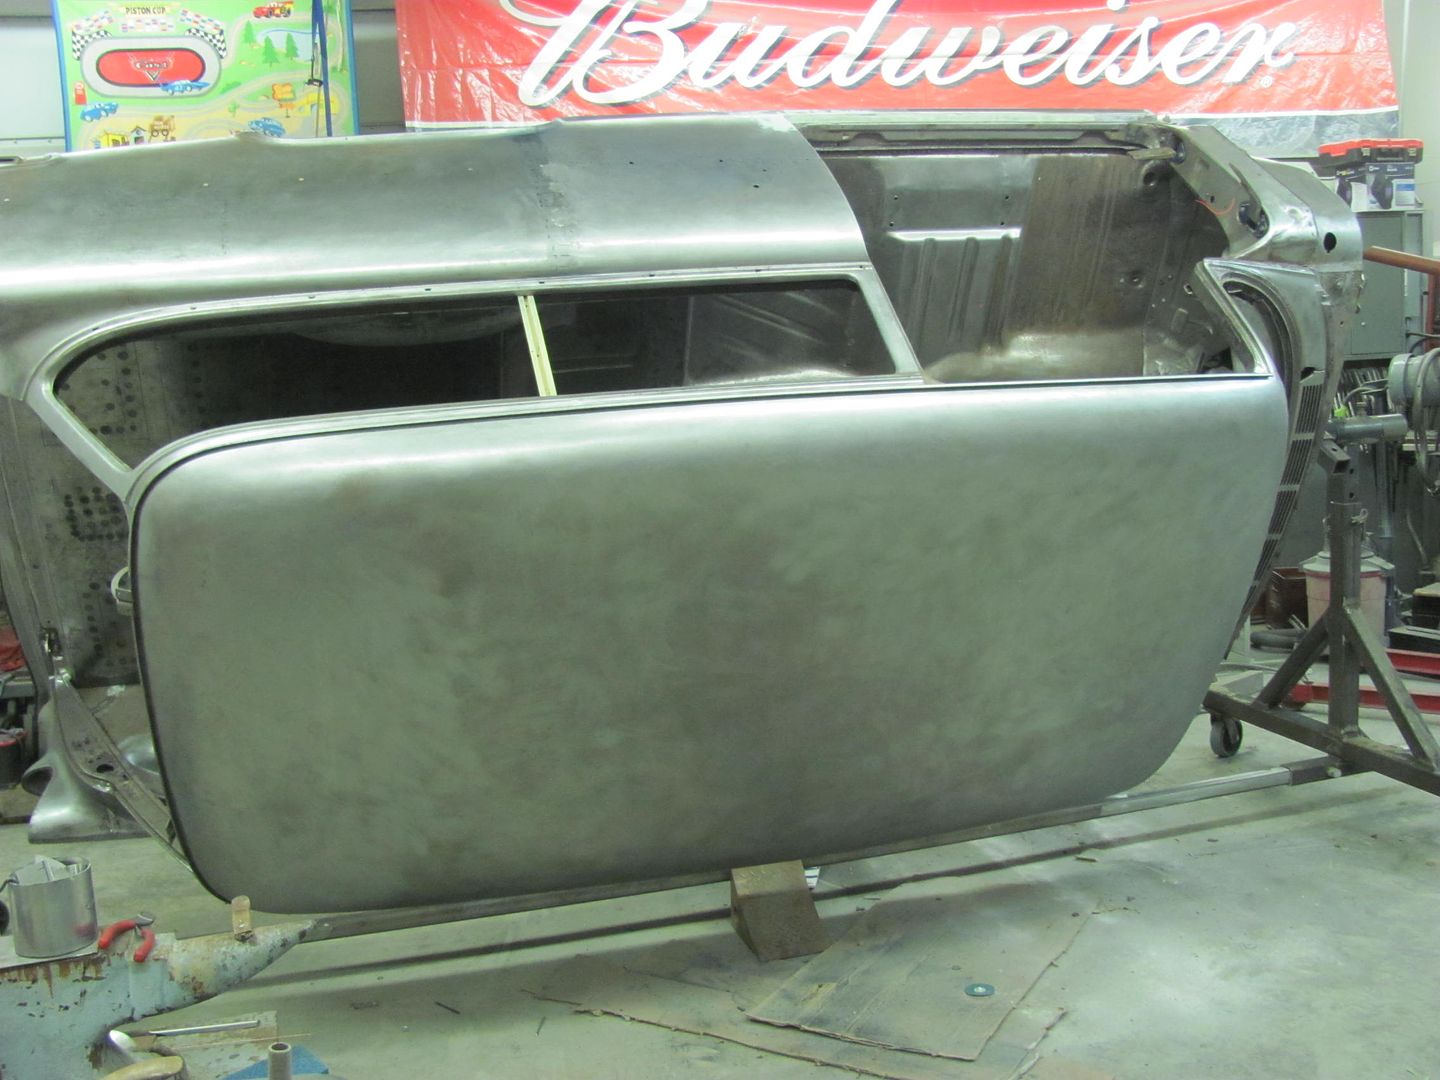
Tonight's post offers some blocking pointers.
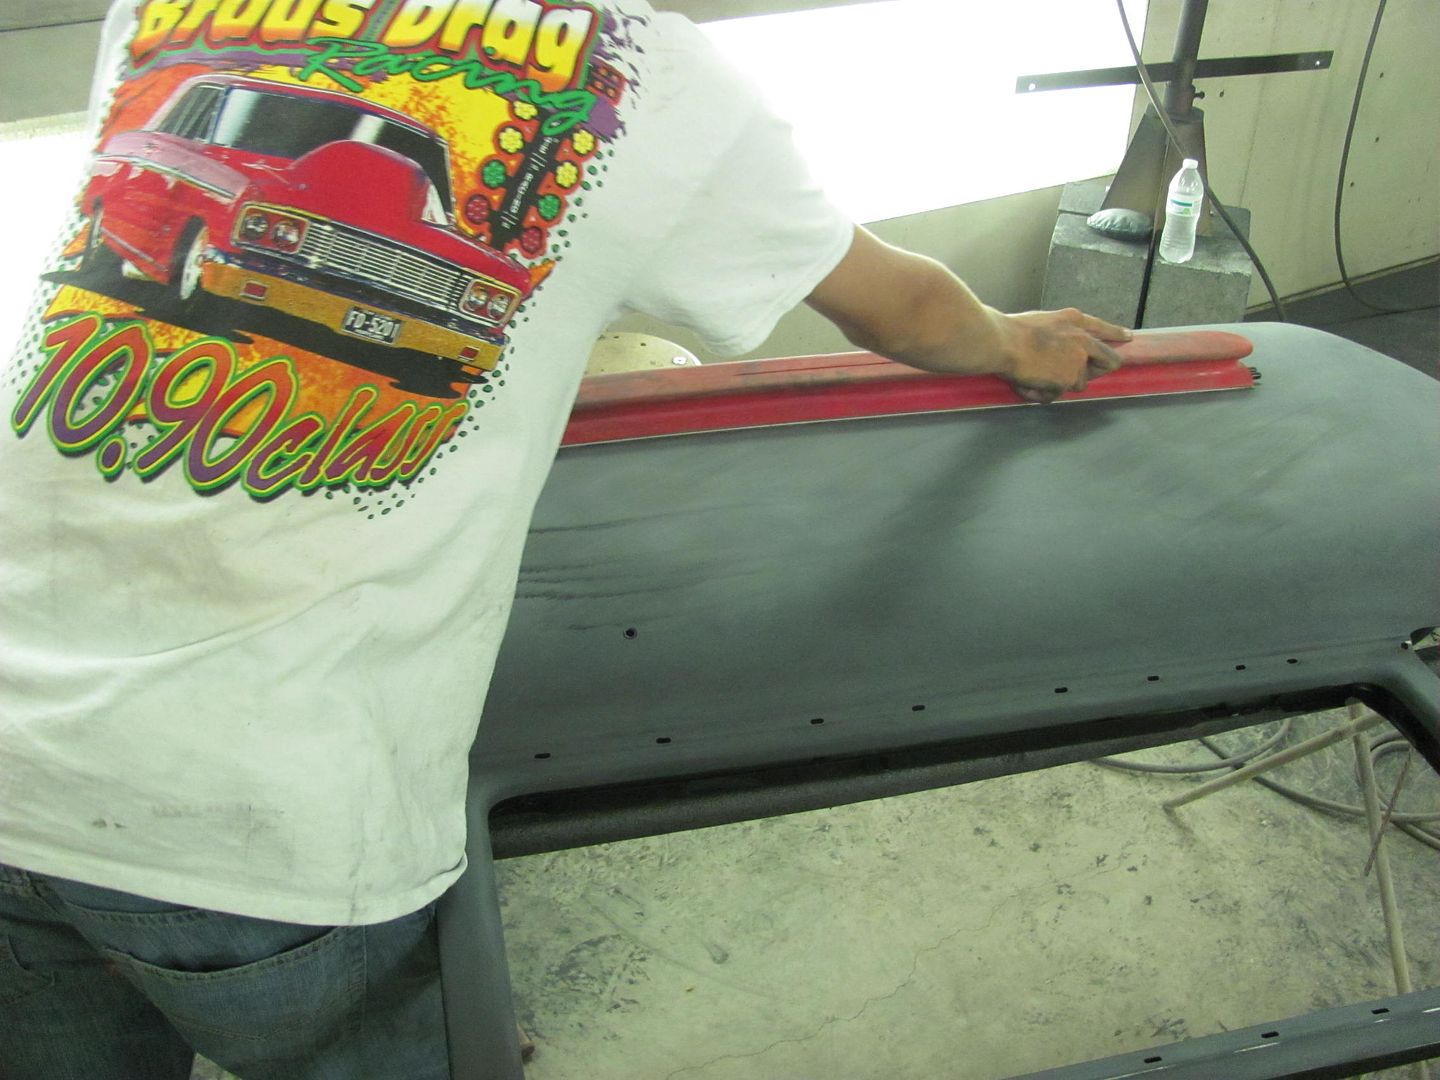
We had already done a couple sessions of priming/blocking the door across to the quarter and to the fender, all installed on the car. After this, more primer and put a perimeter of tape on the door skin. Now block separately, and the tape allows you to block the door and keep off the edge to prevent losing your match to the fender/quarter.
I don't stick with 45* angles, if you want to keep a long direction flat, you need the long block to better follow that direction. So change up to some sharper angles, about 30* off the long direction every now and then. Work one end to the other, consistent spacing, consistent angle, end to end. Then alternate to passes in the opposite direction.
Once done, and the inner part is good and blocked, now remove the tape and GENTLY block to the edge, taking care to not pull down at the edge and round things back off again. Whatever hand is holding the block make sure it is minimal pressure and stays on the door skin. In other words, no pressure pulling down past the edge.
One other point, to keep the inner end of the sanding block from sanding out all your hard work in the center of the door, put a wrap of tape around the end of the sanding block that is towards the center of the door. This helps that end to glide across the center of the door without cutting primer there.
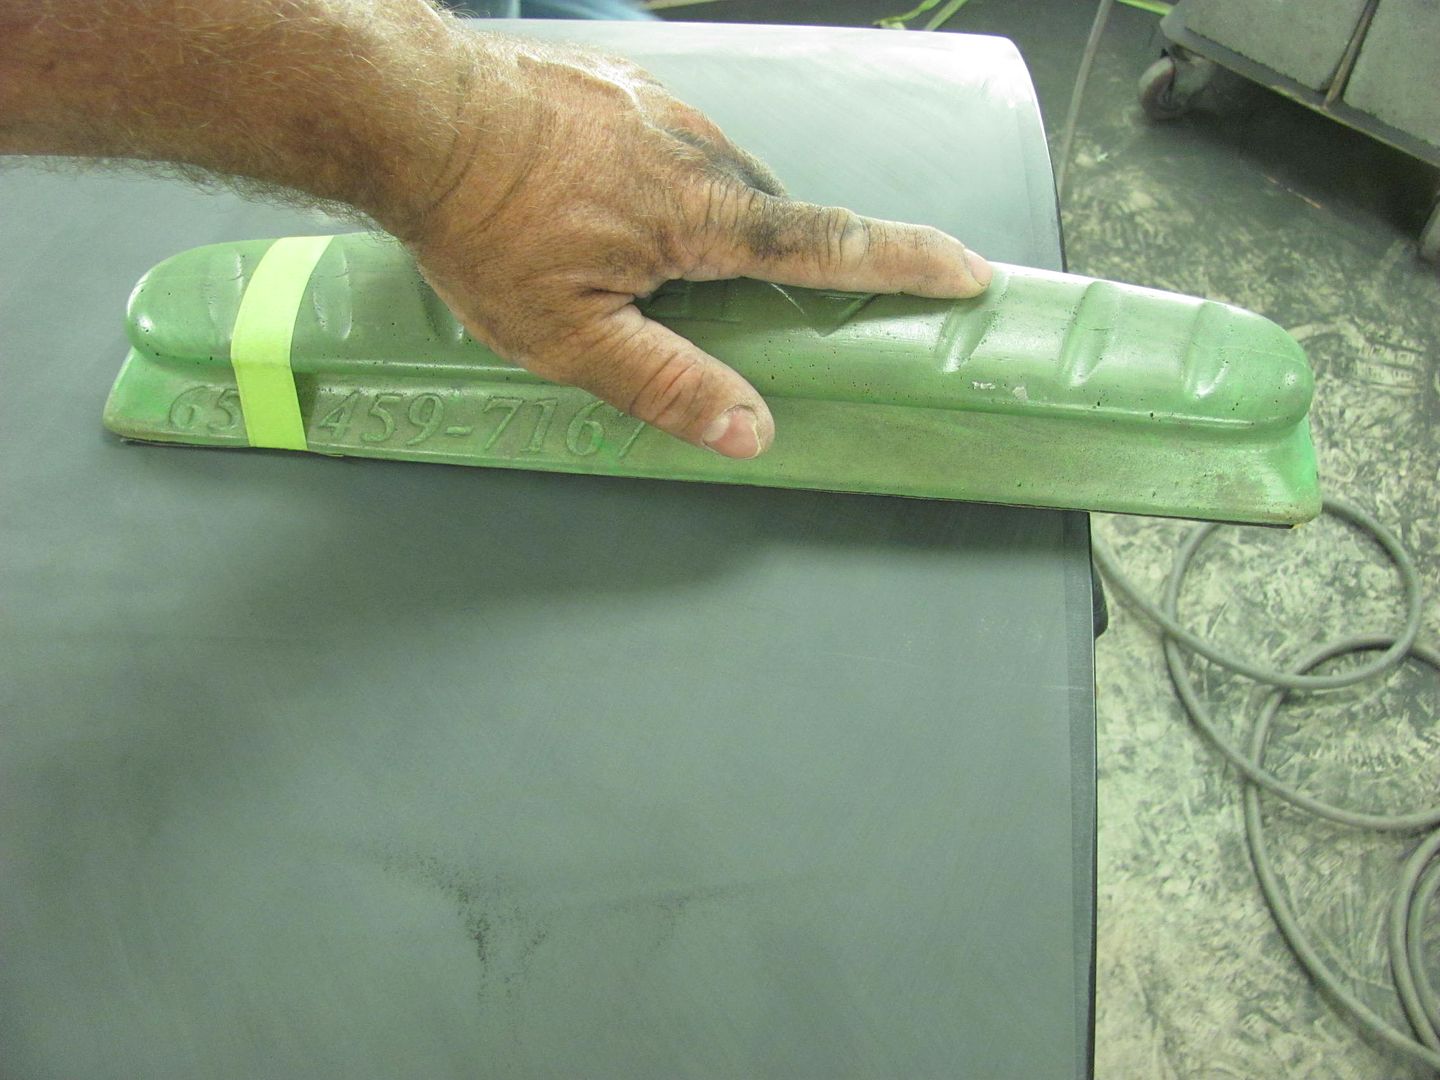
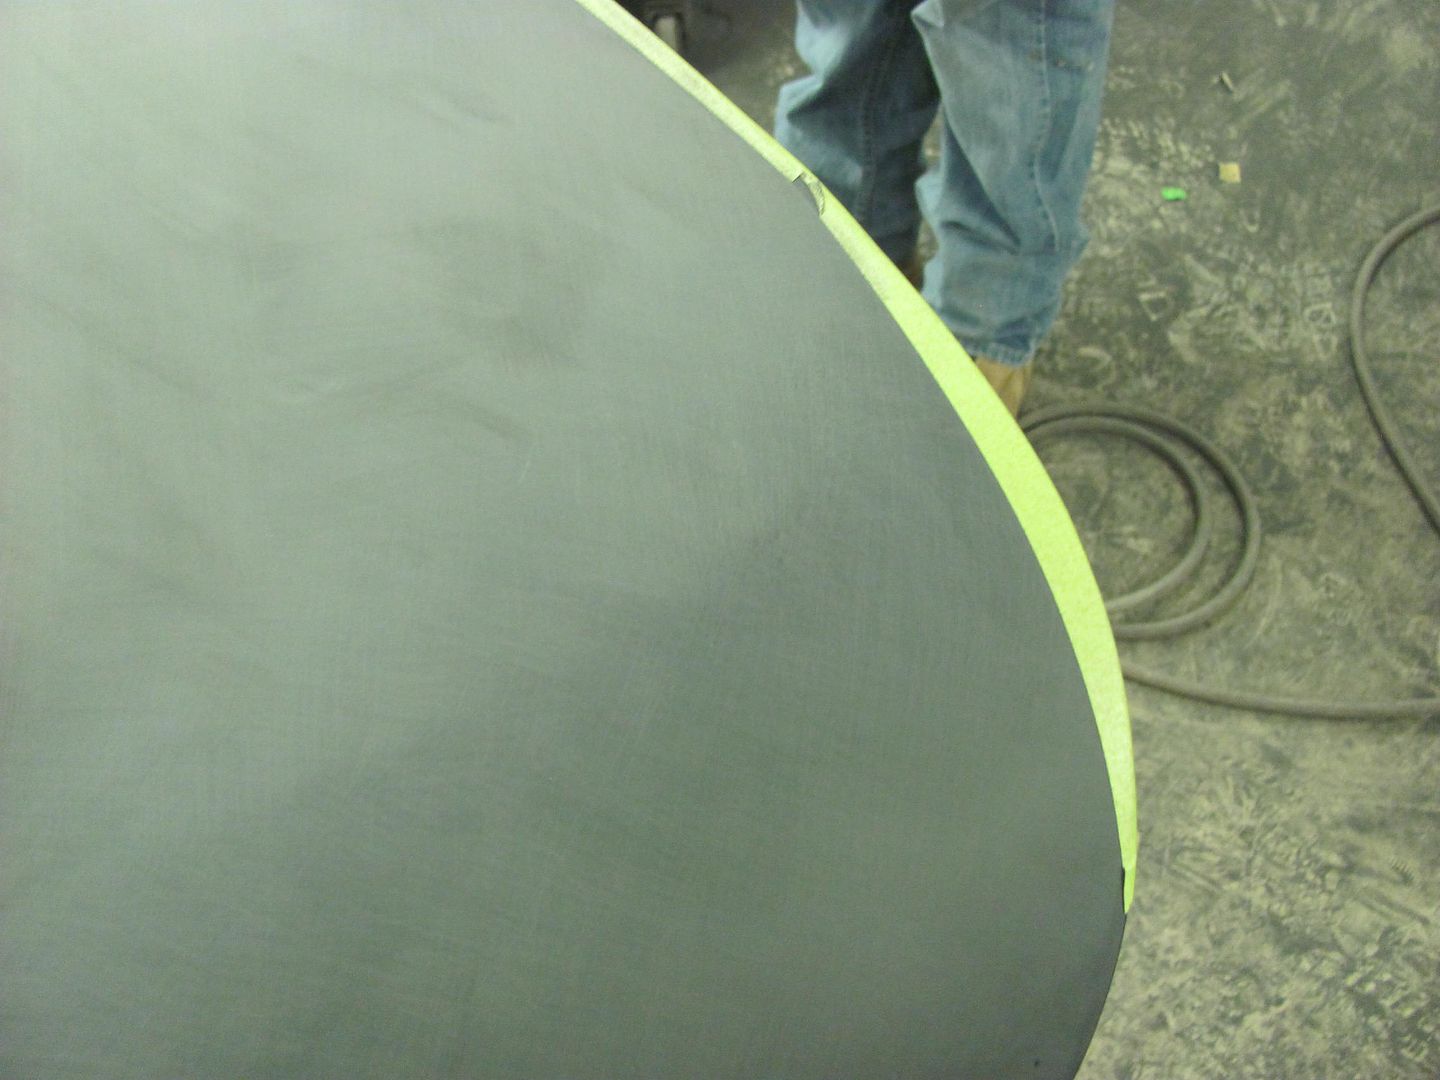
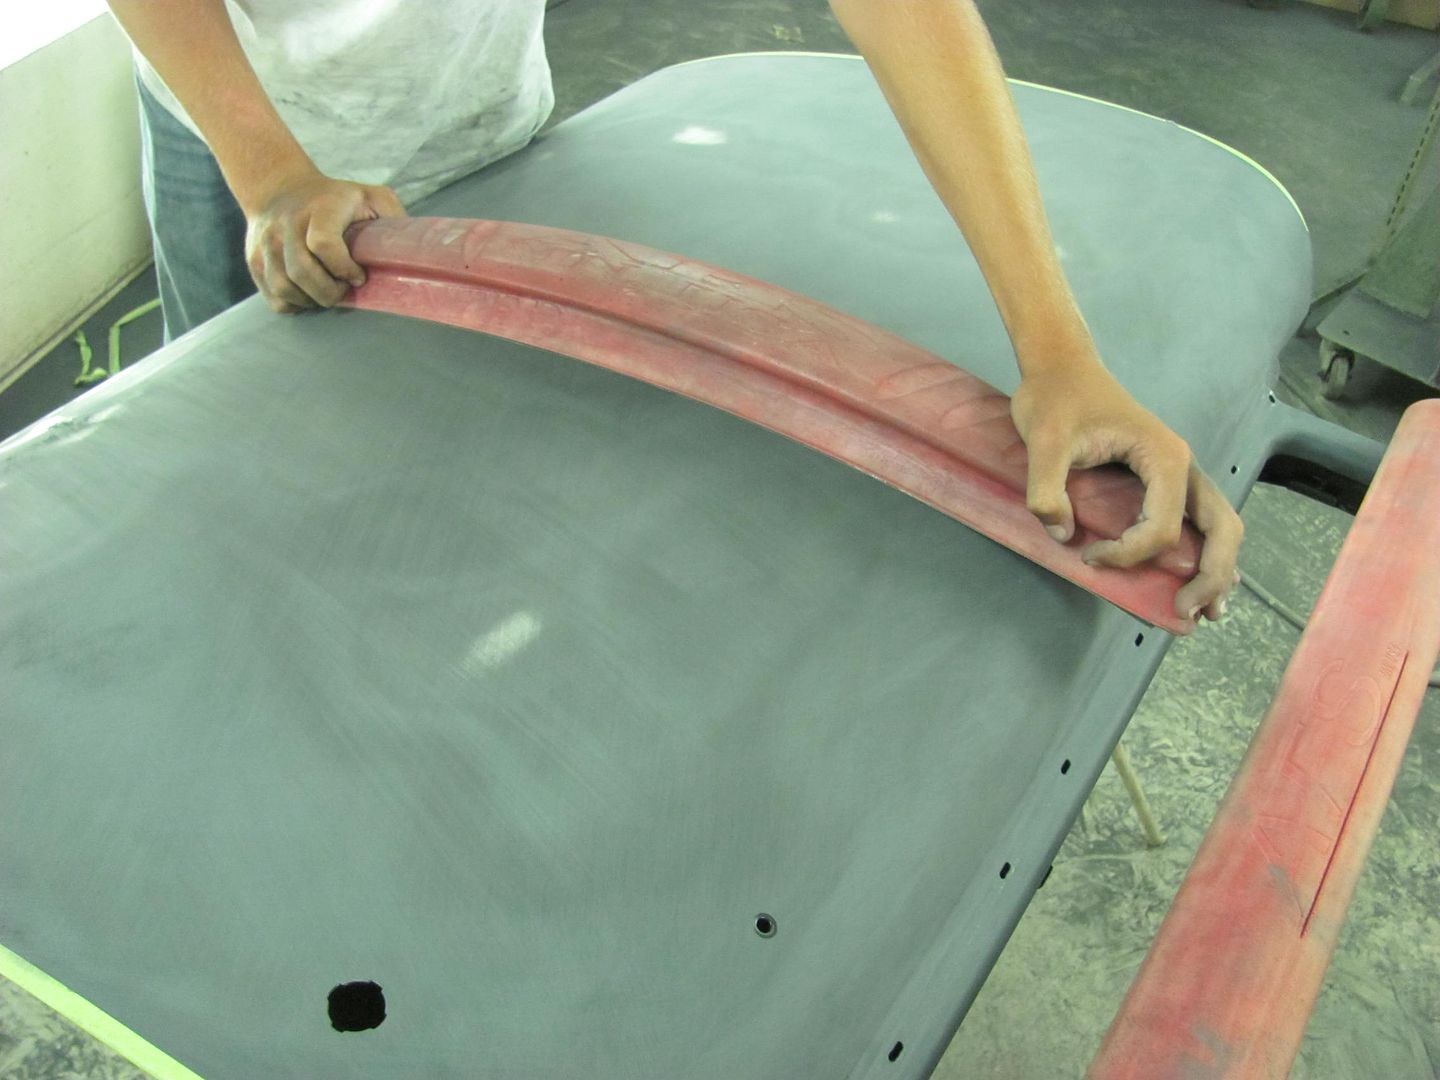
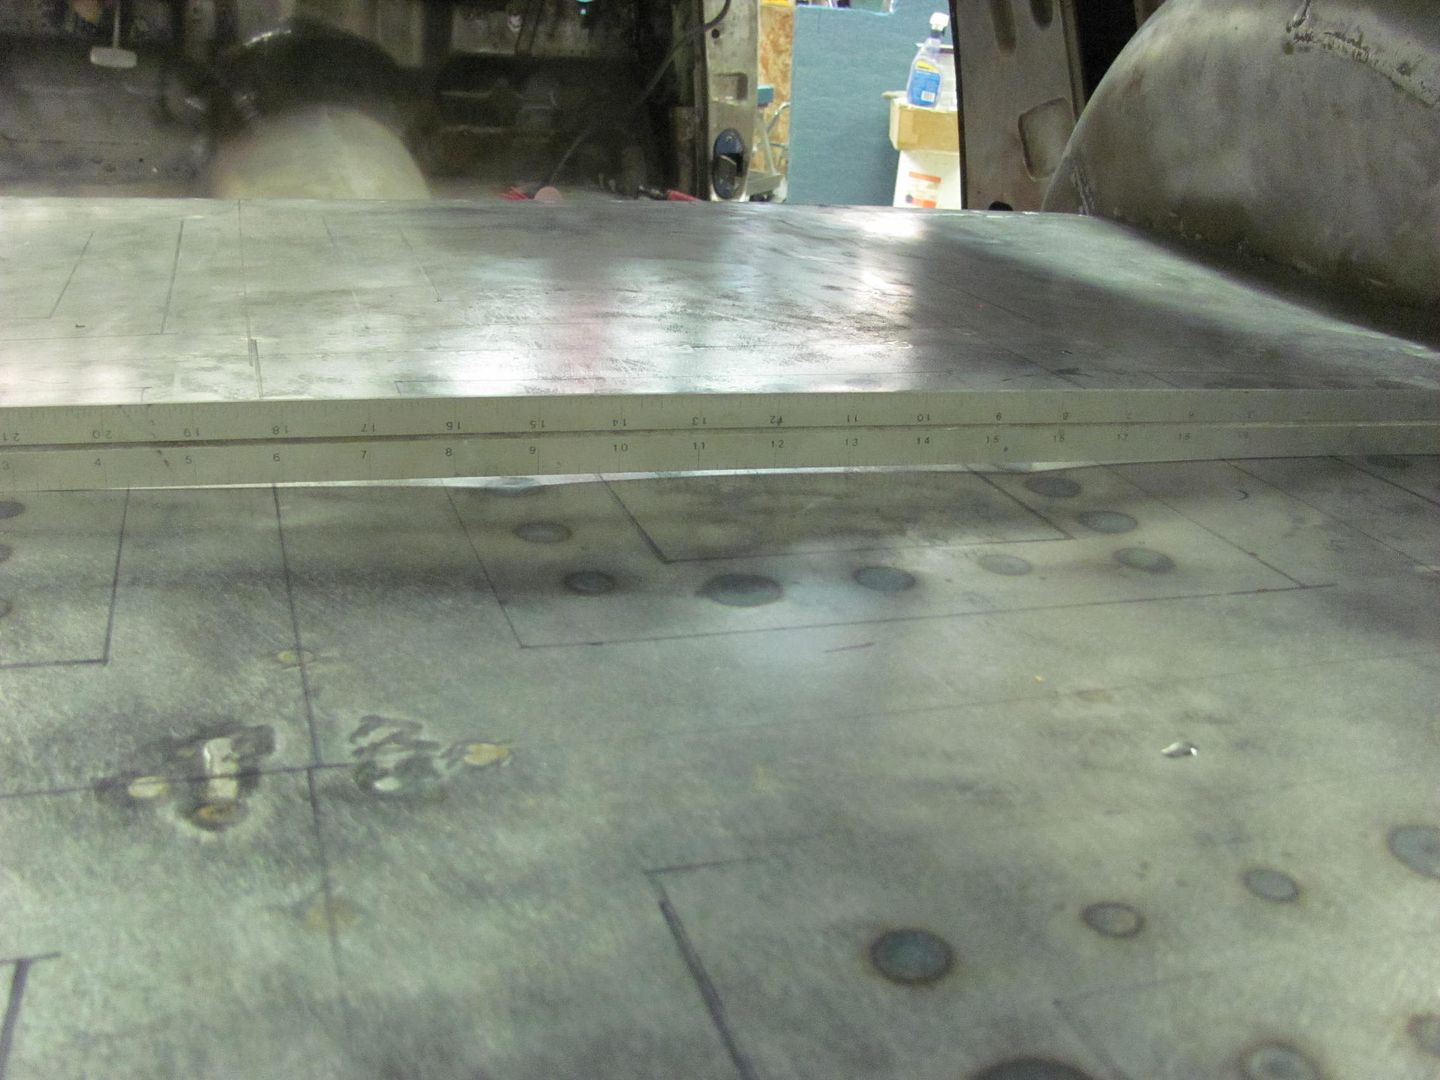
Now to show the importance of the long board..
We had done some blocking with the 27" AFS and seemed to have two high spots with a low in the middle of the door..
Note the high areas marked by the green tape...
Now we can see that as the sander is moved to the left, the left portion of the AFS is over the high spot on the left, and a bit more movement and the right portion of the AFS will start dropping into the low void. Effectively, this is still cutting material out of the low, keeping it low.

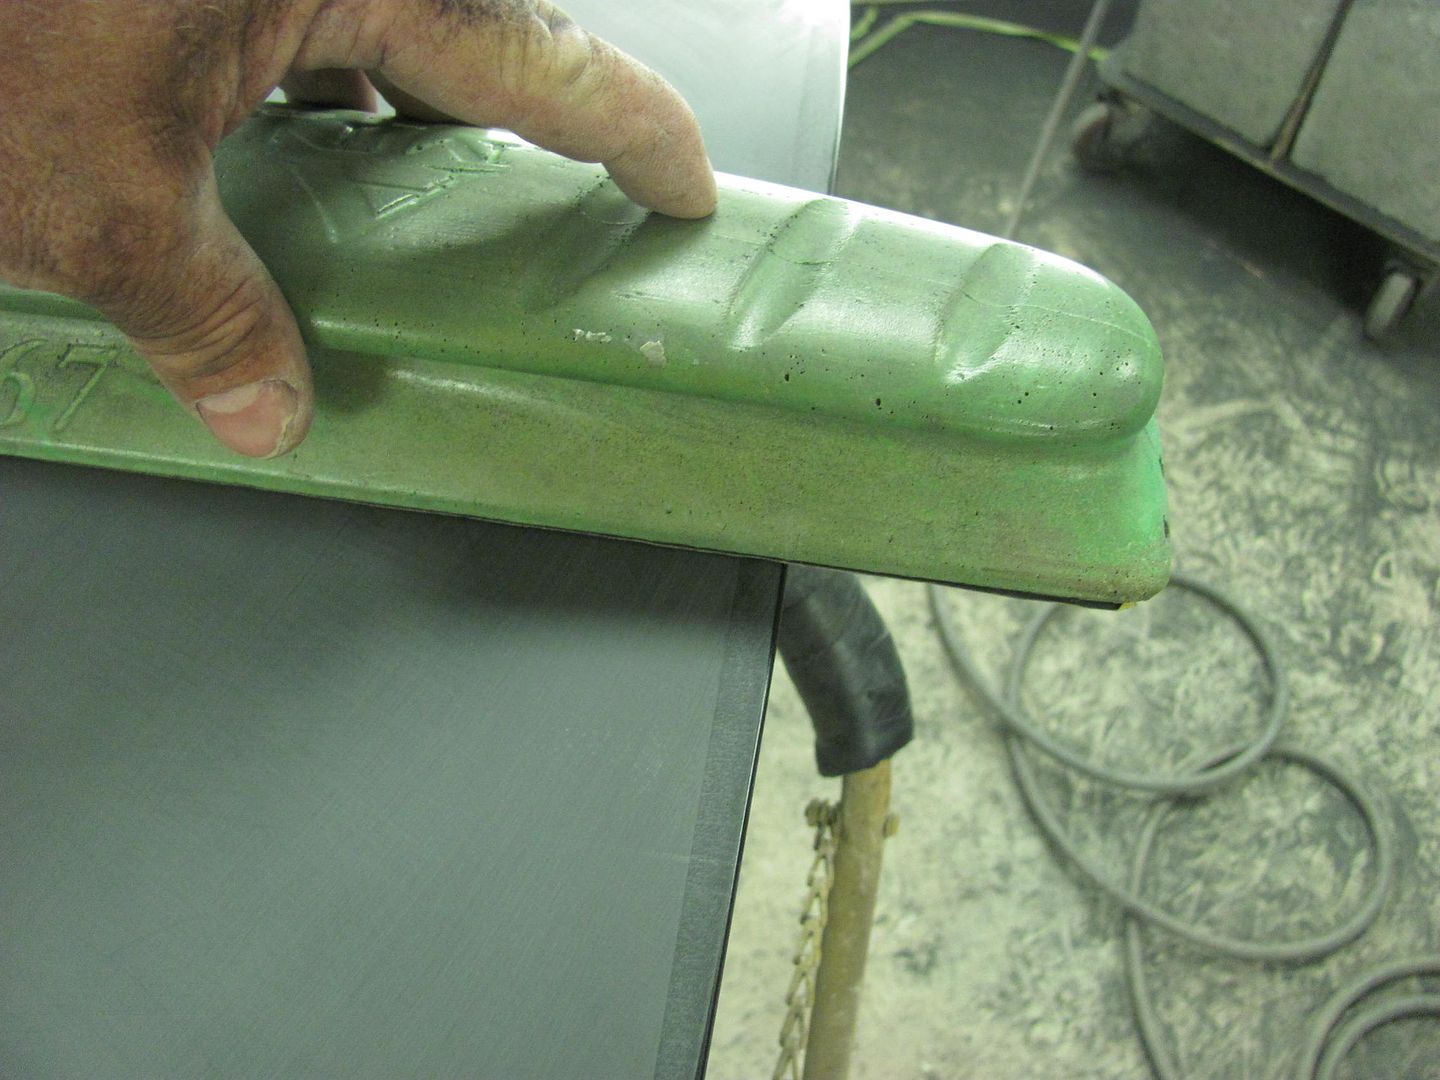
Looking at the next size up, a 36" AFS....
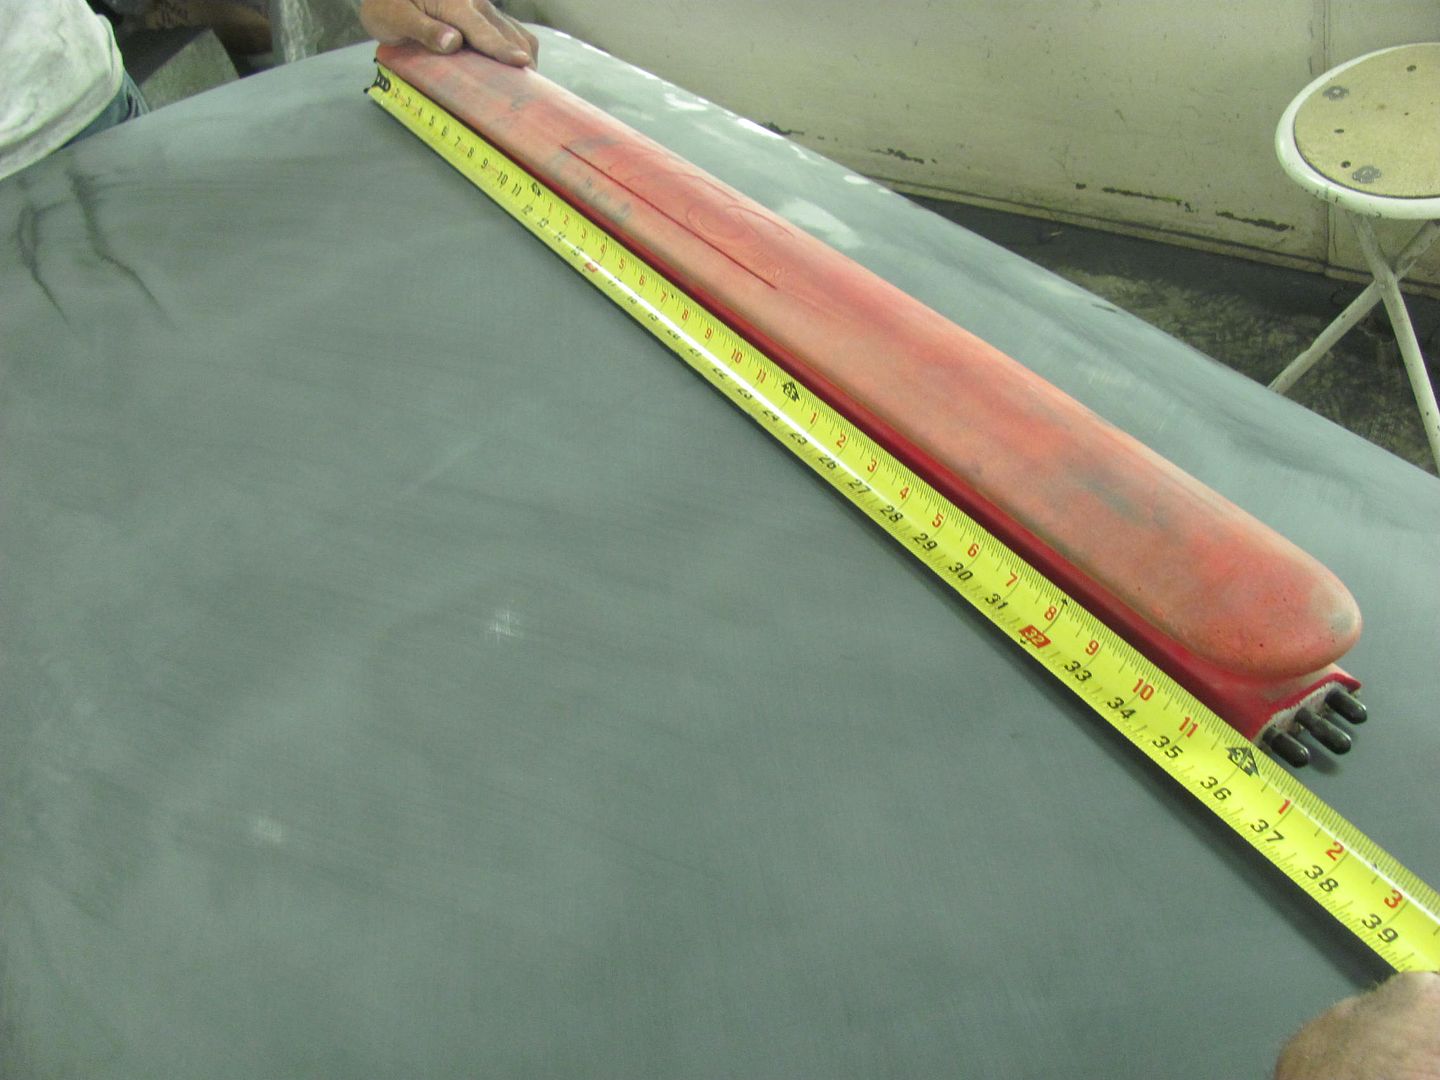
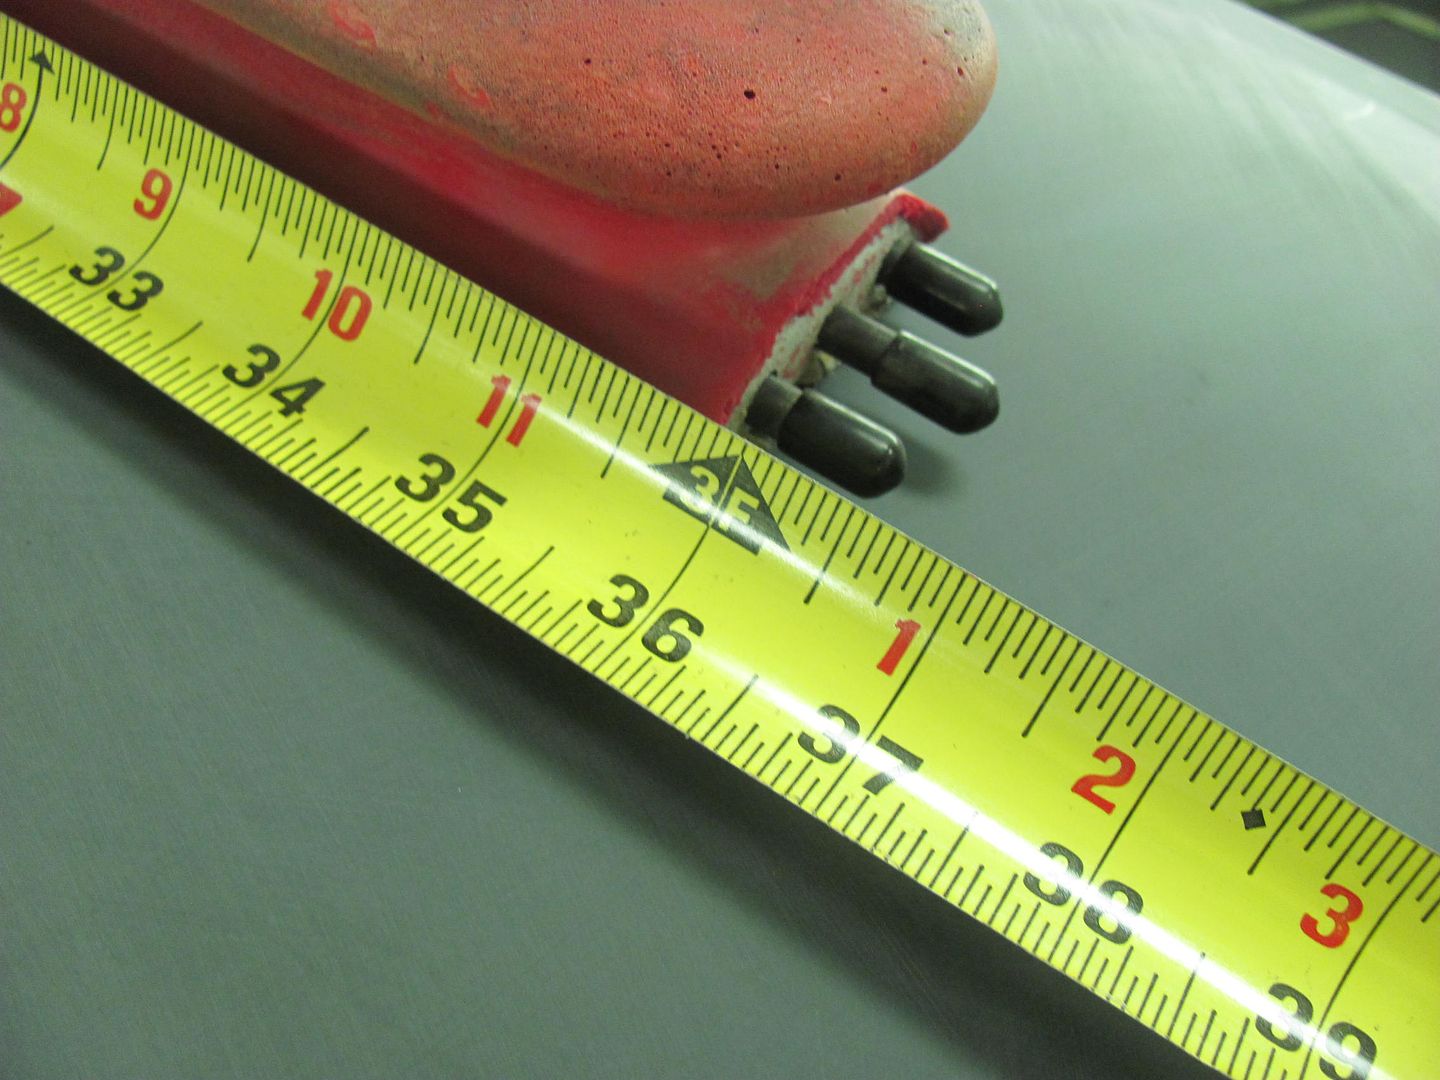
Here we can see this one does a much better job of spanning the high spots and staying up on top, for a more effective job of knocking down the highs and leaving the low in the center alone...

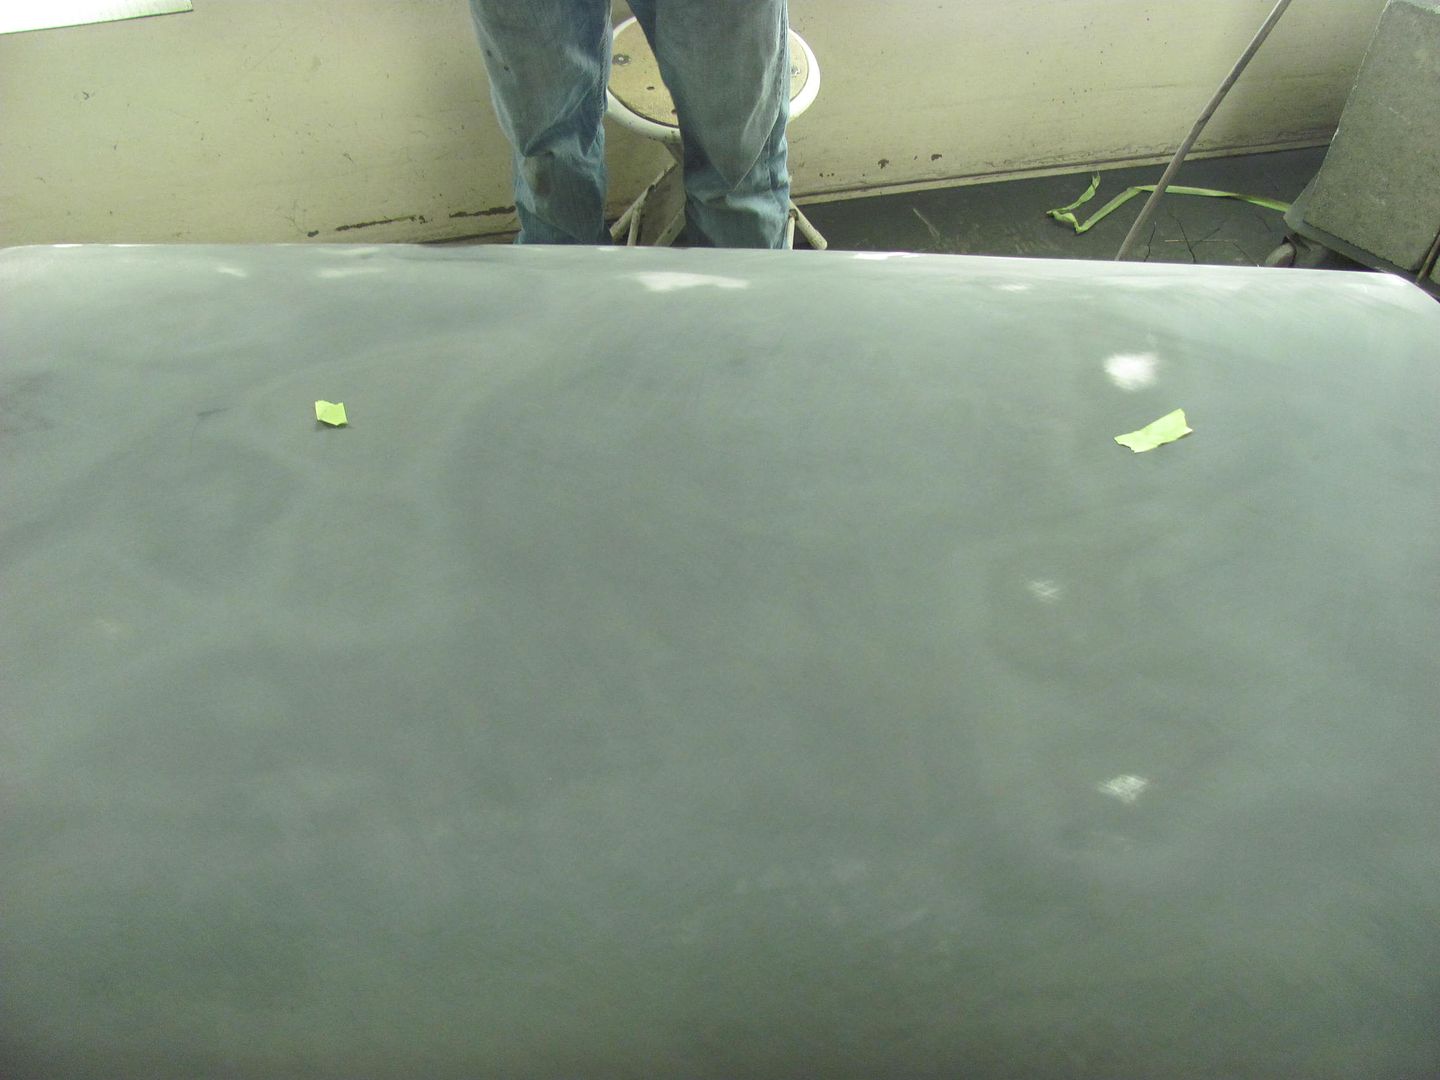
After a few horizontal passes at slight angles, like so with the 36".......
We follow up with some vertical passes at slight angles with the 27".... all rods removed to better follow the contour. Then alternate back to the 36 and another horizontal session..
Robert
-
08-05-2015 01:08 PM #574
CHR Member
- Join Date
- Apr 2011
- Location
- Prairie City
- Car Year, Make, Model: 40 Ford Deluxe, 68 Corvette, 72&76 K30
- Posts
- 7,284
- Blog Entries
- 1
Nice work Robert! Are you seeing a light at the end of the tunnel now? The motorcycle turned out awesome! That's a bad deal about the halo! Like you said though, at least you found it. That would be a bad deal to find it after it's painted.
Last edited by 40FordDeluxe; 08-05-2015 at 01:34 PM.
Ryan
1940 Ford Deluxe Tudor 354 Hemi 46RH Electric Blue w/multi-color flames, Ford 9" Residing in multiple pieces
1968 Corvette Coupe 5.9 Cummins Drag Car 11.43@130mph No stall leaving the line with 1250 rpm's and poor 2.2 60'
1972 Chevy K30 Longhorn P-pumped 24v Compound Turbos 47RH Just another money pit
1971 Camaro RS 5.3 BTR Stage 3 cam, SuperT10
Tire Sizes
-
08-05-2015 03:36 PM #575
CHR Member
- Join Date
- Jun 2008
- Location
- Leonardtown
- Car Year, Make, Model: Walking
- Posts
- 1,207
We can see the light, but it's still a bit dim!
Robert
-
08-05-2015 06:42 PM #576
CHR Member
- Join Date
- Mar 2013
- Location
- Seguin
- Car Year, Make, Model: 1940 Ford p/u
- Posts
- 737
thanks for the posting I like being educated on this stuff, thanks again !
-
08-06-2015 04:50 PM #577
CHR Member
- Join Date
- Sep 2007
- Location
- New Bedford
- Car Year, Make, Model: 34 Ford 3W Coupe Replica
- Posts
- 14,615
YEP! What he said!!
-
09-12-2015 02:54 PM #578
CHR Member
- Join Date
- Jun 2008
- Location
- Leonardtown
- Car Year, Make, Model: Walking
- Posts
- 1,207
Thanks fellas!
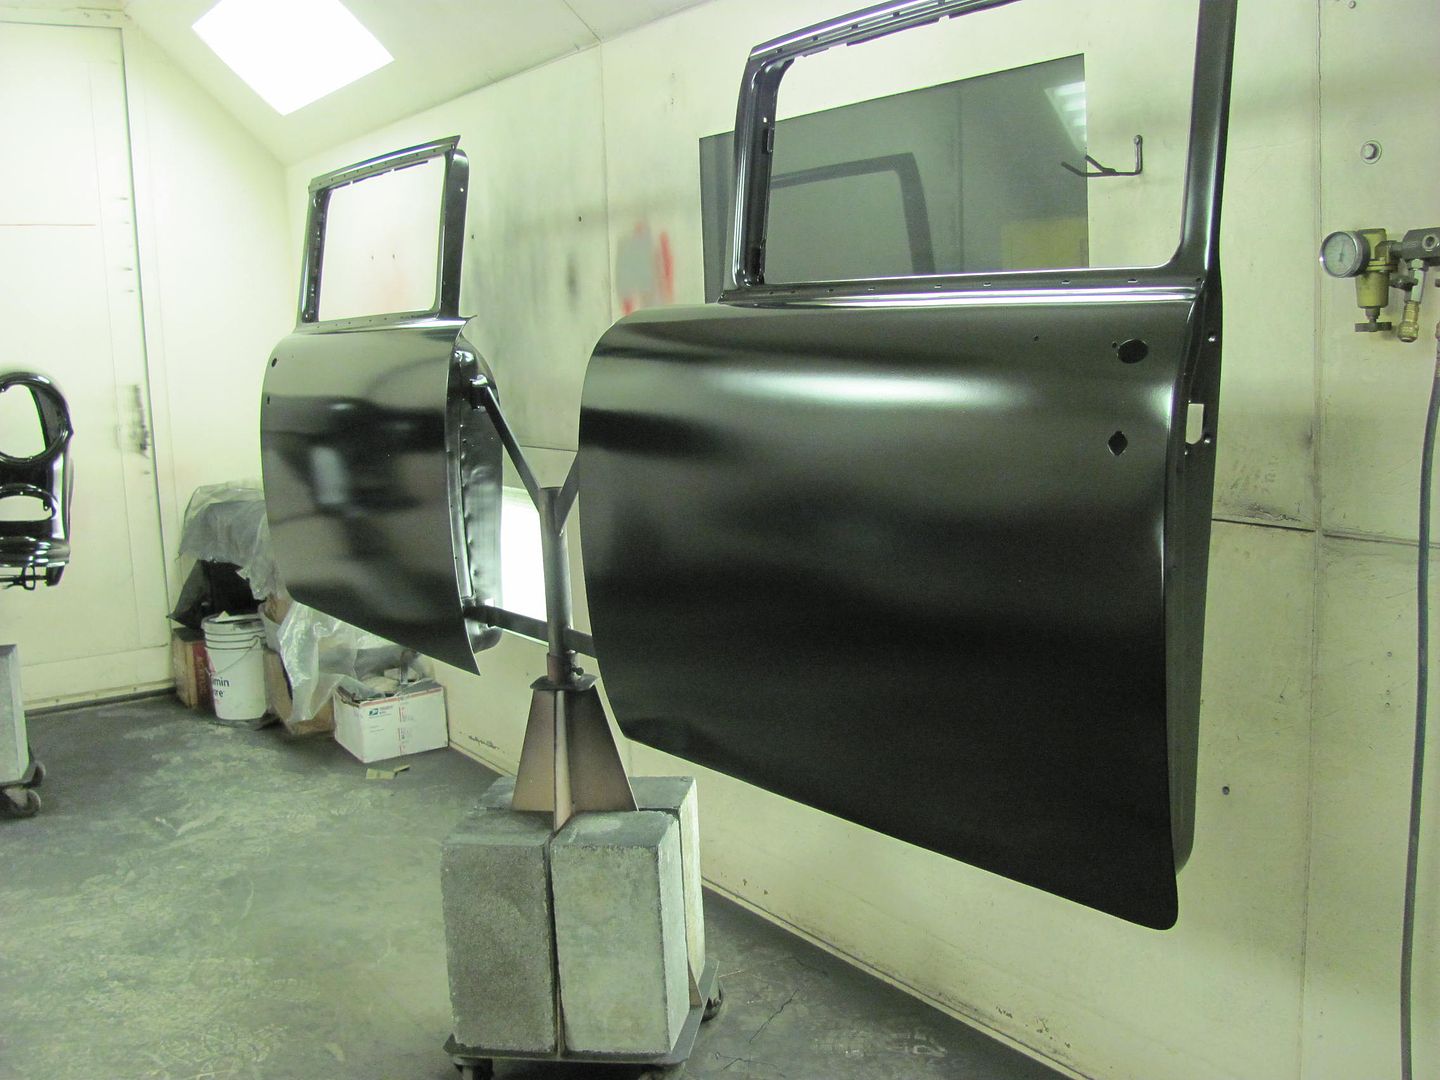
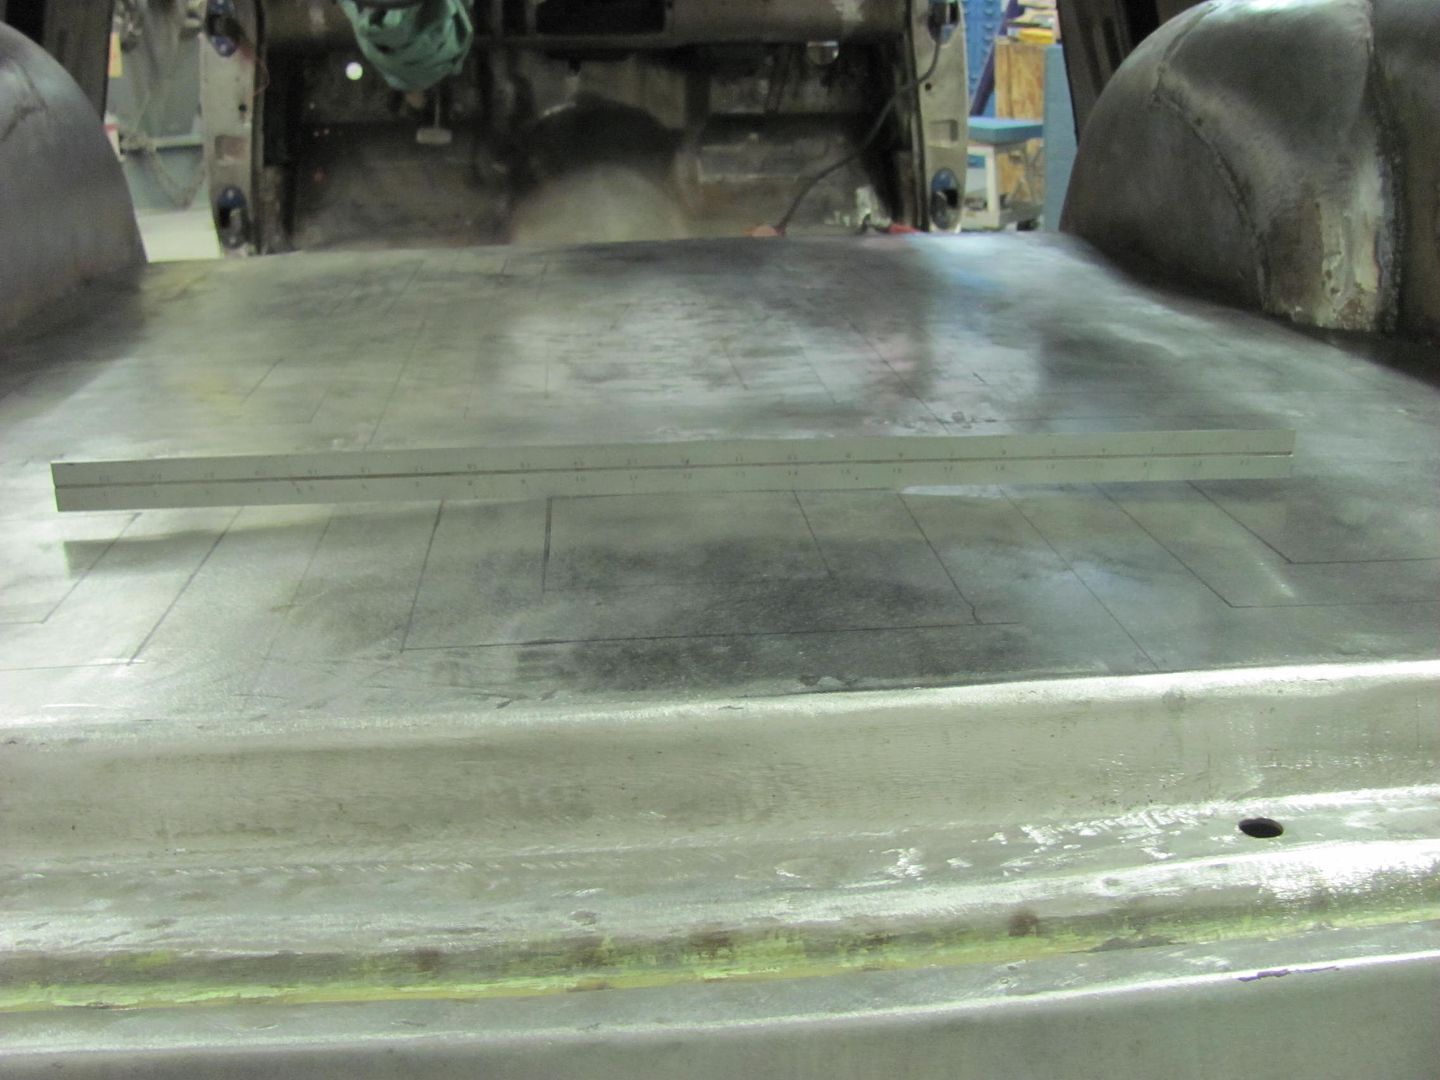
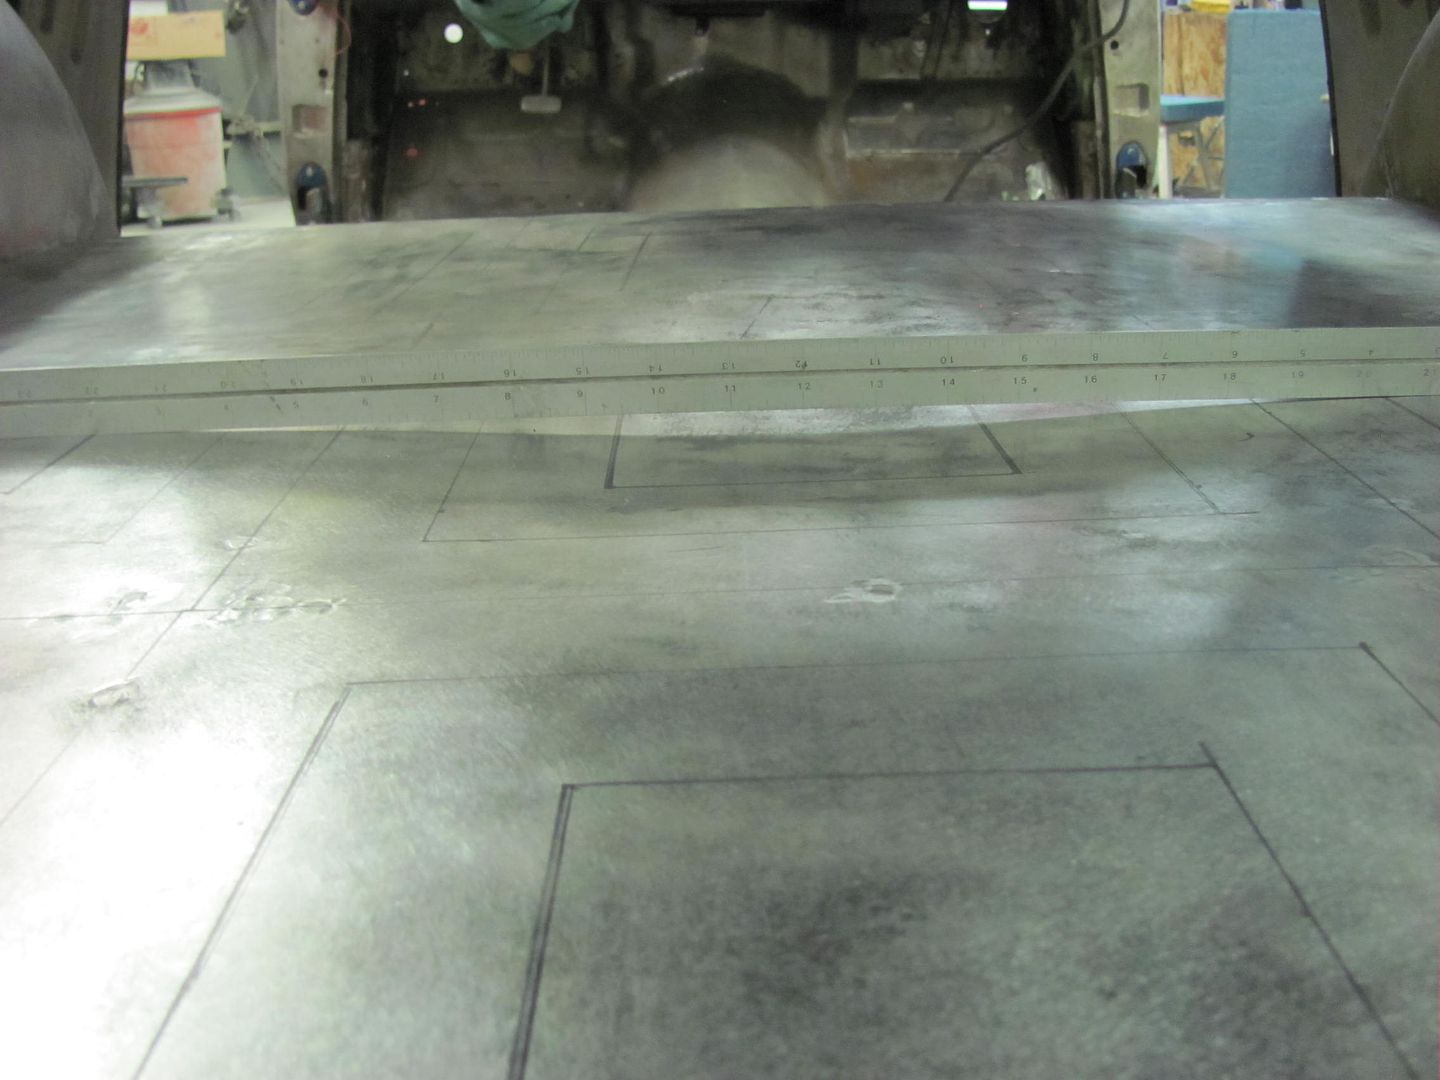
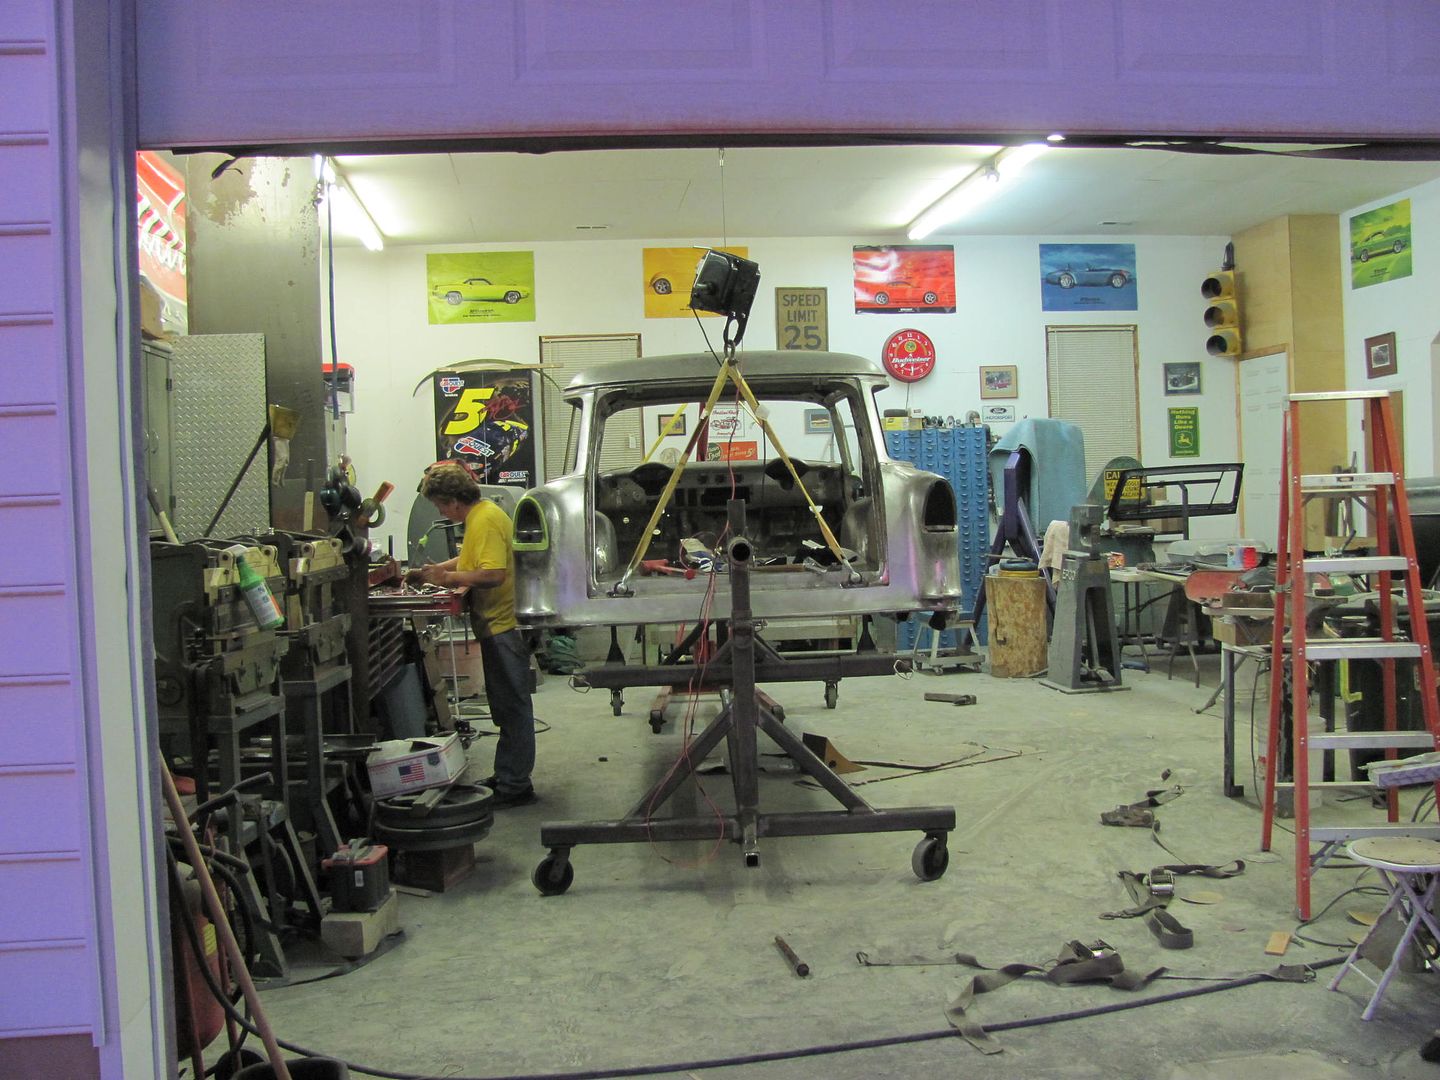
Well there has been a slight break in the updates, as I've been in Okinawa for about a month. Not to fear, Kyle has been plugging away on the wagon, it even has a floor in it, as you can see here...
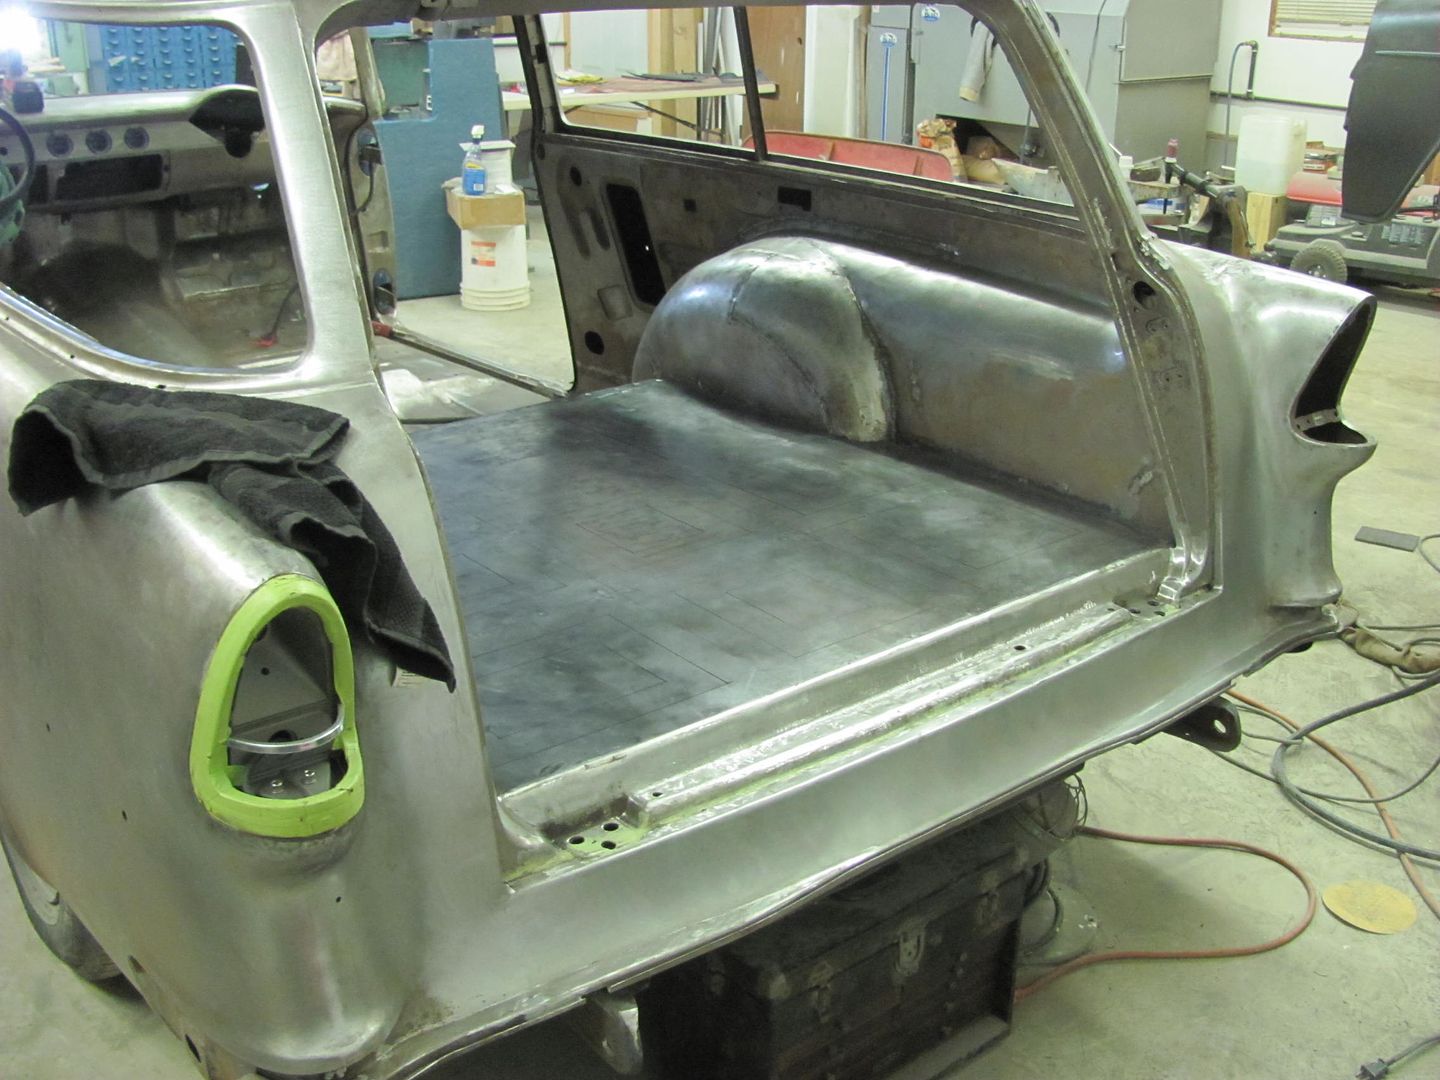
He did get a quite a bit of blocking done while I was gone....

And did get some wet sanding done on a few of the interior trim pieces. Today he started on the rear floor, part of the problem with welding a flat plate is that it doesn't stay flat. The plug welds to secure the floor to the bracing beneath caused some shrinking, which resulted in the metal between bulging outward, some up, some down. Looks about like the Atlantic on a calm day.
Today, as I was going to be wet sanding, he was going to try some torch shrinking. To better make this a one person job with minimal risk of open flame, we thought to give the "electric" torch a go.
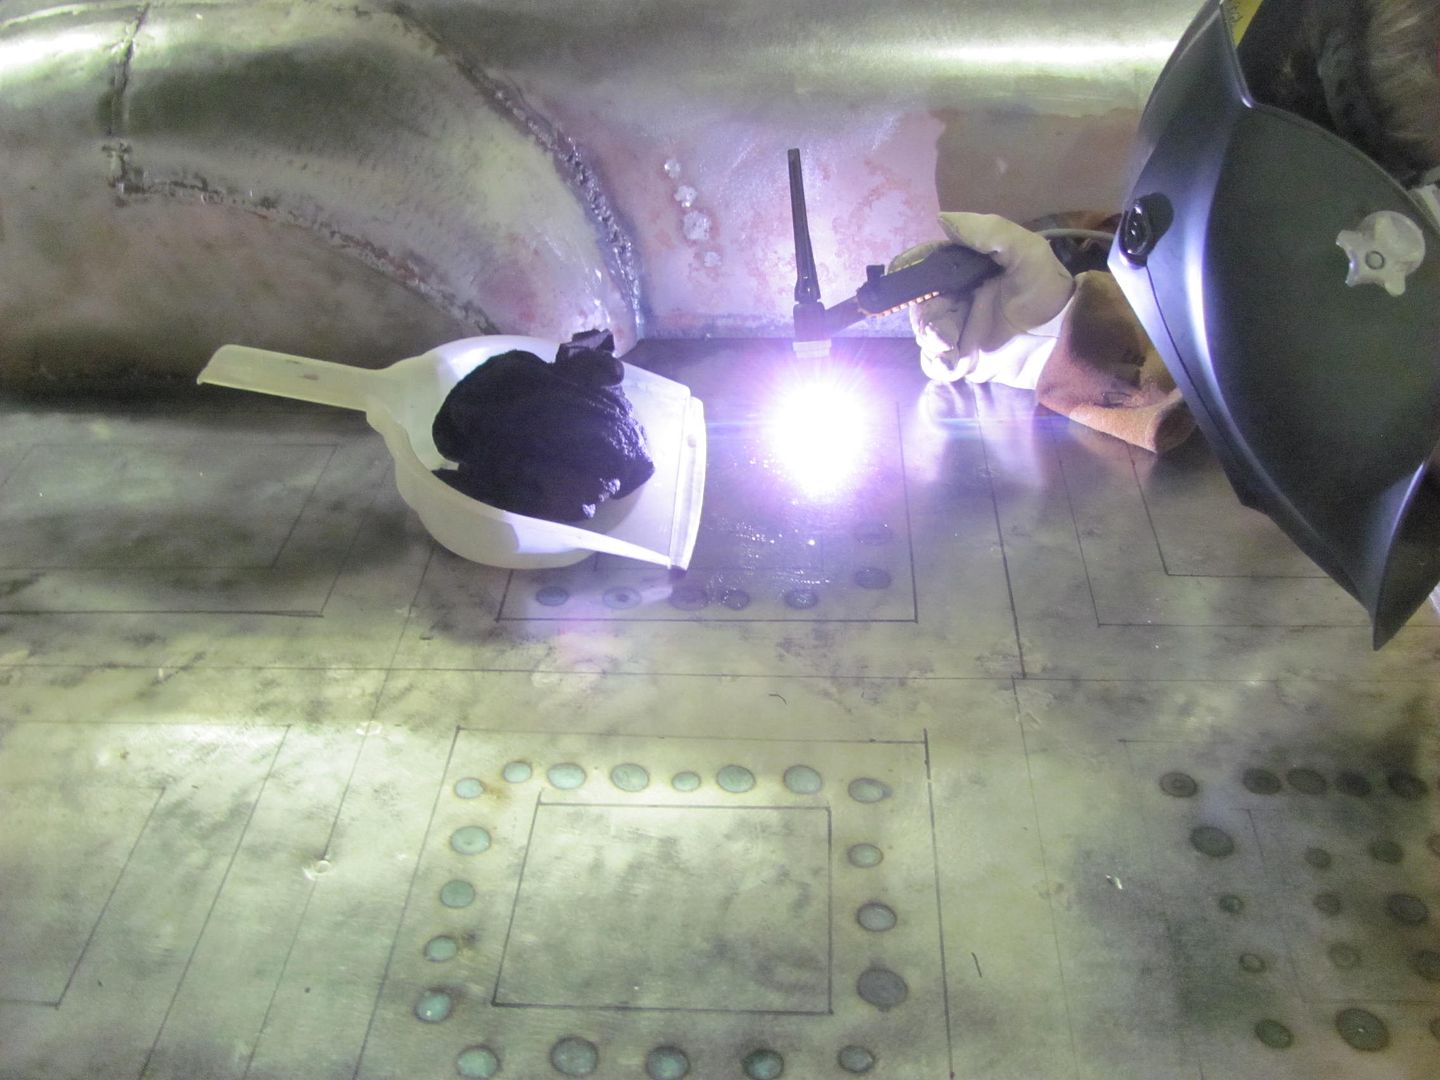
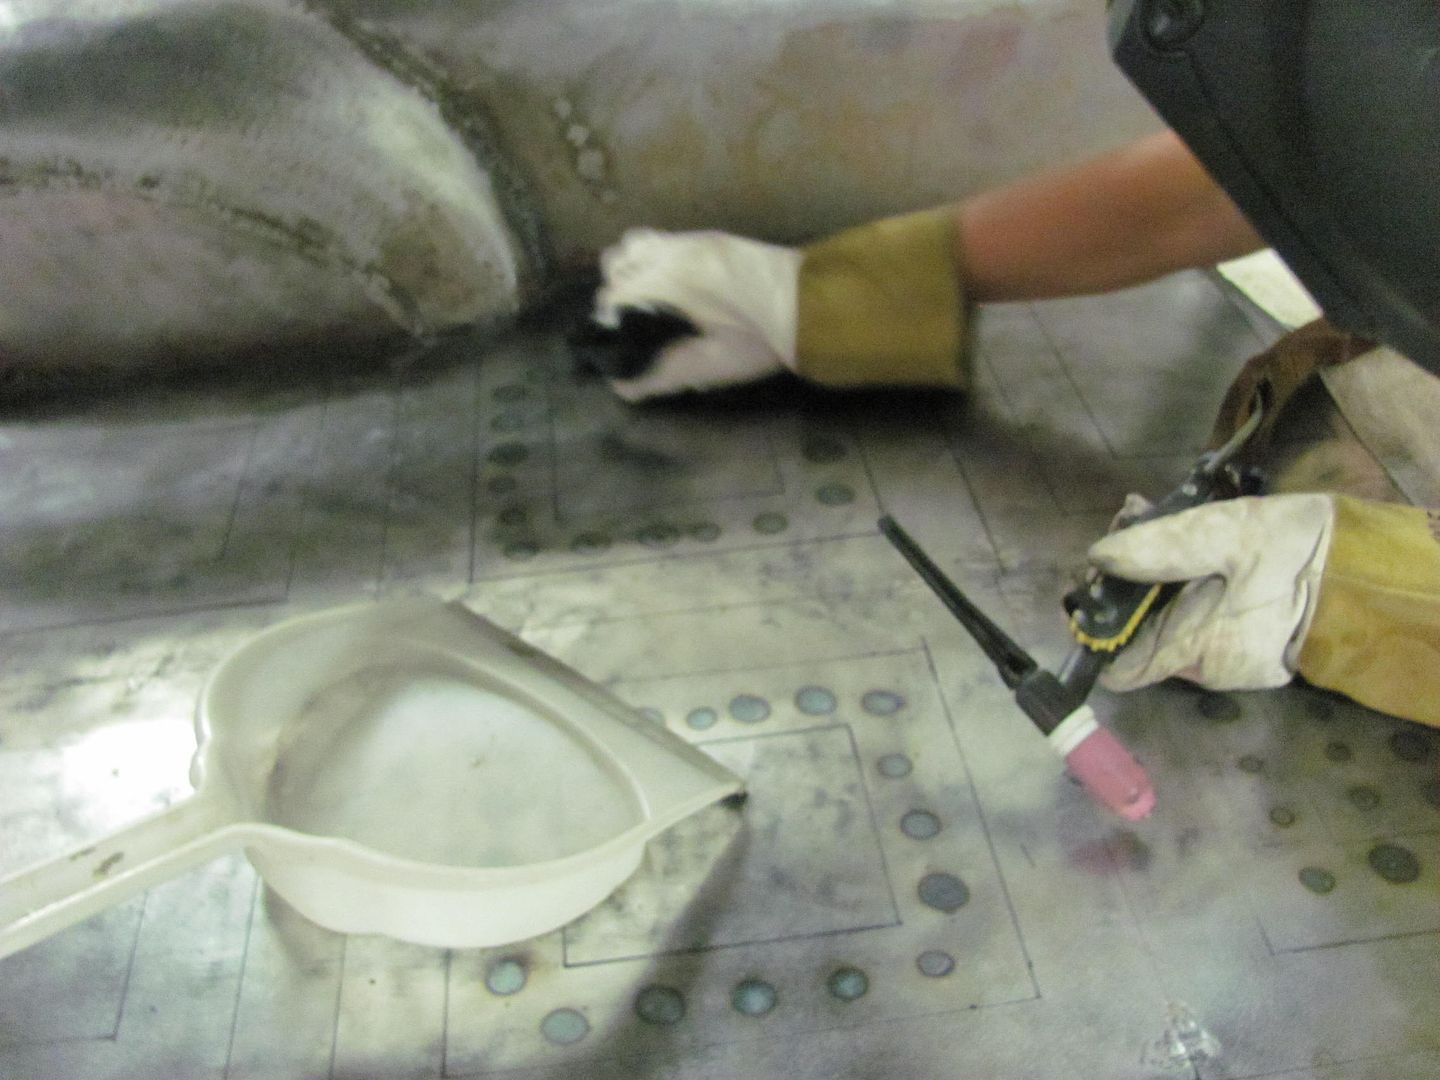
The plastic dust pan served as a tray to hold the wet rag, keeping it in closer proximity to where it was needed and attempt to limit the amount of water elsewhere. The results showed quite an improvement, and it's in need of some bumping at this point..
But alas, the gas tank is in the way, so we will likely get the body back on the rotisserie here soon in an effort to get the remaining prep prior to paint completed.
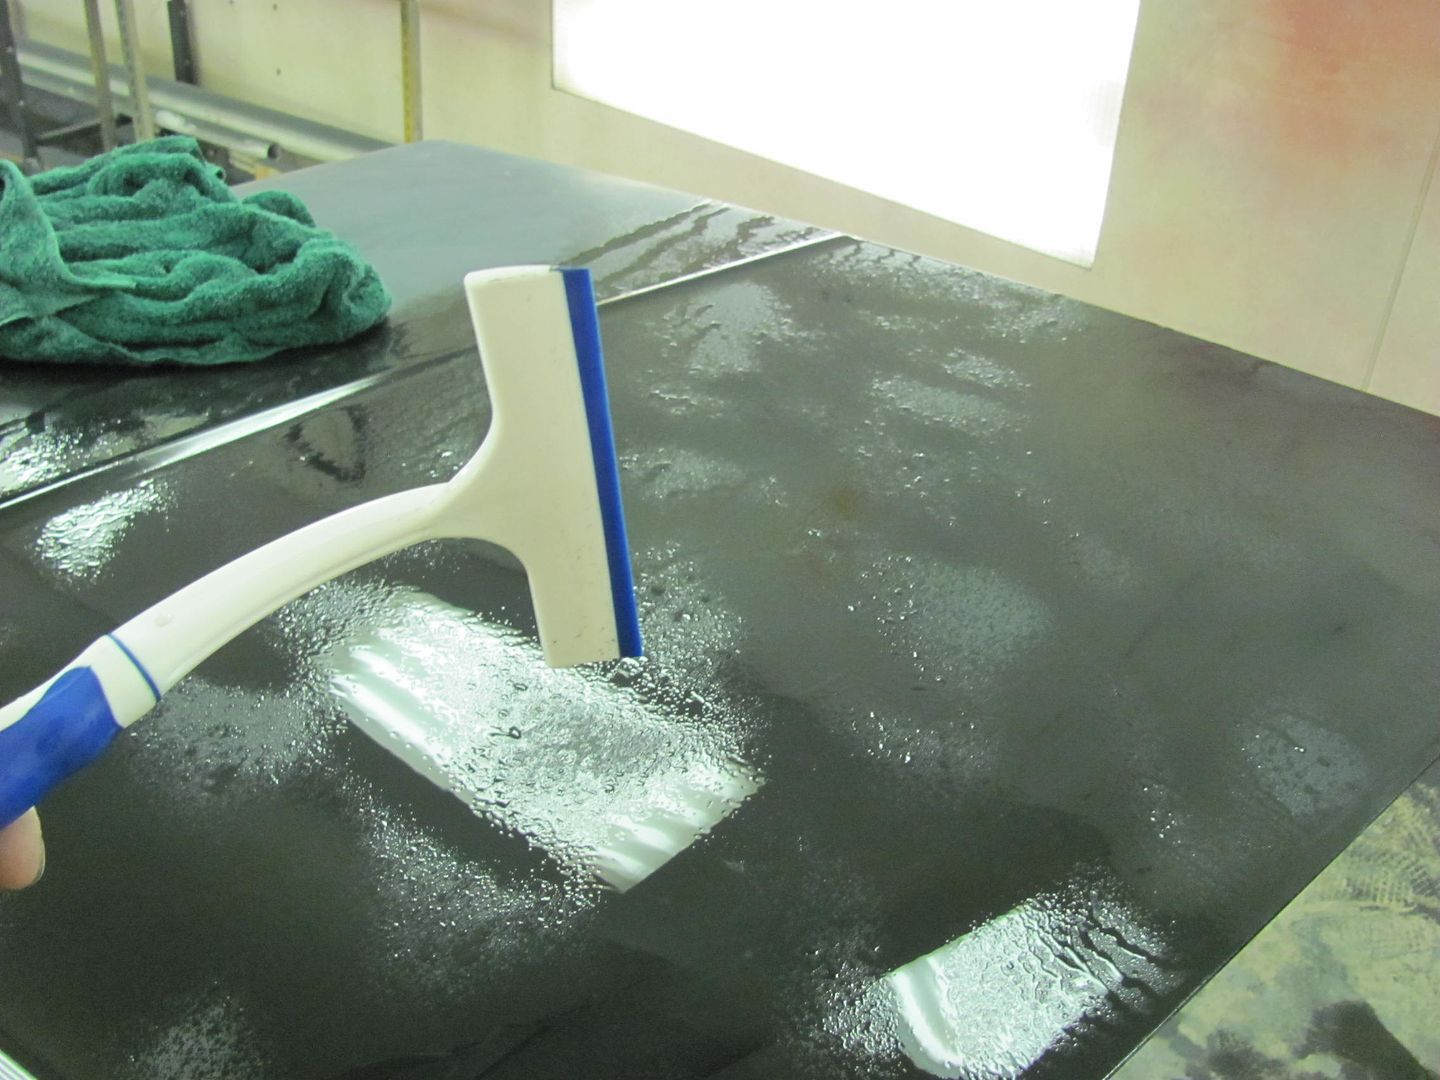
Meanwhile, I was wet sanding and couldn't find the squeegee, so a trip to the local Ace Hardware at lunch, and we had a replacement. Works well, and no metal hardware on this new one to add any scratches....
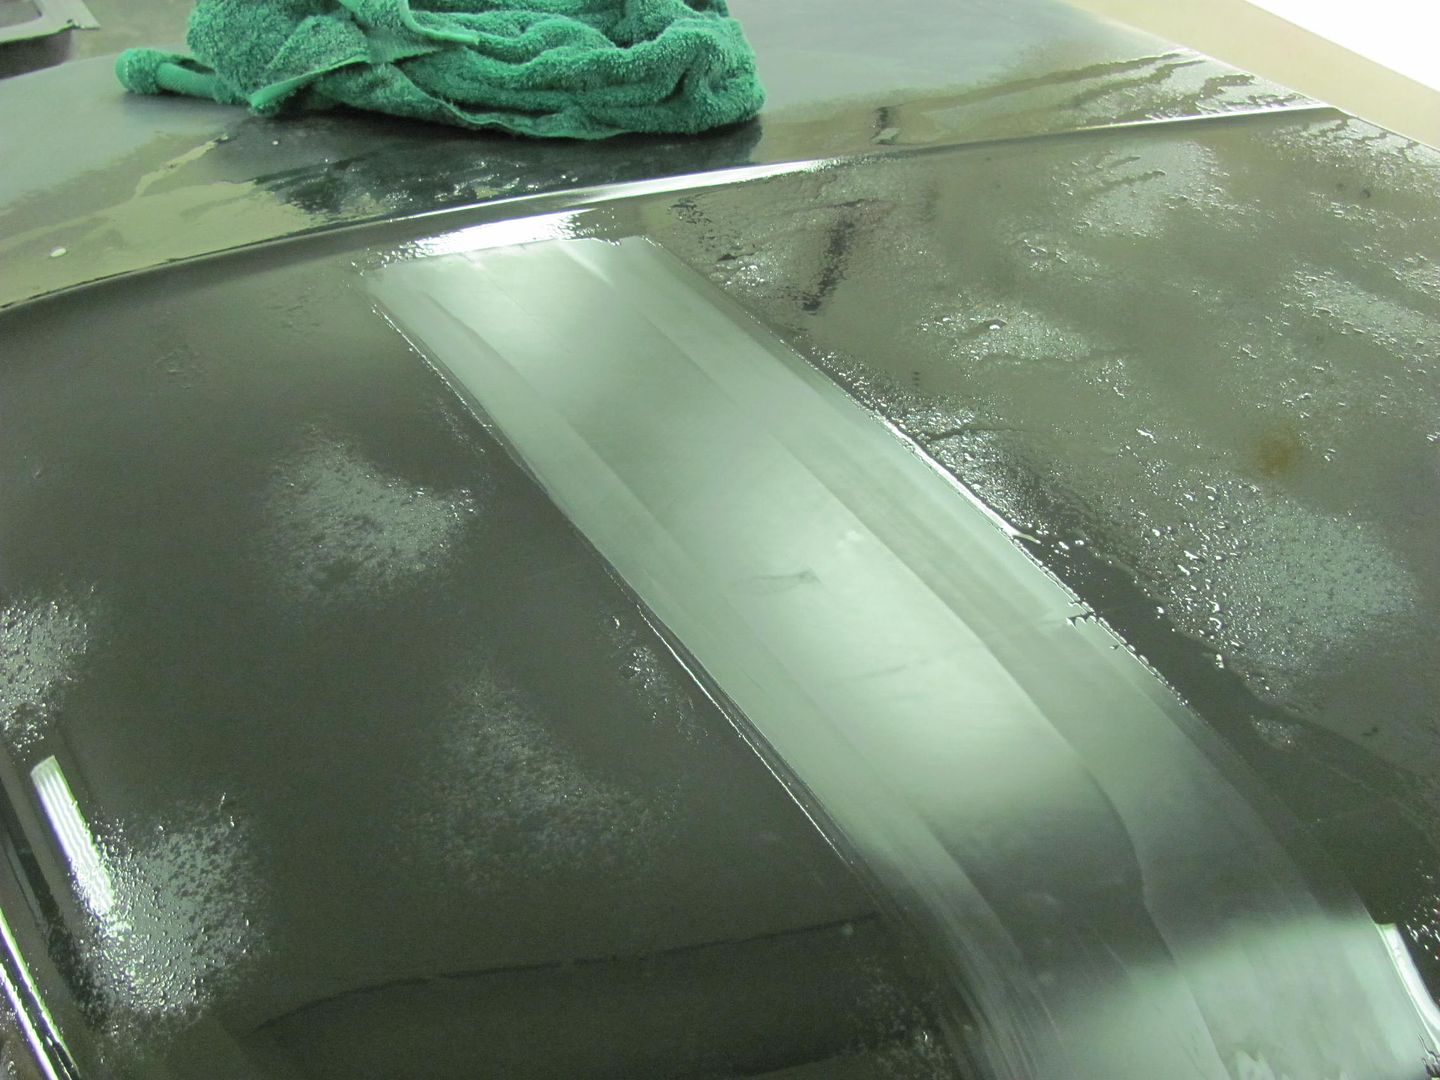
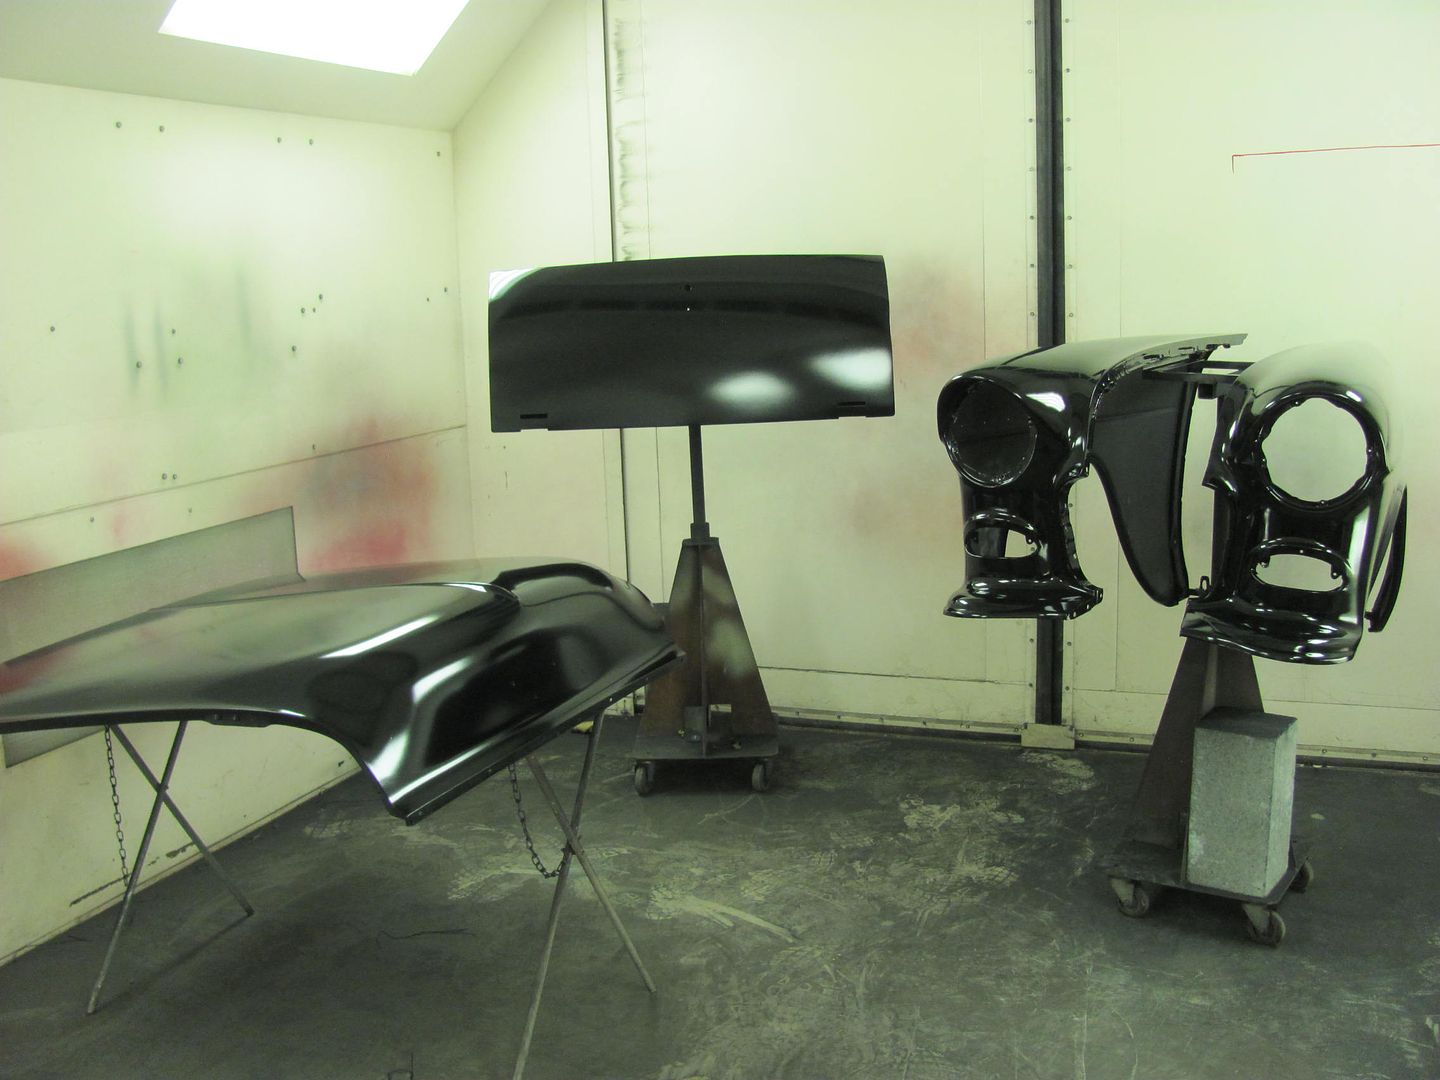
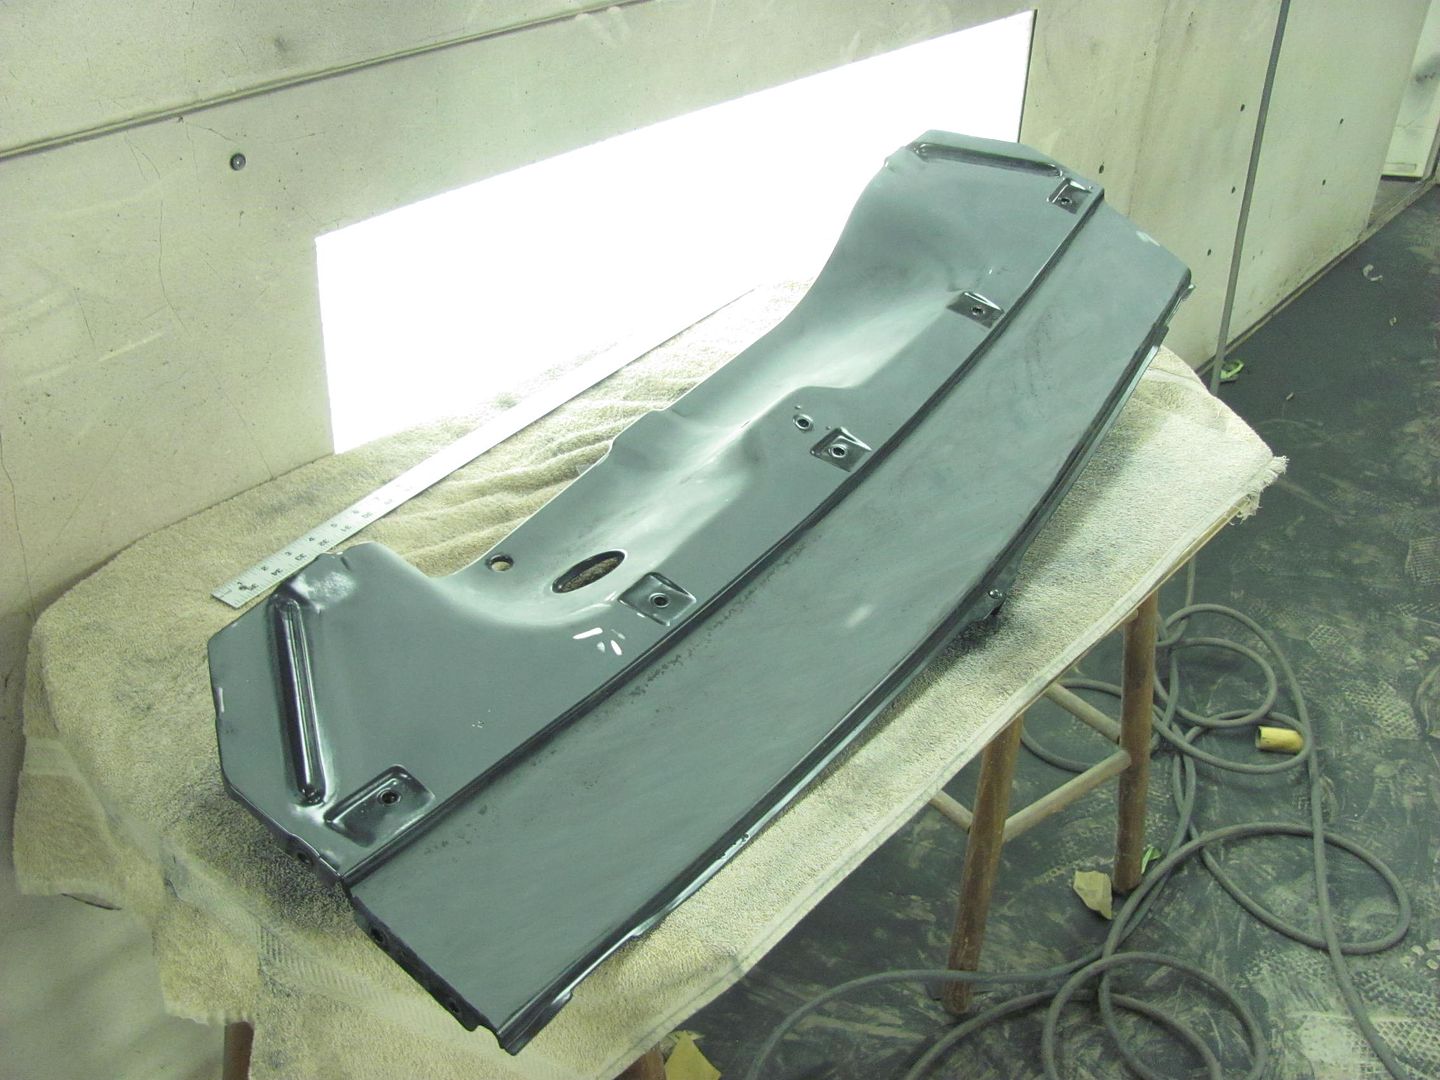
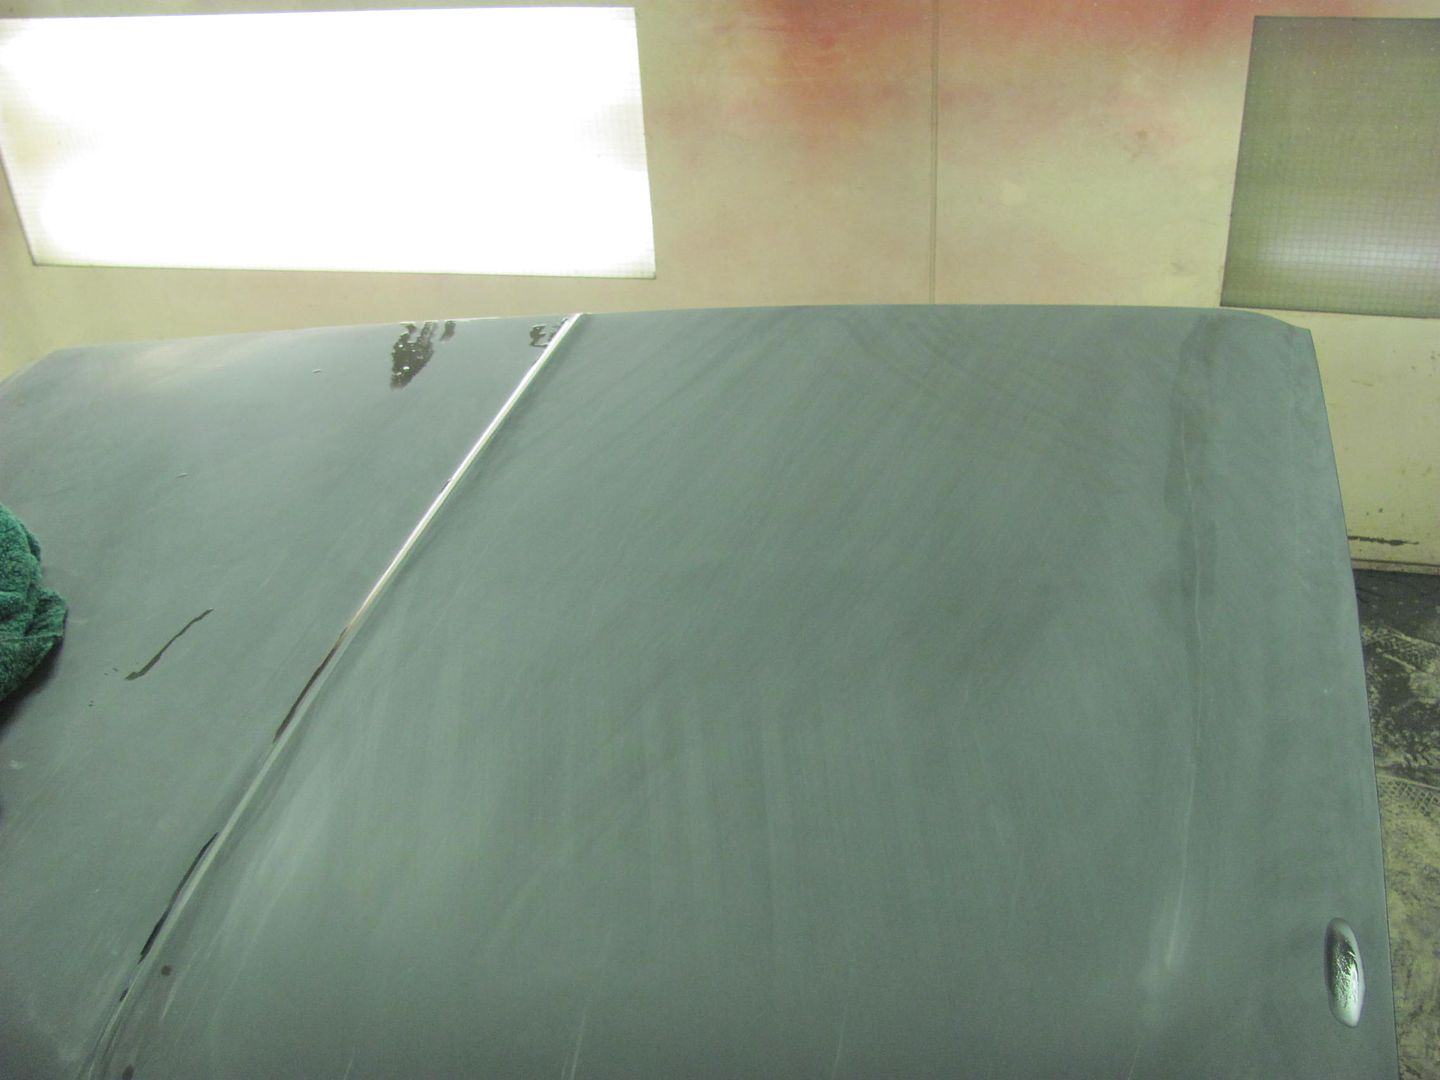
Exterior of the hood is about done...

Robert
-
09-12-2015 02:56 PM #579
CHR Member
- Join Date
- Jun 2008
- Location
- Leonardtown
- Car Year, Make, Model: Walking
- Posts
- 1,207
I've received some PM's on occasion asking about fixing oil cans on sheet metal, so I thought I'd share some ideas....
I've seen on far too many automotive forums that any request for help dealing with an oil can invariably generates a response to pick up the shrinking disc, despite no detailed information given besides "I have an oil can"
Before I suggest to someone how to fix an oil can, it is best to find out what kind of oil can you are dealing with, first and foremost. I consider there are two kinds, a tight oil can and a loose oil can, each will require a different method of repair.
Tight oil can:
This is almost exclusively caused by body damage, whether a dent, glancing crease, or media blast damage, and is especially noted by displaced metal that will oil can when considerable pressure is applied, and may or may not forcibly spring back. When the body damage occurs, it stretches the panel throughout the dent or crease. A typical dent, whether straight in or a glancing blow, will have direct and indirect damage. The direct damage goes inward, stretching the panel as it goes. The indirect damage, is a much lesser amount of springback, compounded by the internal stretch pushing outward circumferentially, and you will see an outward bulge around the perimeter of the dent/damage. Although the initial inclination may be to shrink this outward bulge, for the most part this adjacent area is relatively damage free, it is mainly being spread outward by the stretch forcing outward. Shrinking the center damage will start the process of relieving the stresses pushing outward, relaxing some of the bulge surrounding the dent. After a bit of shrinking, using the shot bag against the outside of the crease/dent and some light taps with a flat body hammer or slapper from the inside will help to start manipulating the crease/dent back into it's original place. I would add that too much shrinking all at once may give you the loose oil can, so profile templates are highly recommended as they work well to let you see how the panel is reacting so you don't go too far too quick.
Tight oil can, part two:
Where some tight oil cans from dents may be challenging to determine where to start your shrinking (if it doesn't have an obvious sharp crease to show where to work from) the following process will normally find the area that needs shrinking.... Cycle the oil can in and out a couple times in order to find the outer perimeter. If it helps to mark it with some painters tape, a sharpie, so be it, use whatever works. Now using your thumb from one hand apply slight pressure on a point on this perimeter. Use the other hand to cycle the oil can again, using the same pressure as before. Keep moving your pressure point around the perimeter and cycle the oil can for each spot until you get to a point on the perimeter where the pressure will keep the oil can from cycling, it locks it from moving. This should identify your "sweet spot" that needs shrinking, and there may be more than one sweet spot
Loose oil can:
This is typically caused by welding, over-eager torch shrinking, or shrinking something when you should have stretched, (or fatigue over the many years that has caused a larger panel/hood to settle). Any panel will shrink from heat, causing the crown to draw in from the surrounding area. This is especially noted by a loose, easily flopped back and forth oil can. This is fixed by stretching, typically in the area of the weld and HAZ.
Loose oil can part two:
In some cases we'll see that a dent (or tight oil can) has actually caused a loose oil can in the outer reaches in the adjacent area. The direct force (dent) may have caused displacement of the inherent stresses of the panel (crown) such that it pulled at the adjacent metal elsewhere, resulting in a loose oil can outside the area of the dent. Here the loose oil can should be left alone and focus on removing the stretched area (dent) that moved the panel. Once the dent is removed, this action alone should correct the loose oil can in the adjacent area.Robert
-
09-14-2015 11:41 AM #580
CHR Member
- Join Date
- Apr 2011
- Location
- Prairie City
- Car Year, Make, Model: 40 Ford Deluxe, 68 Corvette, 72&76 K30
- Posts
- 7,284
- Blog Entries
- 1
Nice work and thanks for the info and tips!Ryan
1940 Ford Deluxe Tudor 354 Hemi 46RH Electric Blue w/multi-color flames, Ford 9" Residing in multiple pieces
1968 Corvette Coupe 5.9 Cummins Drag Car 11.43@130mph No stall leaving the line with 1250 rpm's and poor 2.2 60'
1972 Chevy K30 Longhorn P-pumped 24v Compound Turbos 47RH Just another money pit
1971 Camaro RS 5.3 BTR Stage 3 cam, SuperT10
Tire Sizes
-
09-14-2015 05:46 PM #581
CHR Member
- Join Date
- Sep 2013
- Location
- Portage
- Car Year, Make, Model: 31 A Coupe
- Posts
- 567
What great posts,I always learn something from them!
Thanks for taking the time to share your experience!
And people wonder why good paint jobs cost so much.
Labor,labor, labor!
Richhttp://www.clubhotrod.com/hot-rod-bu...del-coupe.html
-
09-15-2015 10:32 AM #582
CHR Member
- Join Date
- Sep 2015
- Location
- Petersburg
- Posts
- 27
Looks good keep up the good work!
-
09-15-2015 07:19 PM #583
CHR Member
- Join Date
- Jun 2008
- Location
- Leonardtown
- Car Year, Make, Model: Walking
- Posts
- 1,207
Thanks guys!
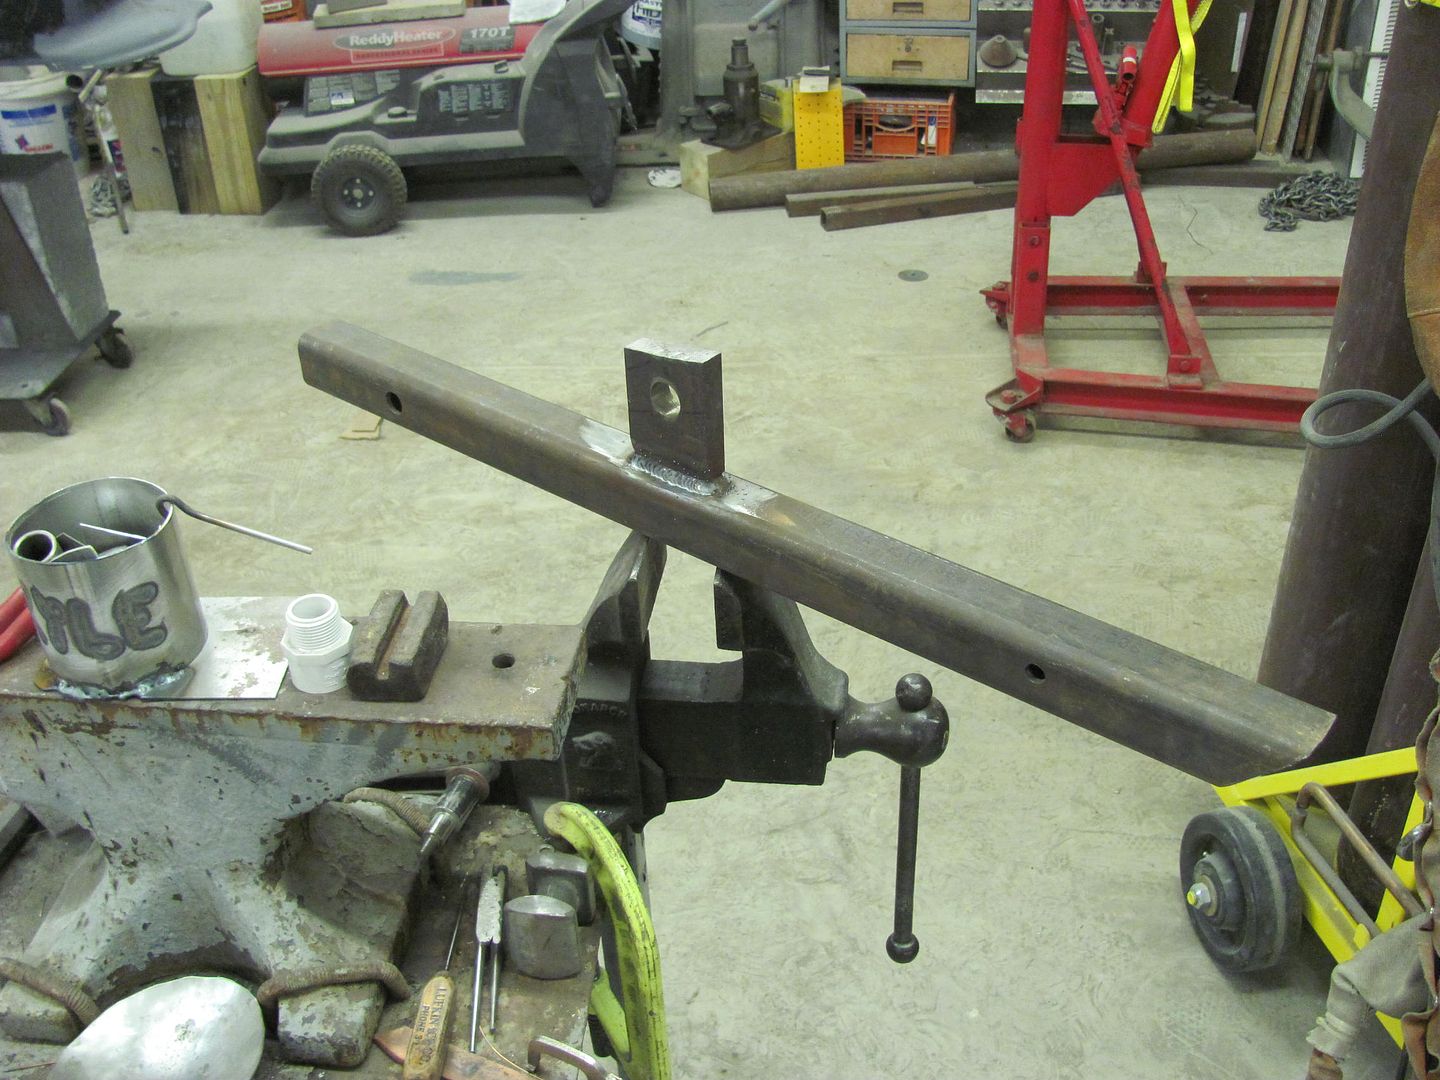
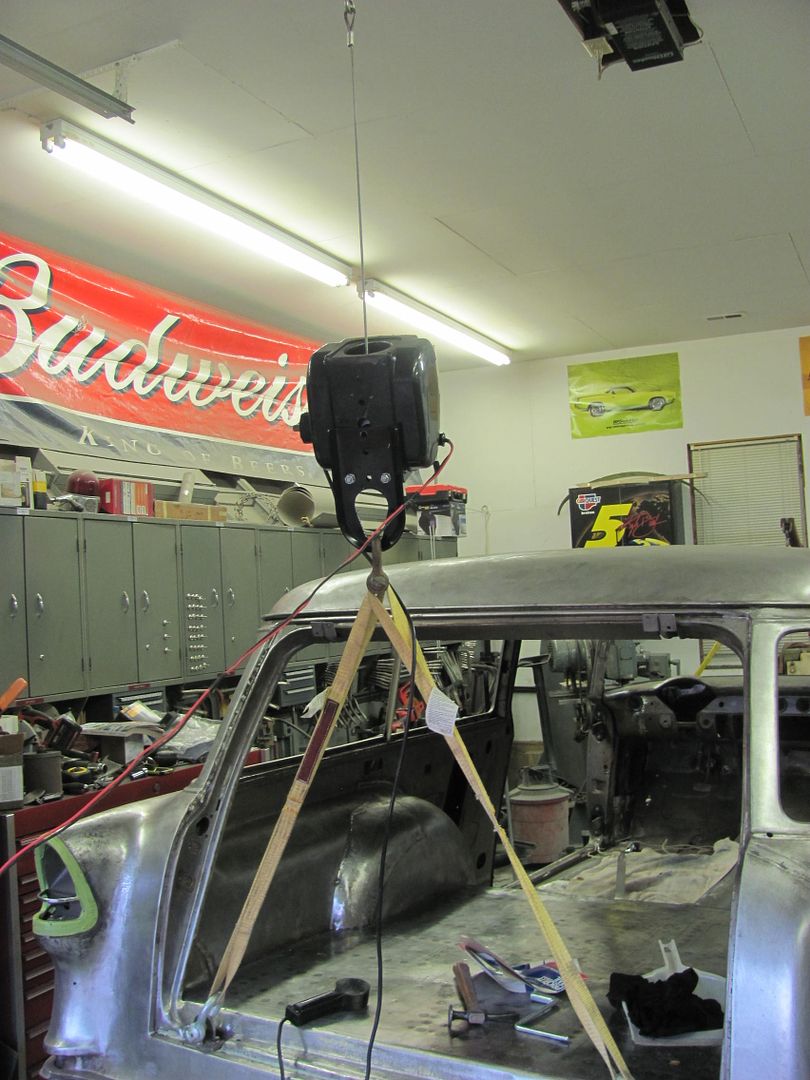
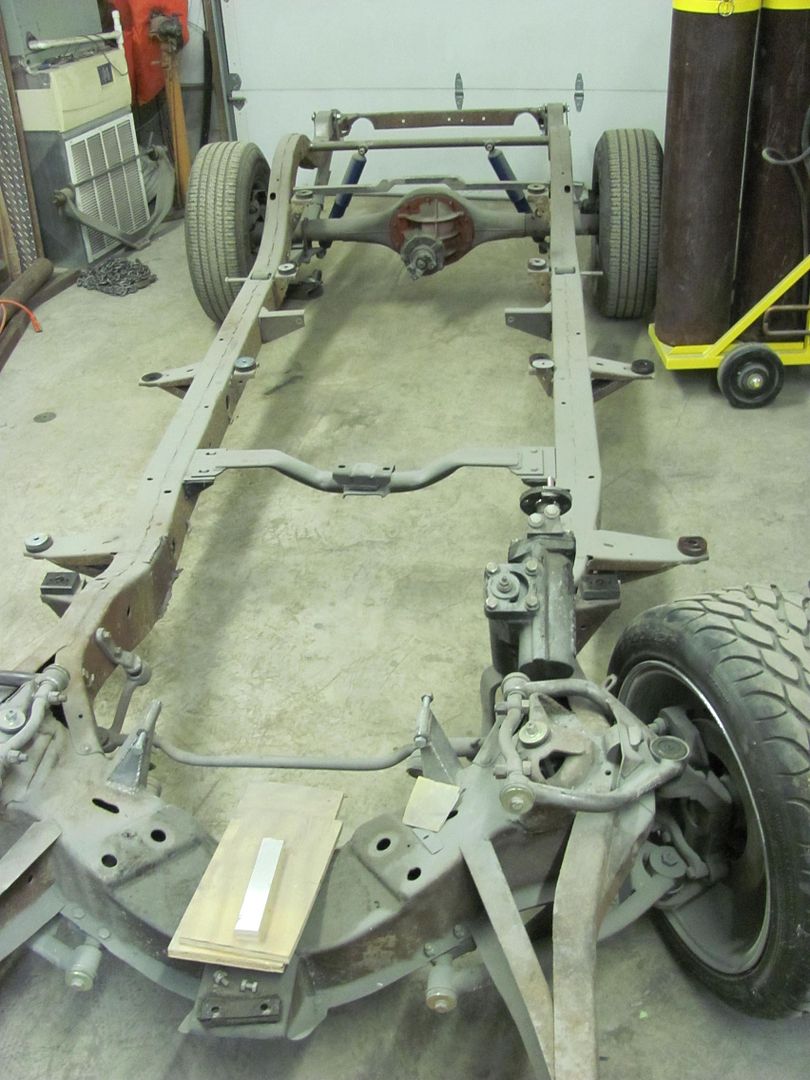
The last time we removed the car from the frame we used two engine hoists, which proved to be a bit cumbersome and a pain to get the frame rolled out. So I thought to try something different, this time an engine hoist at the front, and a winch in the back. Needing an anchor point for the winch, I welded this up last night to span two of the shop's trusses from overhead....
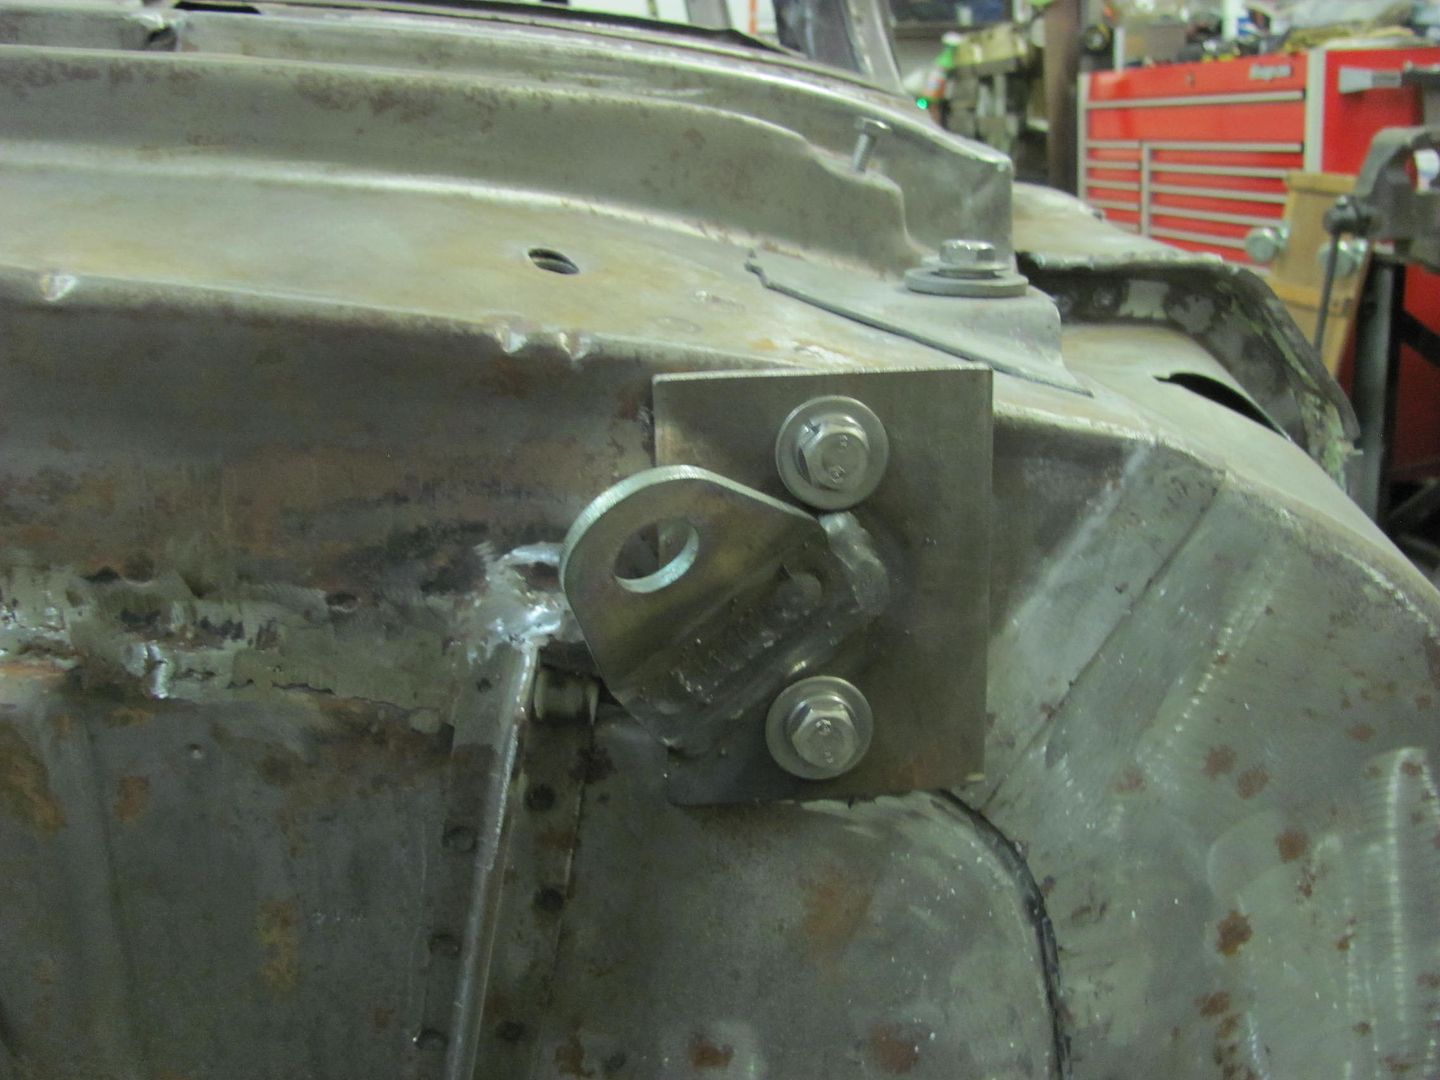
Rear lift eyes use the tailgate hinge nut plates...
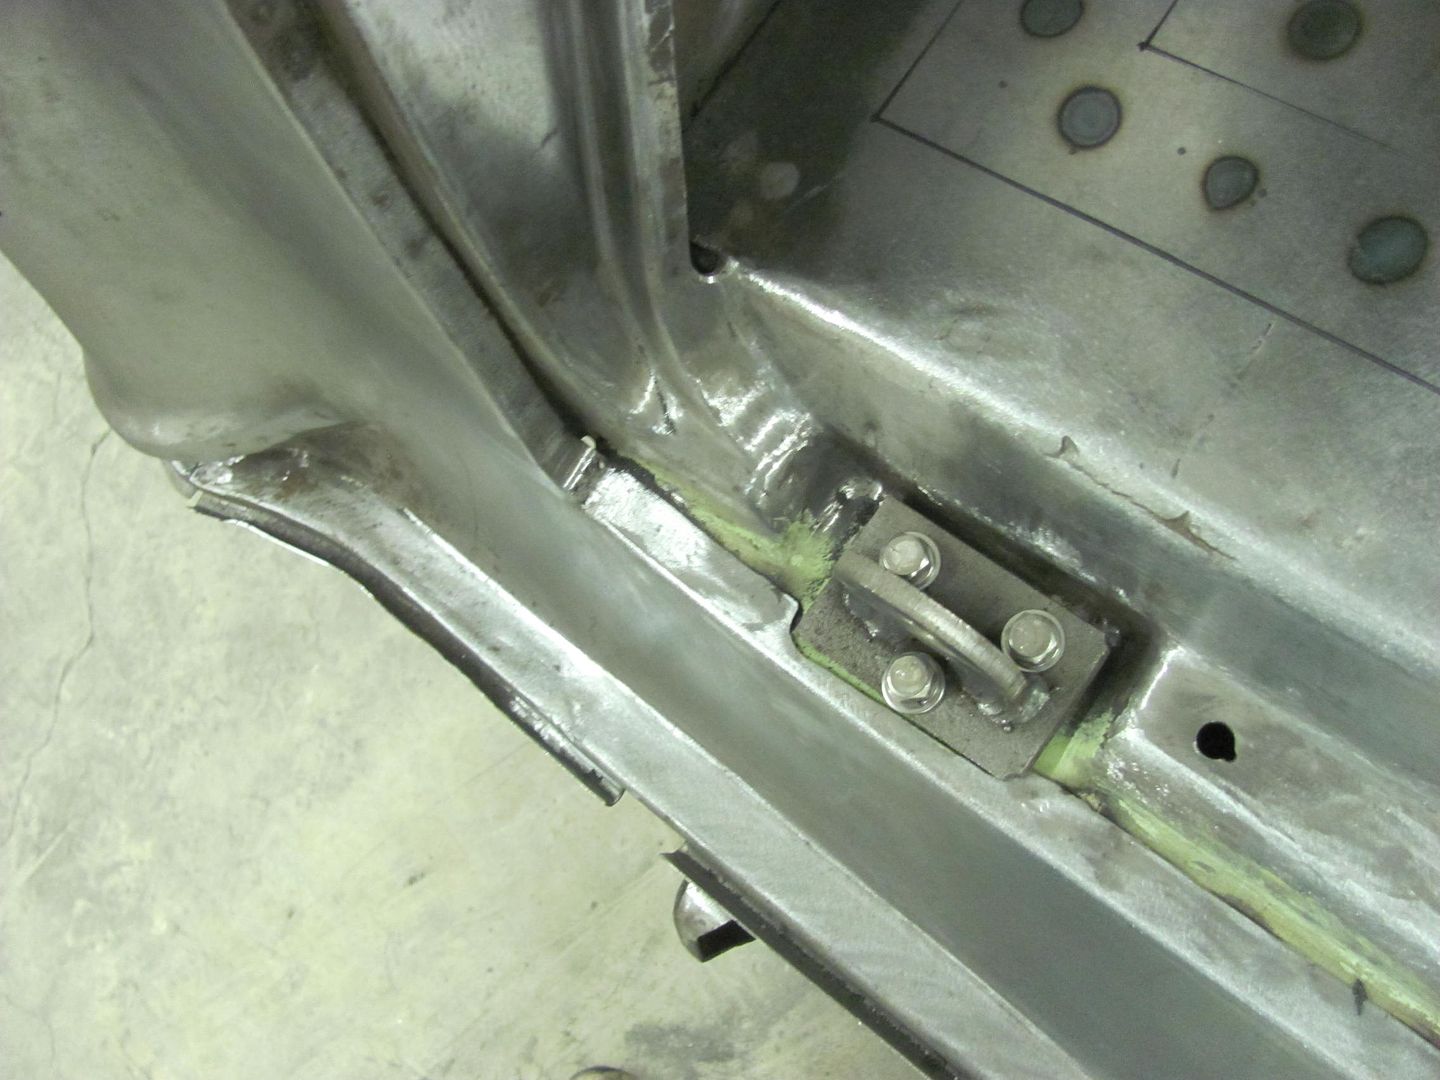
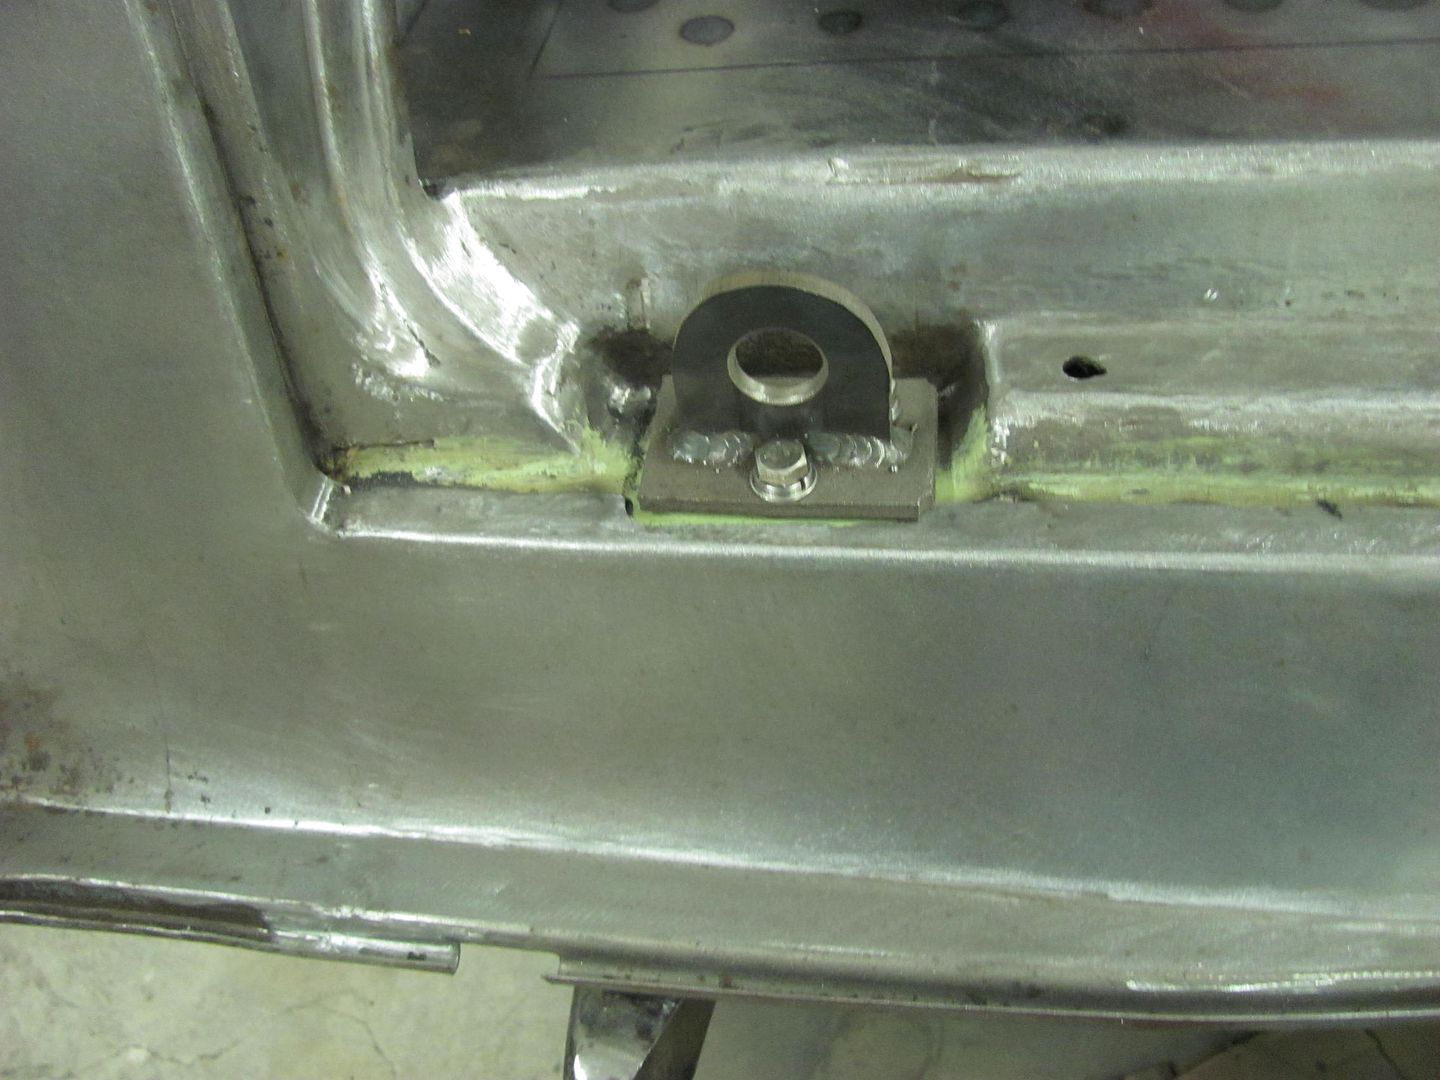
Front lifting eyes bolt to the hinge mounts on the firewall...

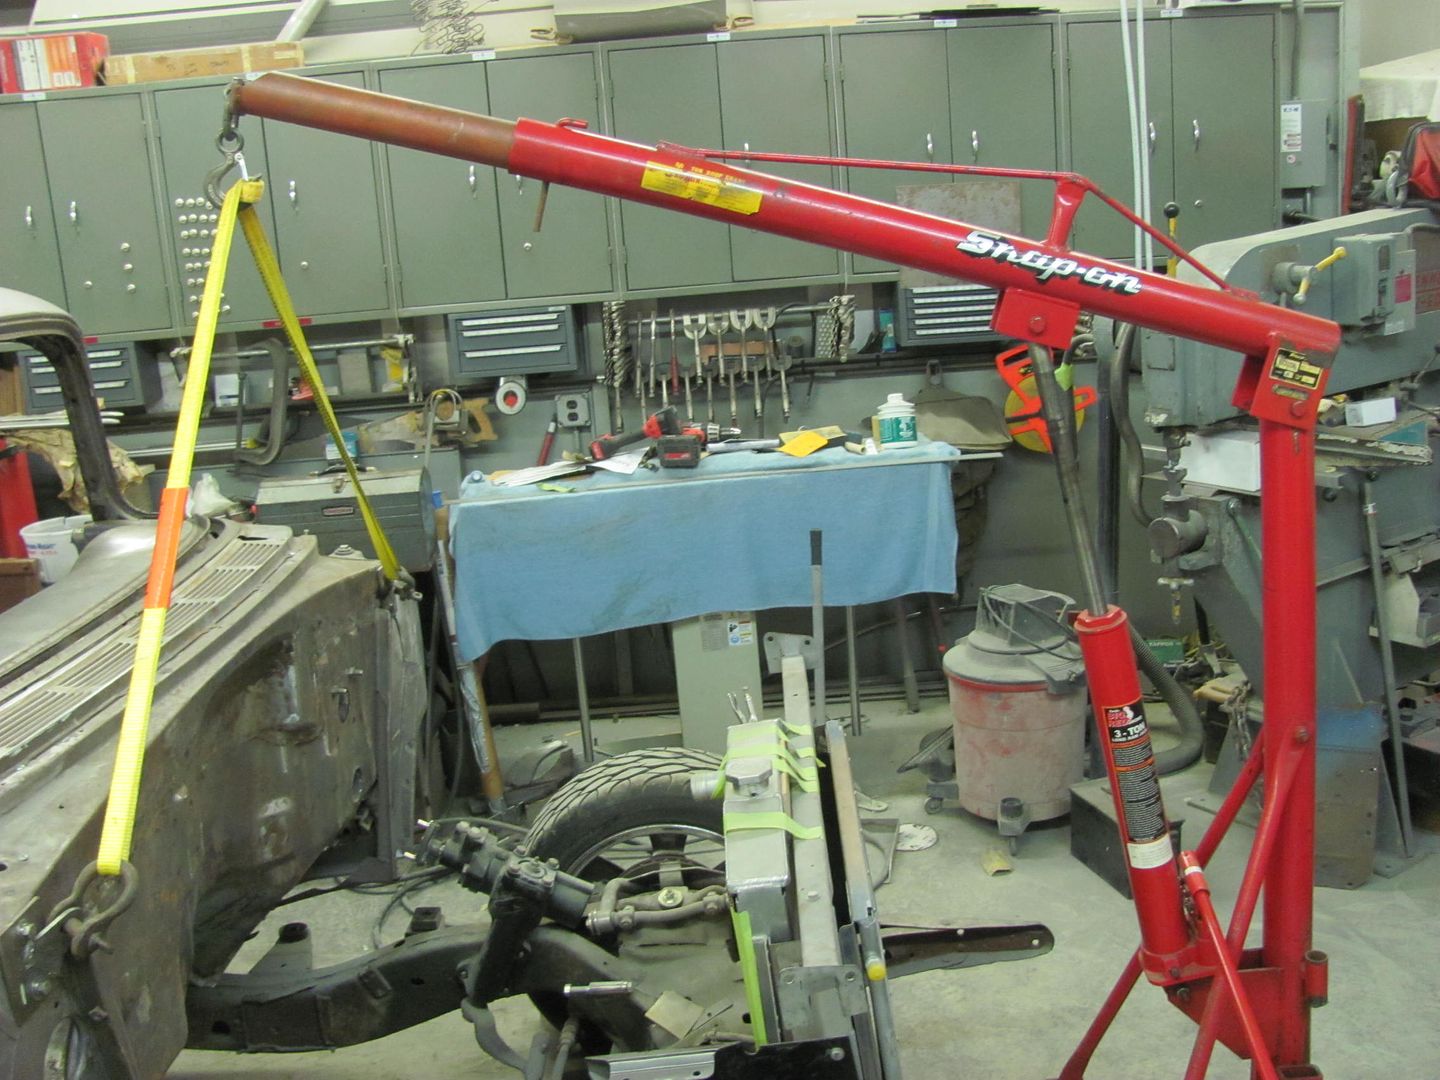
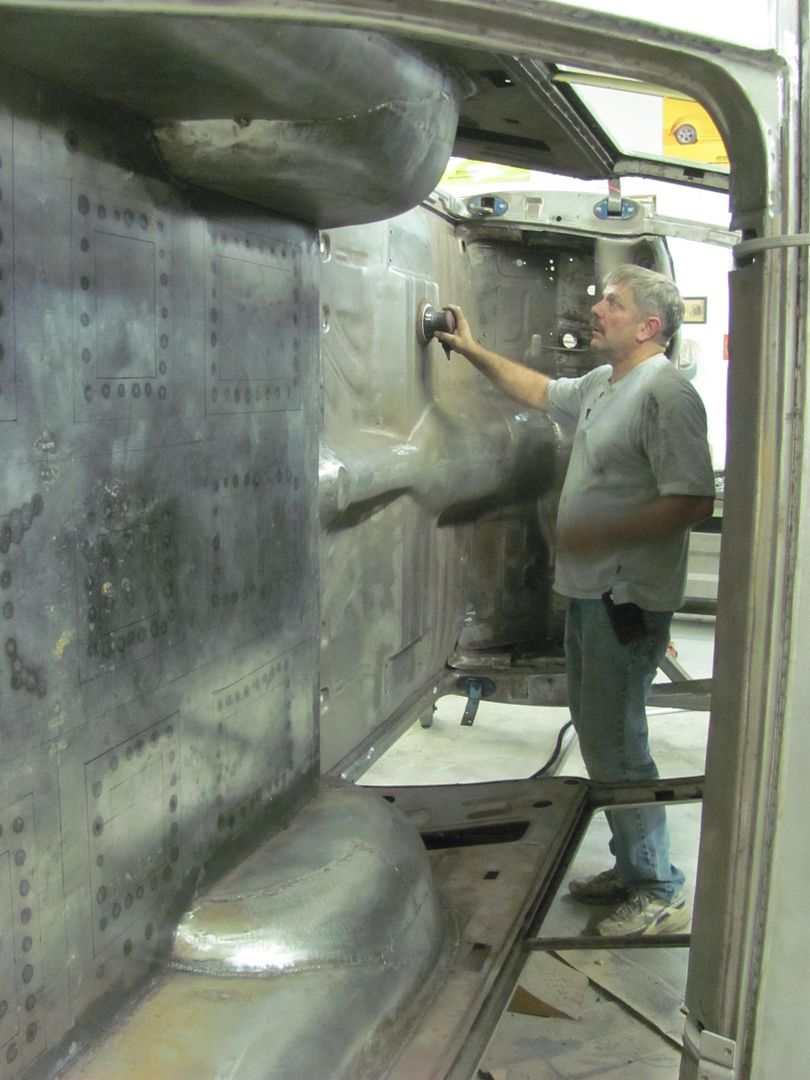
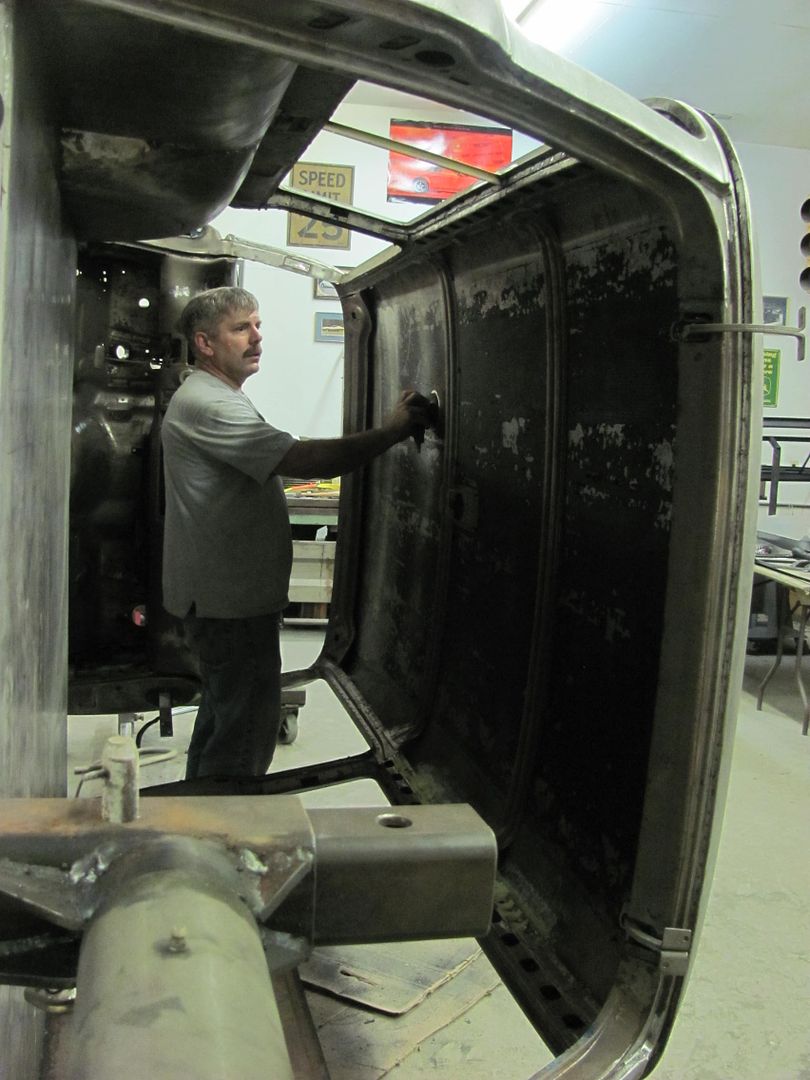
We have lift-off!
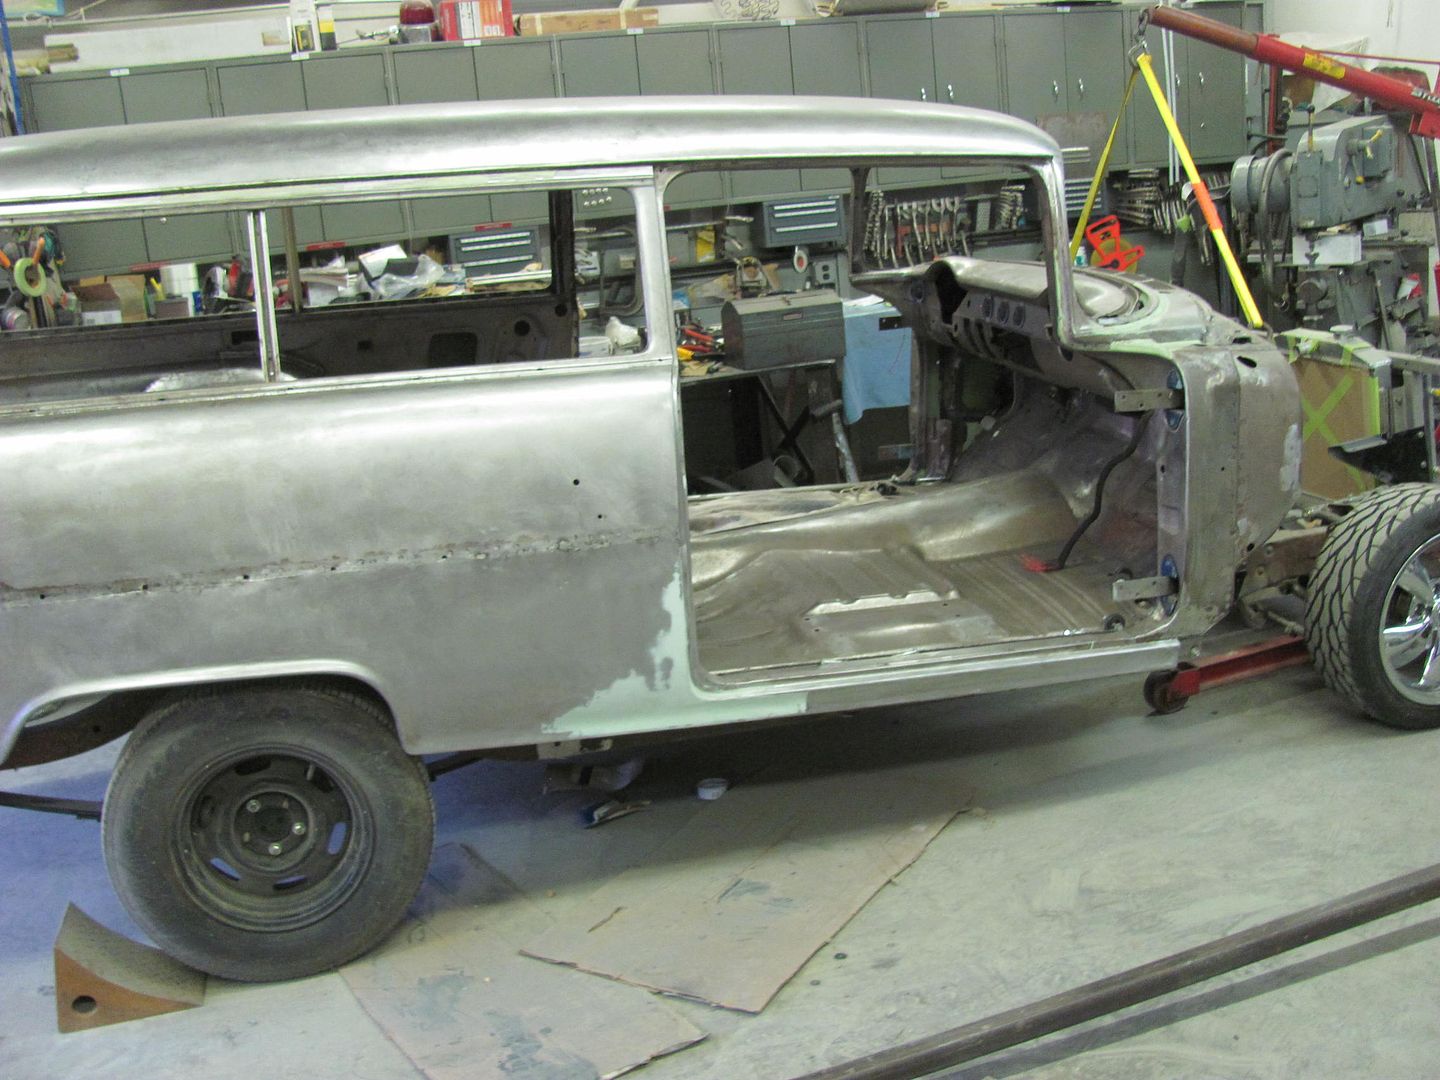

The frame has a bit of welds left to do and we can clean it up and get it to the powder coaters...
Dana helping out tonight...
One way to clean it out...
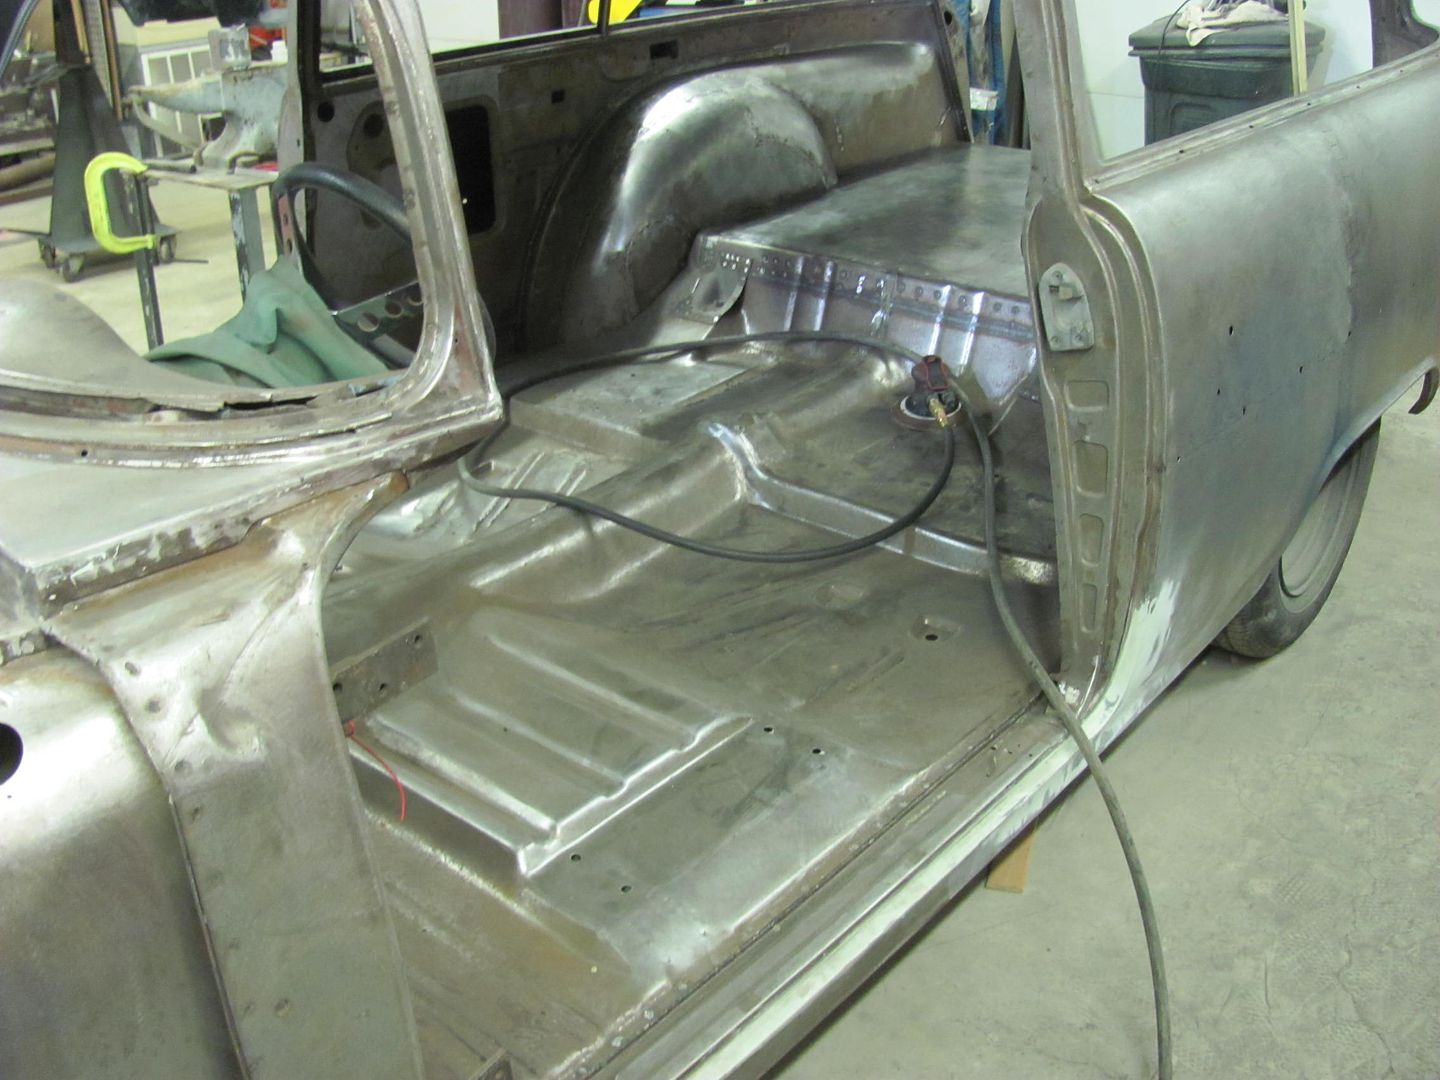
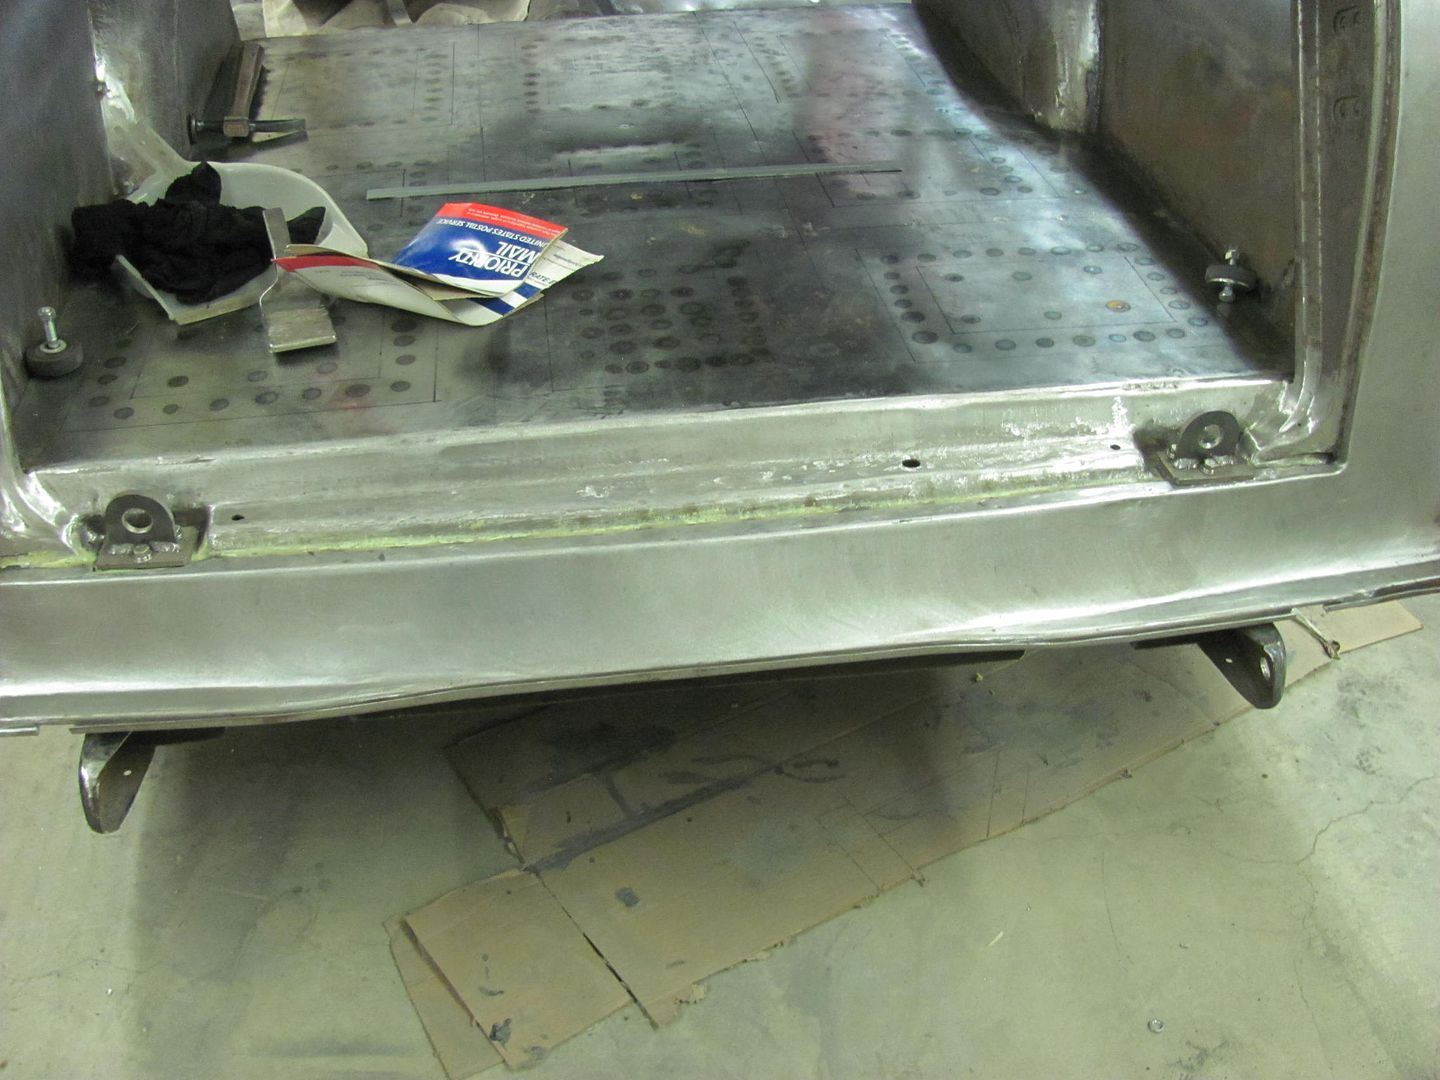
Here's the framework added to support the fuel tank and rear floor..
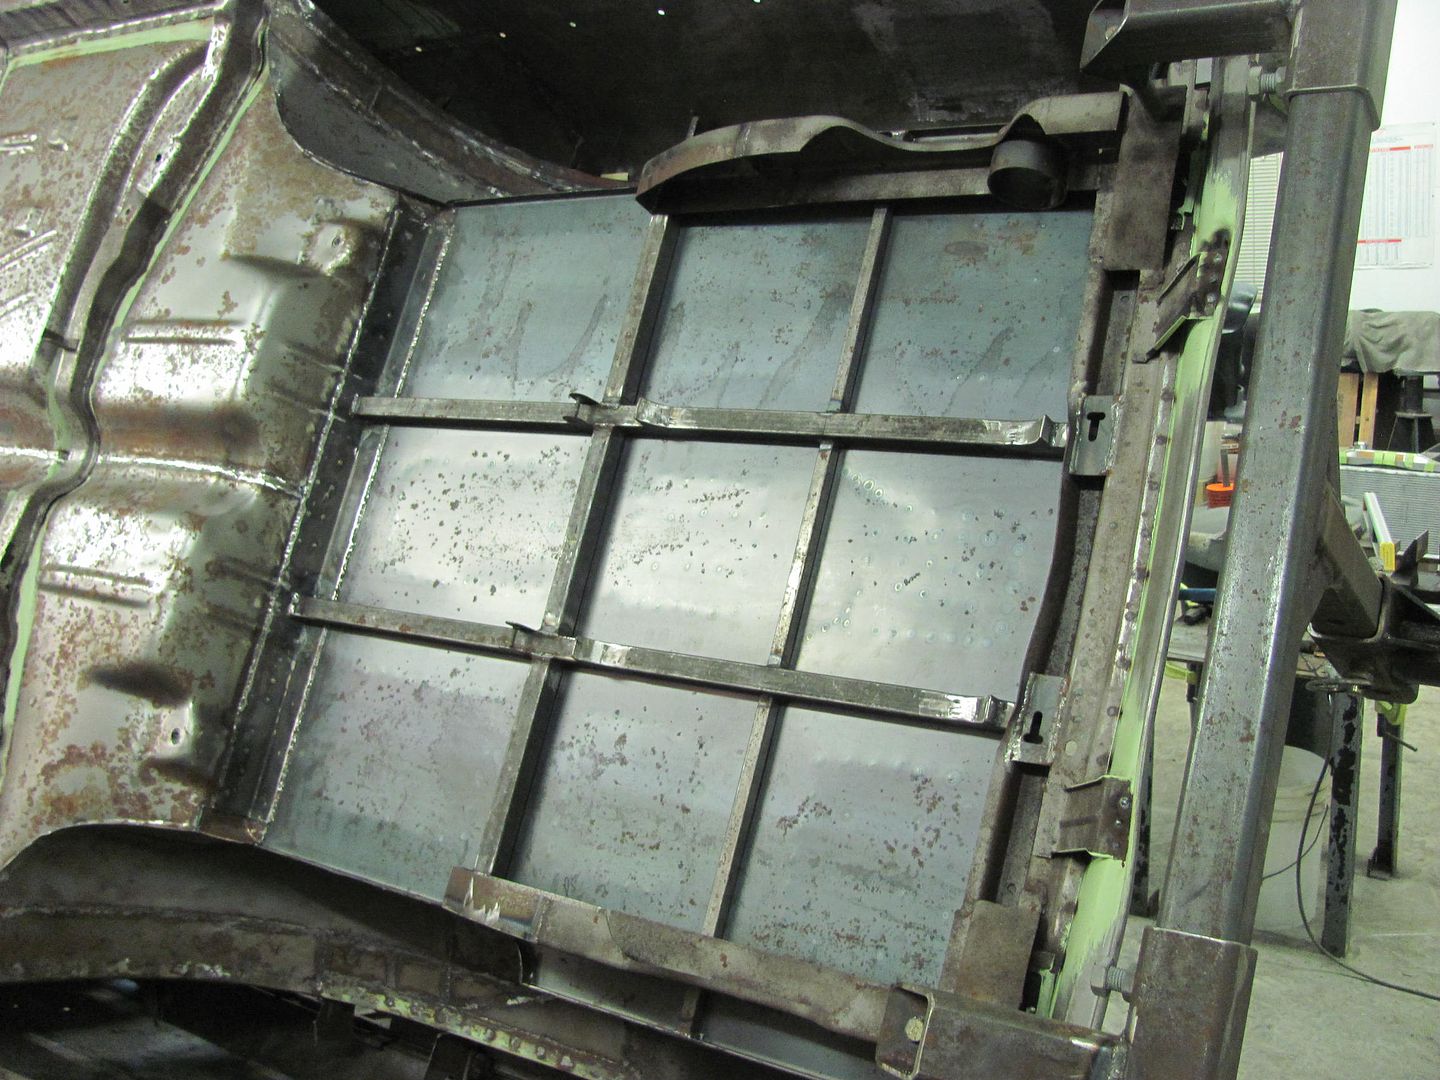
This shows how nice access is for prepping, works equally well in painting..
Robert
-
09-16-2015 08:30 AM #584
CHR Member
- Join Date
- Oct 2007
- Location
- Petaluma
- Car Year, Make, Model: 48 Ford F1
- Posts
- 9,778
Wow your attention to detail just never stops, excellent work" "No matter where you go, there you are!" Steve.
-
09-19-2015 06:19 PM #585
CHR Member
- Join Date
- Jun 2008
- Location
- Leonardtown
- Car Year, Make, Model: Walking
- Posts
- 1,207
Thanks!
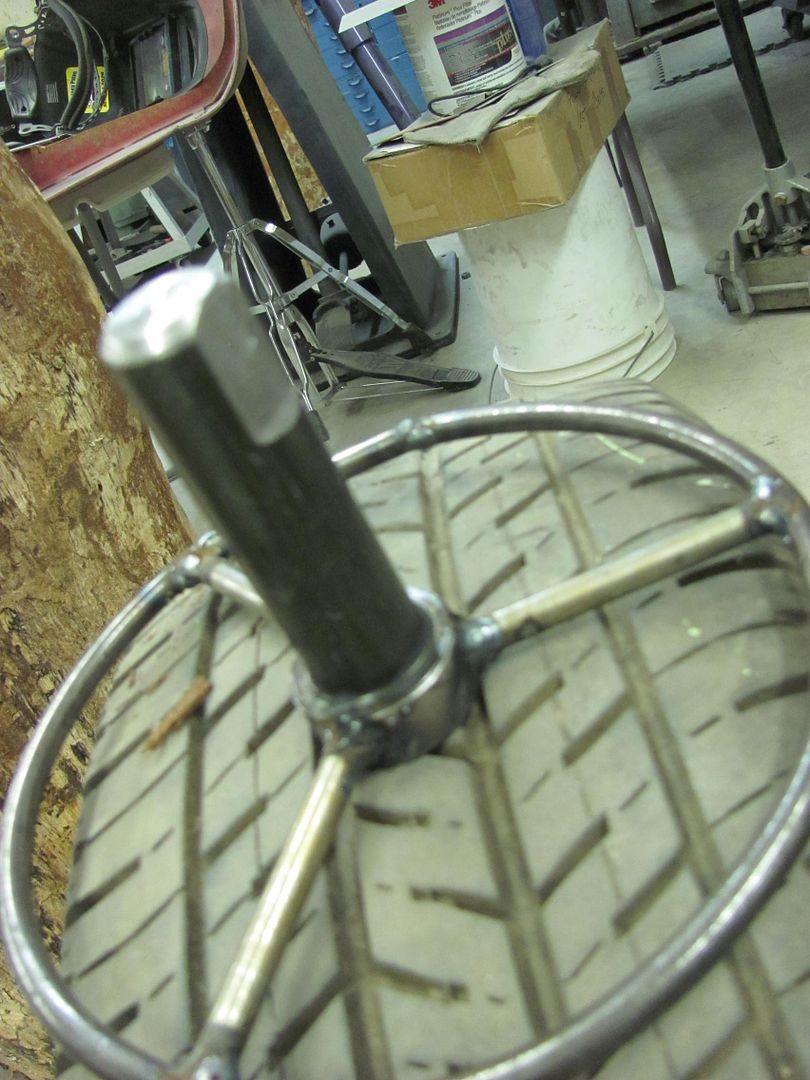
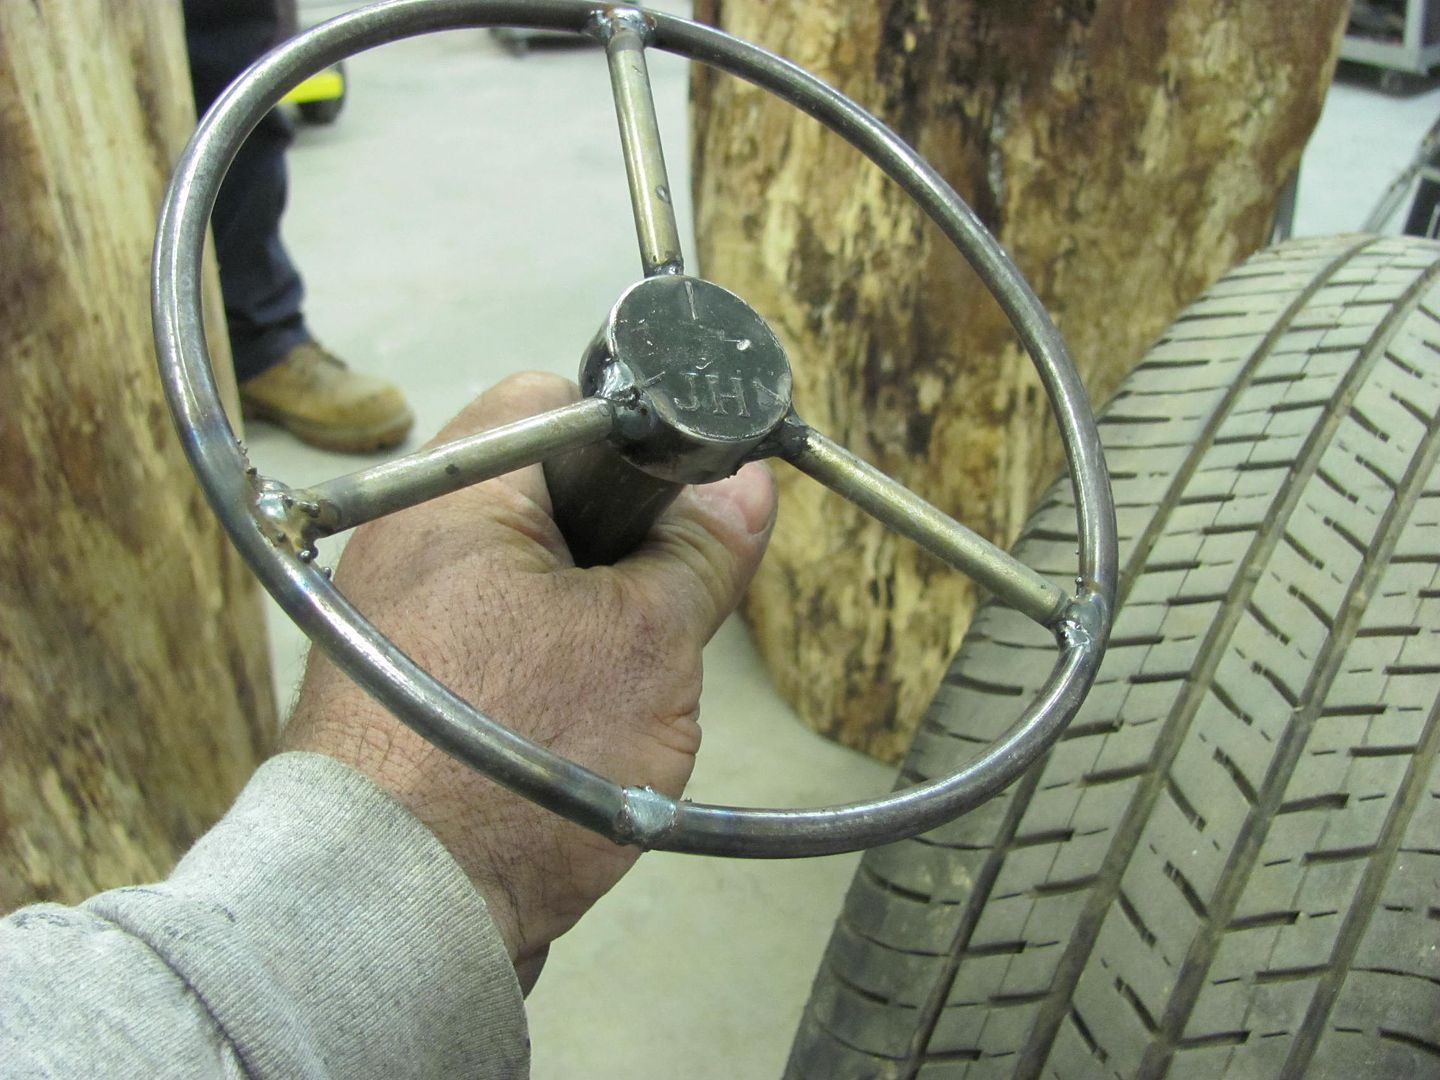
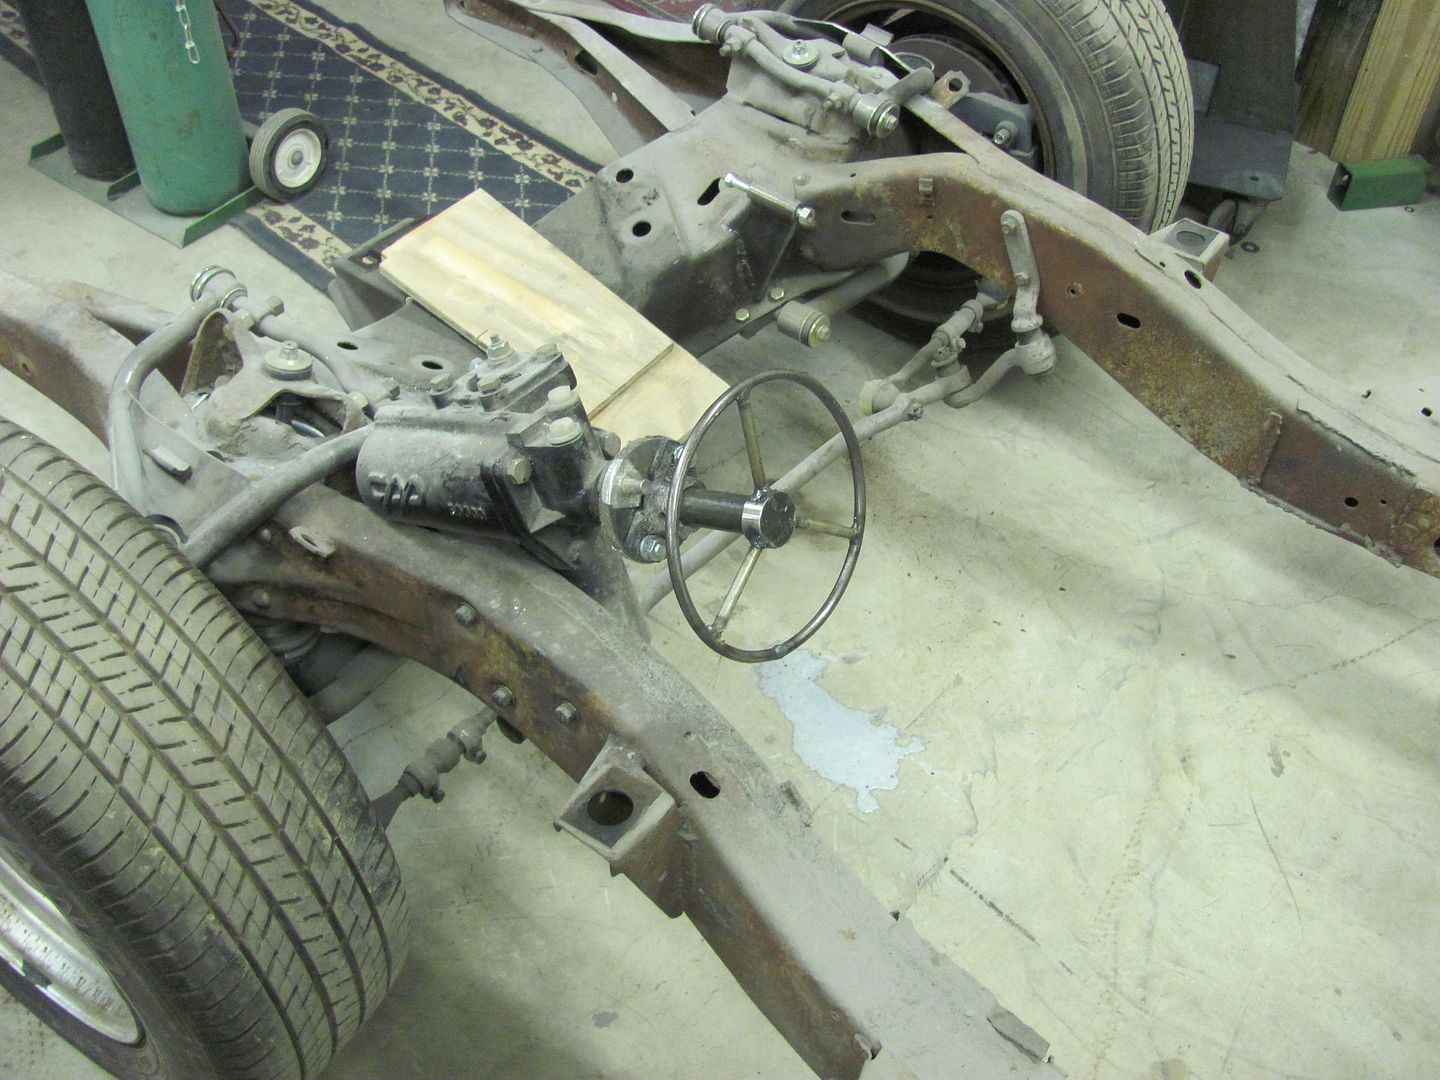
Todays progress, we've had to move the frame a couple times and it becomes a chore to steer, so a 1" bolt was modified with a home made steering wheel. Works well, good thing there's no weight on the front end!
....and Kyle's been busy getting the bare metal prepped for epoxy..

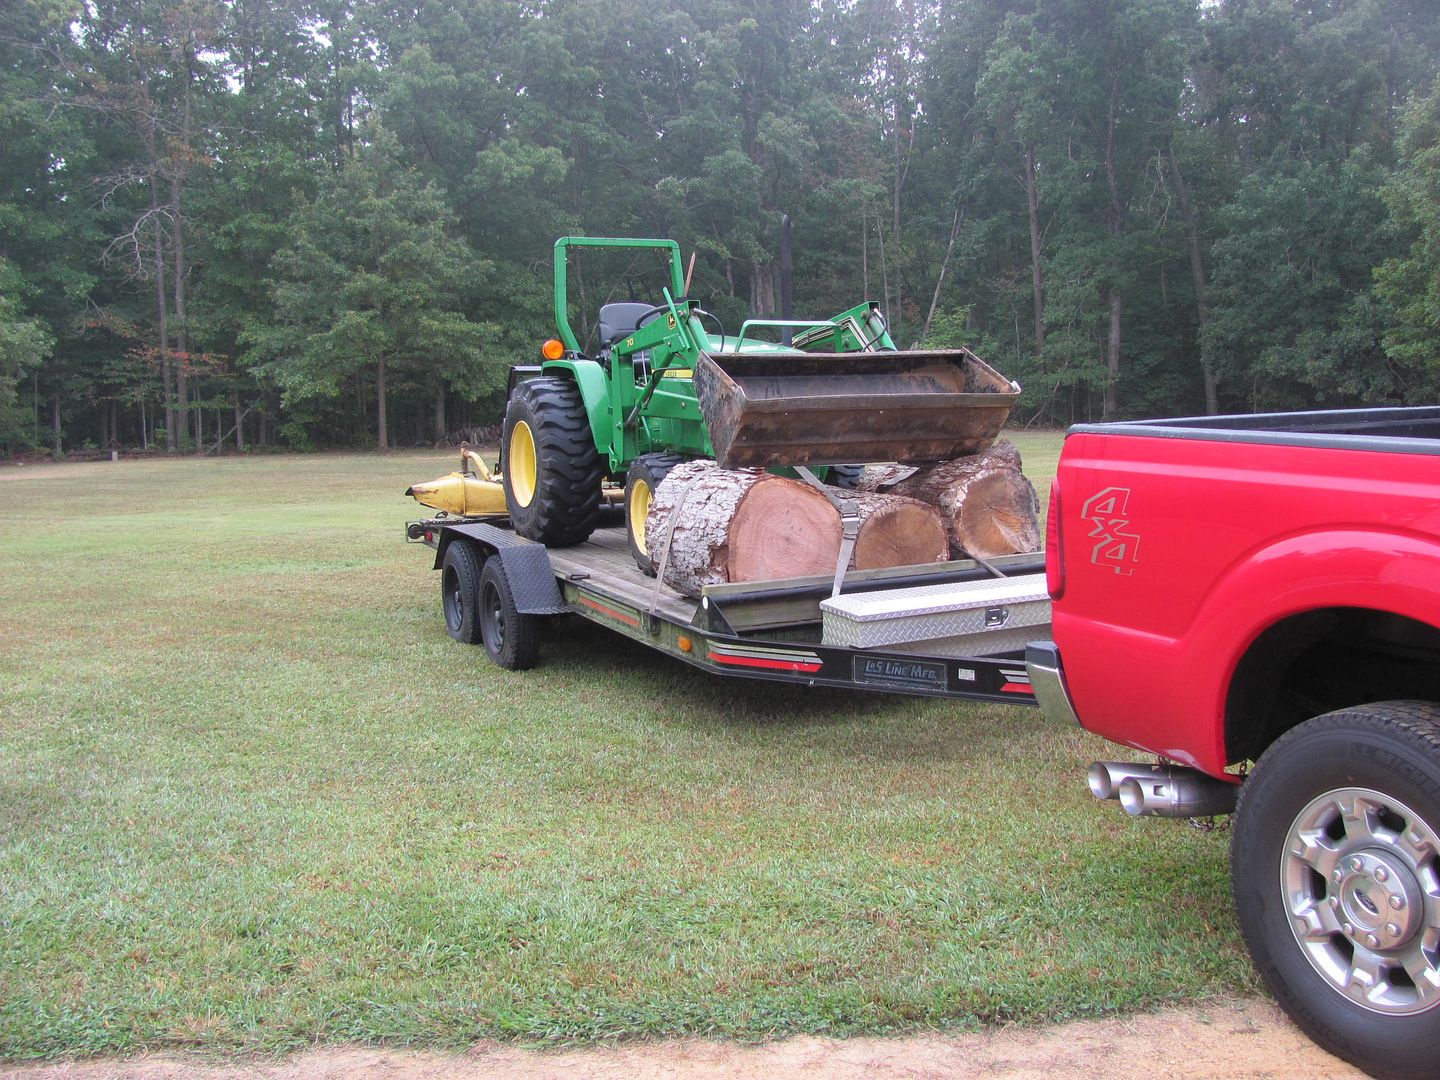
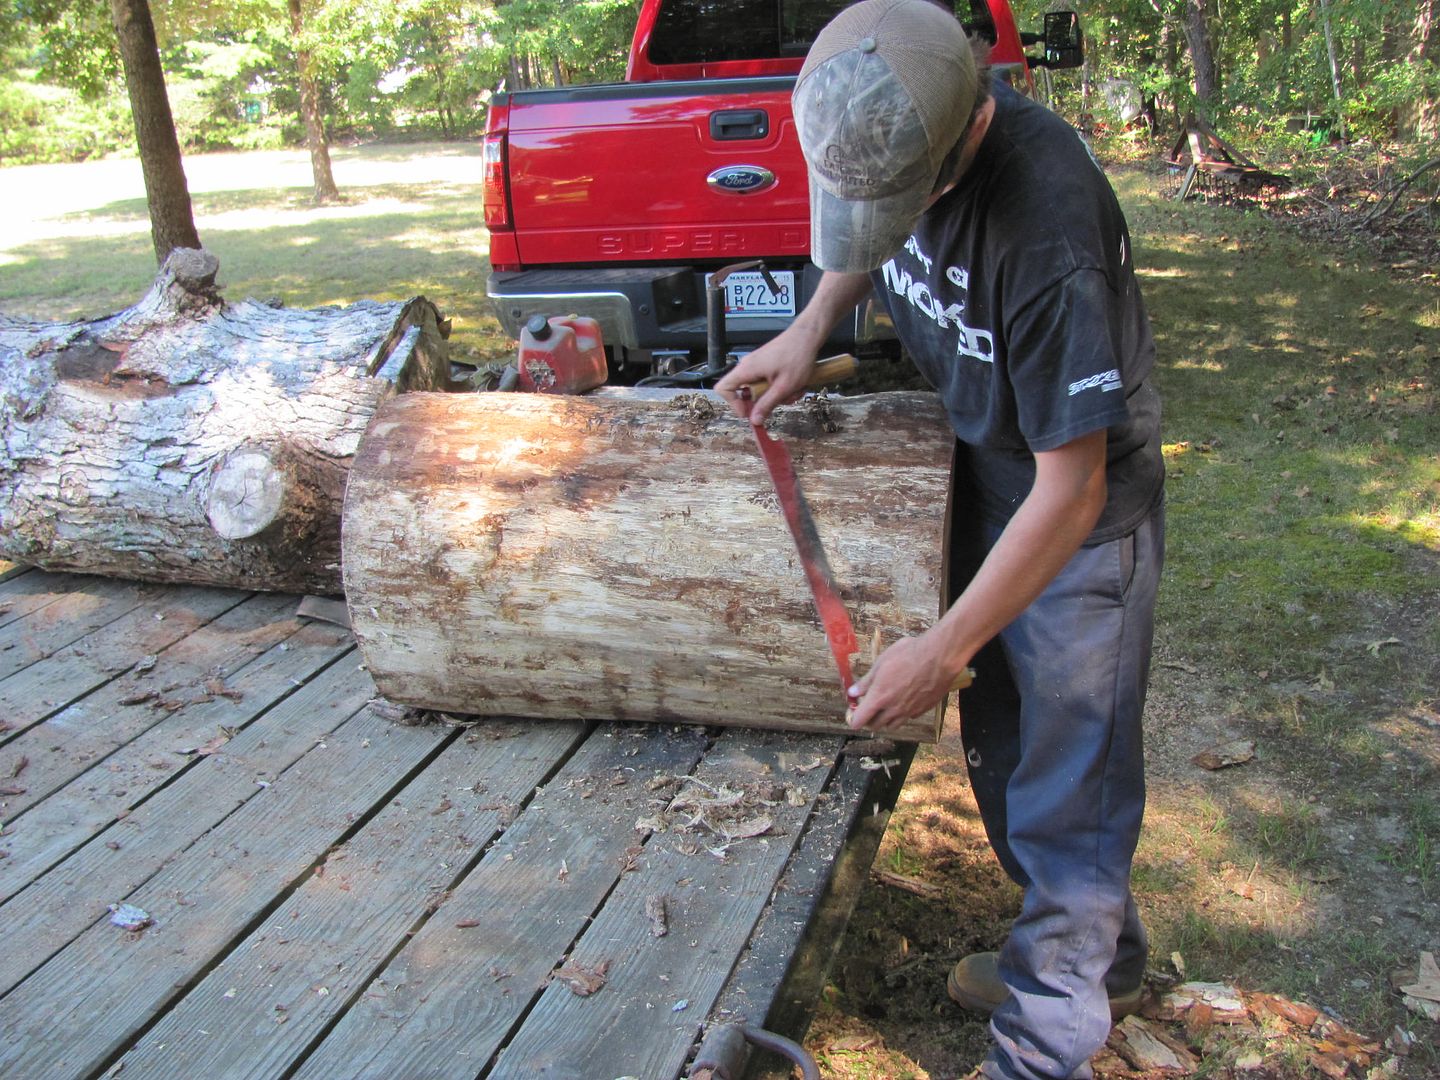
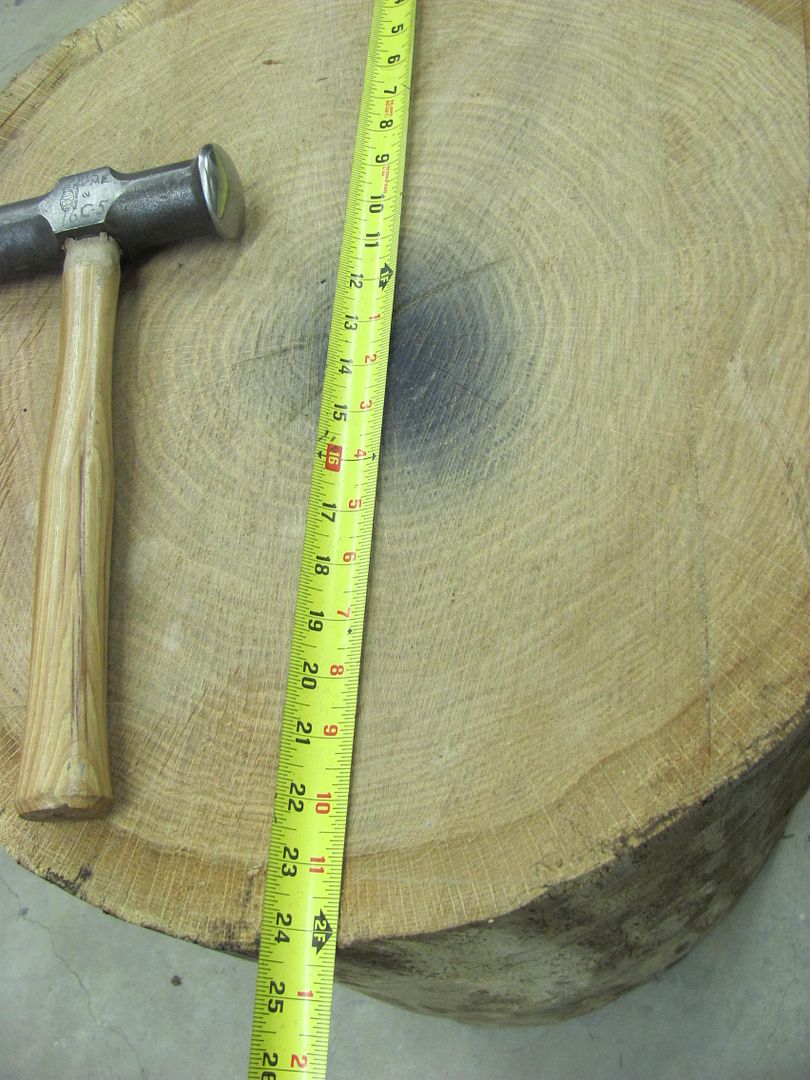
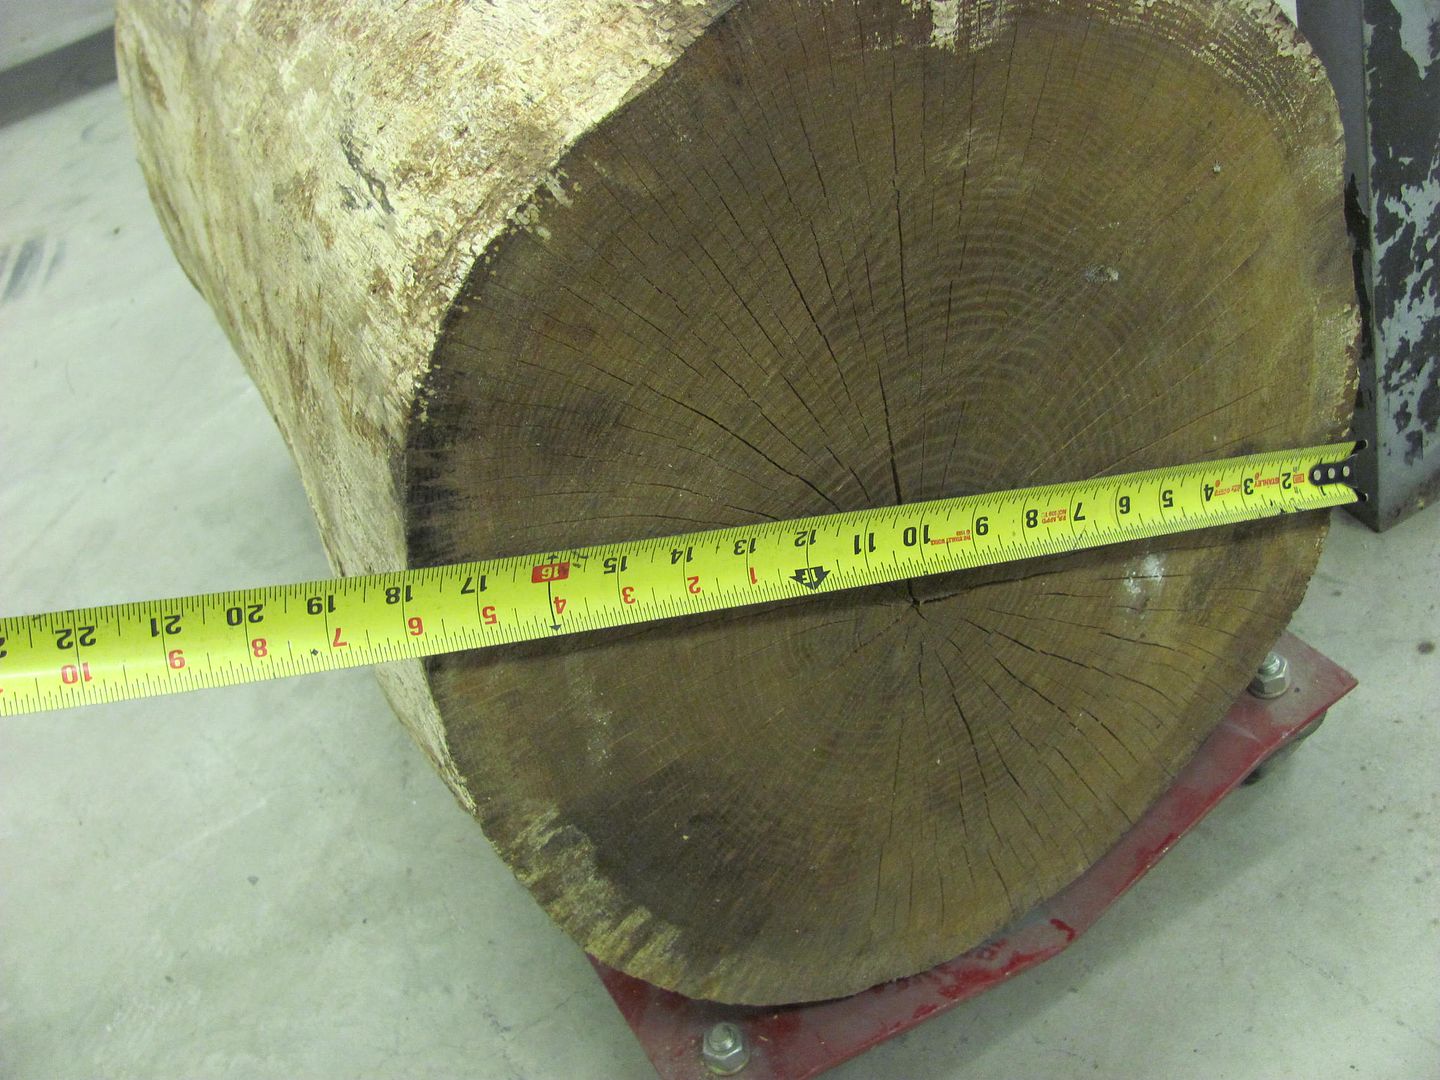
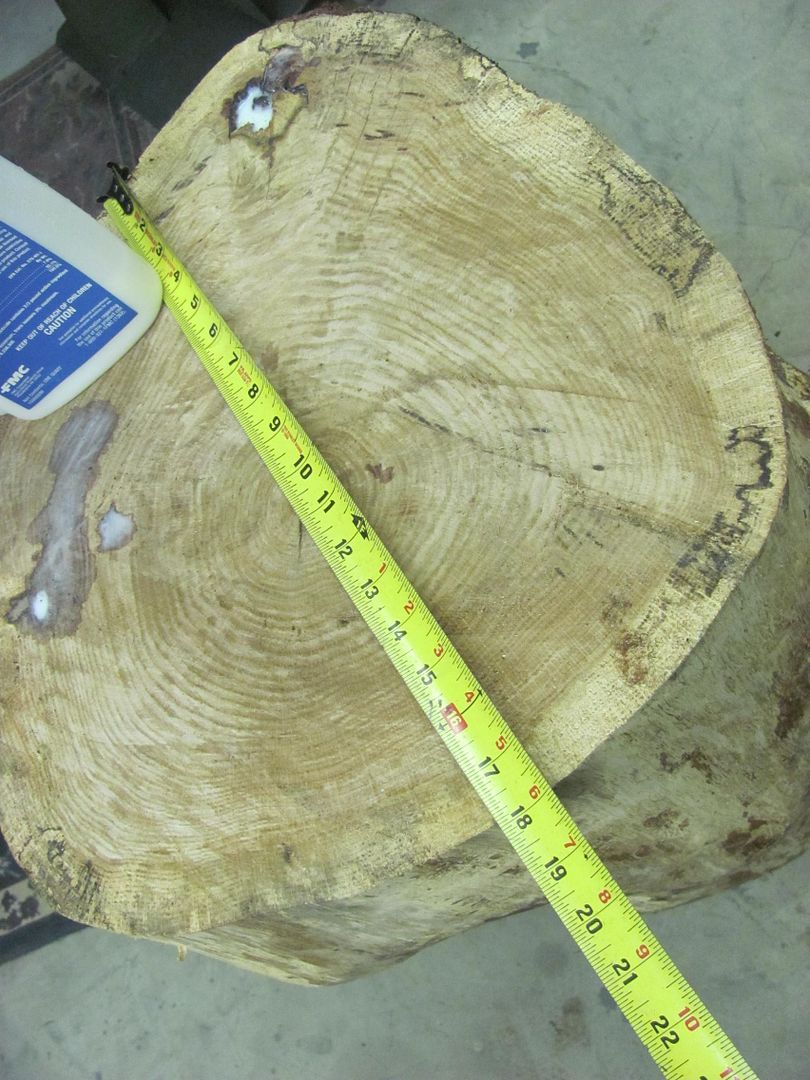
Picked up some stump blanks last night to have some extra stations for the upcoming metalshaping class...
This afternoon, Debarking with a draw knife...
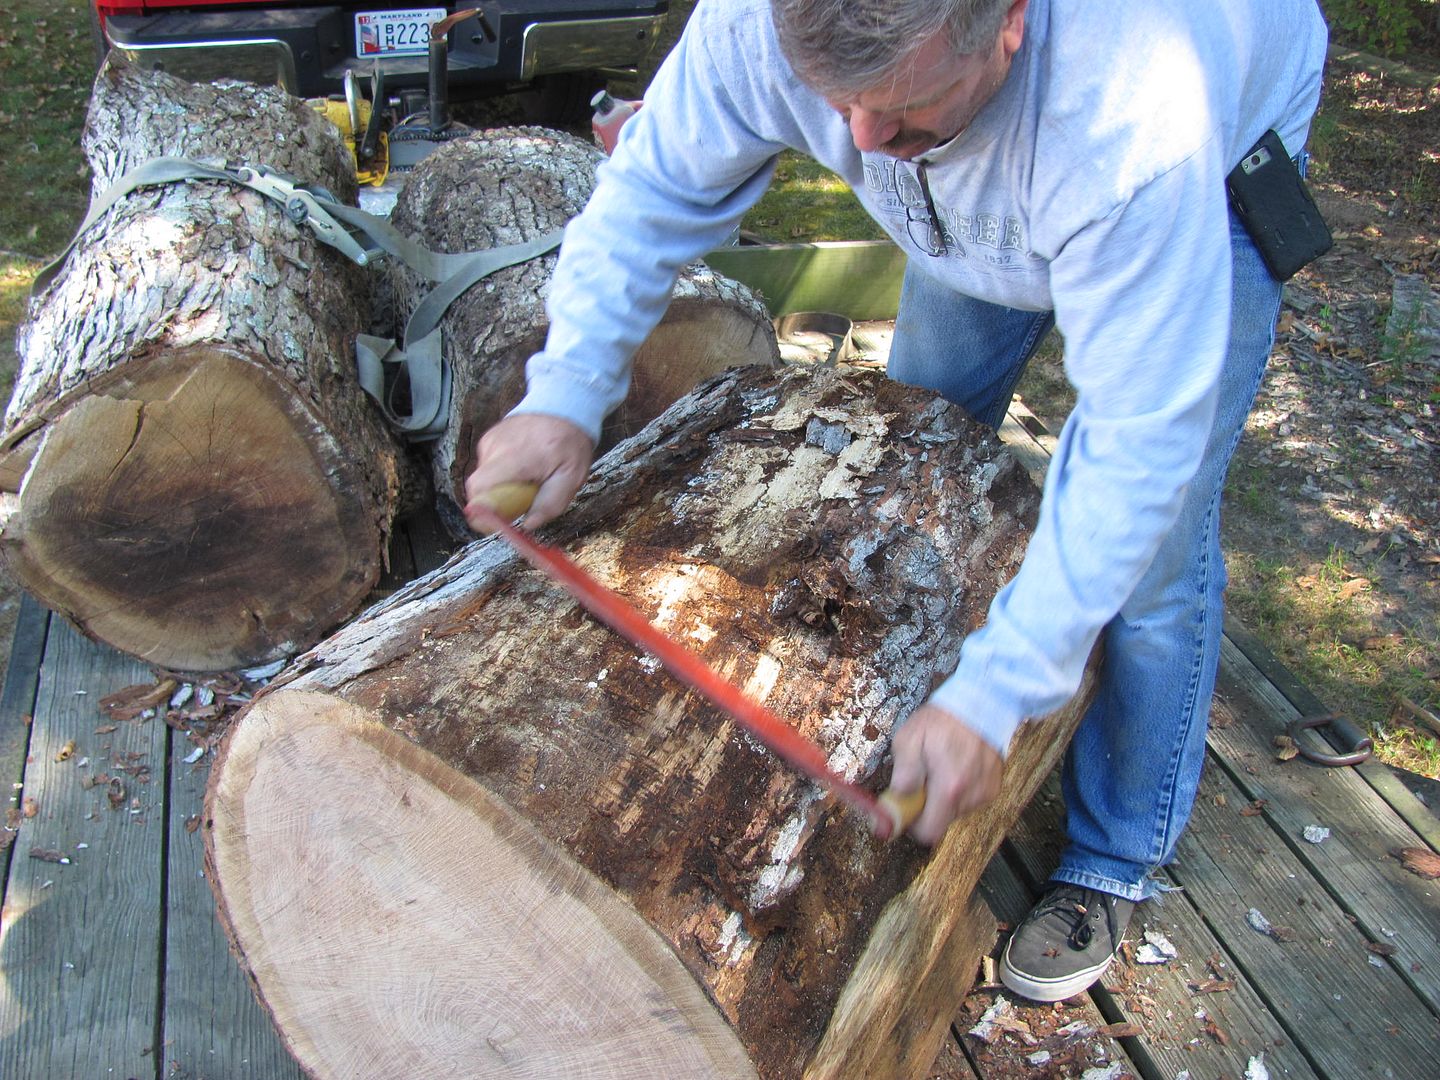
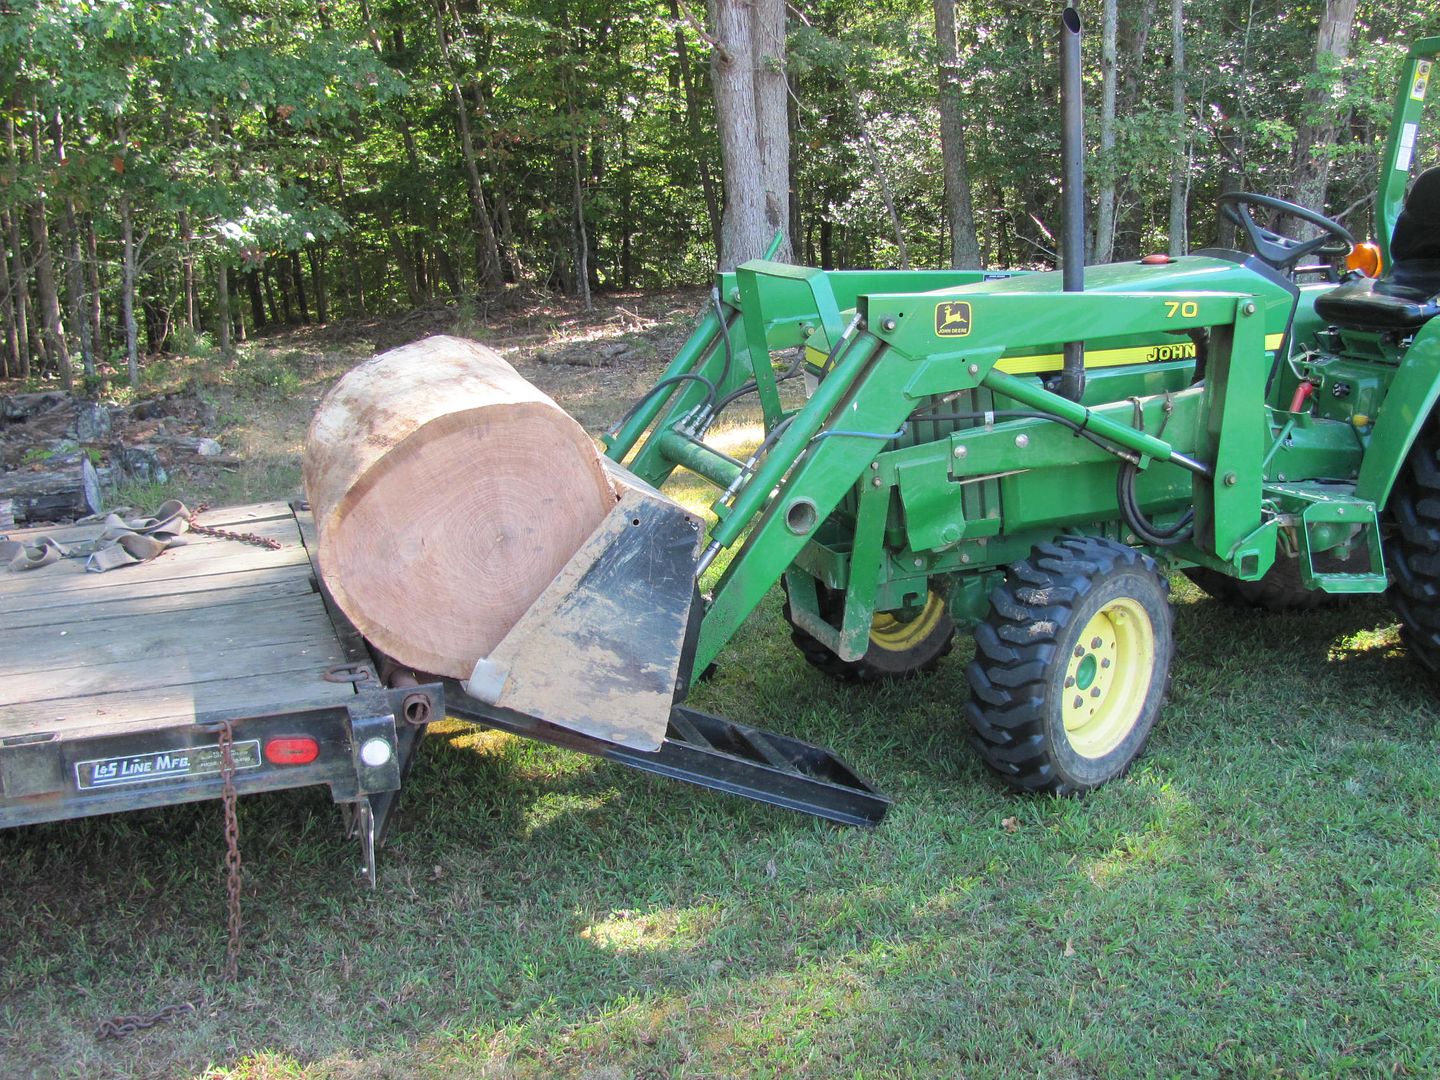
Kyle took over as I used the chain saw to cut some to length...
This one is about all the JD bucket could stand..
....and some Talstar to take care of any remaining ant domiciles.
Robert
 Reply With Quote

Posting Permissions
- You may not post new threads
- You may not post replies
- You may not post attachments
- You may not edit your posts

I got sent to the shop this morning to bring home six cans of Sprite. When I got home I got yelled at by SWMBO. It turns ought I'd picked 7Up.
the Official CHR joke page duel