


 3282Likes
Thread: 55 Wagon Progress


Results 331 to 345 of 1819
 LinkBack URL
 About LinkBacks
-
10-22-2014 08:05 PM #331
 CHR Member

- Join Date
- Jun 2008
- Location
- Leonardtown
- Car Year, Make, Model: Walking
- Posts
- 1,207
Yeah, I was worried about having to use repro's, dodged one there..
Tonight we worked on some more front end pieces. The drivers side inner fender extension had been slightly mangled, looks like perhaps a tire ran over road kill or something and threw it up, breaking some spot welds.
Kyle had already worked on straightening the lower bracket, and after I re-welded the broken spot welds, he got into some metal bumping to repair the rest of the mangle in the sheet metal.
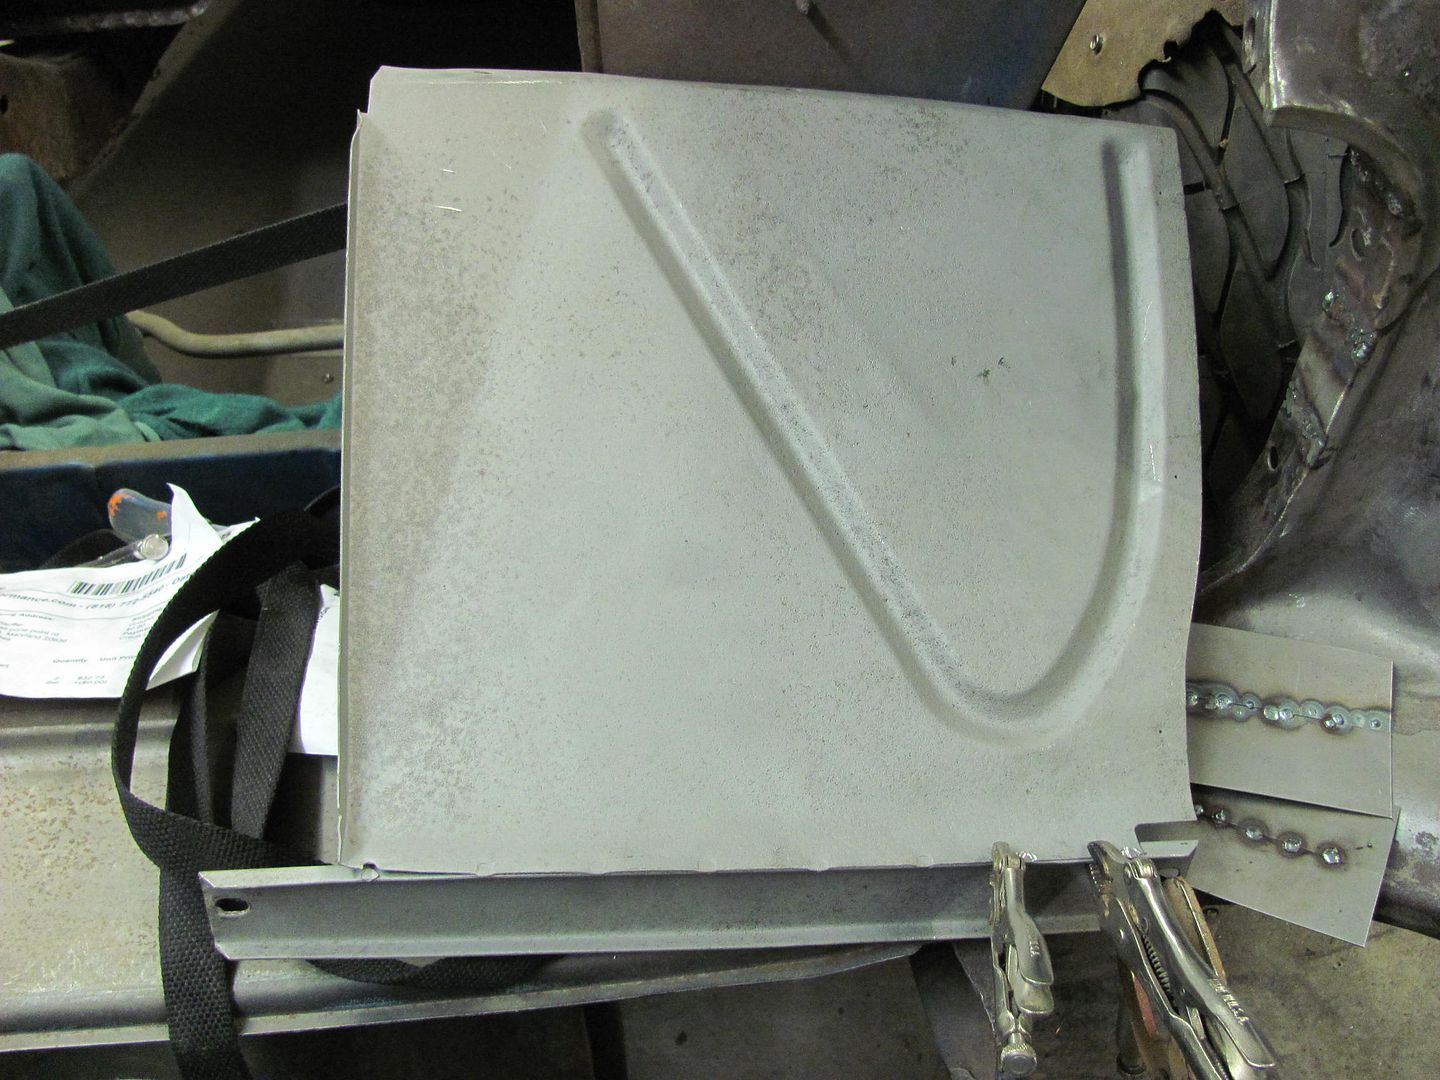
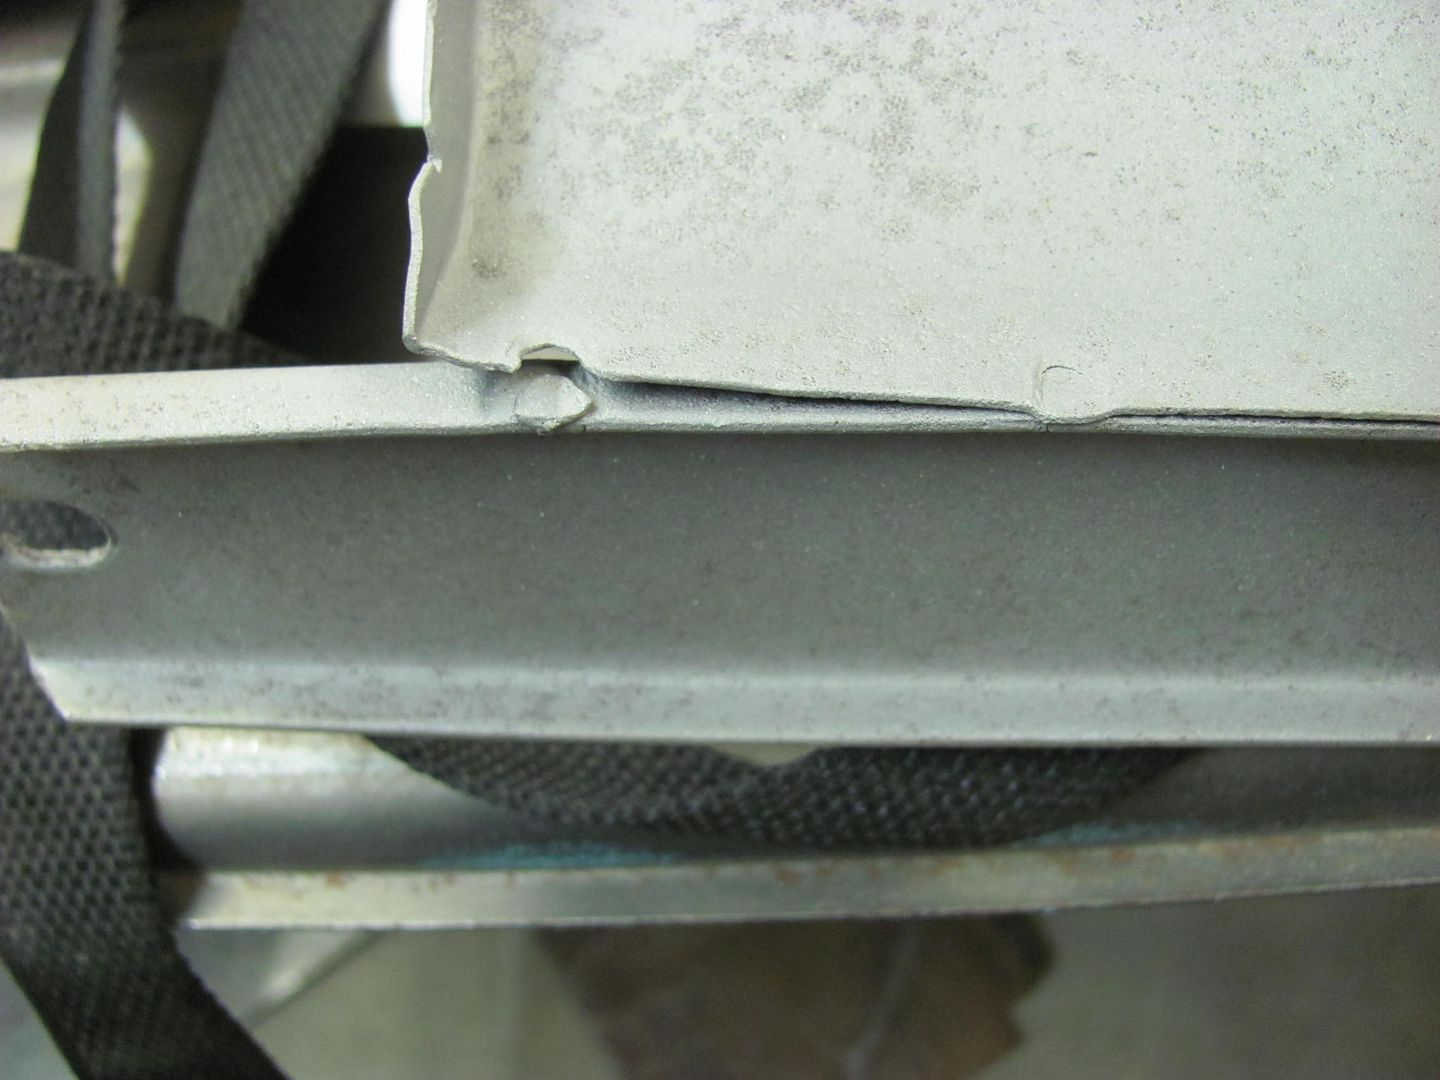
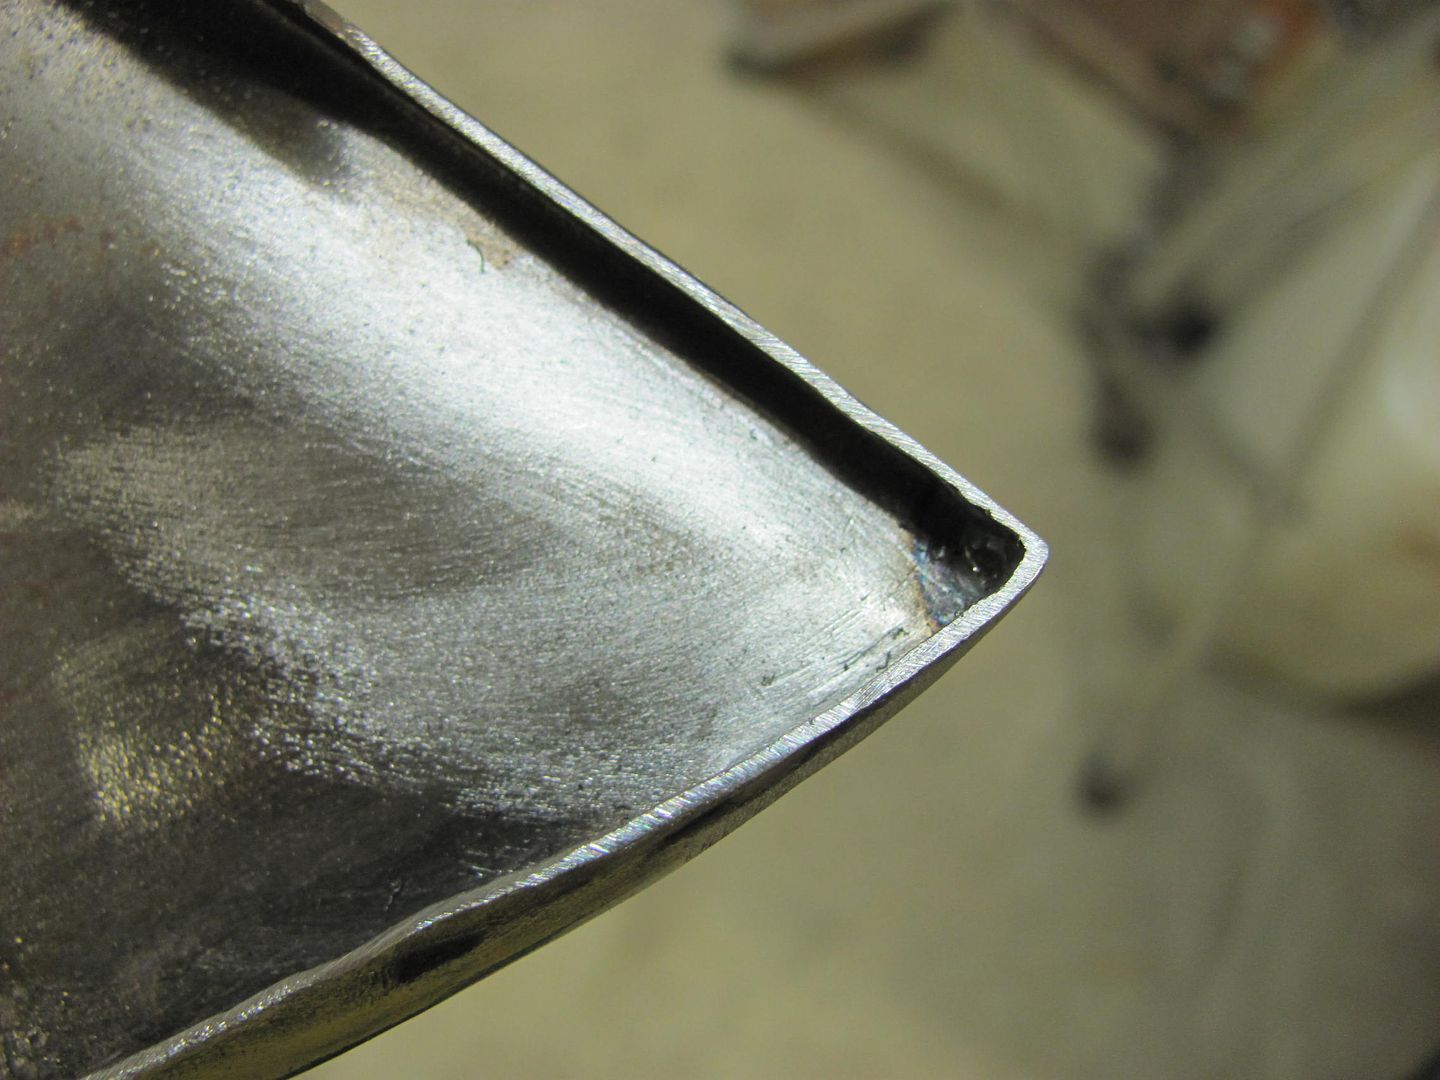
Meanwhile, with the hood fitment about done it was time to weld up the rear corners after the rear flanges in the corners had been persuaded forward to provide consistent gap across the back edge of the hood. The Crud Thug was used to clean out the inside corners for welding..

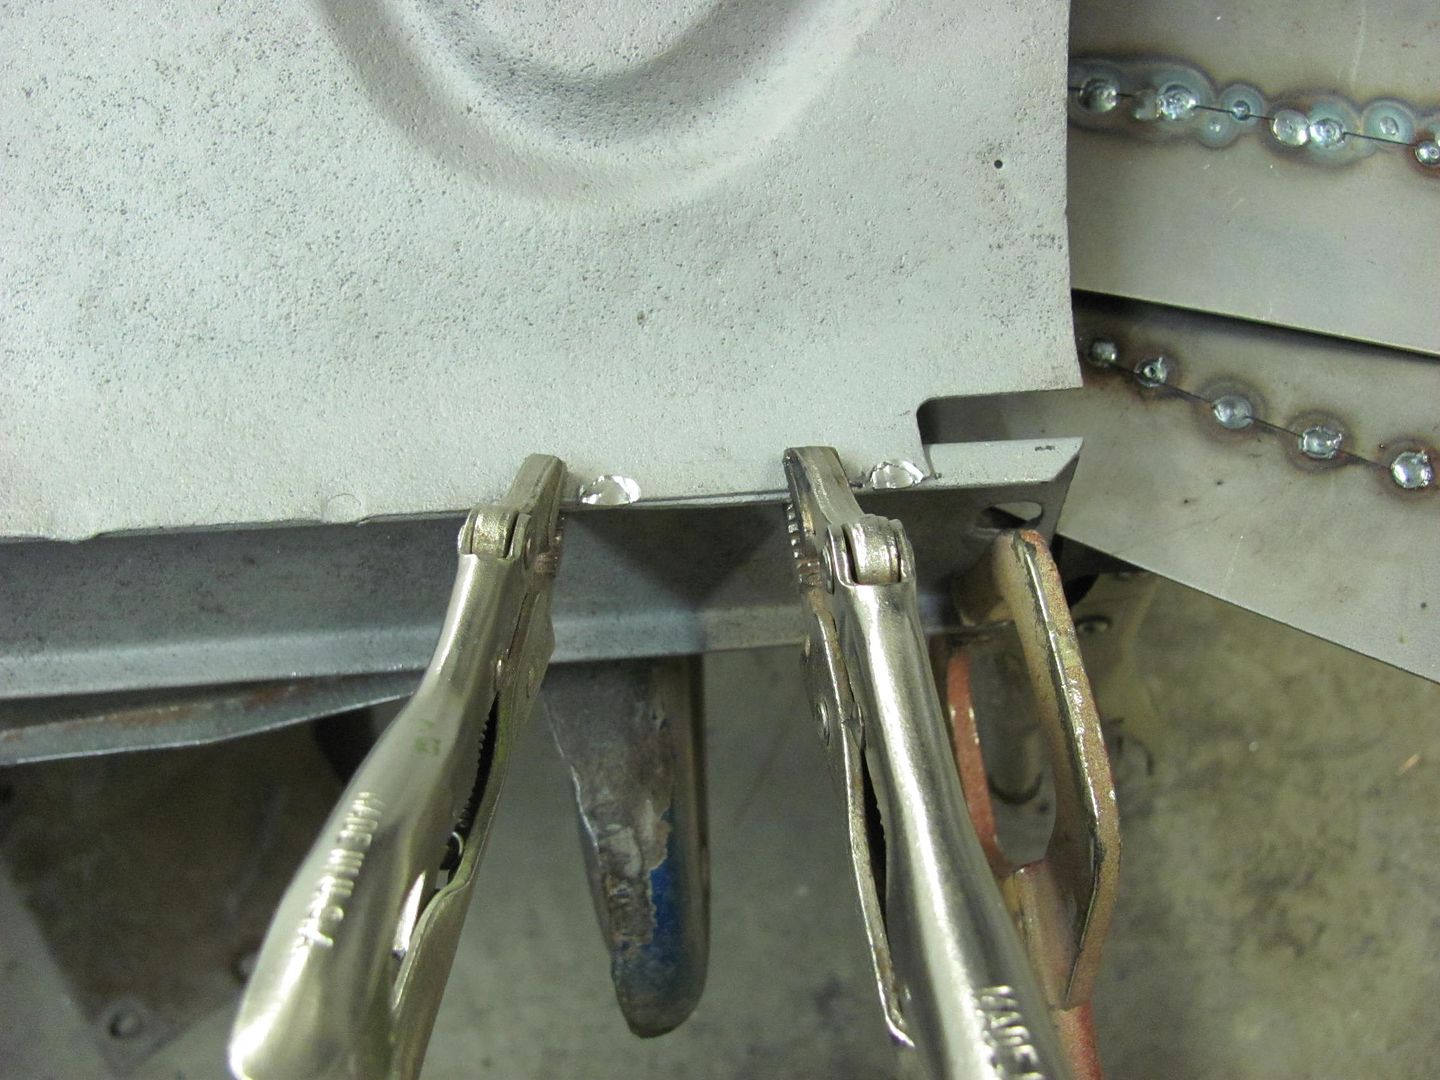
A copper flat bar was trimmed to fit the inside corner snugly to help manage weld penetration where inside cleanup wouldn't be needed.
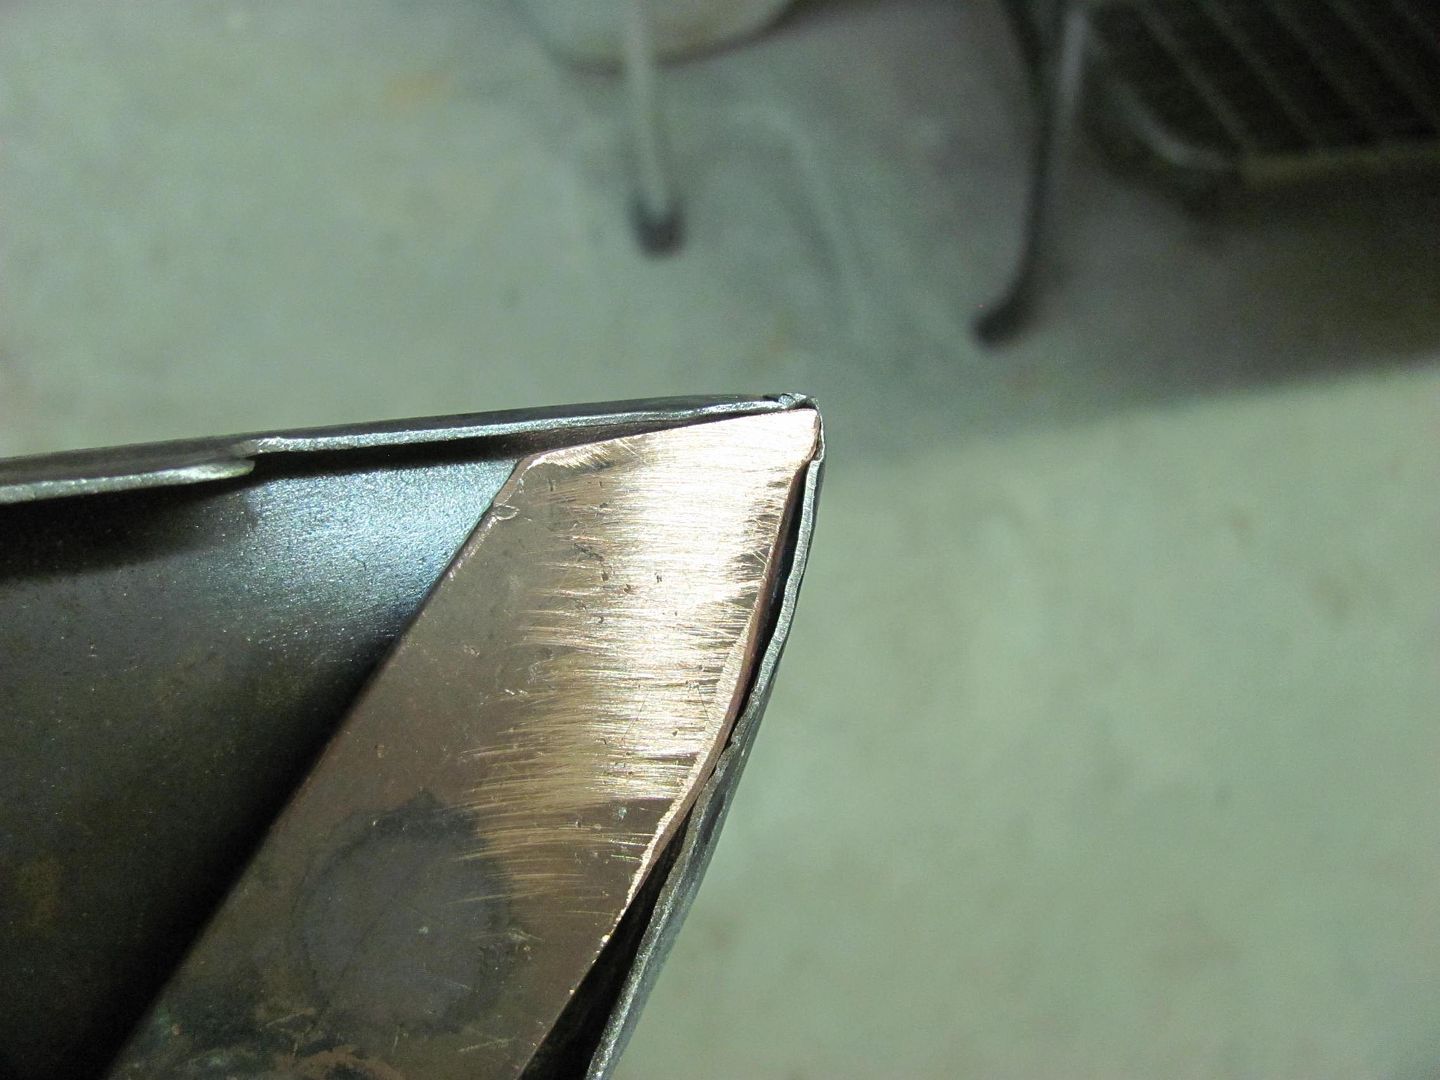
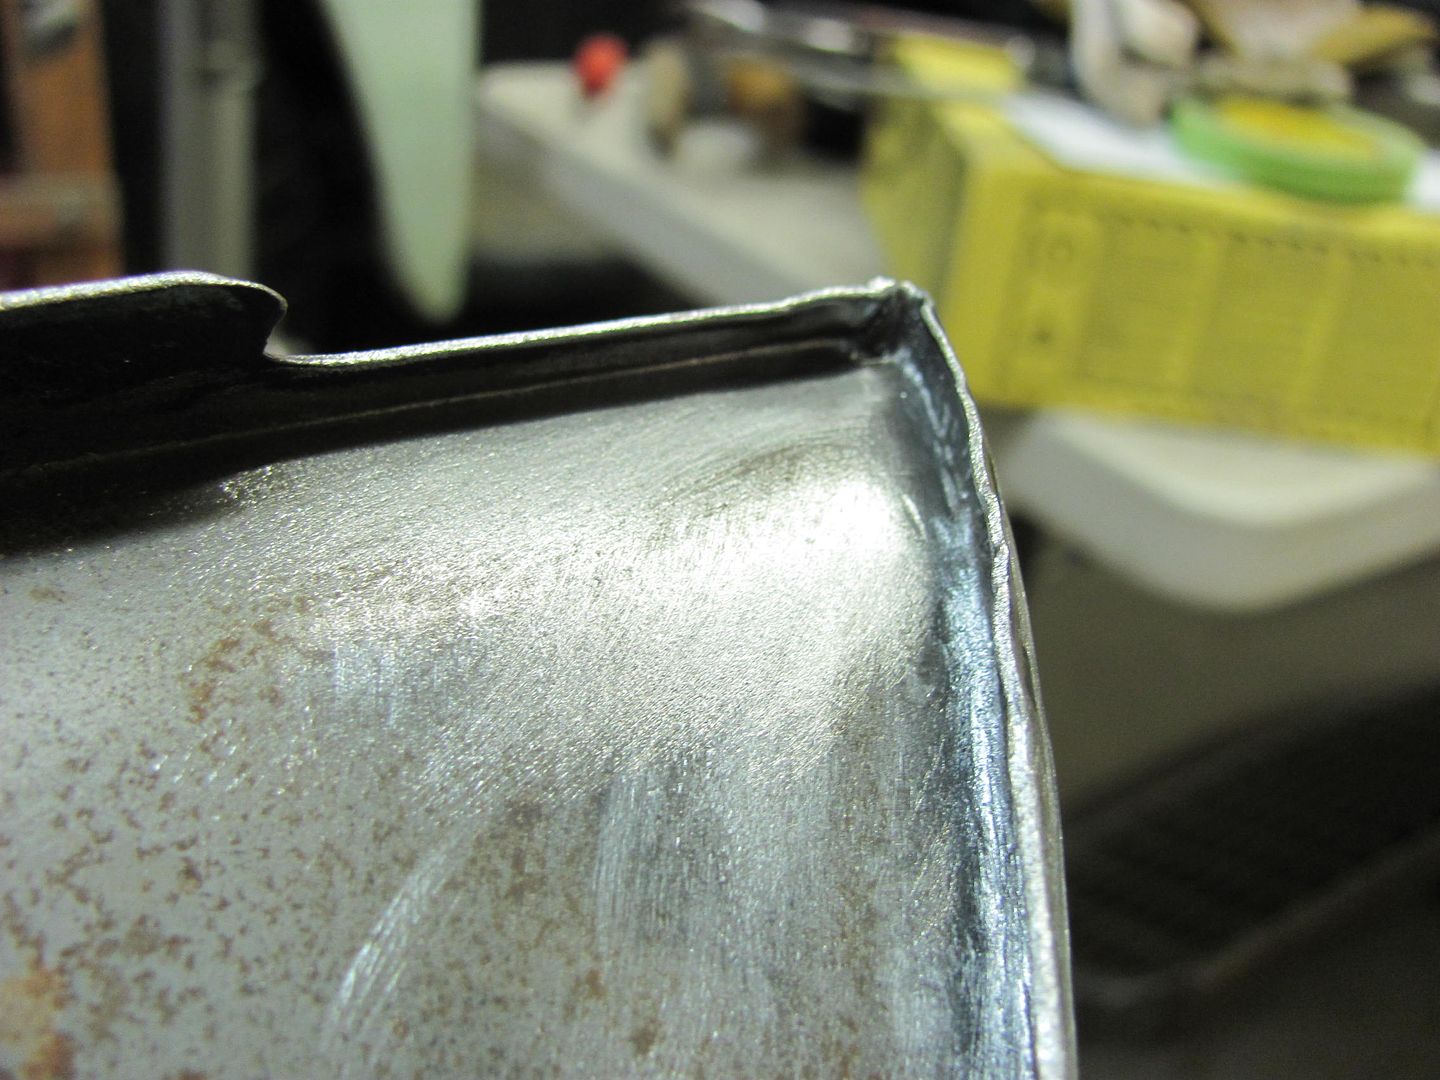
Welded and dressed....
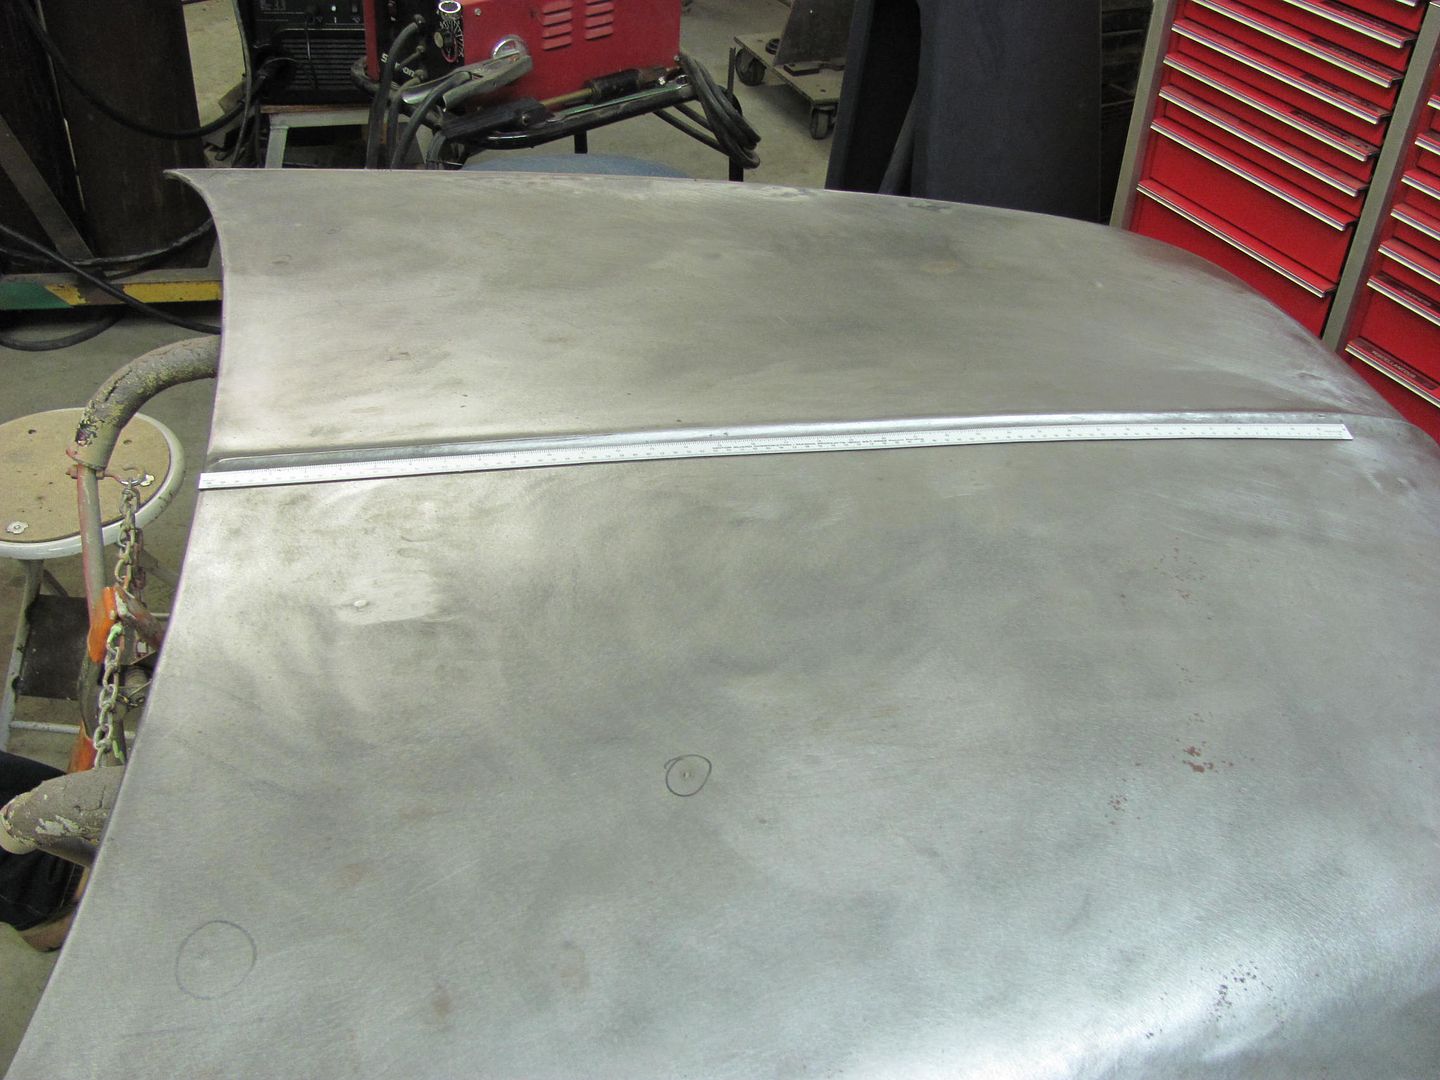
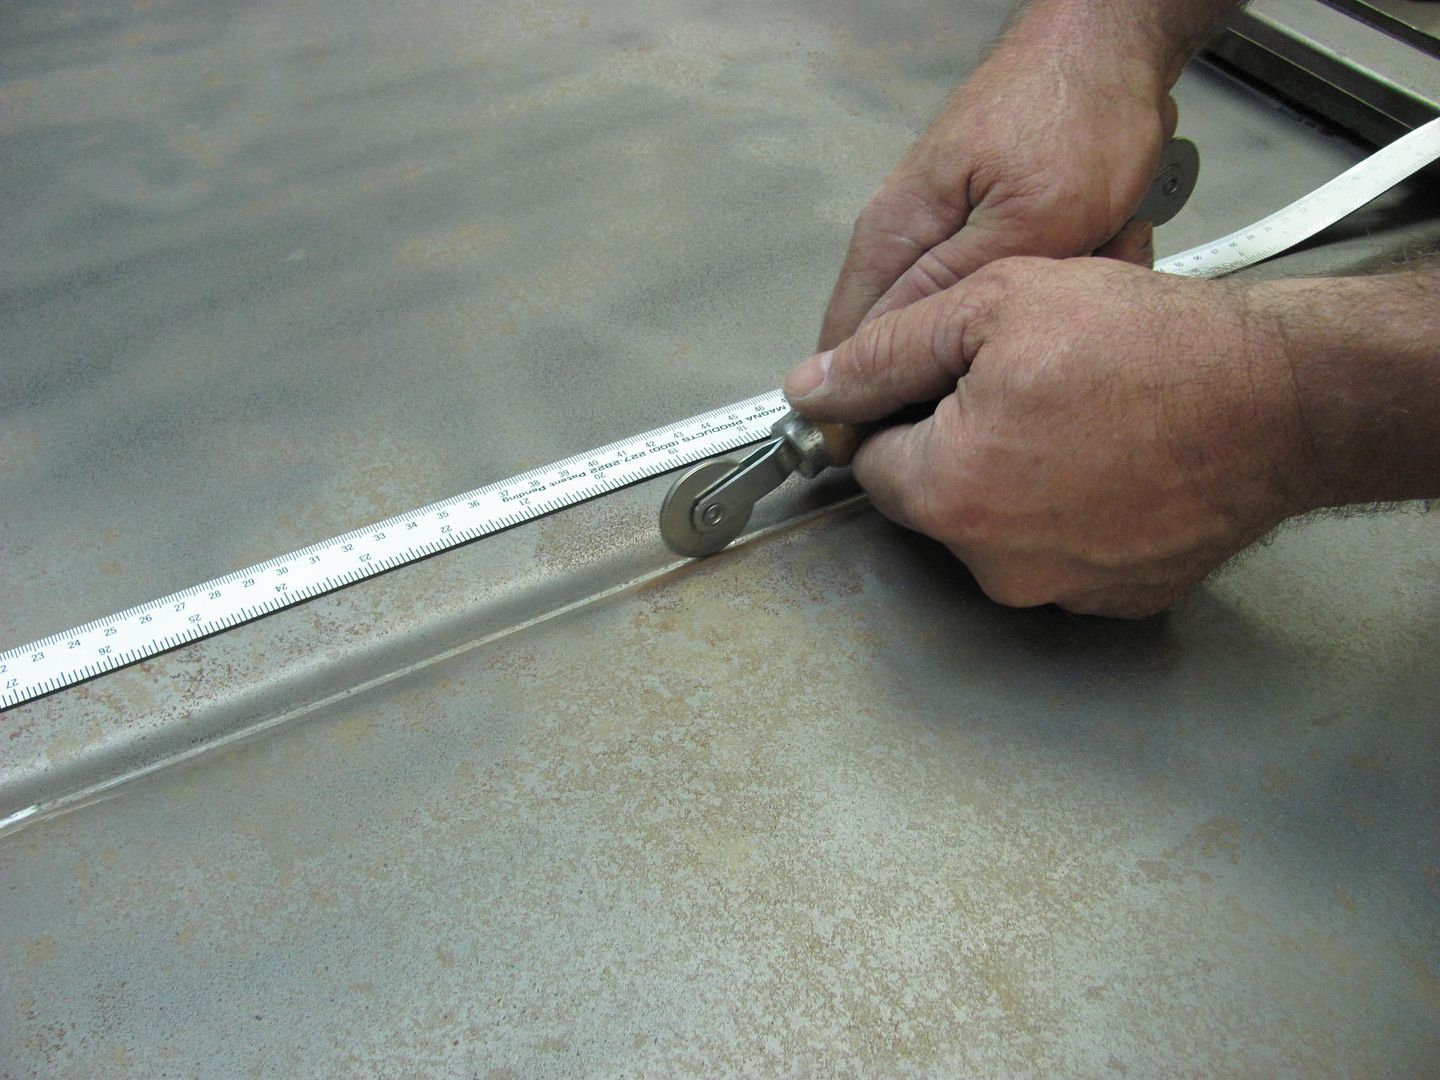
Then the peak on the hood was addressed, after peaking the front of the hood awhile back I had yet to fix the low areas. A consistent crown would be essential on provide good support for the hood, and there were a few low spots along the peak. To be able to match up the low areas, a magnetic rule was placed on the underside and top. After sighting the peak and finding the lows, they were marked and the measurement notated.

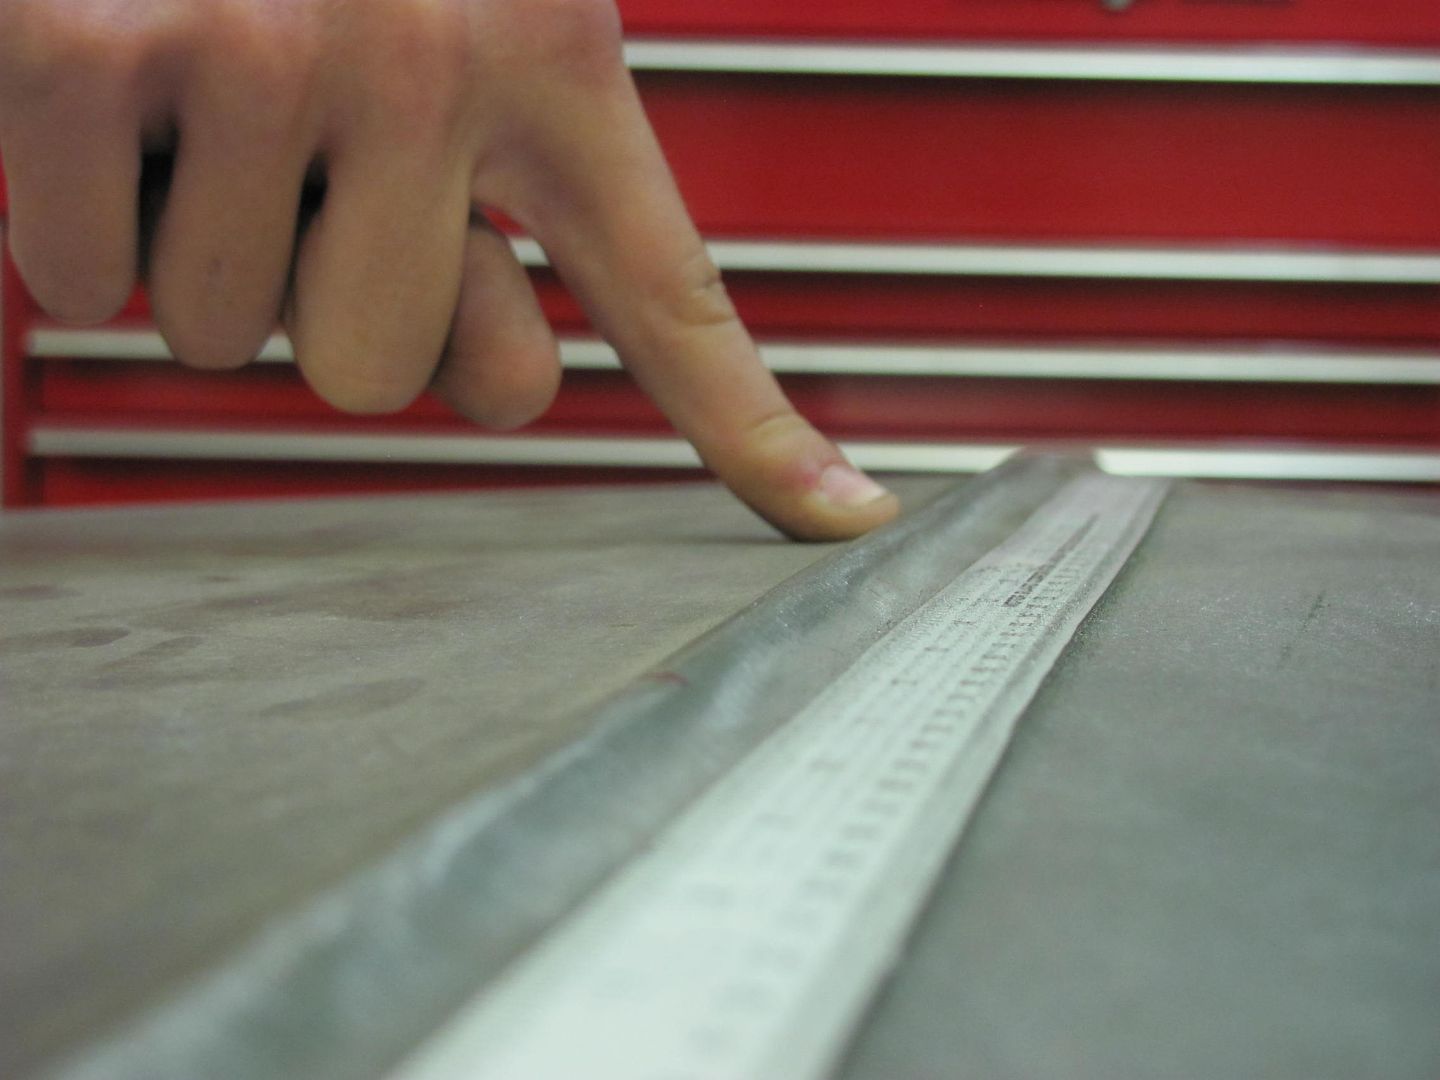
Flipping the hood over, the same dimensioned areas were persuaded downward. A screen door tool was used, but proved to be rather ineffective.
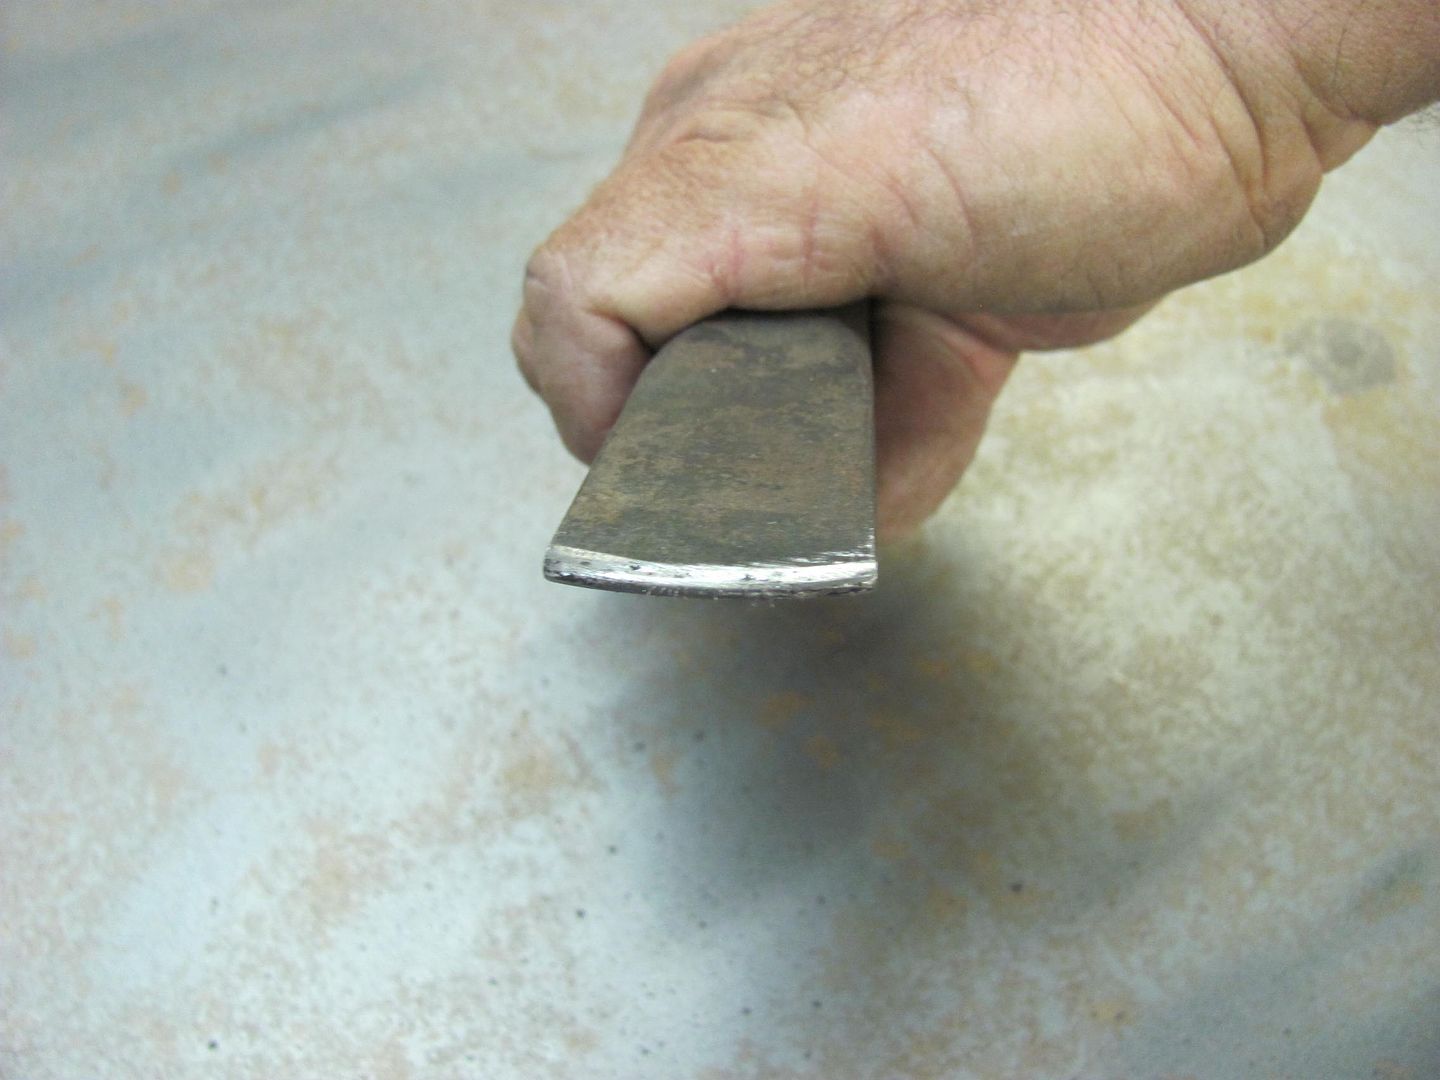
Time to break out the heavy duty implements, a rounded/radiused cold chisel and a dead blow hammer, along with the small shot bag held against the opposite side....
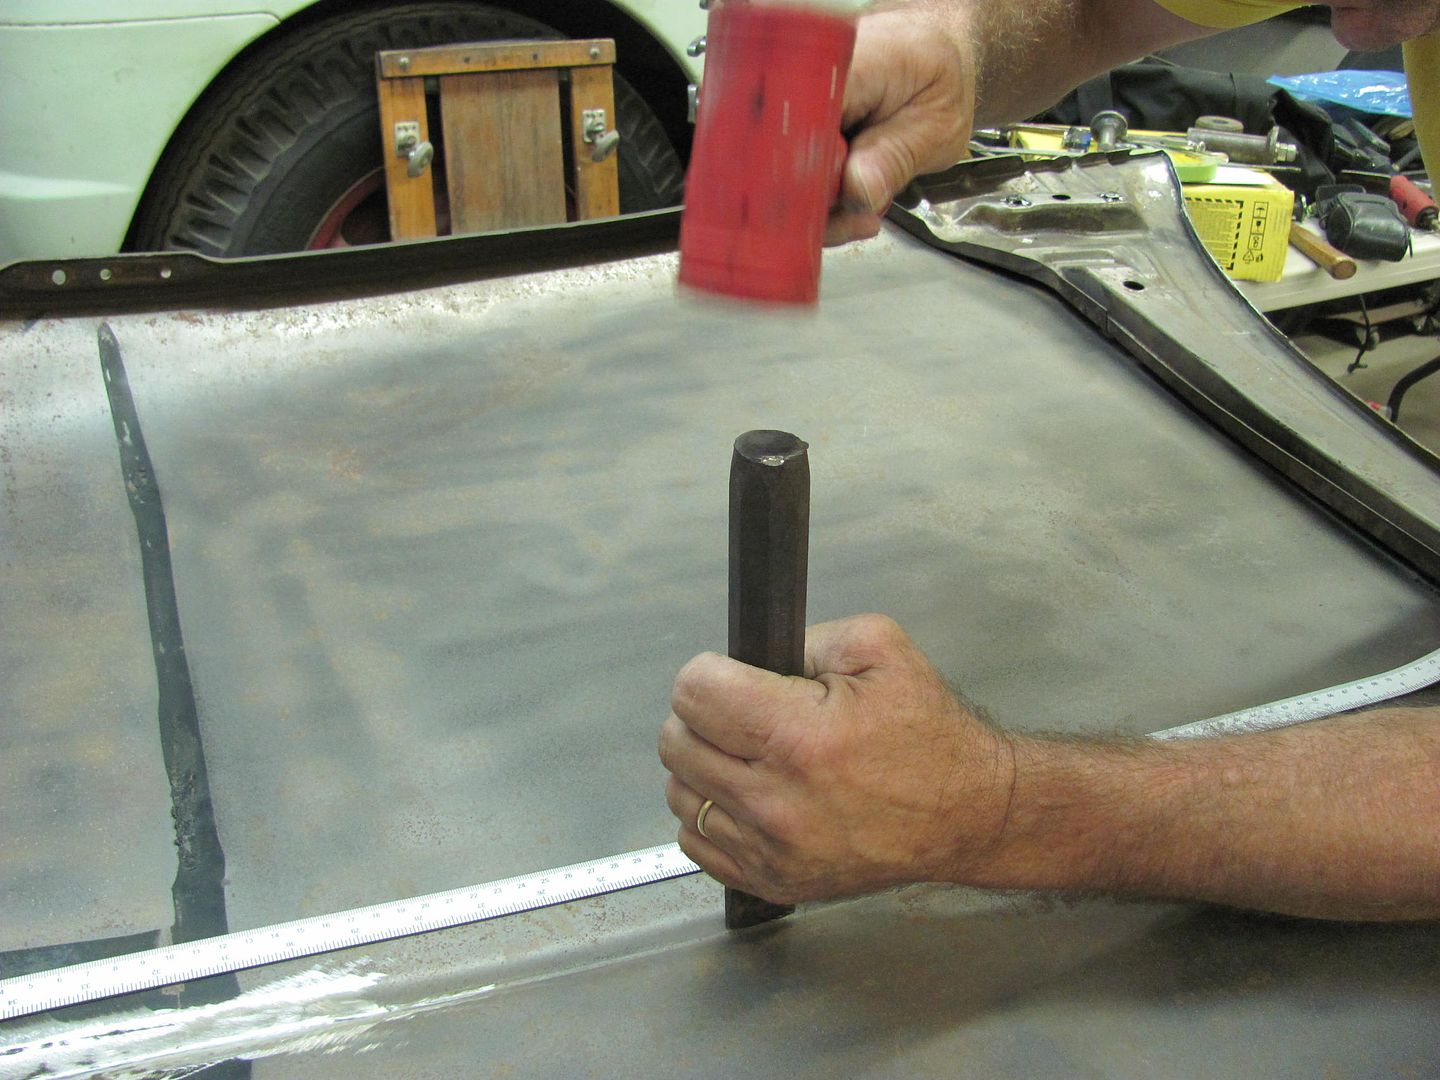
That worked better, and showed dramatic improvement. Still a bit more to do, but we're running out of time this evening, so we'll finish this up on Saturday..Robert
-
Advertising

- Google Adsense
- REGISTERED USERS DO NOT SEE THIS AD
-
10-25-2014 08:11 PM #332
CHR Member
- Join Date
- Jun 2008
- Location
- Leonardtown
- Car Year, Make, Model: Walking
- Posts
- 1,207
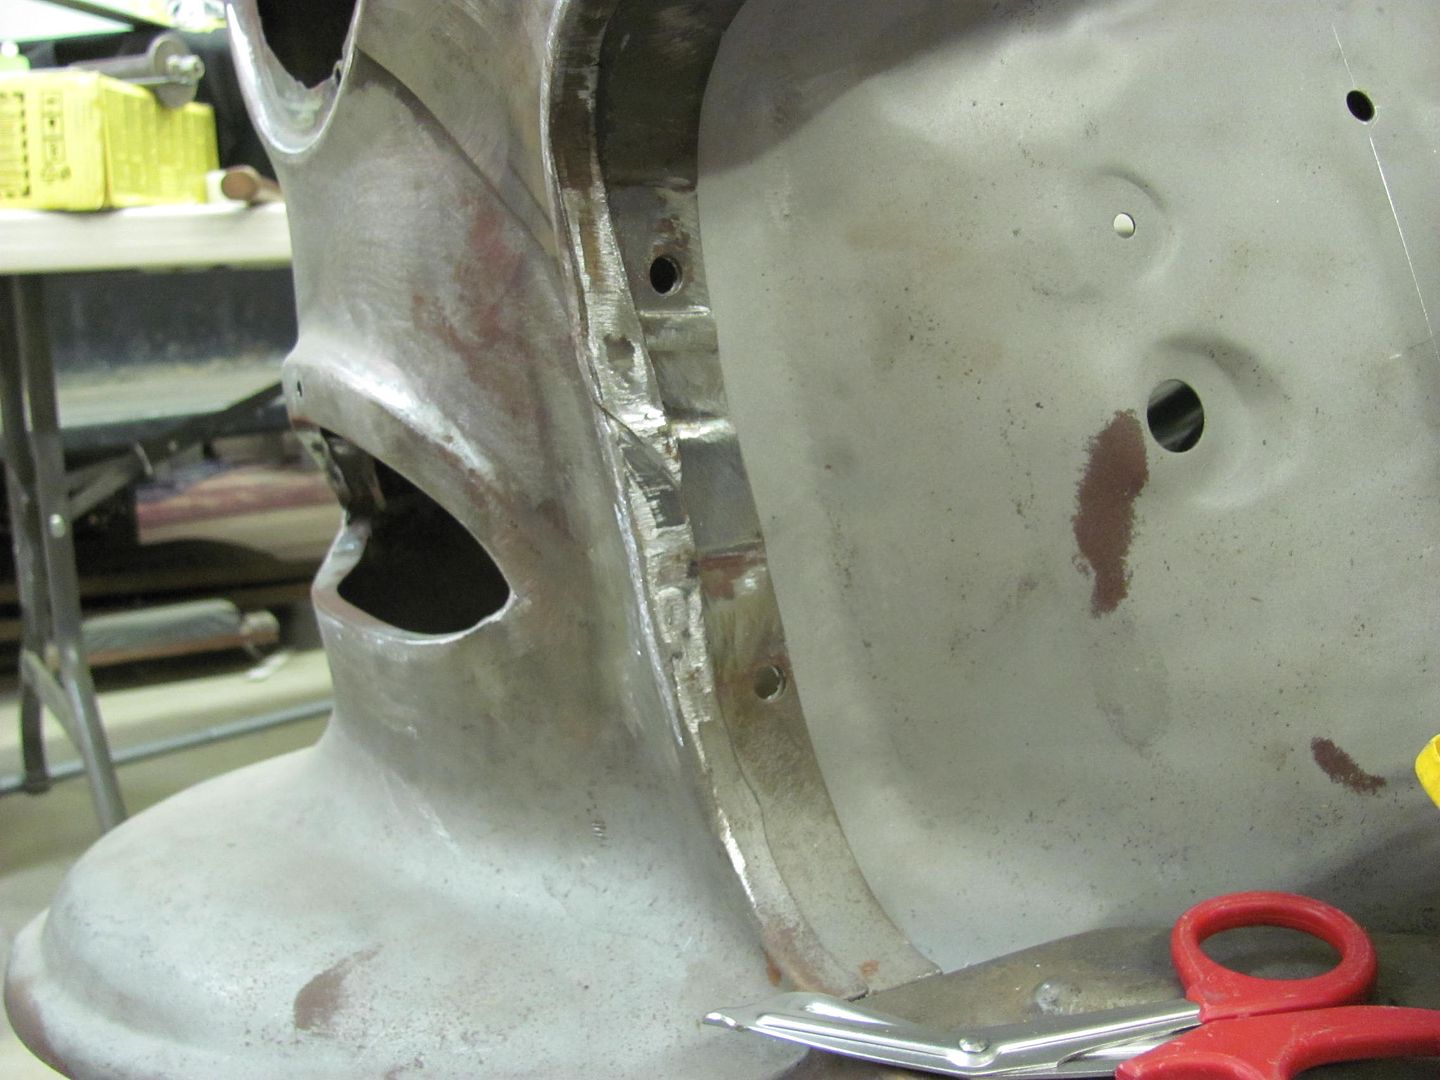
More progress today, some of the factory hardware for the inner fender and inner fender extensions used sheet metal screws and clips that had been spot welded on. We plan on using machine screws, so the clips were drilled out for 1/4-20 rivet nuts.
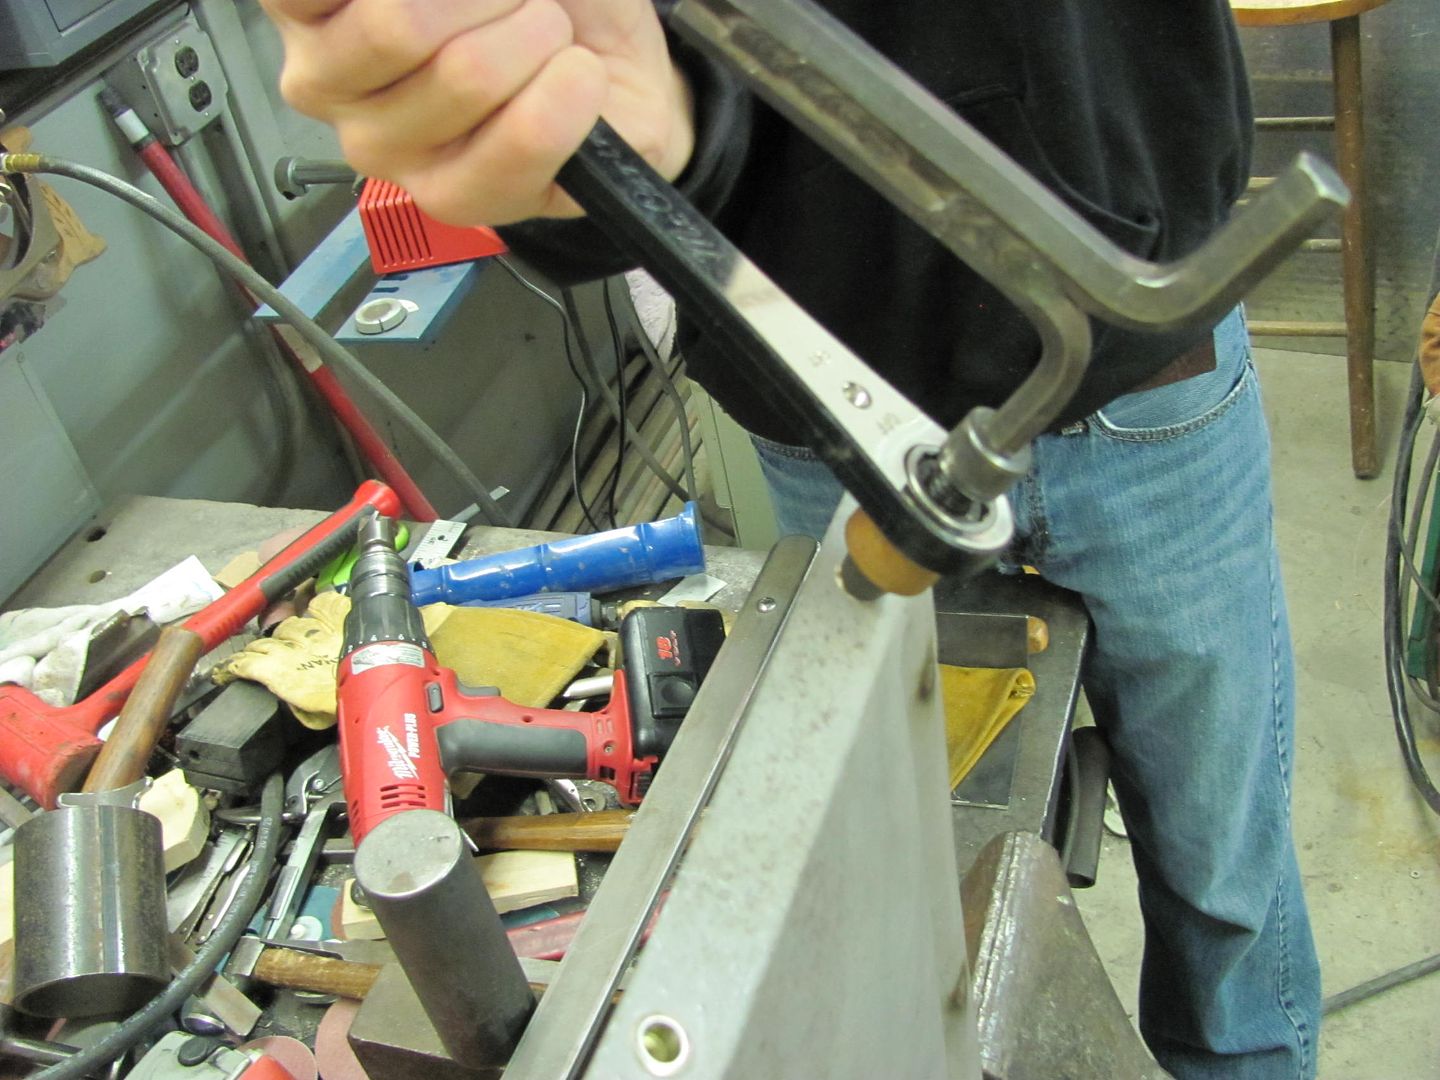
Kyle used the BF Goodrich installing tool. First the rivet nut is threaded onto the tool for full thread engagement..
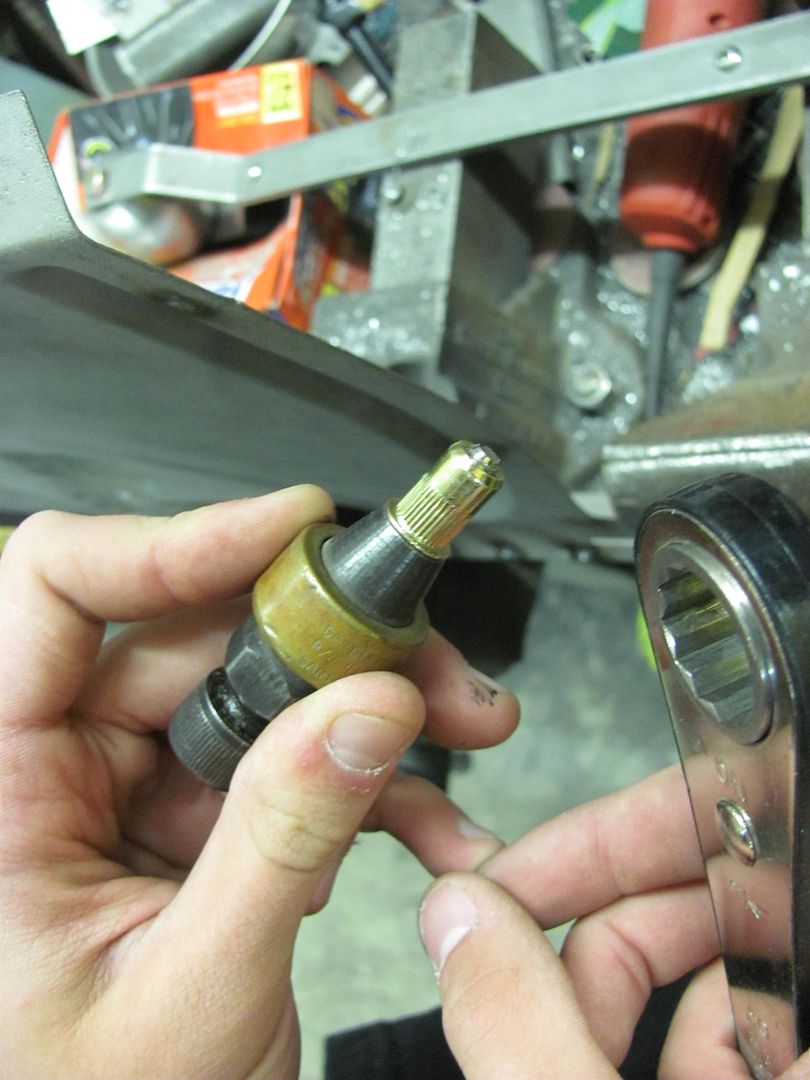
Next, the allen wrench is held stationary, and is also held to stabilize the tool perpendicular to the work piece. The ratchet wrench adds the rotational movement where the "jack screw" draws up the rivet nut, similar to installing a pop rivet..
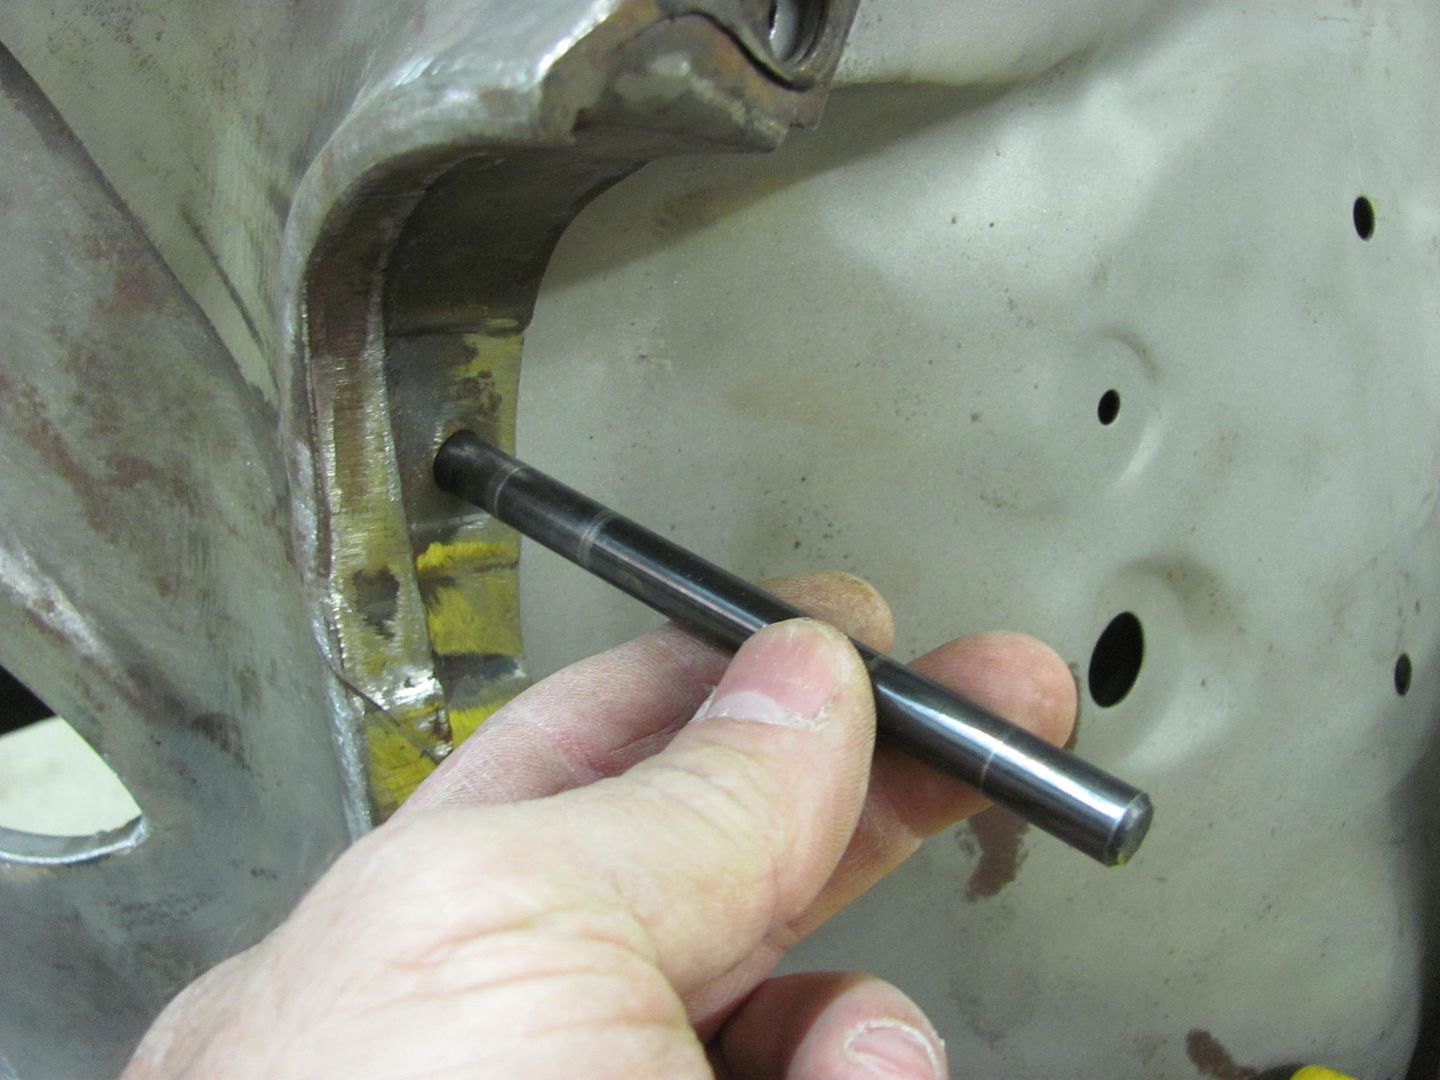
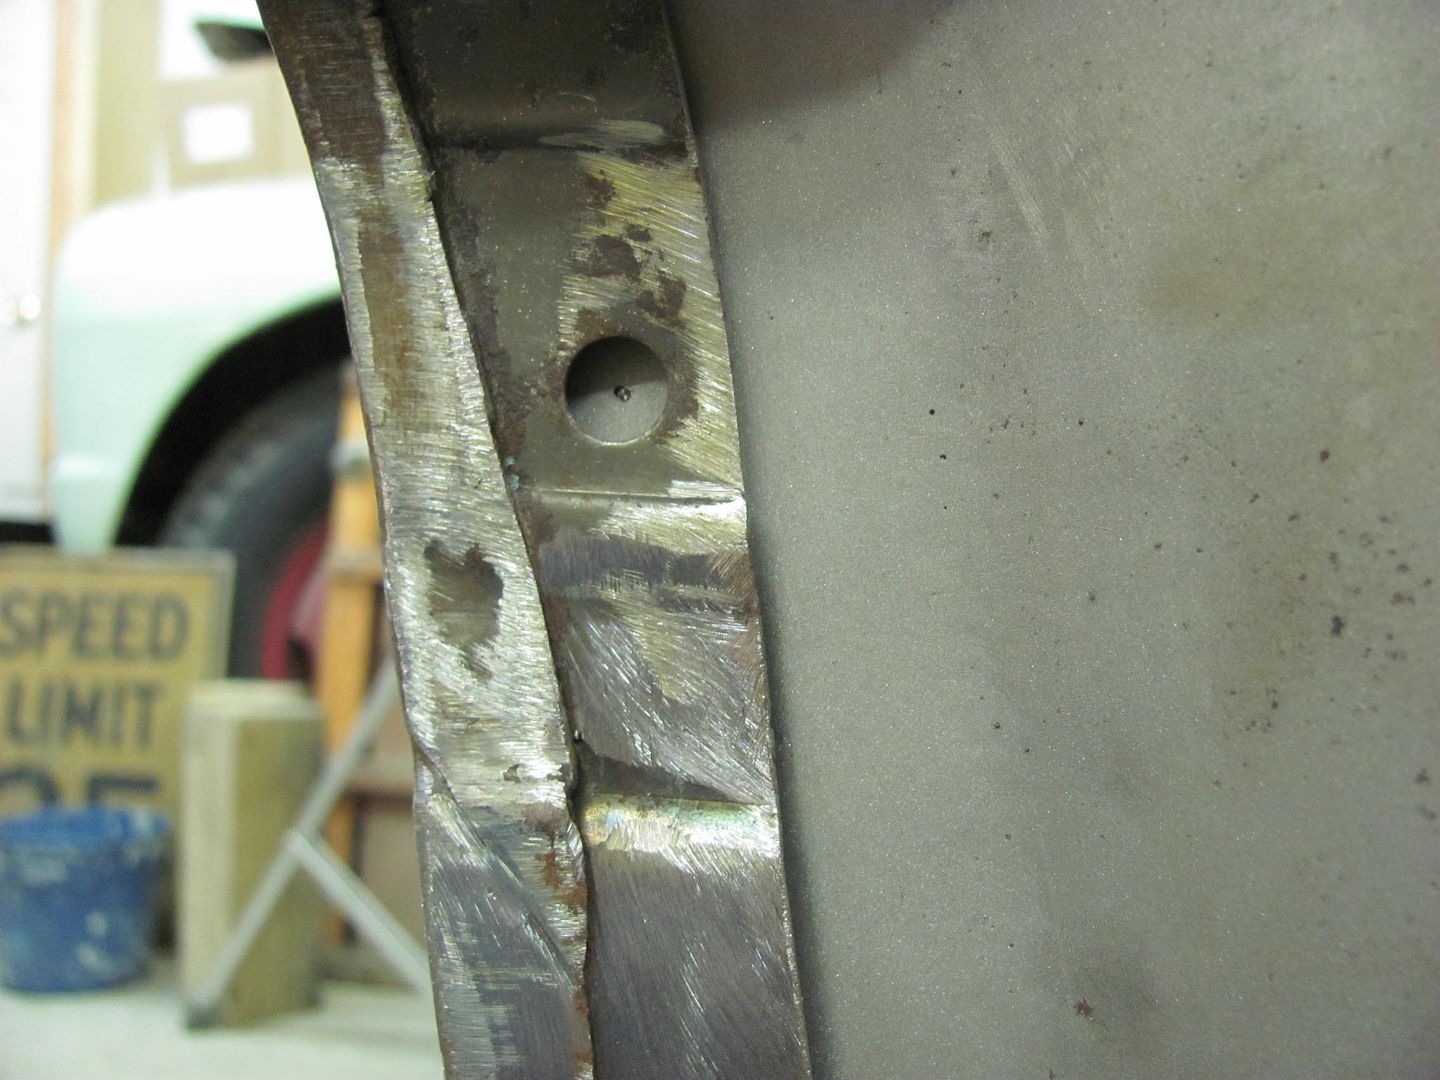
While he was doing that, I used some transfer punches to add the holes to the recently repaired inner fenders for the grille hardware...
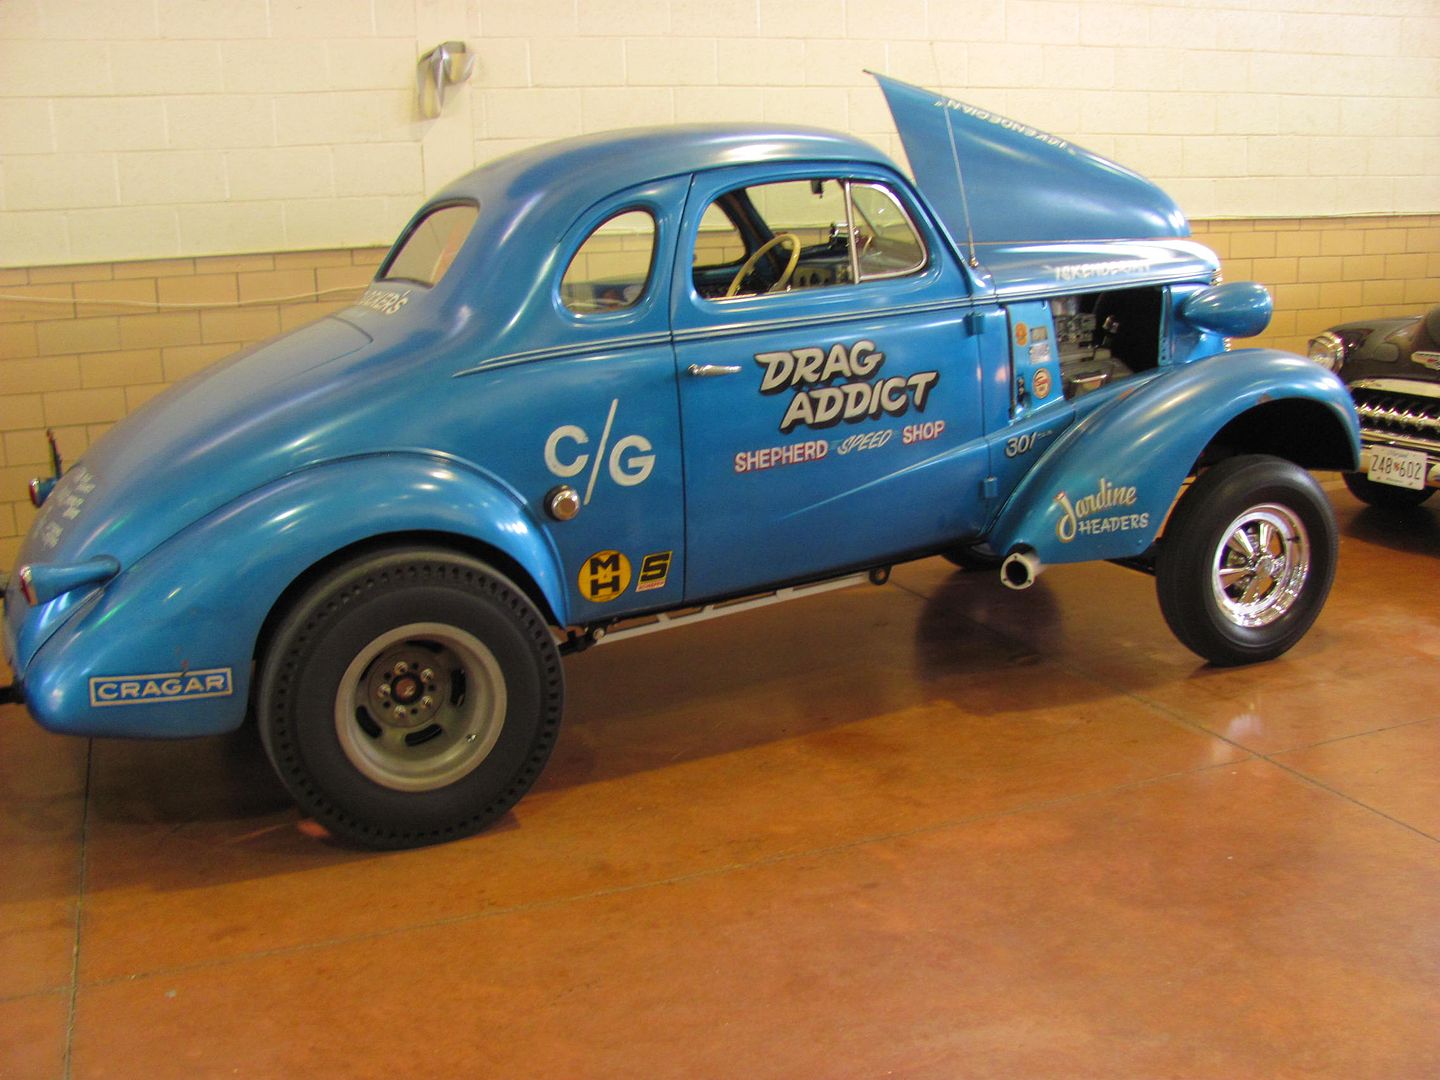
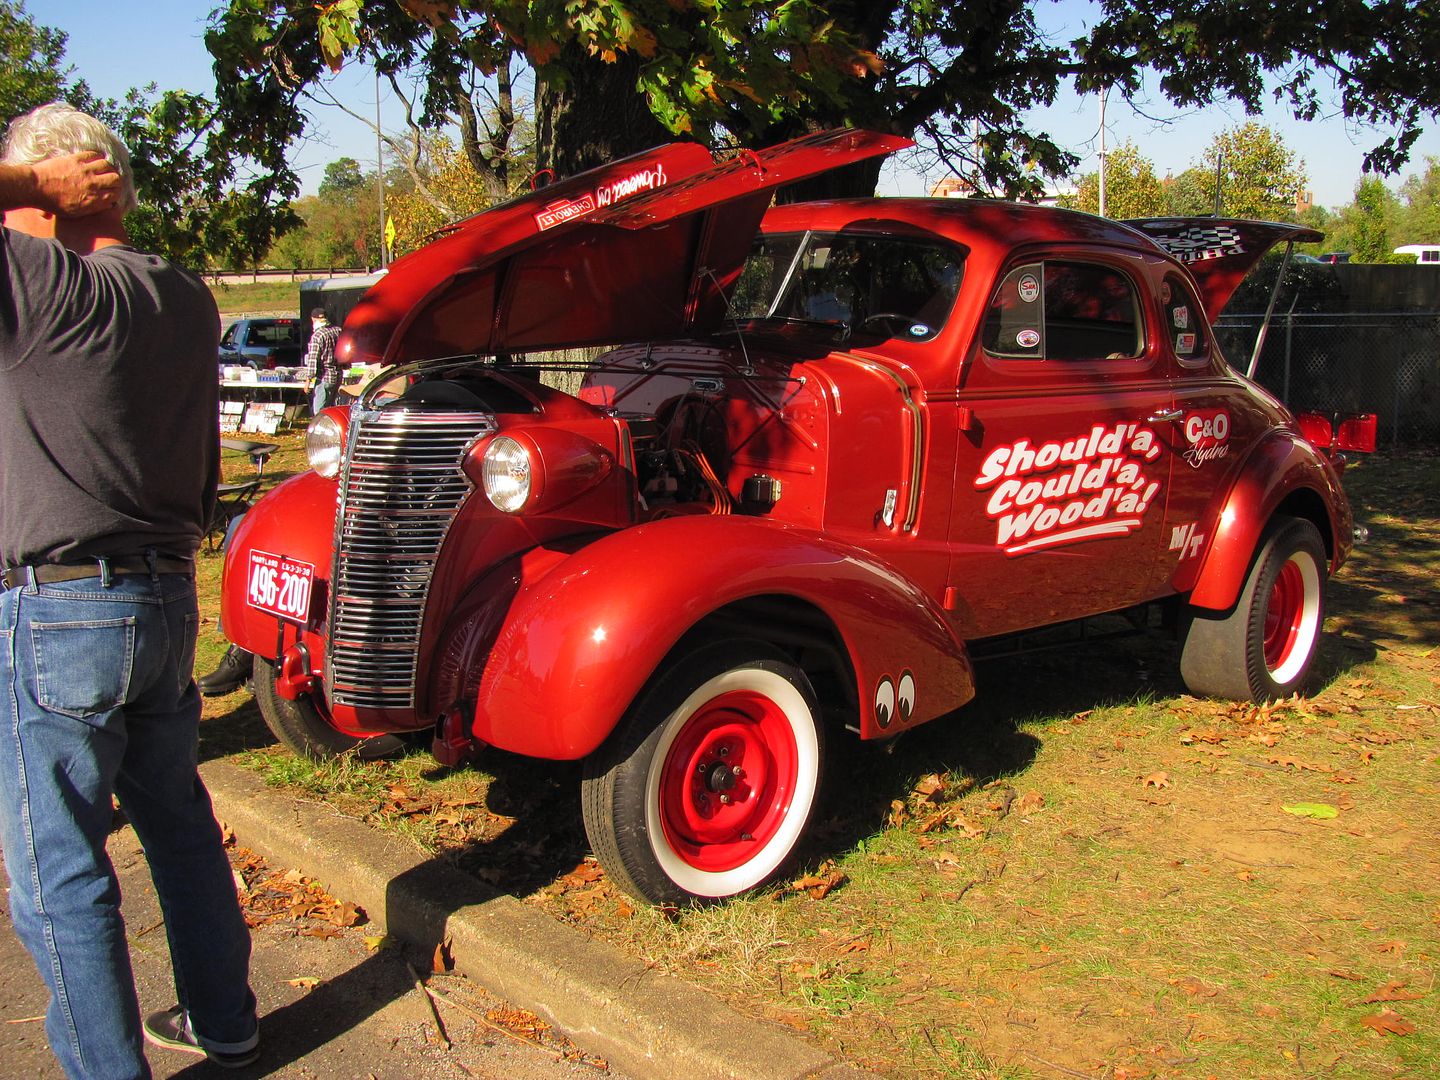
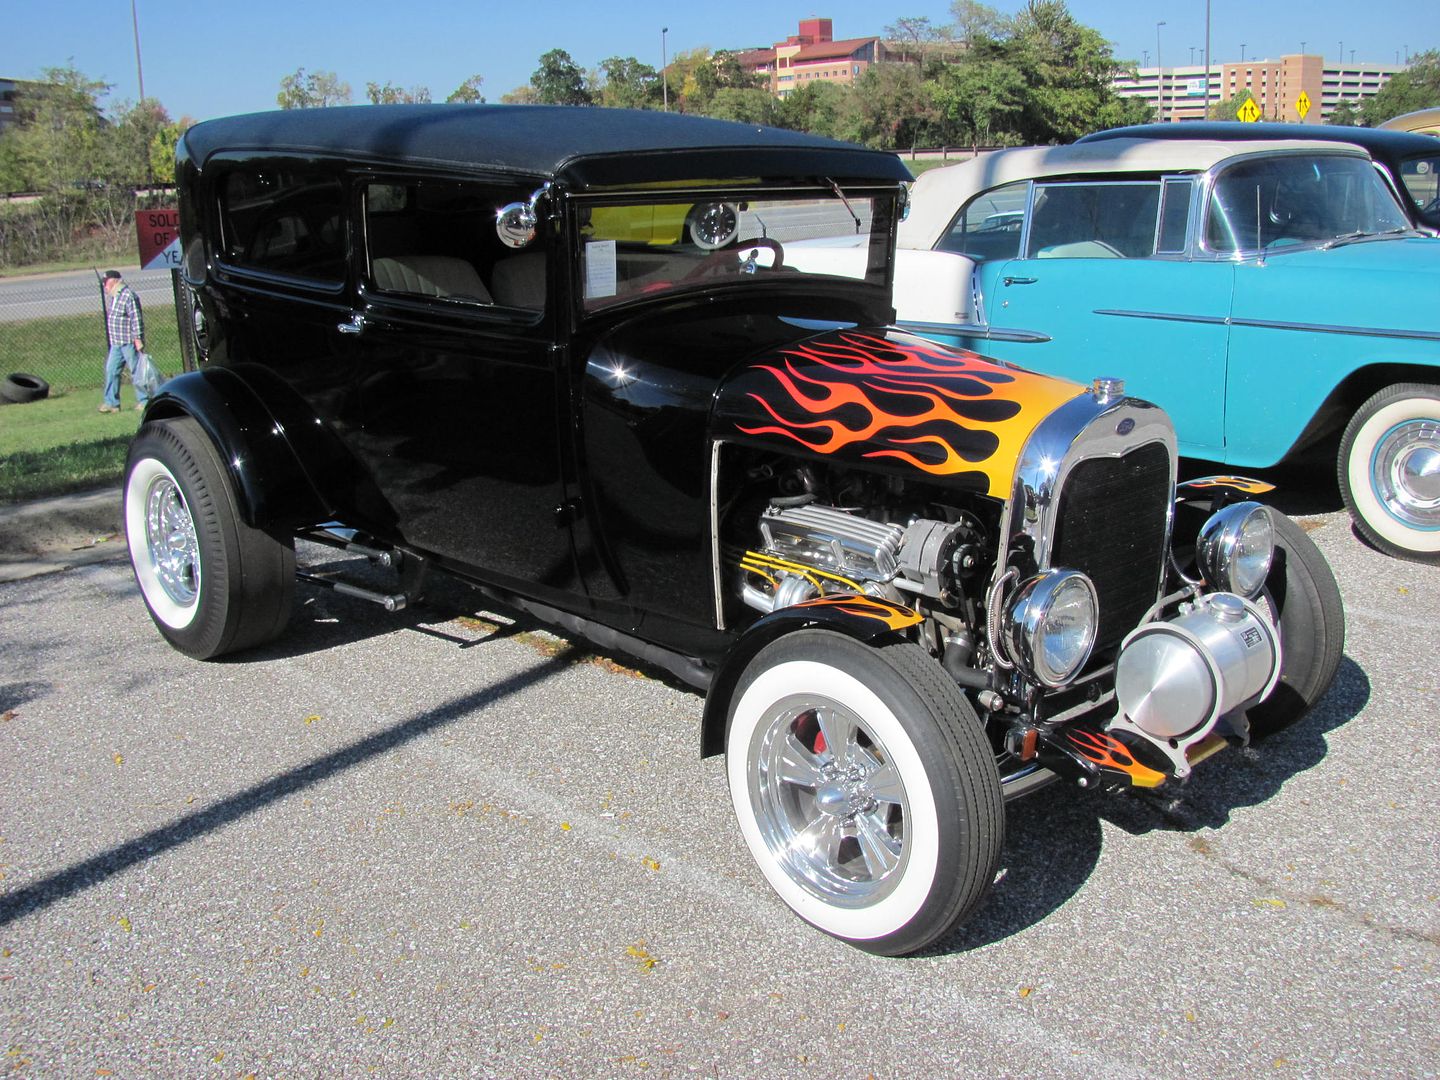
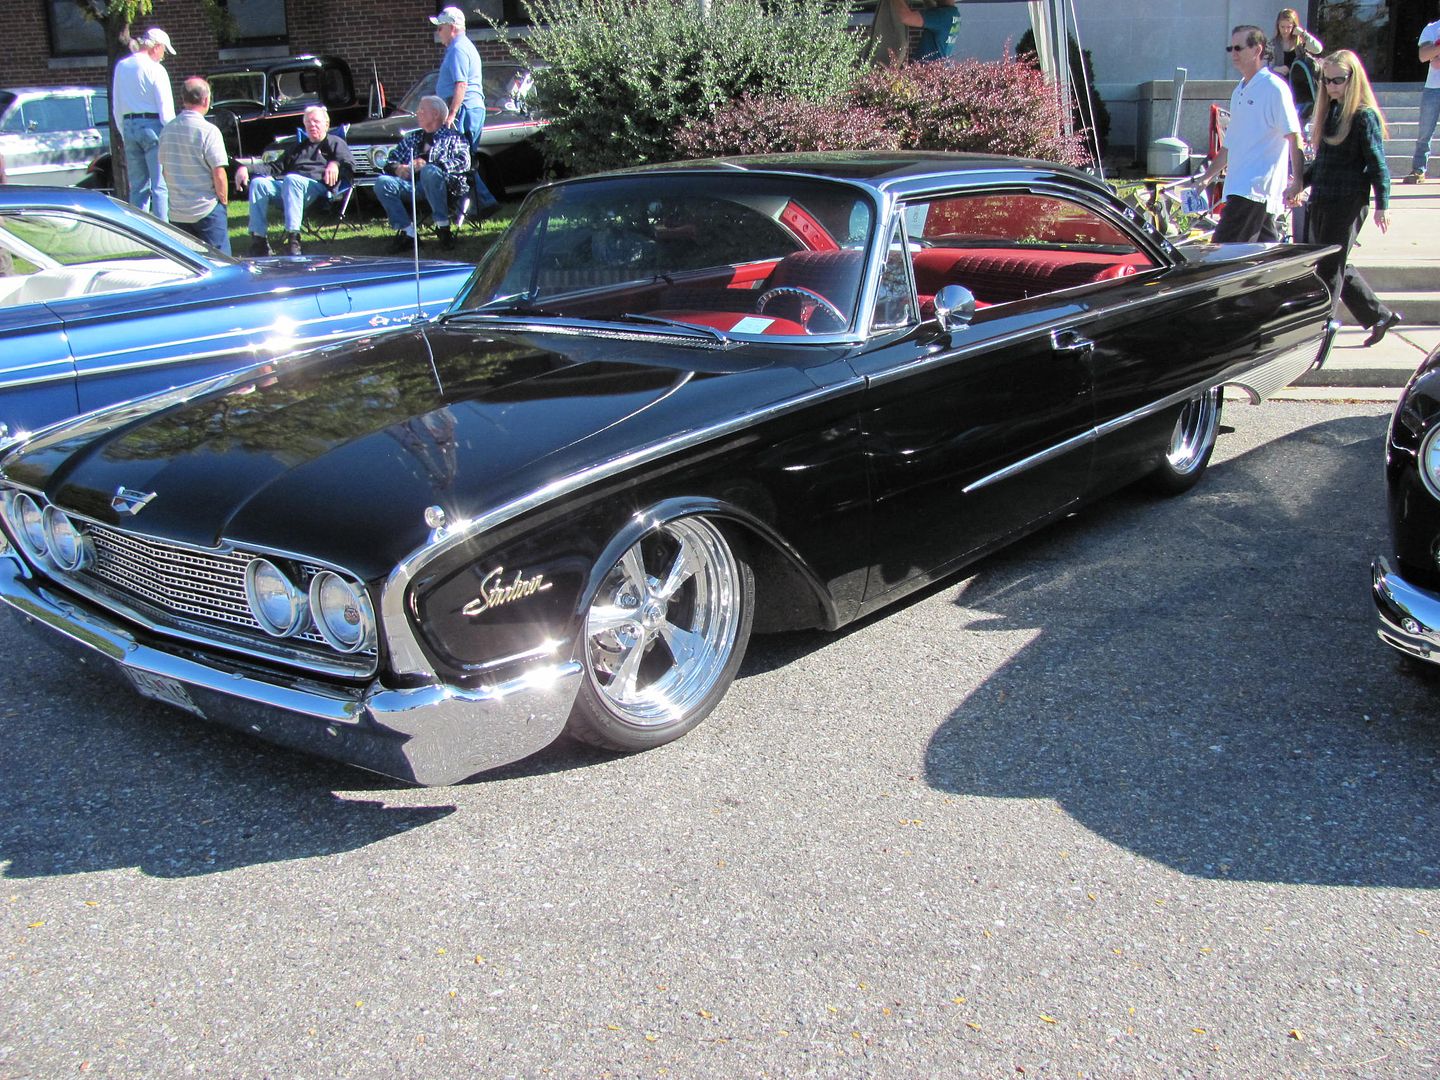
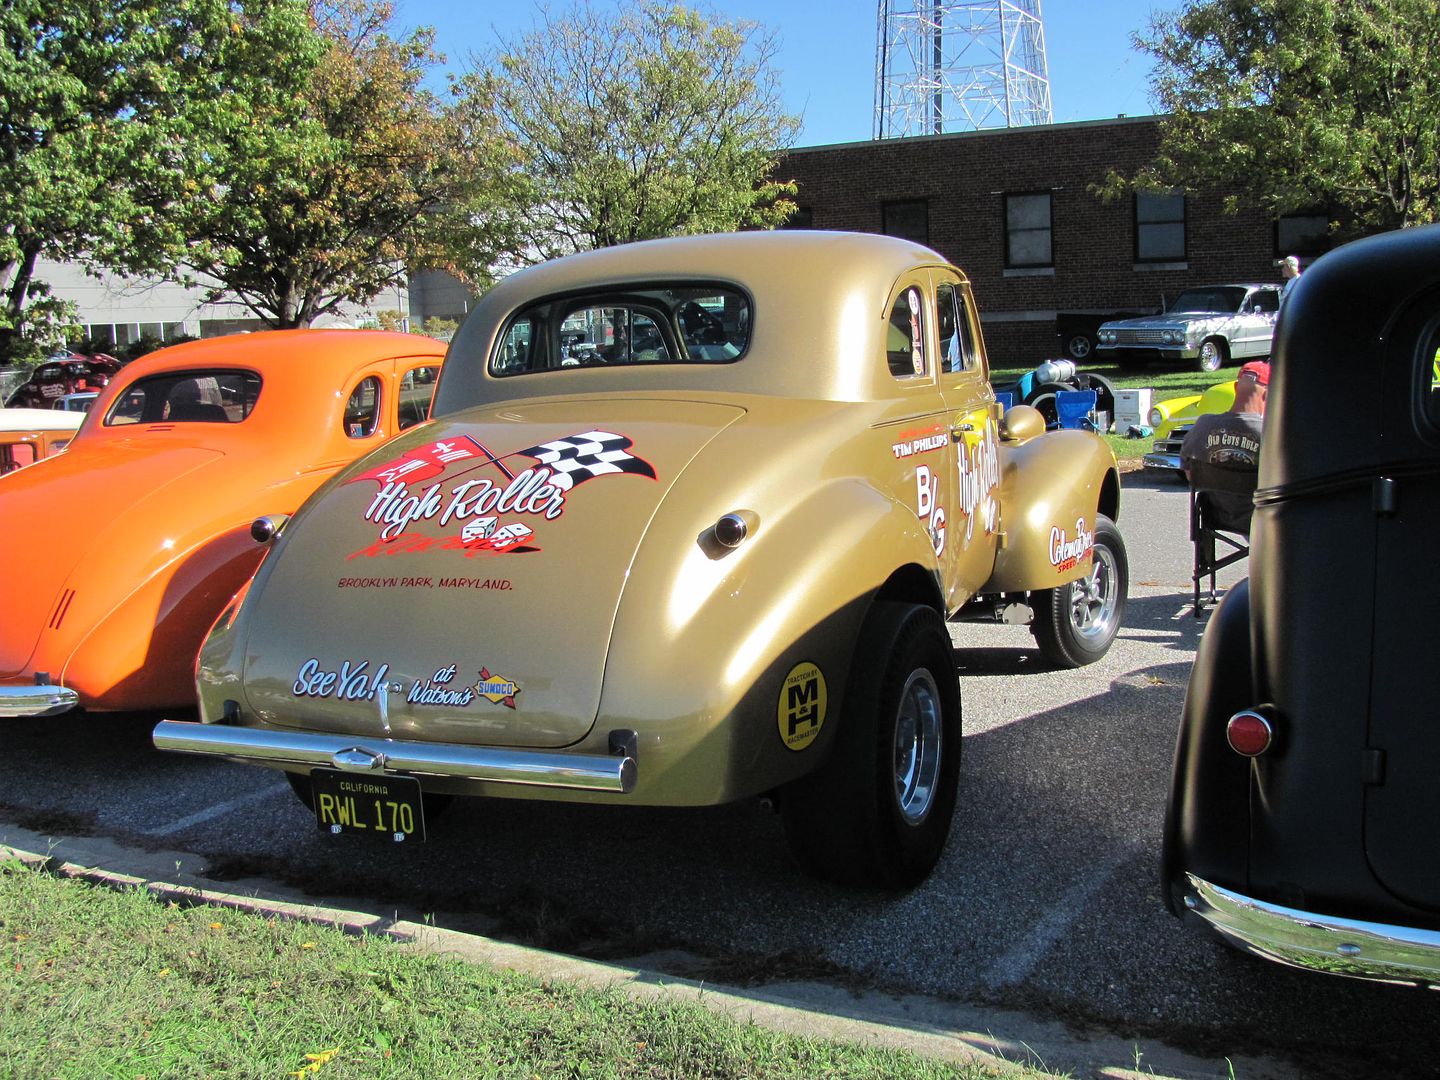
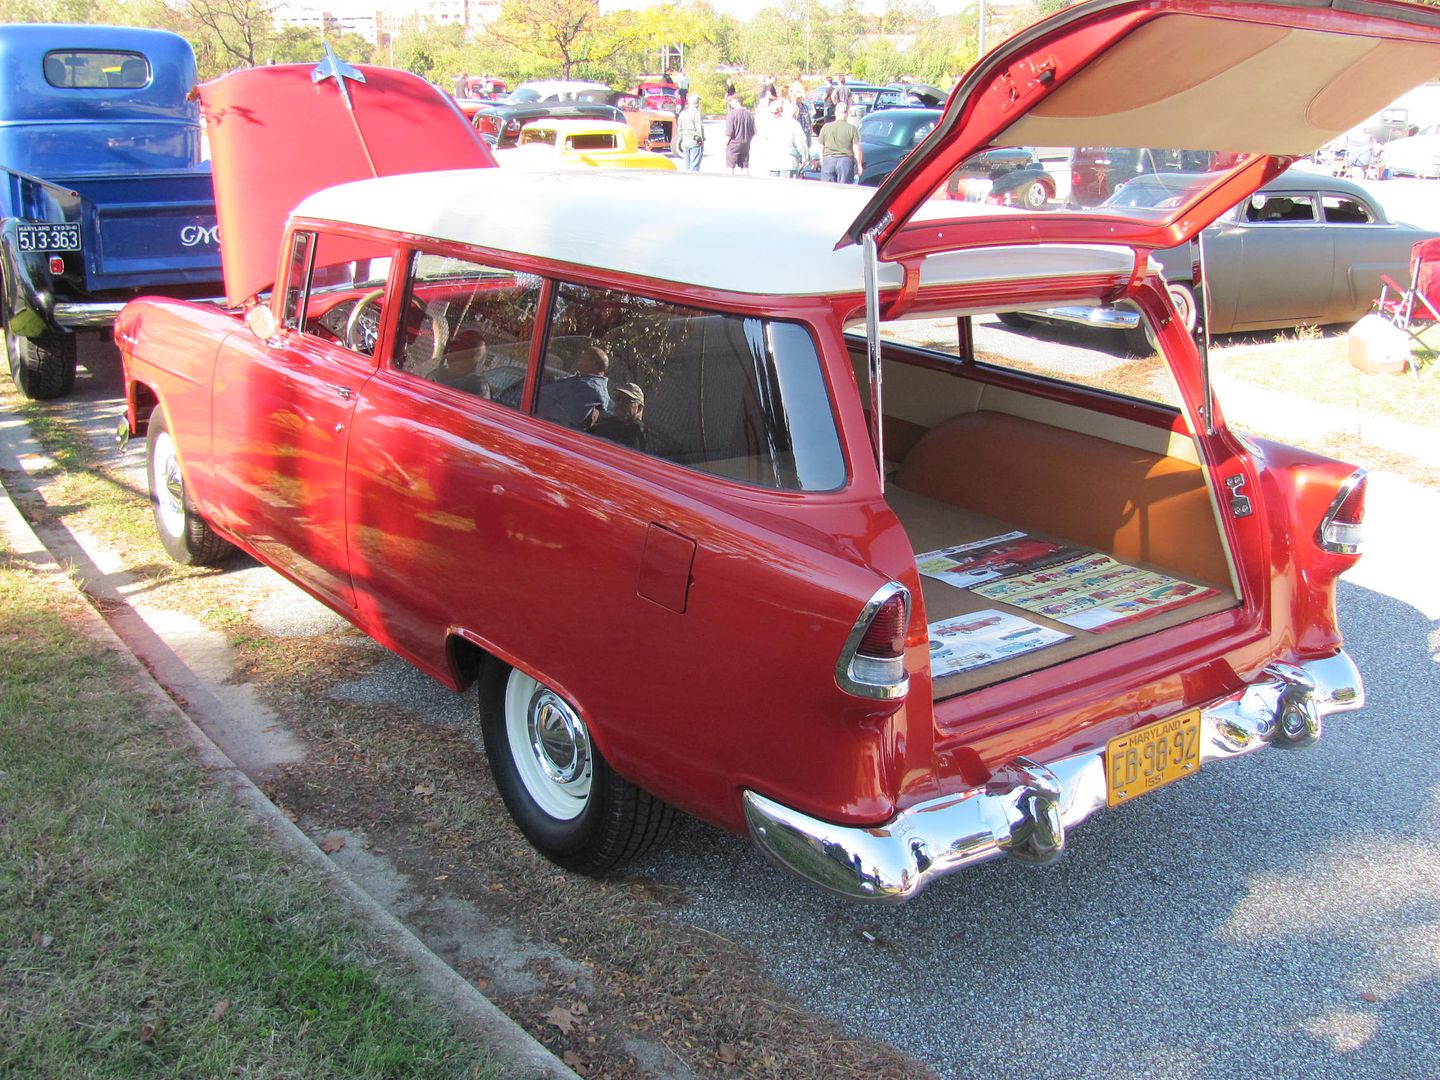
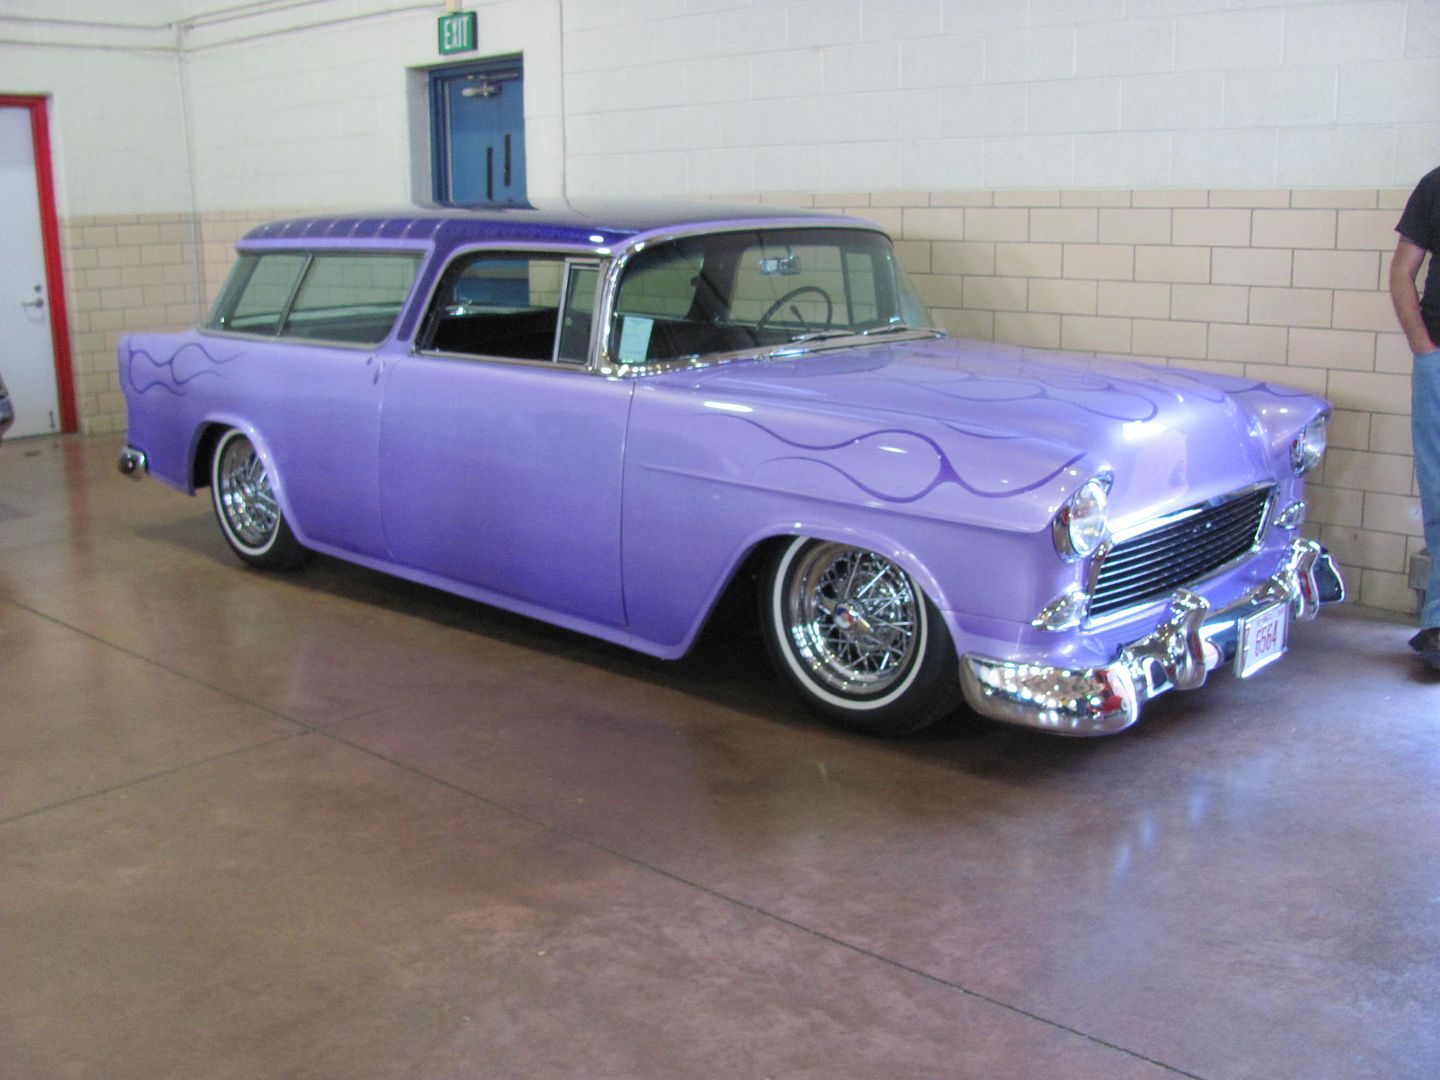
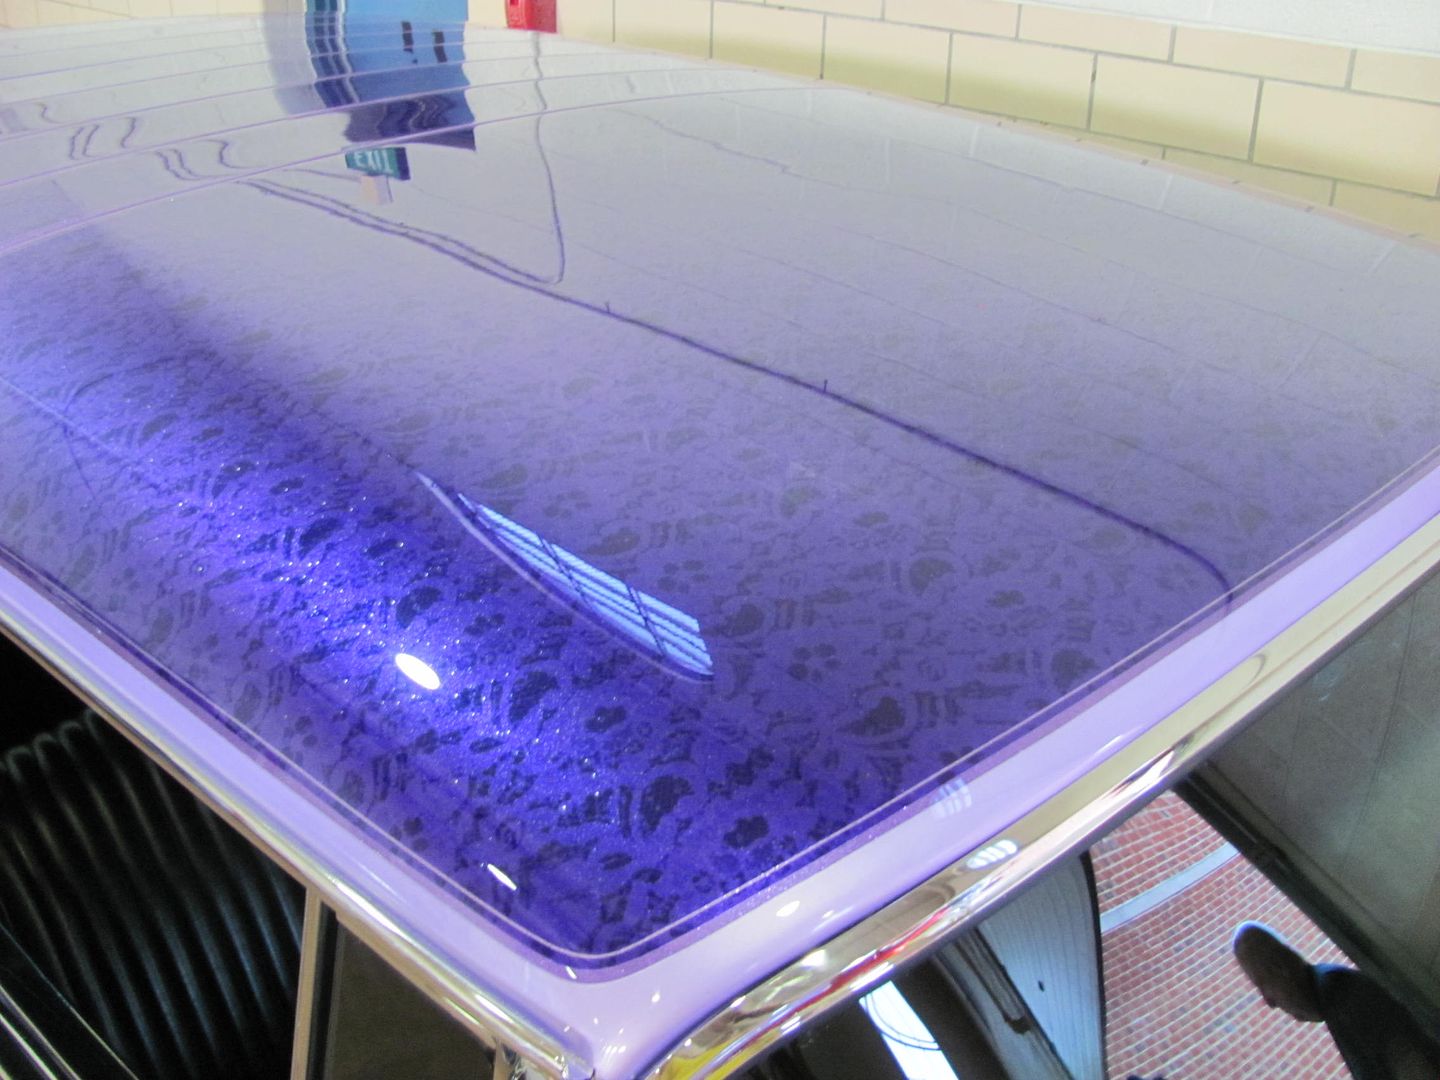
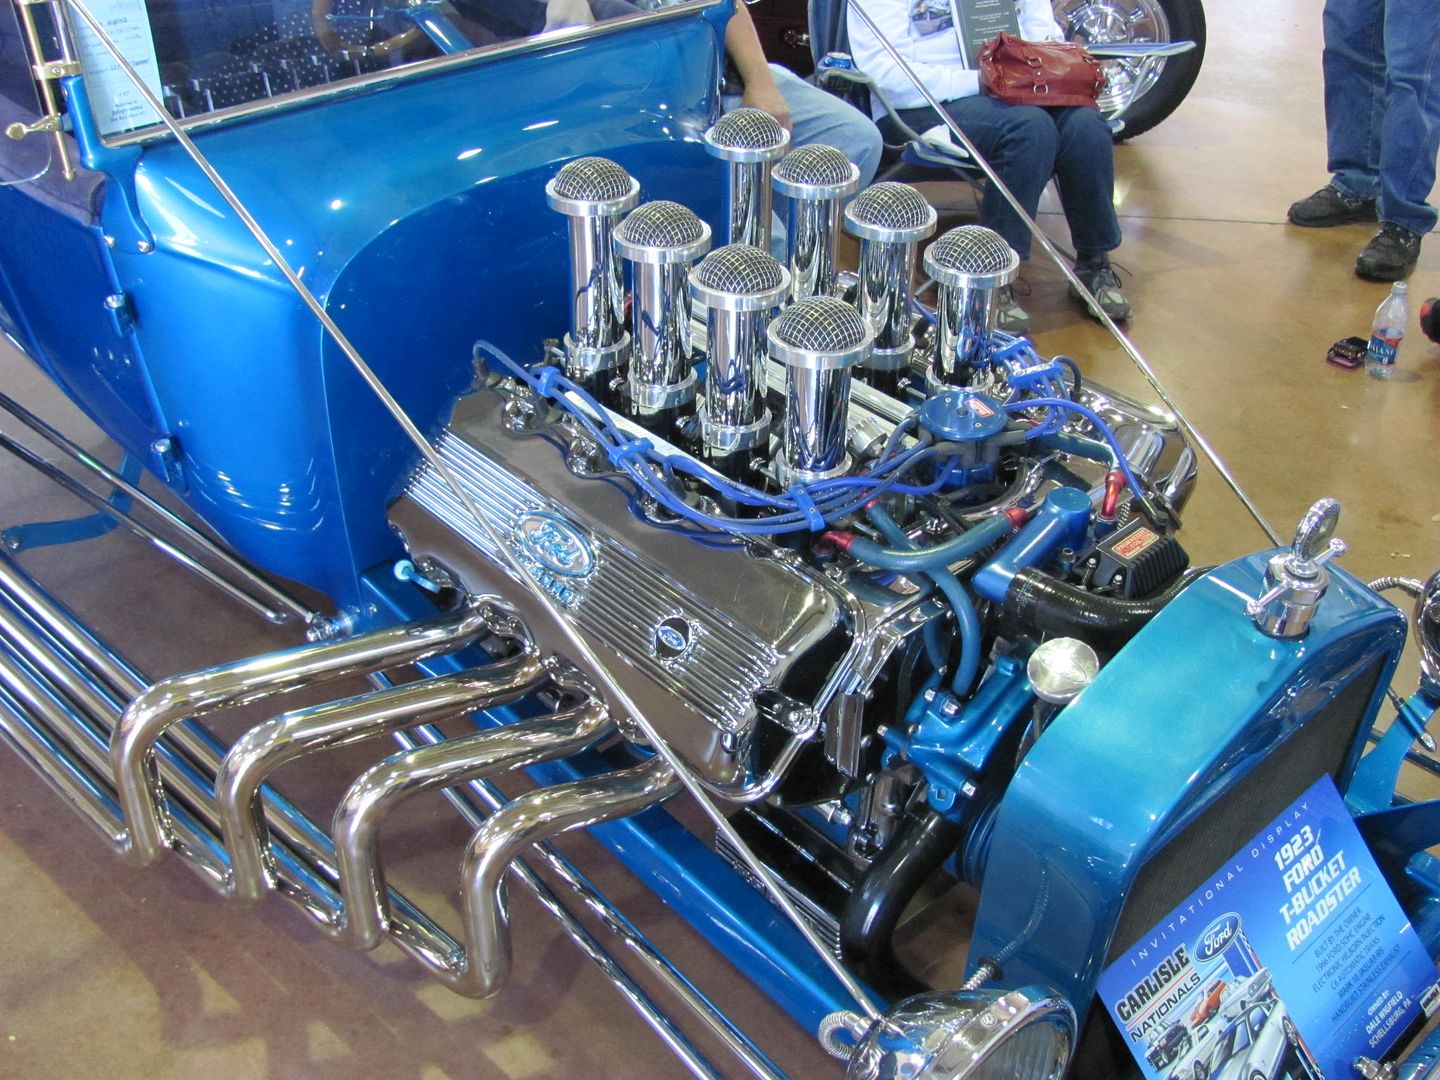
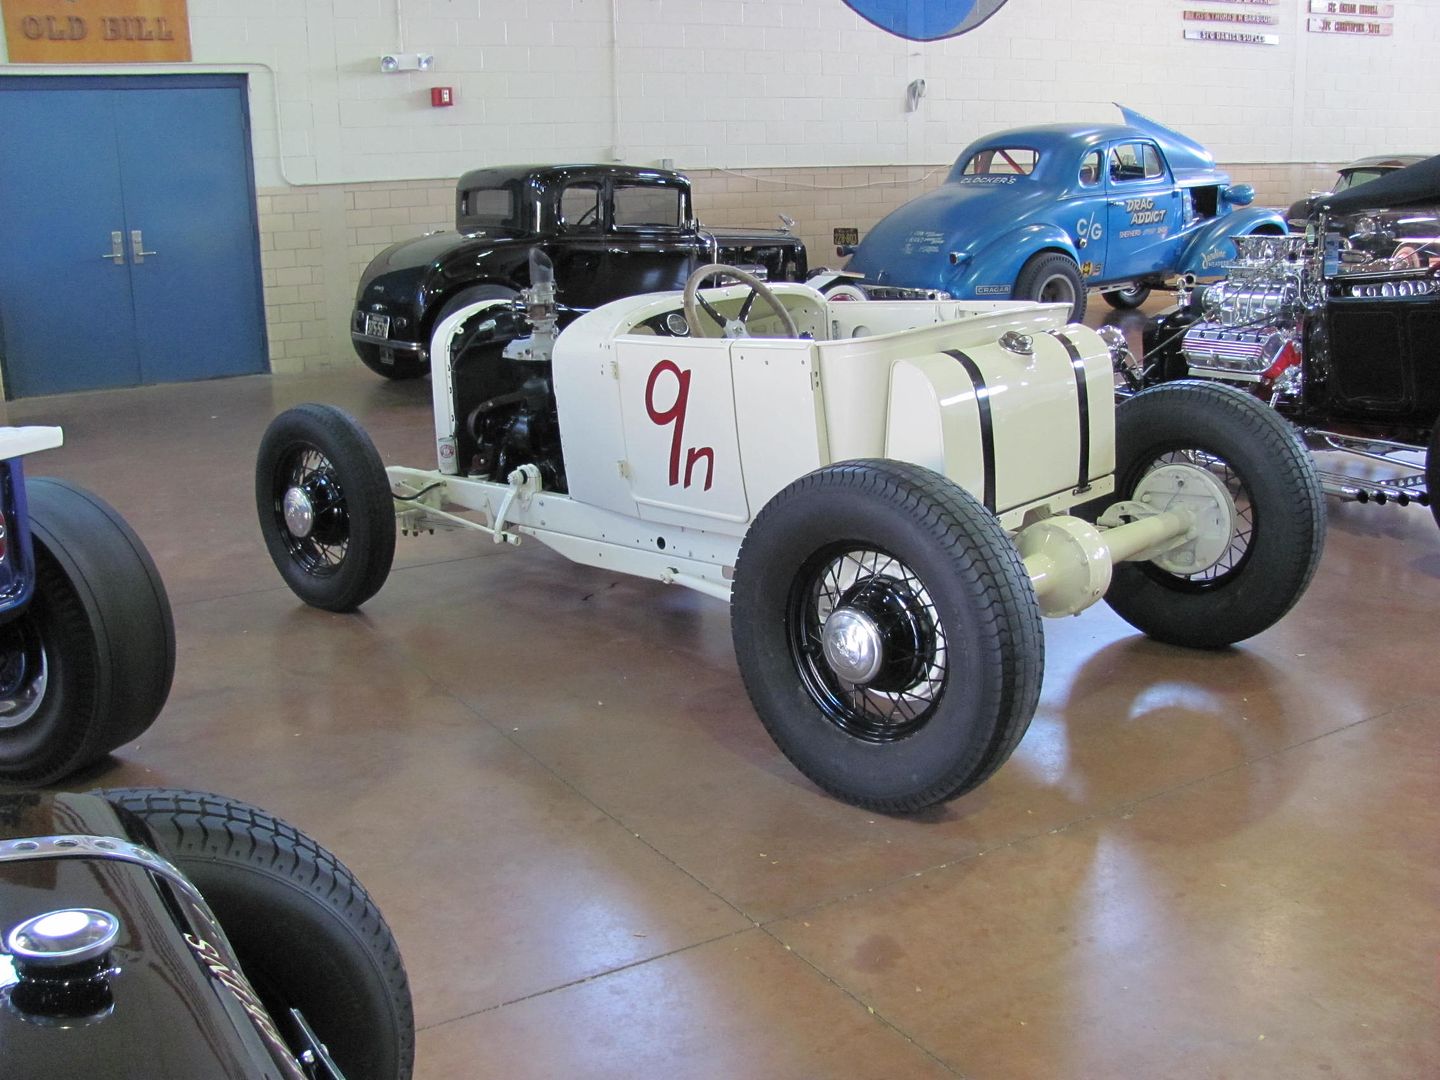
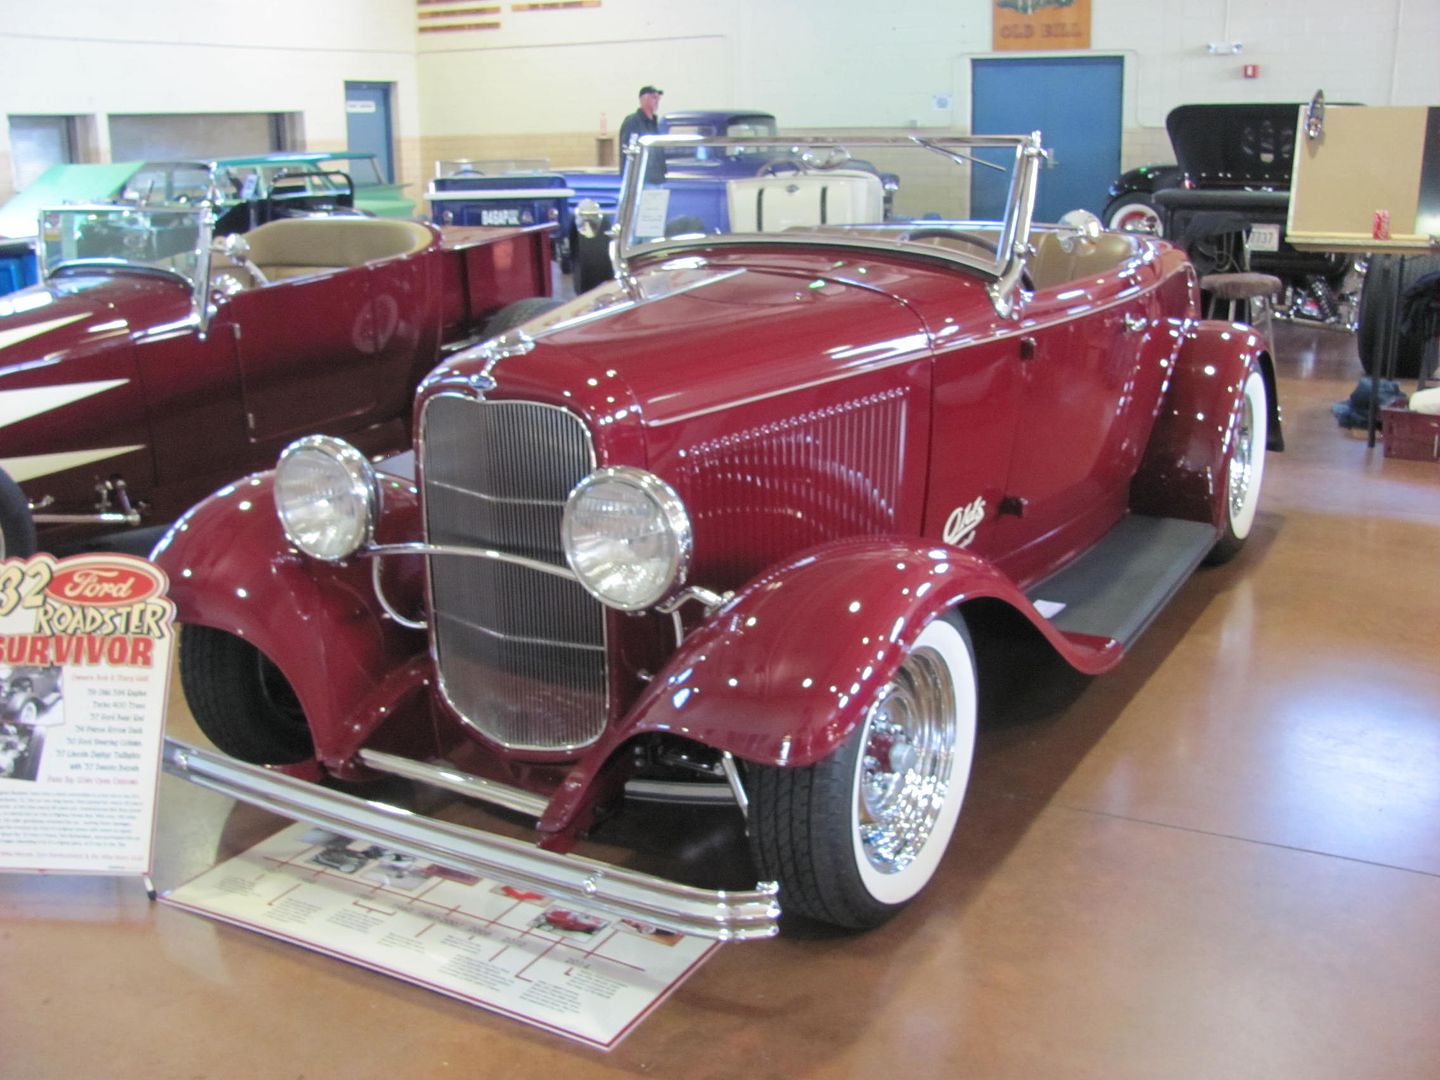
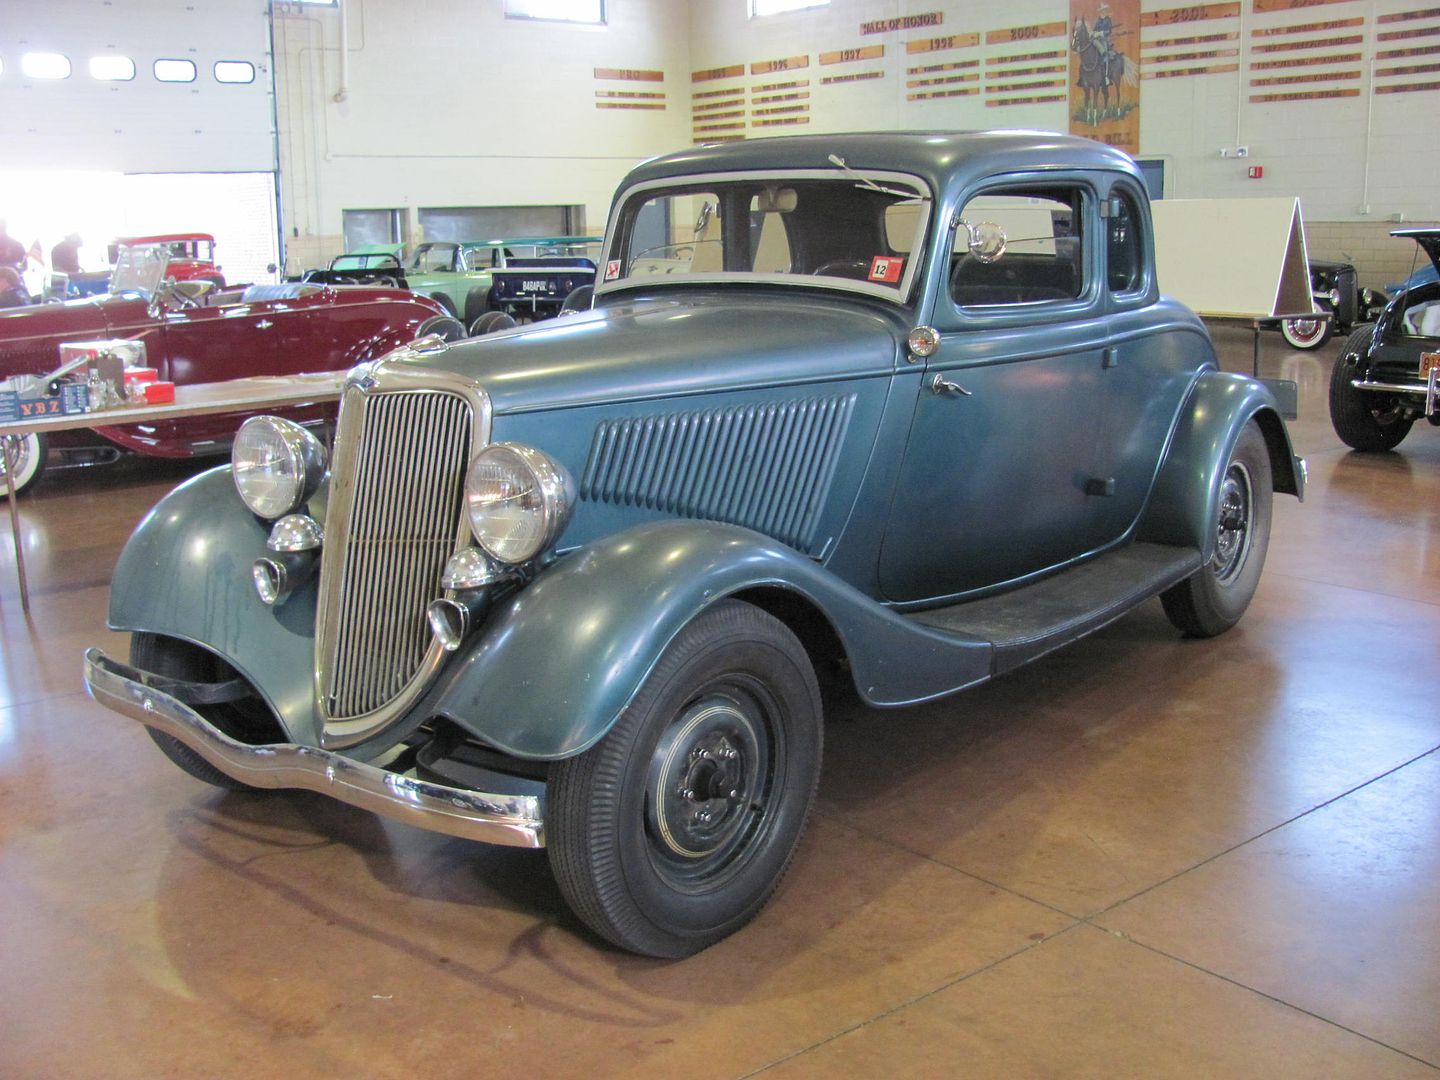
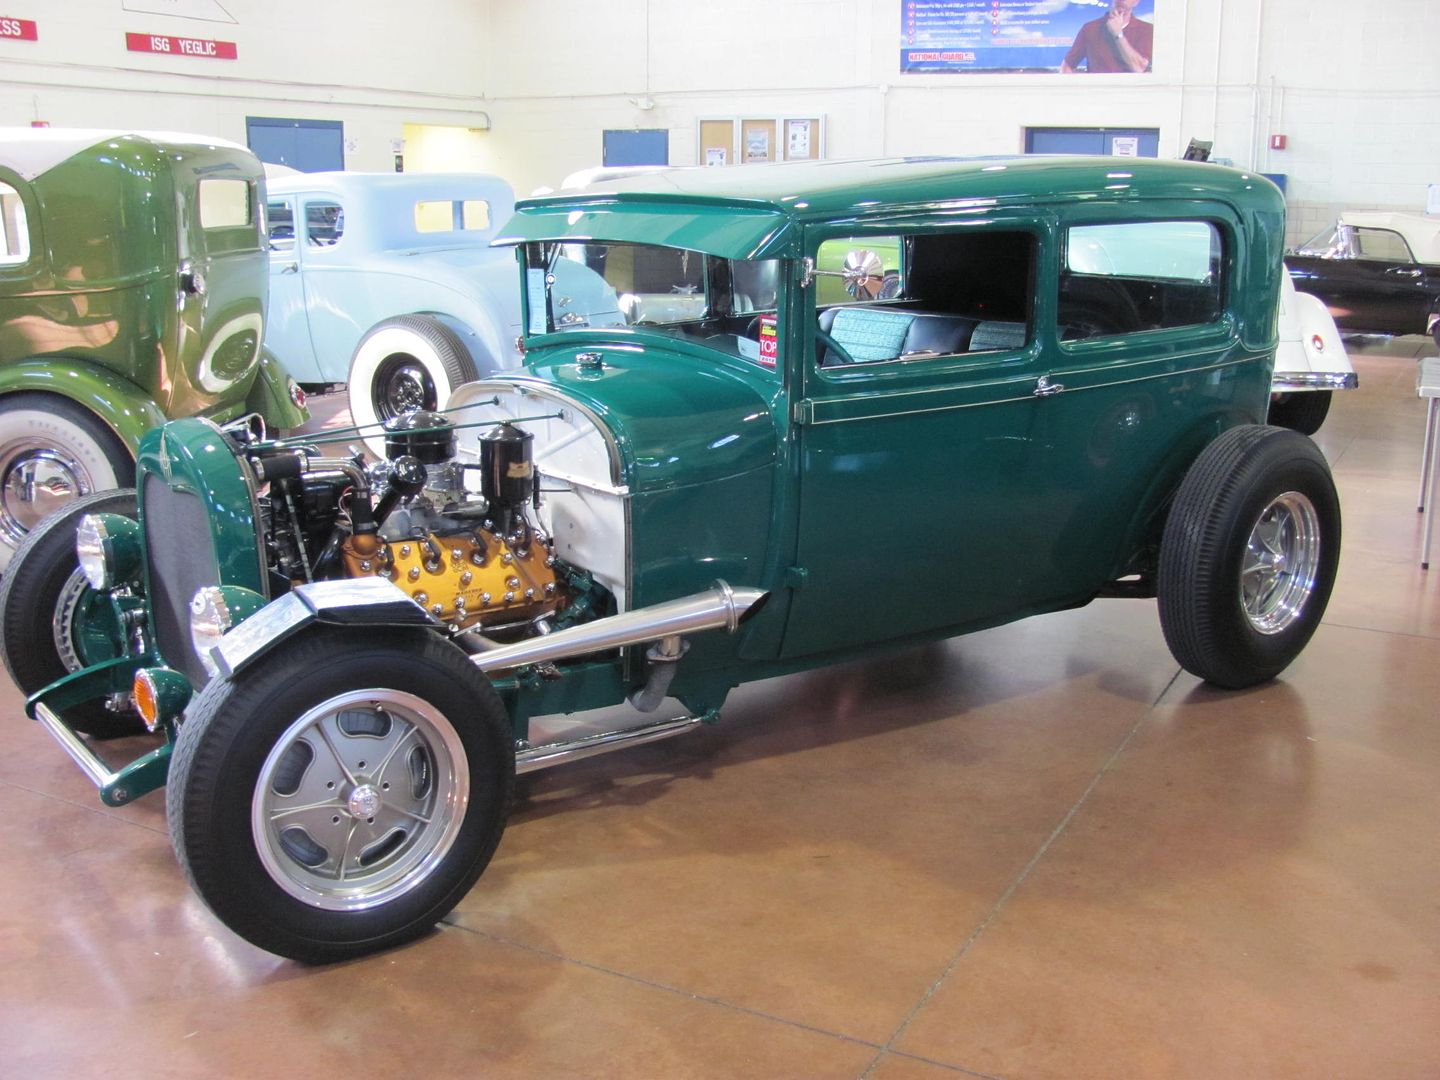
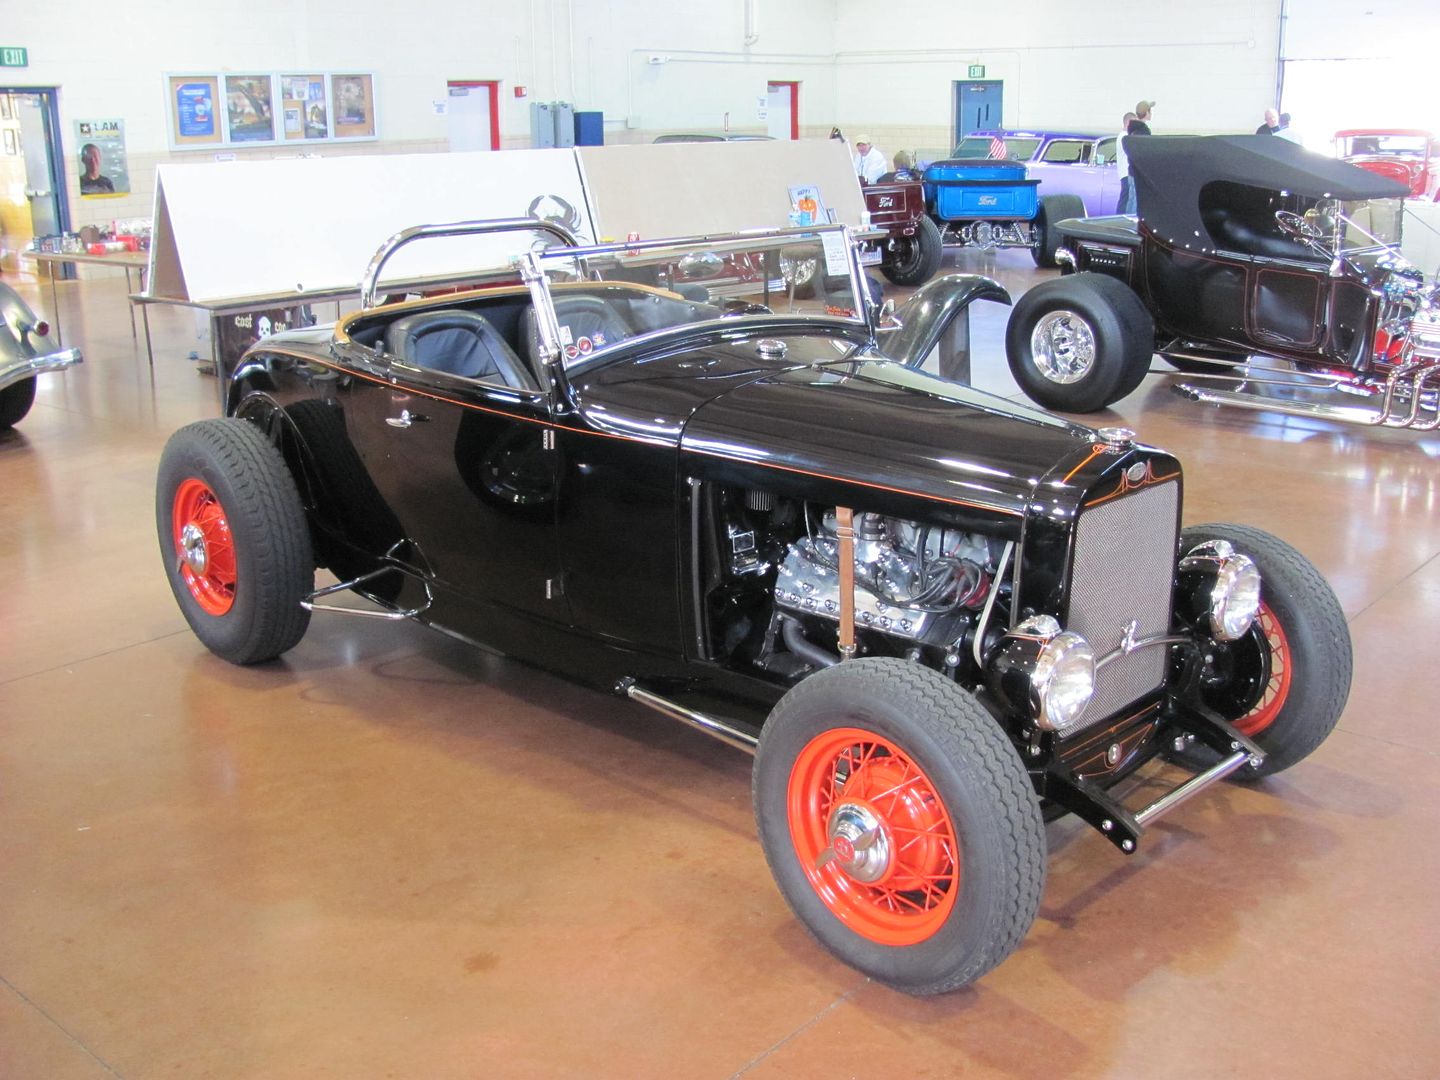
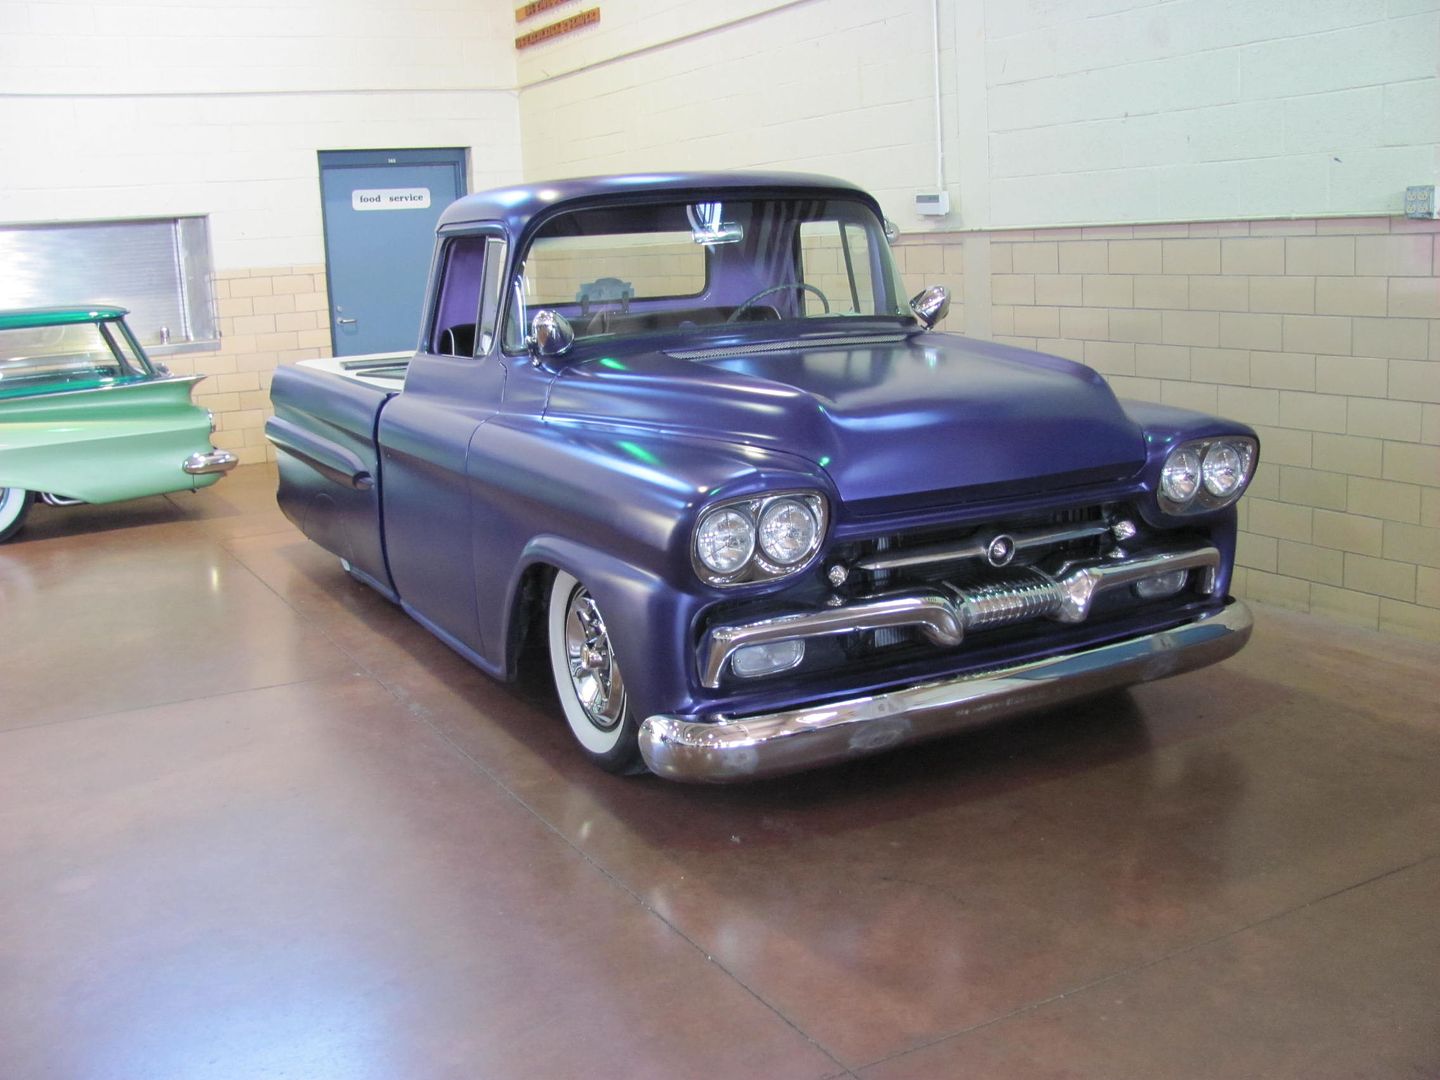
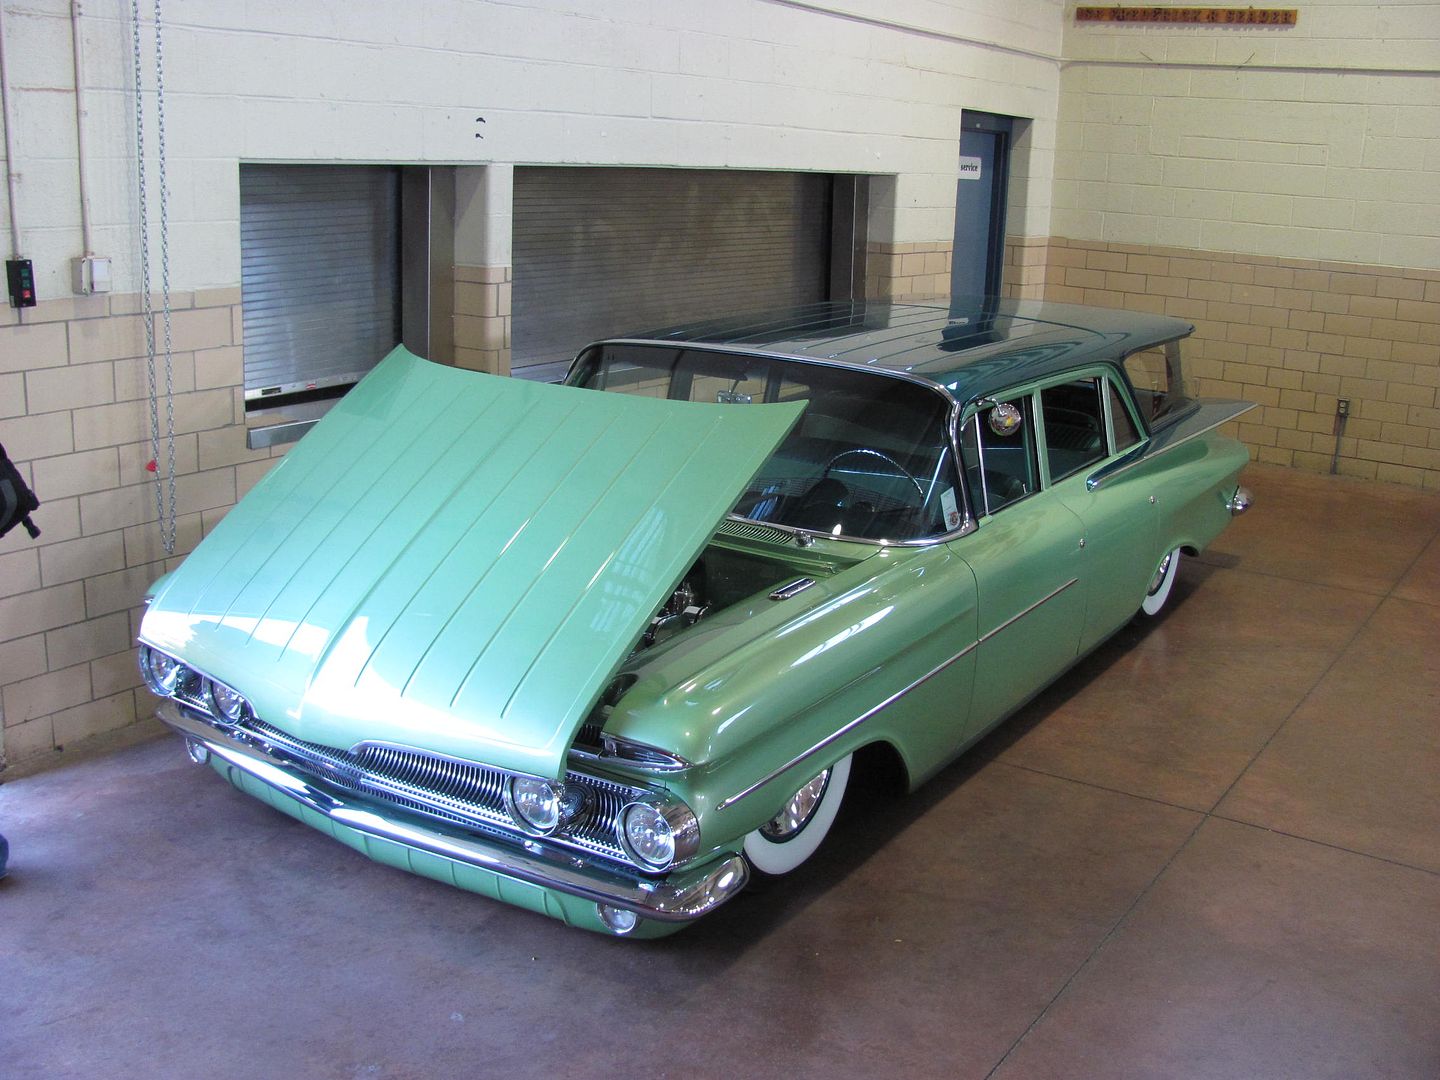
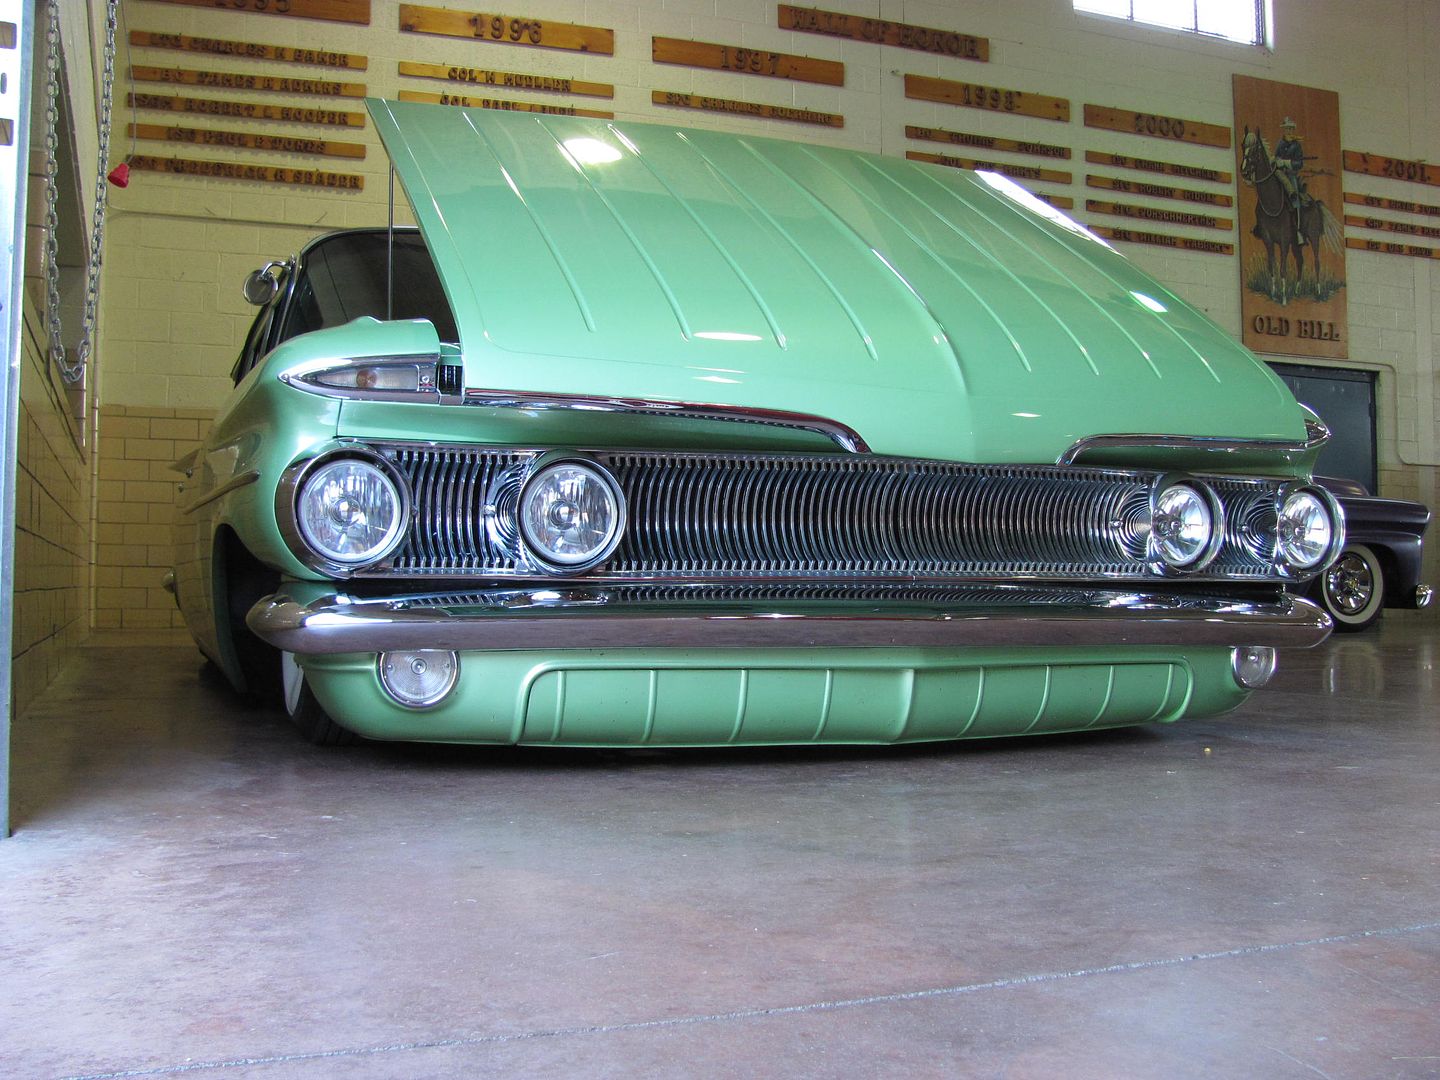
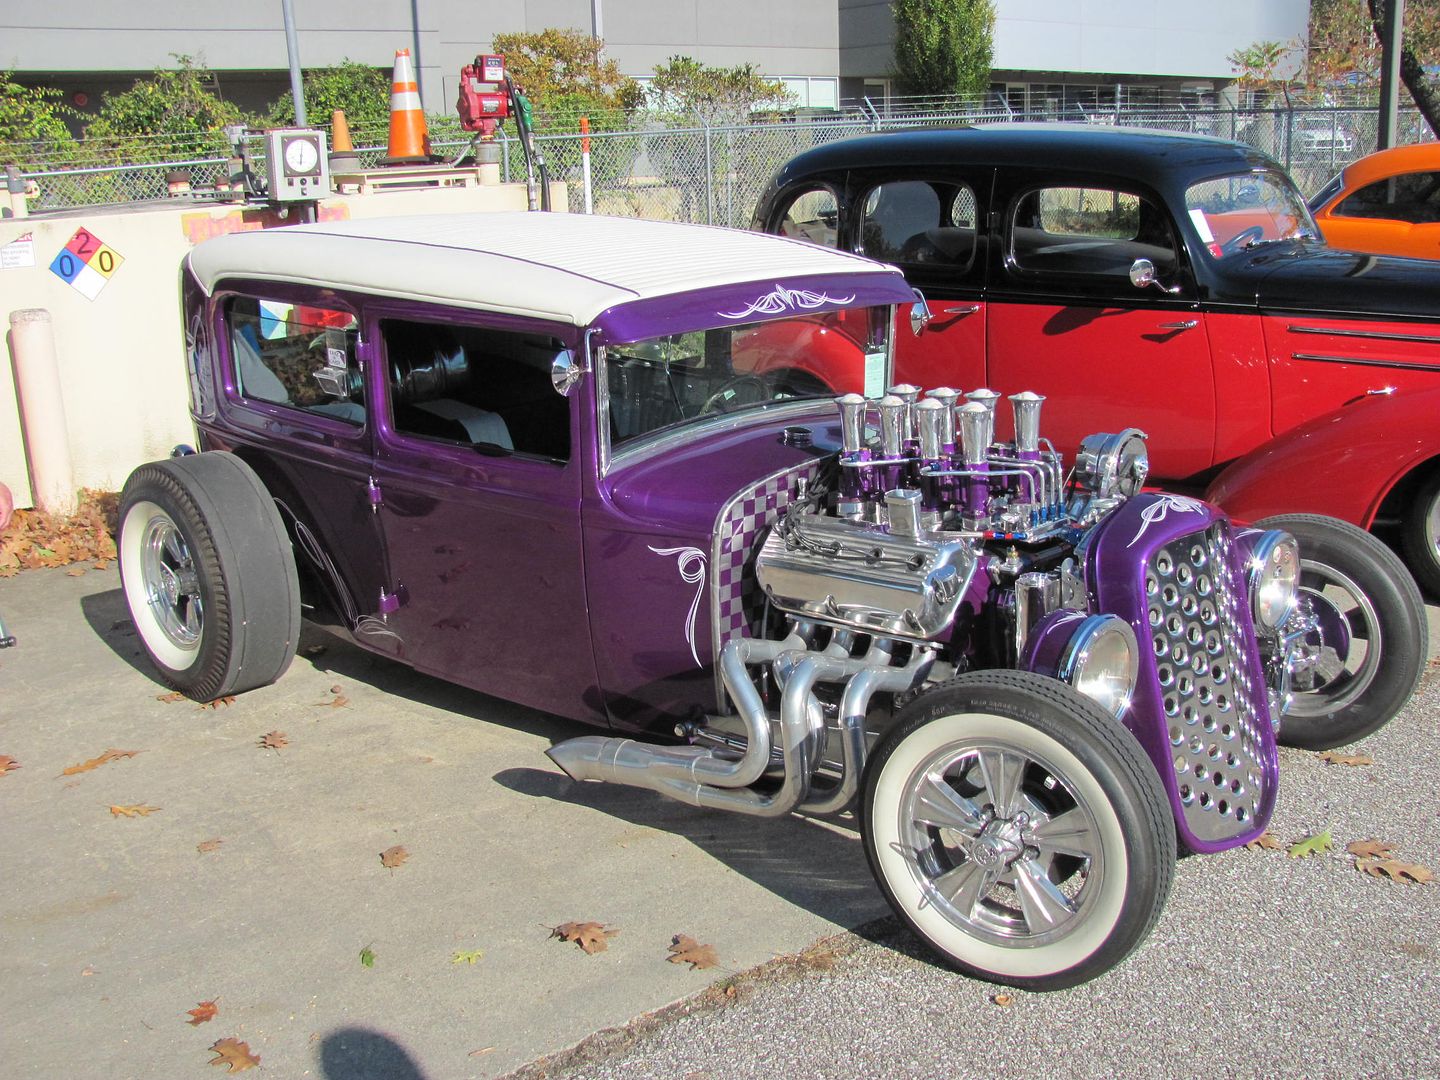
Then we knocked off early and made a speed run to Annapolis for Jalopyrama. Here are some of the sights:


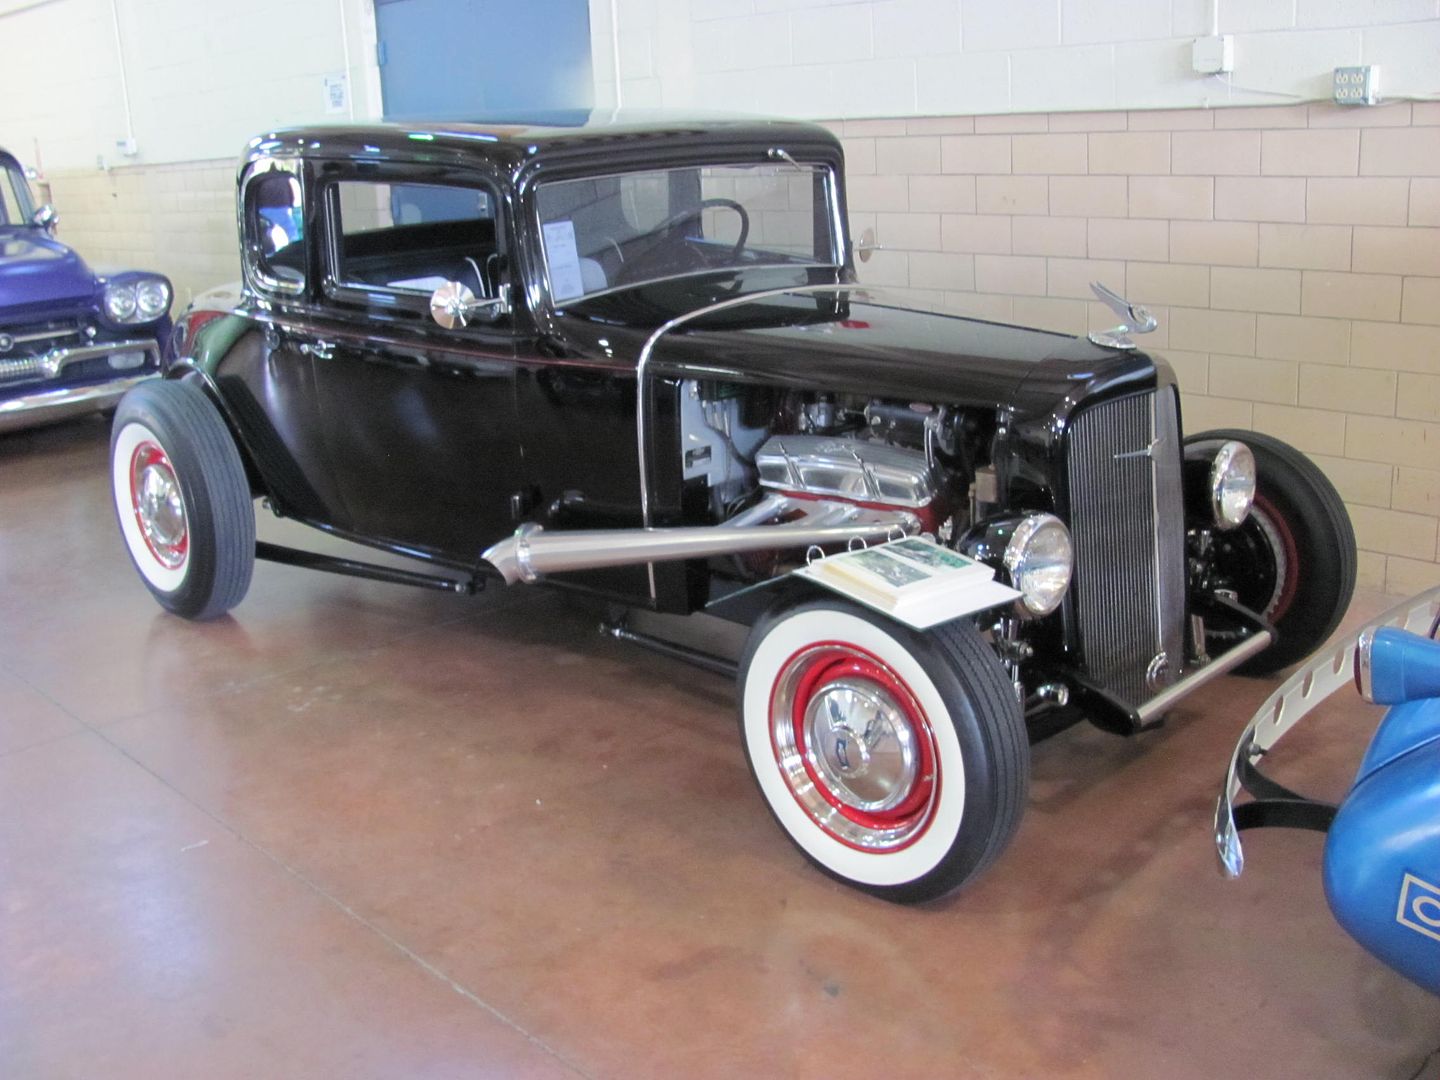
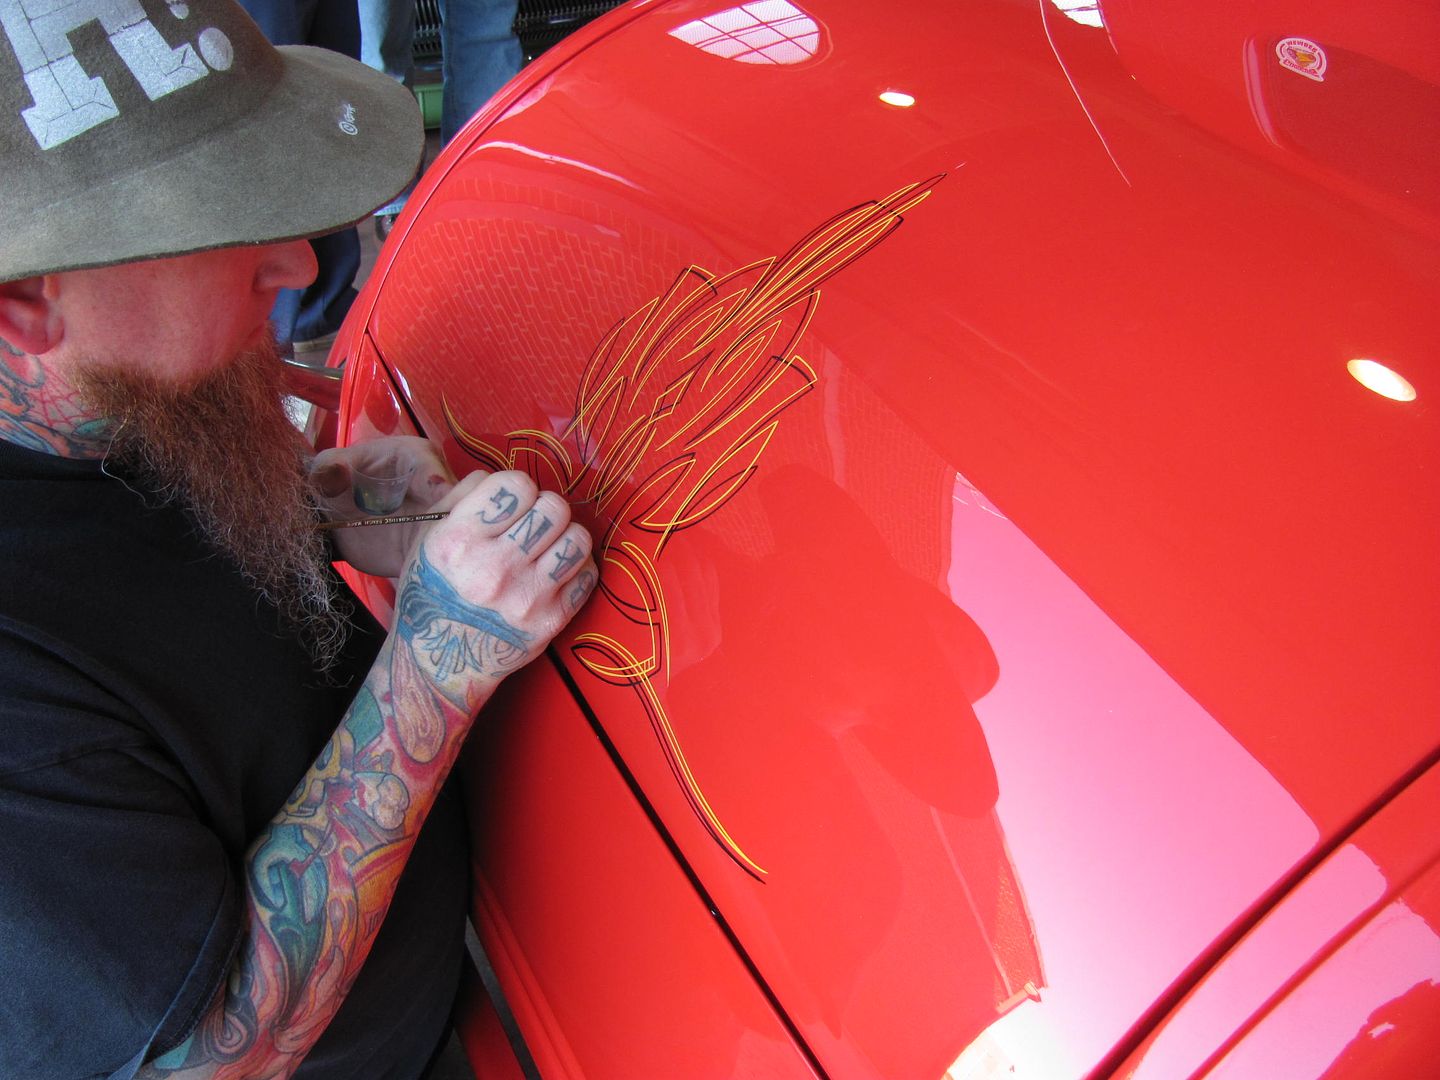
Robert
-
10-25-2014 09:24 PM #333
CHR Member
- Join Date
- Apr 2004
- Location
- Little Elm
- Car Year, Make, Model: 34 Ford Low Boy w/ZZ430 Clone
- Posts
- 3,890
I love the Starliner. I remember watching the Starliner / Impala shootouts at Alton Dragway in Alton, IL when I was in high school.Jack
Gone to Texas
-
10-25-2014 09:50 PM #334
CHR Member
- Join Date
- Jan 2006
- Location
- Constantine
- Car Year, Make, Model: 57 chevy 2 dr wagon
- Posts
- 9,476
thanks for the pictures Loved the 38 ChevysCharlie
Lovin' what I do and doing what I love
Some guys can fix broken NO ONE can fix STUPID
W8AMR
http://fishertrains94.webs.com/
Christian in training
-
10-26-2014 03:41 AM #335
CHR Member
- Join Date
- Sep 2007
- Location
- New Bedford
- Car Year, Make, Model: 34 Ford 3W Coupe Replica
- Posts
- 14,622
lots of great pics of your handiwork, and ten a car show too boot. Thanks!
-
10-26-2014 08:12 AM #336
CHR Member
- Join Date
- Feb 2008
- Location
- Caldwell
- Car Year, Make, Model: 34 ford 3 window/461 pontiac
- Posts
- 914
Another great how/to post, am going to look into the rivet nut . Also, love the full fendered, unchoped 34 3 window.
Jackwww.clubhotrod.com/forums/showthread.php?t=44081
-
10-26-2014 09:40 AM #337
CHR Member
- Join Date
- Oct 2007
- Location
- Petaluma
- Car Year, Make, Model: 48 Ford F1
- Posts
- 9,778
How much is one of those rivnut tools? Thinking of doing the same to my inner fender walls/ front fenders. Beats the heck out of crawling up the wheel well and trying to hold nuts while holding fender up and in place!" "No matter where you go, there you are!" Steve.
-
10-26-2014 10:08 AM #338
CHR Member
- Join Date
- Feb 2006
- Location
- Bartlett
- Posts
- 6,831
-
10-26-2014 11:05 AM #339
CHR Member
- Join Date
- Oct 2007
- Location
- Petaluma
- Car Year, Make, Model: 48 Ford F1
- Posts
- 9,778
Thanks Jerry, have to eventually put a master cylinder access plate in my truck floor, and Ken Thurm had suggested using riv nuts a long time ago, so I figured it might be worth looking into!" "No matter where you go, there you are!" Steve.
-
10-26-2014 11:06 AM #340
CHR Member
- Join Date
- Apr 2012
- Location
- american canyon
- Car Year, Make, Model: 36 Ford Sedan, 23 T Bucket
- Posts
- 1,899
This is the one I have Hand Riv-Nut Tool 10-32 Originally Posted by stovens

It works great, costs a $45.00 and when you order the rib-nut, depending on the size you'll need the pull pin to match. You are welcome to borrow my tool if you need it.
For fenders, I prefer to use extruded nuts as they adjust themselves for centering especially when used with a shouldered fender bolt.Last edited by 36 sedan; 10-26-2014 at 11:14 AM.
-
10-26-2014 11:50 AM #341
CHR Member
- Join Date
- Oct 2007
- Location
- Petaluma
- Car Year, Make, Model: 48 Ford F1
- Posts
- 9,778
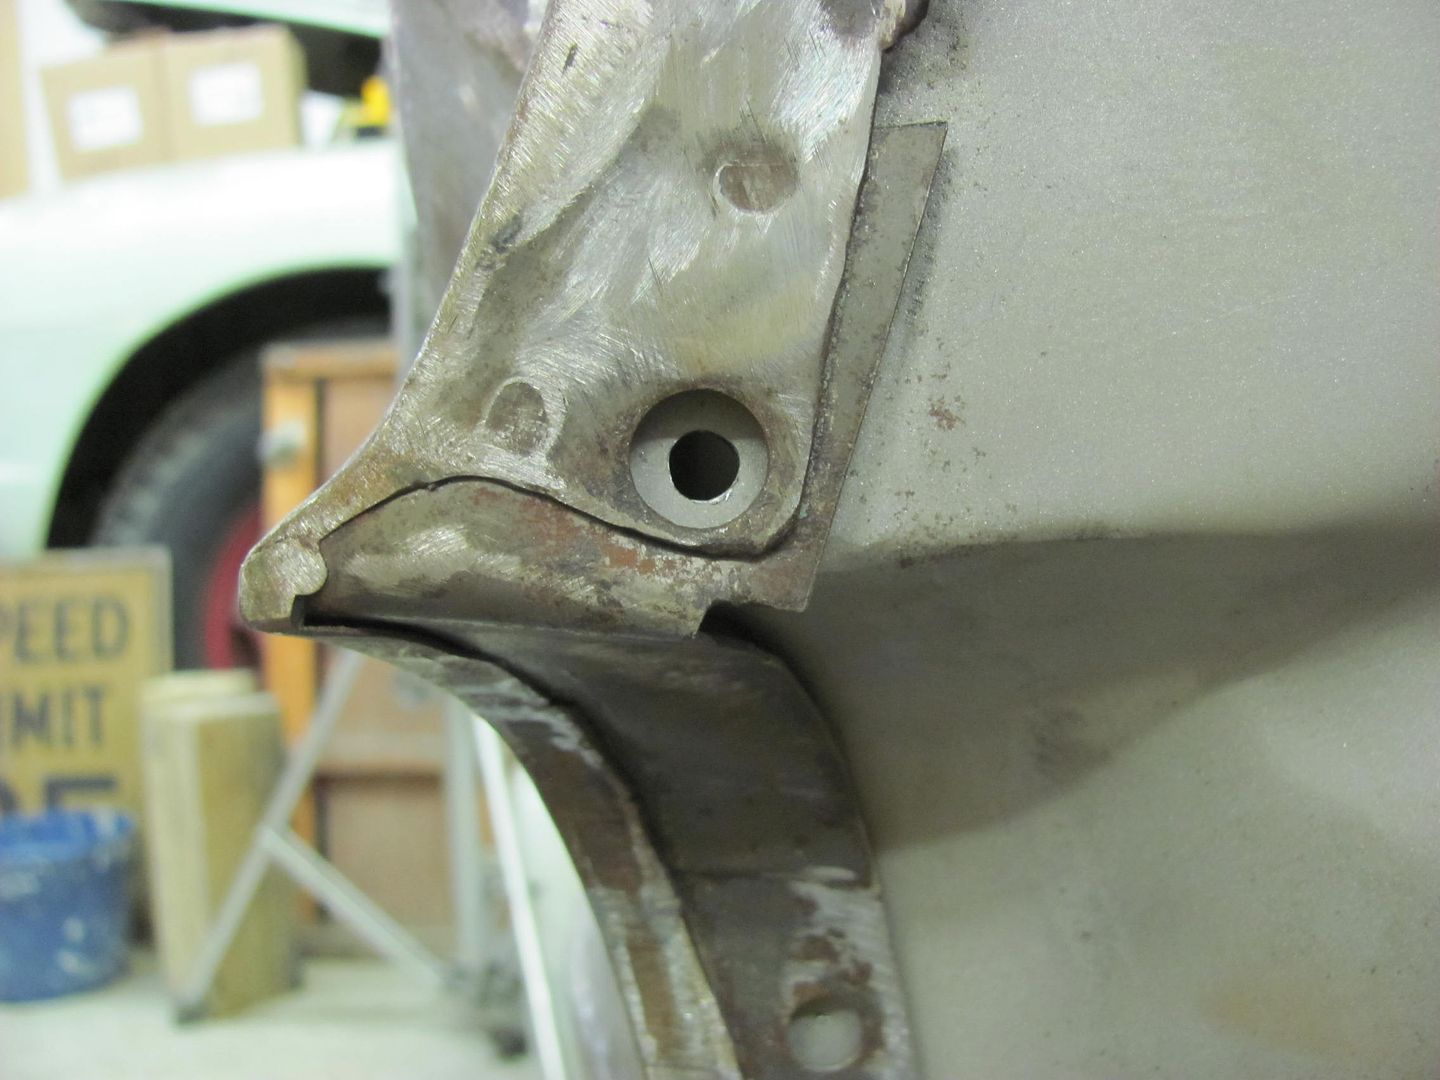
Thanks 36 Sedan. I didn't realize you lived as close as you do to me! The extruded nuts won't work for the fender application I have. I'll try to find a picture to show you what I'm talking about. The nuts go behind the circled bolts here. I guess with the caraige bolt heads my only option will be to put standard nuts on there!
[IMG] [/IMG]
Last edited by stovens; 10-26-2014 at 12:06 PM.
" "No matter where you go, there you are!" Steve.
-
10-27-2014 06:36 AM #342
CHR Member
- Join Date
- Jun 2008
- Location
- Leonardtown
- Car Year, Make, Model: Walking
- Posts
- 1,207
The rivnut tool shown is about the best "hand tool" for installing them on the market, as the stud doesn't rotate within the rivnut during installation (if done correctly). Most of the cheaper tools out there make use of some form of bolt turning inside the rivnut, which risks stripping of the threads, galling, etc. I was looking for a video this morning on youtube to show the correct installation procedure, and how/why this tool works so well, but sad to say, even companies that sell this product show the incorrect usage of the tool. So, I'm going to try and fit in another video production for installing rivnuts...
For tool part numbers, the 4-40 through 1/4-20 sizes use a C845 prefix, and 5/16-18 through 1/2-13 use a C722 prefix. Examples of pn's if you wish to do a search for vendors of these tools: C845-1032, C845-2520, C722-3118, C722-3716...Last edited by MP&C; 10-27-2014 at 06:40 AM.
Robert
-
10-29-2014 06:59 PM #343
CHR Member
- Join Date
- Jun 2008
- Location
- Leonardtown
- Car Year, Make, Model: Walking
- Posts
- 1,207
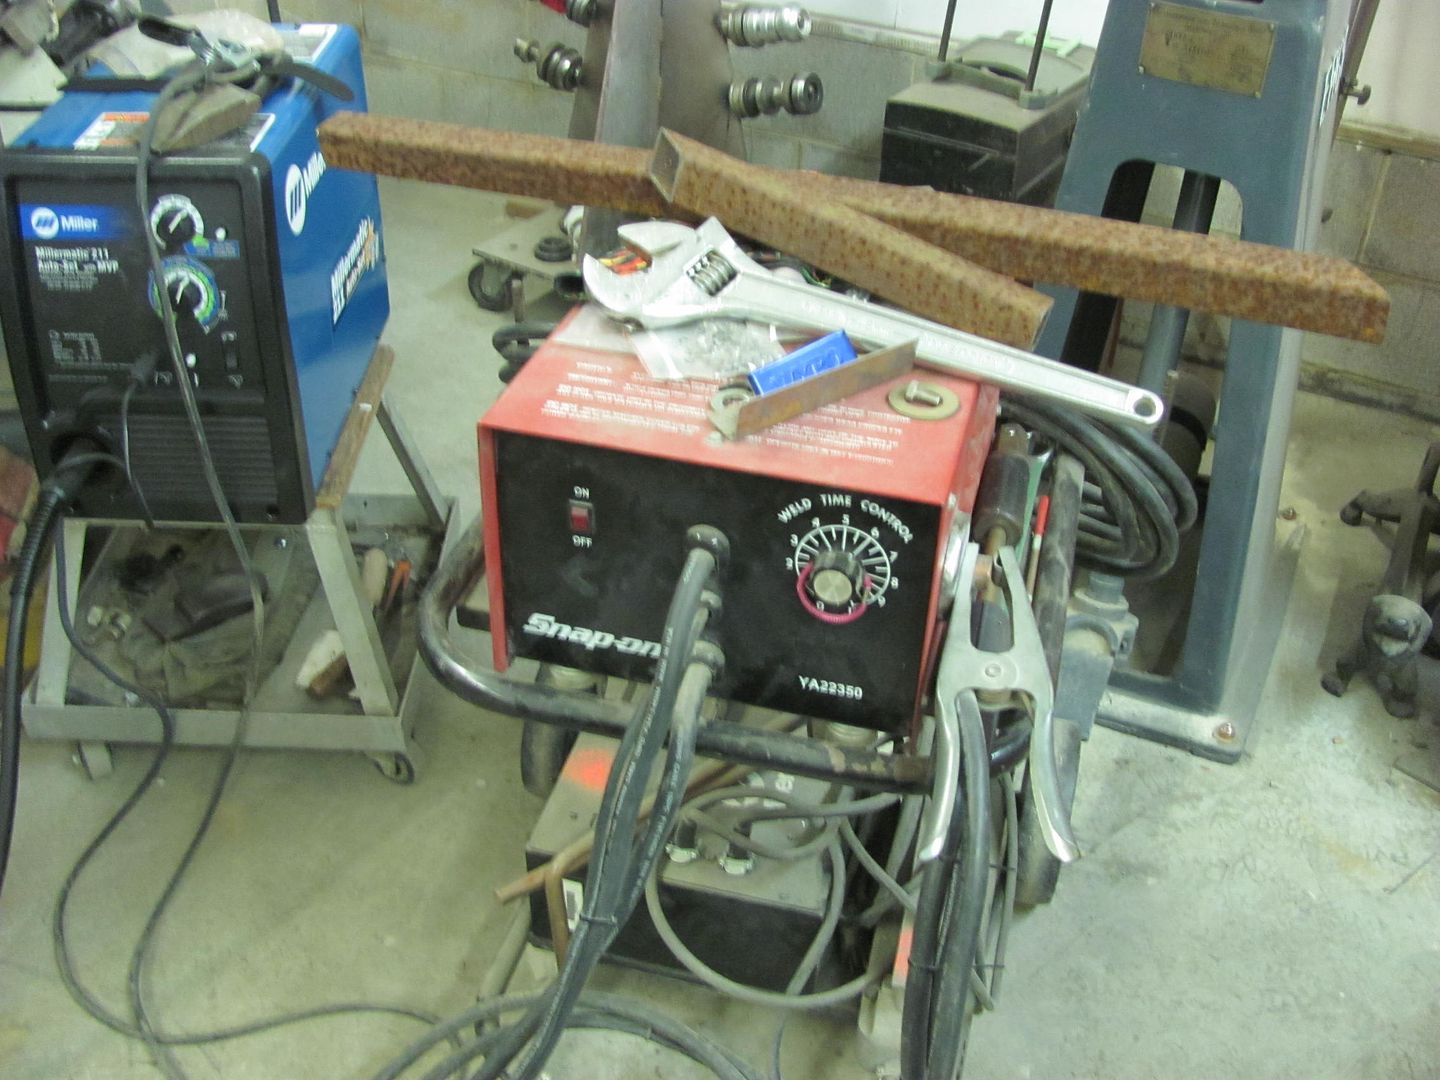
A slight diversion, as the Migmaster 250 has left the building.....
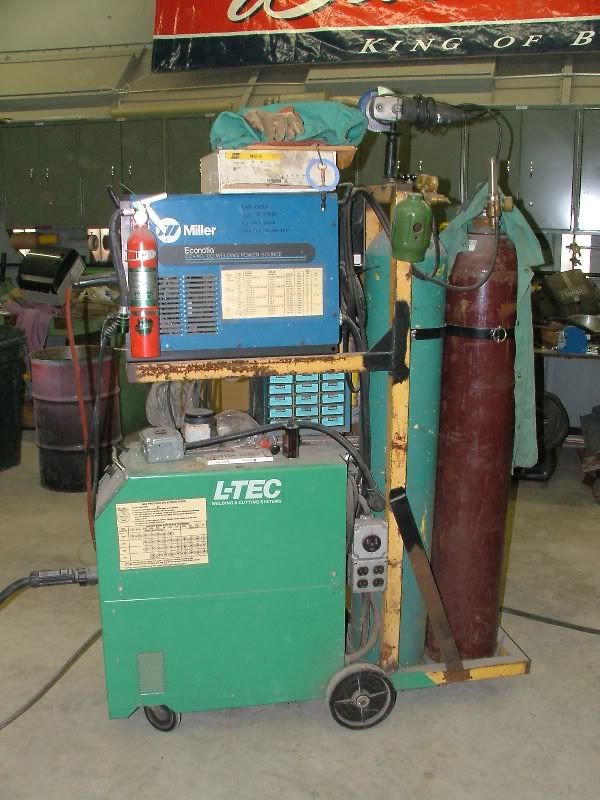
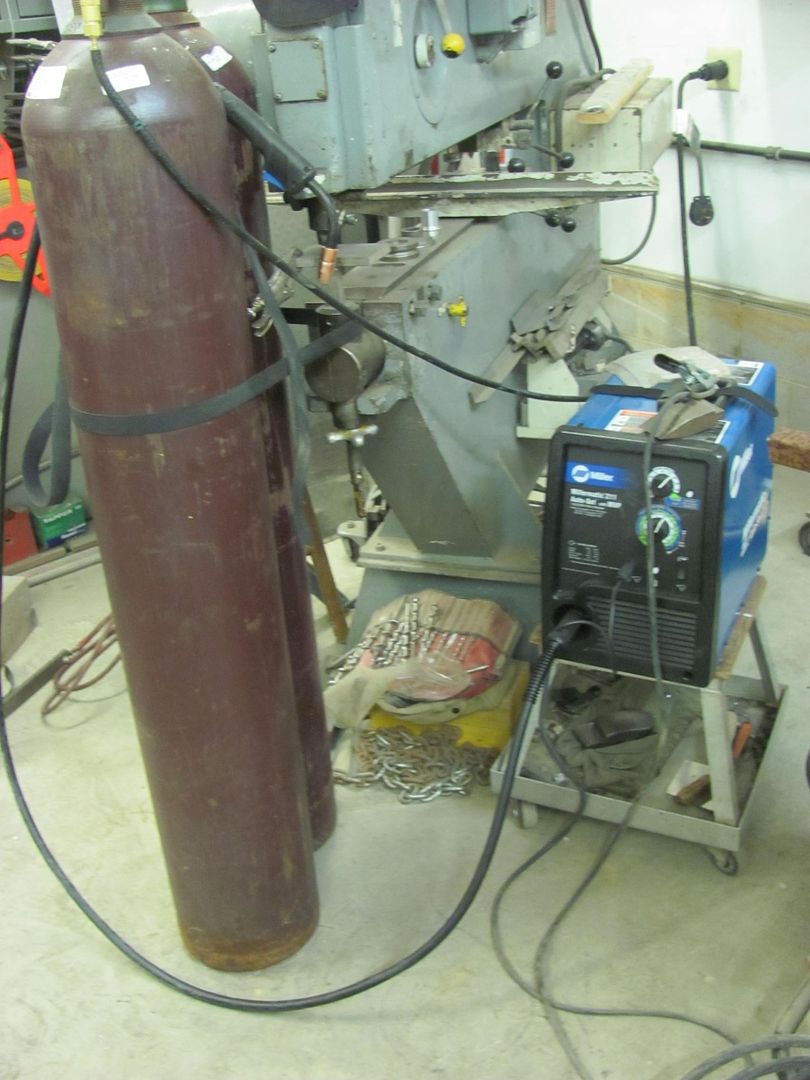
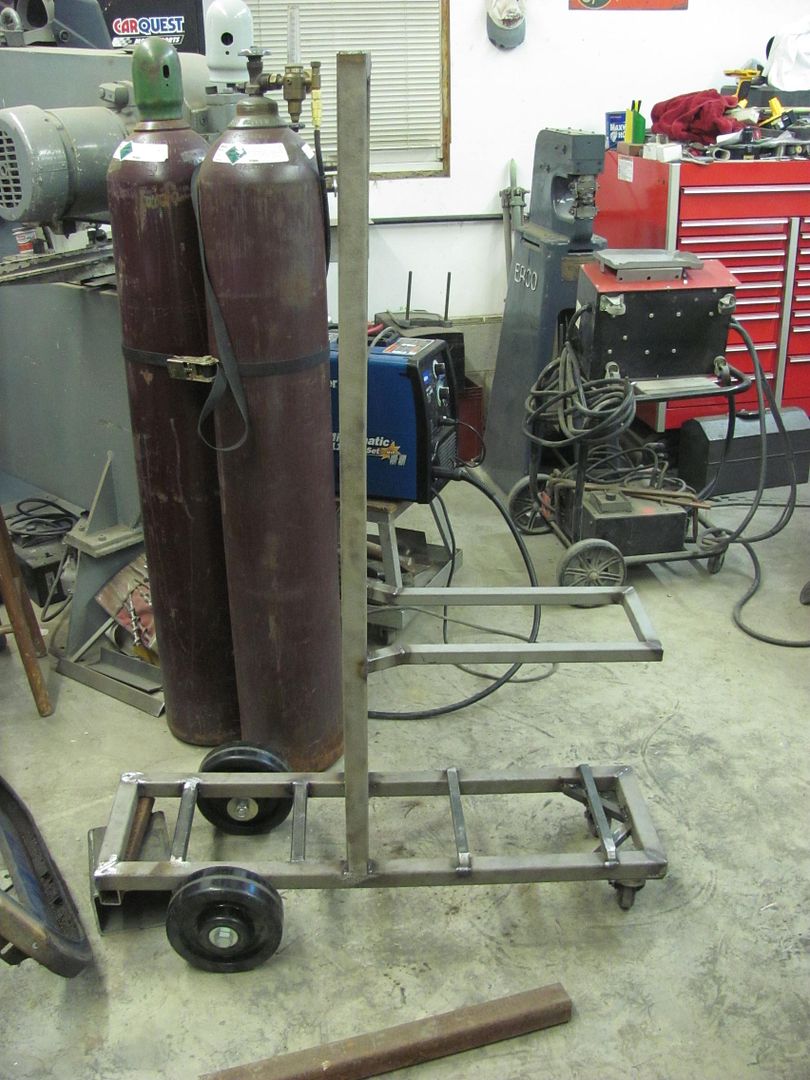
Sold it this past weekend on CL, time now to consolidate, where the old machine was a two-story deal, the new one will be a three story. In order to take up less floor space, I need to incorporate the Miller 211, the Hypertherm Tig, and the Snap On dent puller, and two bottles:
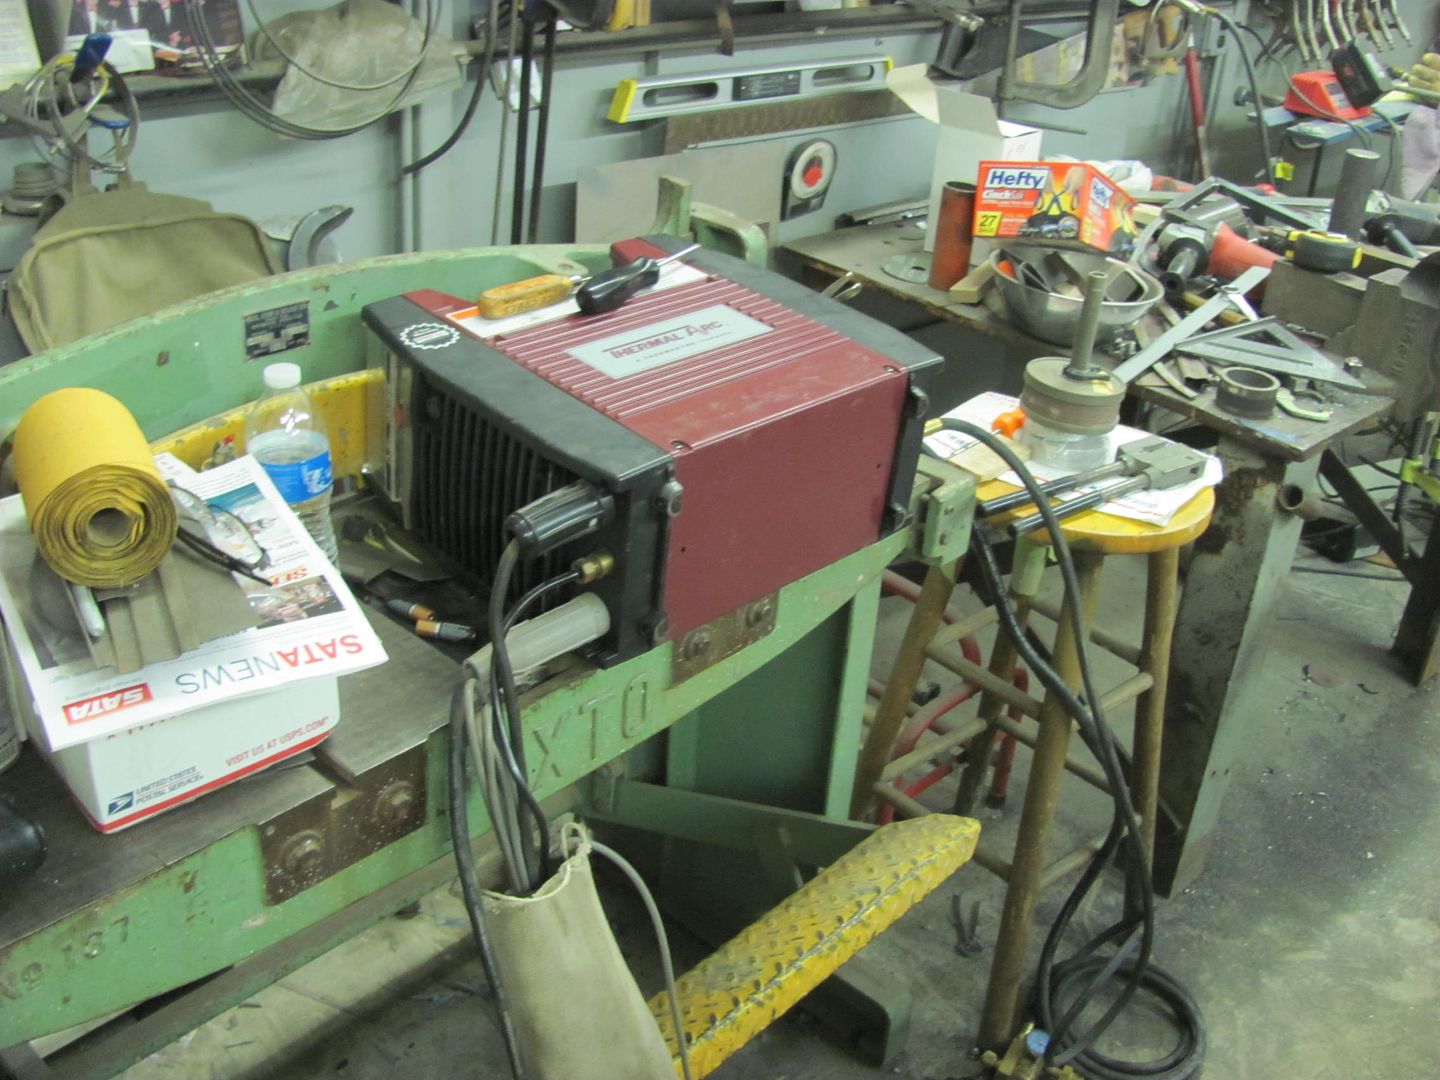
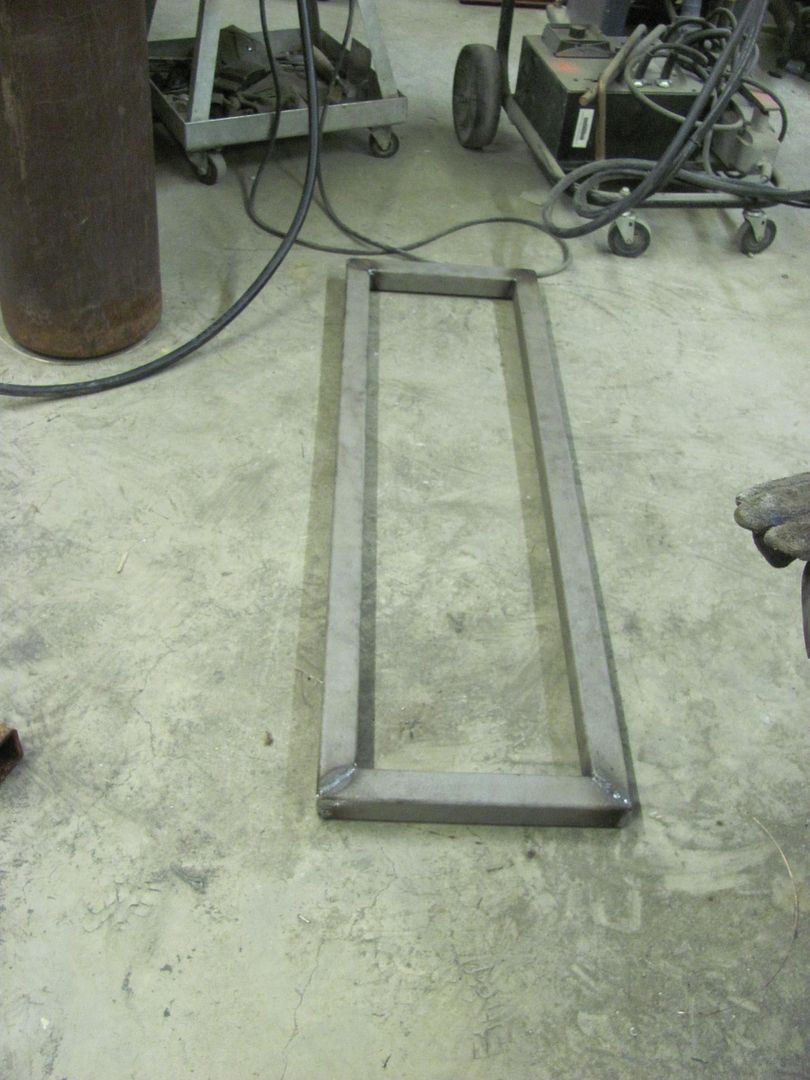
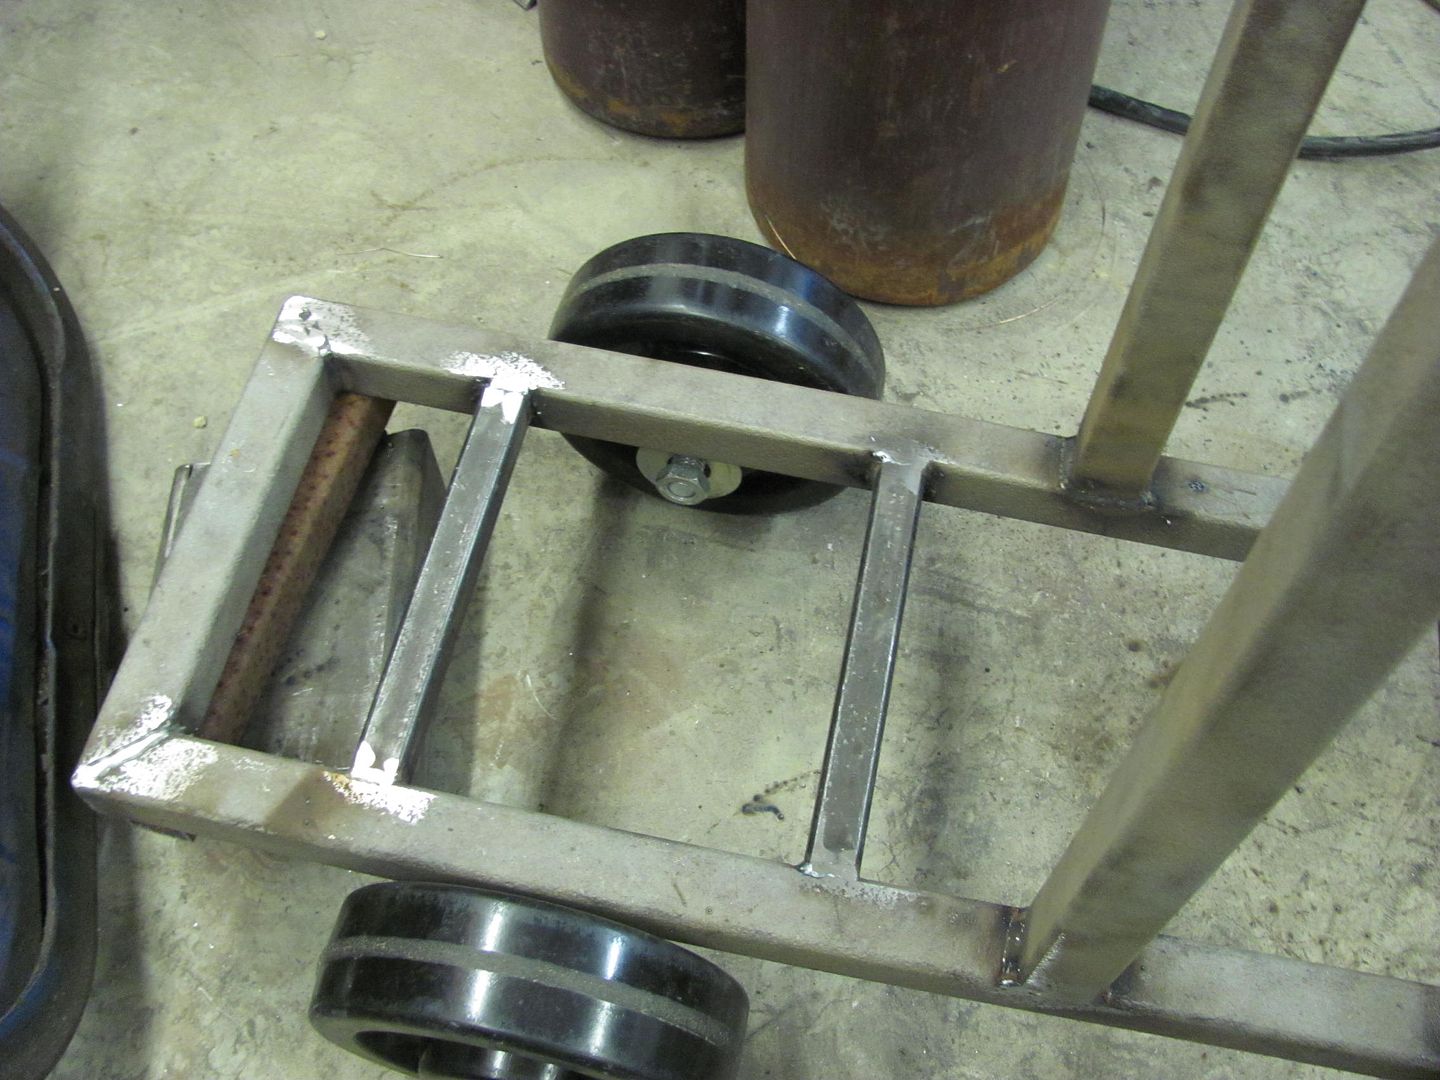
Starting with the base, some 1-1/2 square tubing makes up the frame. This stuff was free, and as with most free stuff, it isn't. Kyle spent most of the time in the shop this evening media blasting rusty square tubing that has been sitting outdoors for a number of years. He also learned a bit more of mig welding..
The Tig will go on the bottom, and it has some mounting holes on the bottom side...

So some 3/4 square stock was used to make some rails for the Tig, along with some holes to tie in the front end..
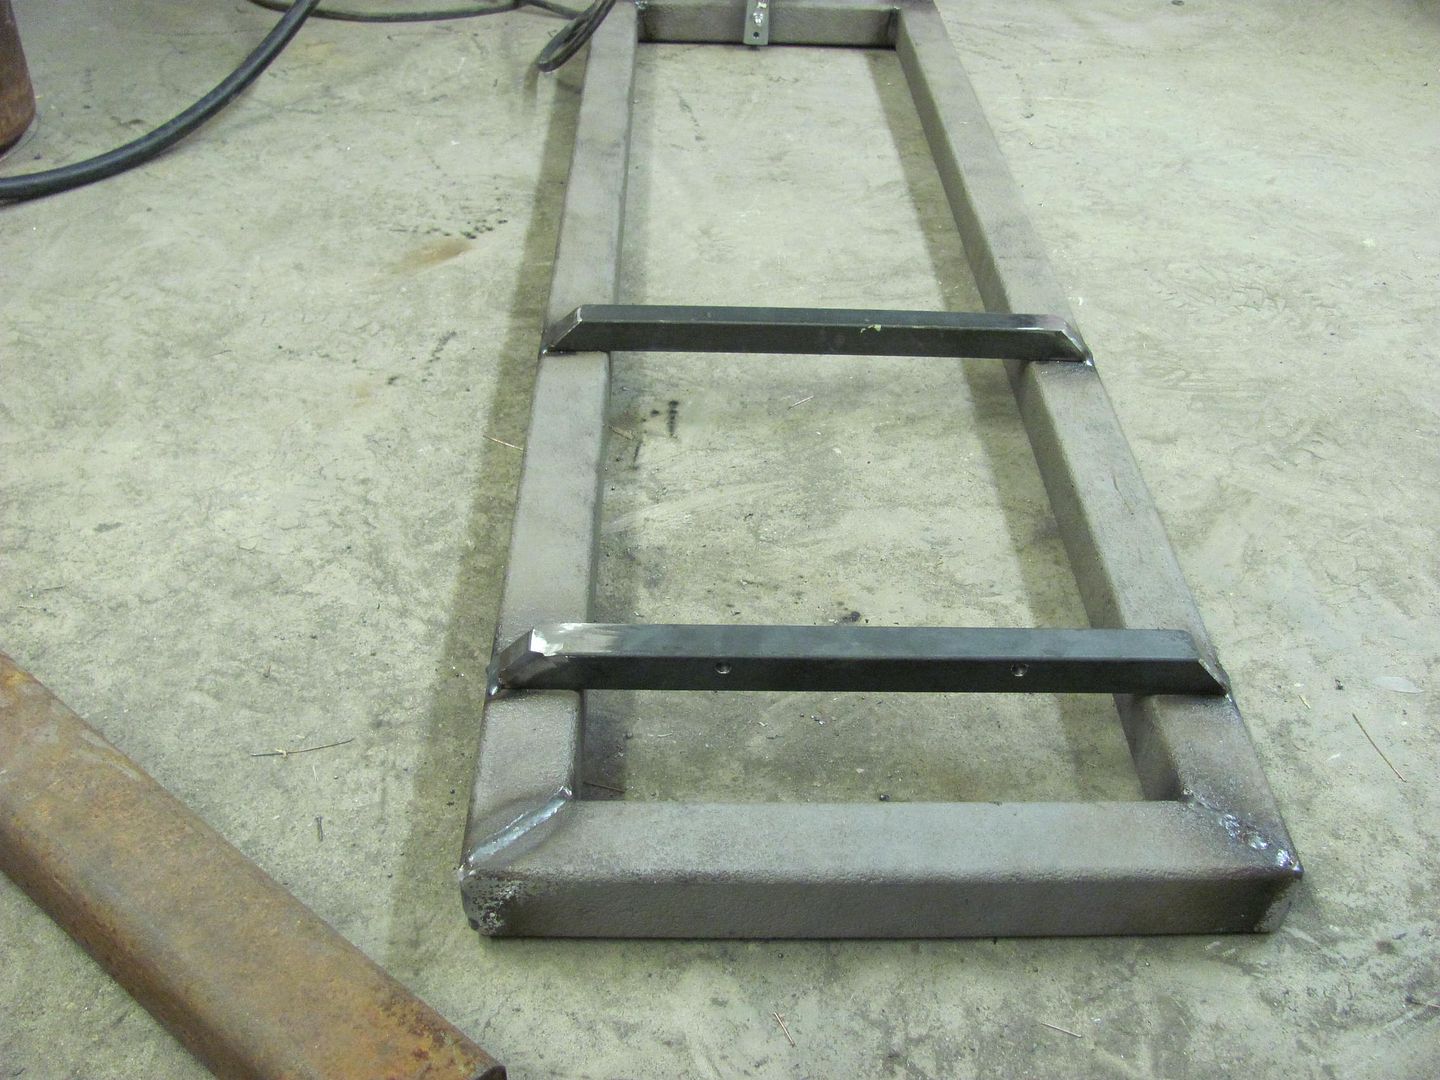
To be continued.... :willy_nilRobert
-
11-01-2014 03:08 PM #344
CHR Member
- Join Date
- Jun 2008
- Location
- Leonardtown
- Car Year, Make, Model: Walking
- Posts
- 1,207
Picked up a new shop clock at the auction today.. This is a vintage neon Ford clock, looks to be a dealer only item as near as I can tell..
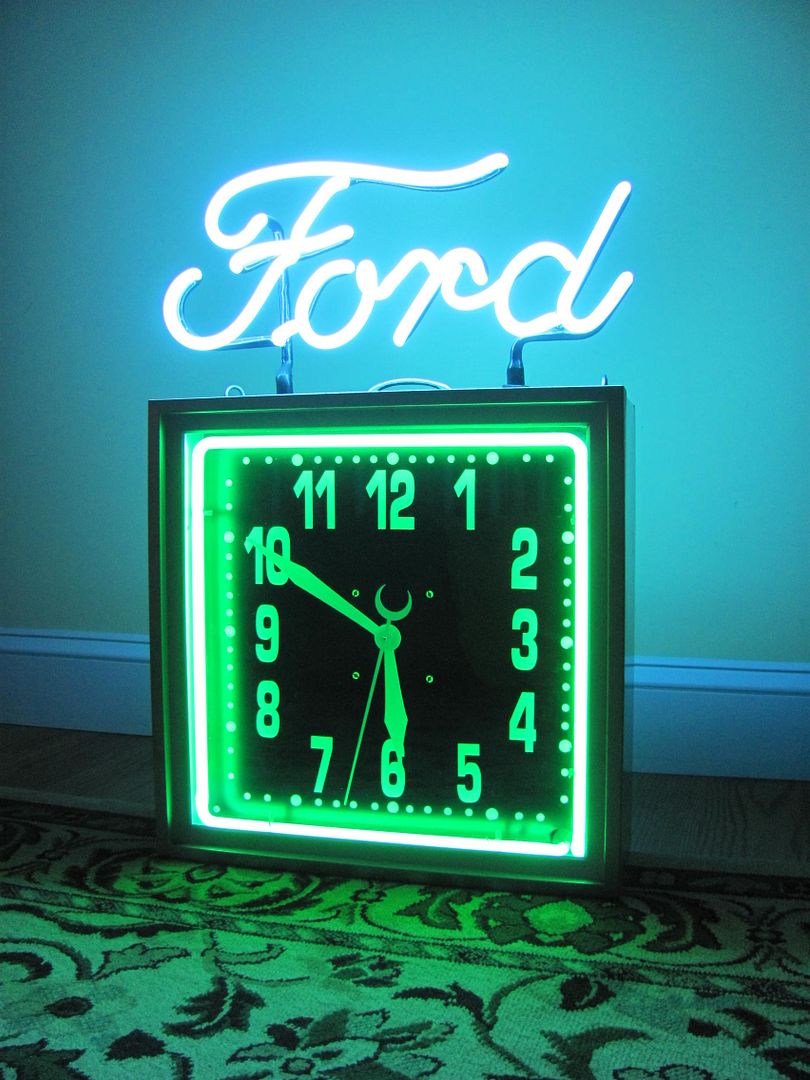

Robert
-
11-01-2014 08:56 PM #345
CHR Member
- Join Date
- Jun 2008
- Location
- Leonardtown
- Car Year, Make, Model: Walking
- Posts
- 1,207
Worked some more on the welder cart tonight. Started by adding the front casters.....

A cross brace was added under the center line of the 2 bottles...
12 gauge will be used to form a tray under the bottles...

Support bracket added for Mig welder:
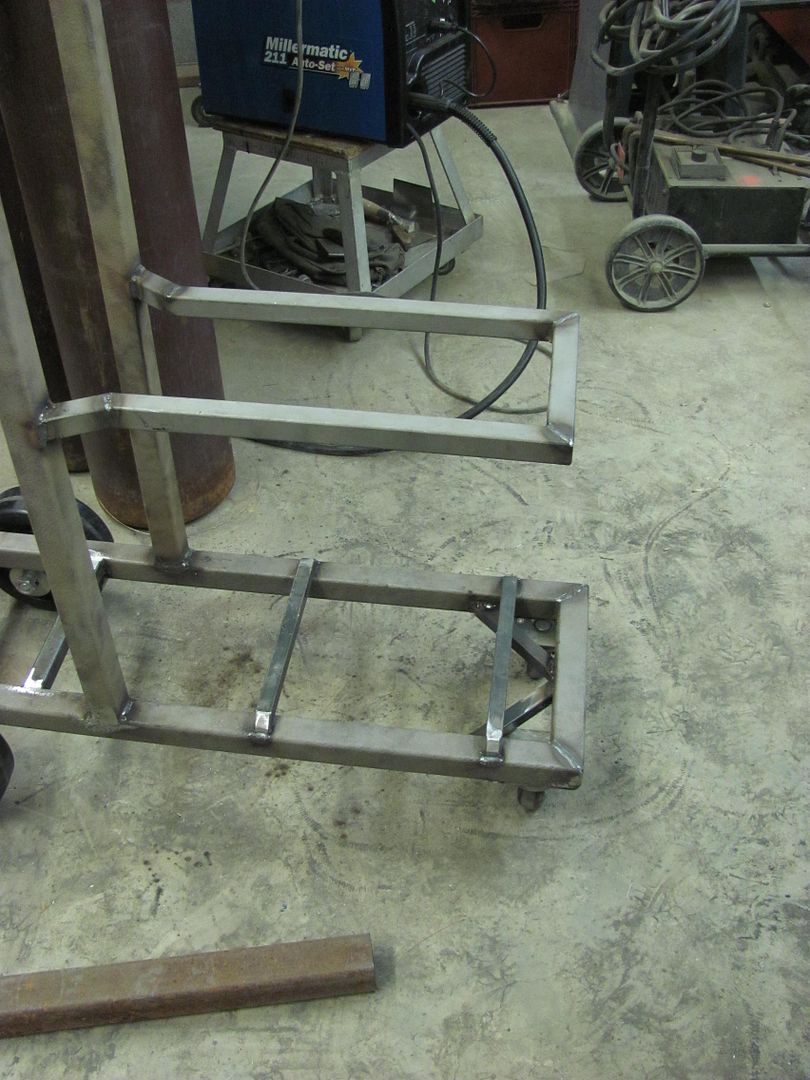
Next time we'll add the bracket for the dent puller...
Robert
 Reply With Quote


Posting Permissions
- You may not post new threads
- You may not post replies
- You may not post attachments
- You may not edit your posts

I've got insurance. I haven't filed a claim yet to find out if it's good or not. I get what you're saying though.
Chrysler Ignition Setup Questions