


 10Likes
Thread: Shop truck build


Results 1 to 15 of 31
 LinkBack URL
 About LinkBacks
Hybrid View
-
02-11-2012 08:05 PM #1
 CHR Member

- Join Date
- Jun 2008
- Location
- Leonardtown
- Car Year, Make, Model: Walking
- Posts
- 1,228
Shop truck build
Here's my shop project, making this former fire truck into a car hauler. It was originally built about 1953 or so into a firetruck for Idanha Rural Fire Protection District. I've got the original registration card showing that, and it was the only time it was resistered. I think they are up NW of Bend, in the mountains. I was looking for a cabover at the time I saw this, happened to be looking at an ebay ad for a pickup truck, and this truck was in the background of one of the last pictures. Emailed for more info, finally got ahold of the guy a week or so later (non-email owner, his buddy listed it for him) I had seen quite a few closer to me that all had the typical rust in door bottoms, cab corners, fenders, etc. This one has none of those issues, probably the only reason I didn't pass it up.
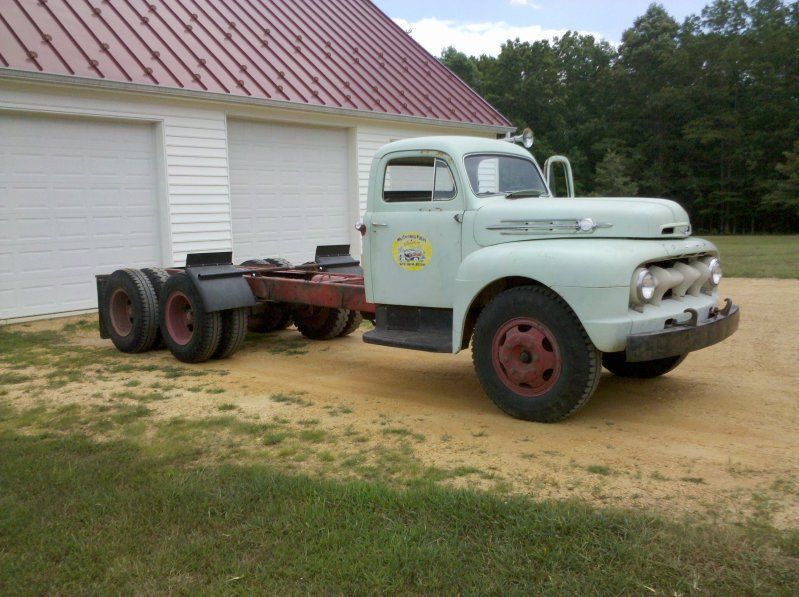
I've been collecting parts for getting the cab and chassis ready for a ramp bed, and unfortunate to the truck's heritage, the tandem axles don't work well with a ramp bed (nor do the 8.50:1 gear ratios) So here are some other goodies collected, plans for air ride front and rear, air brakes all around....should stop on a dime!

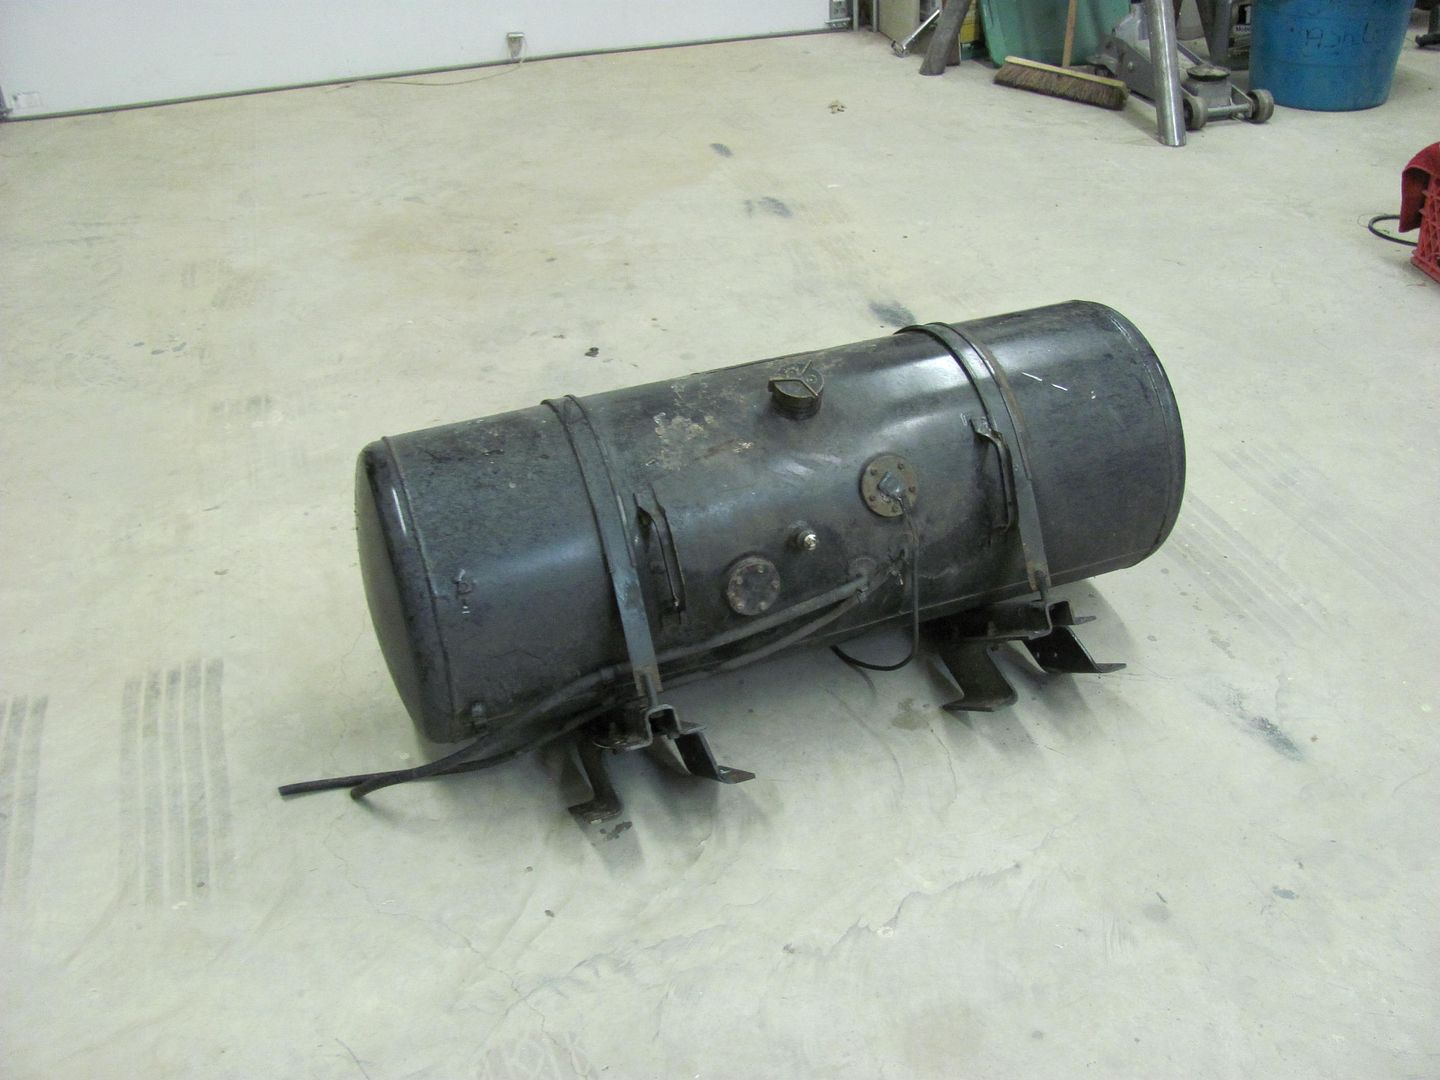
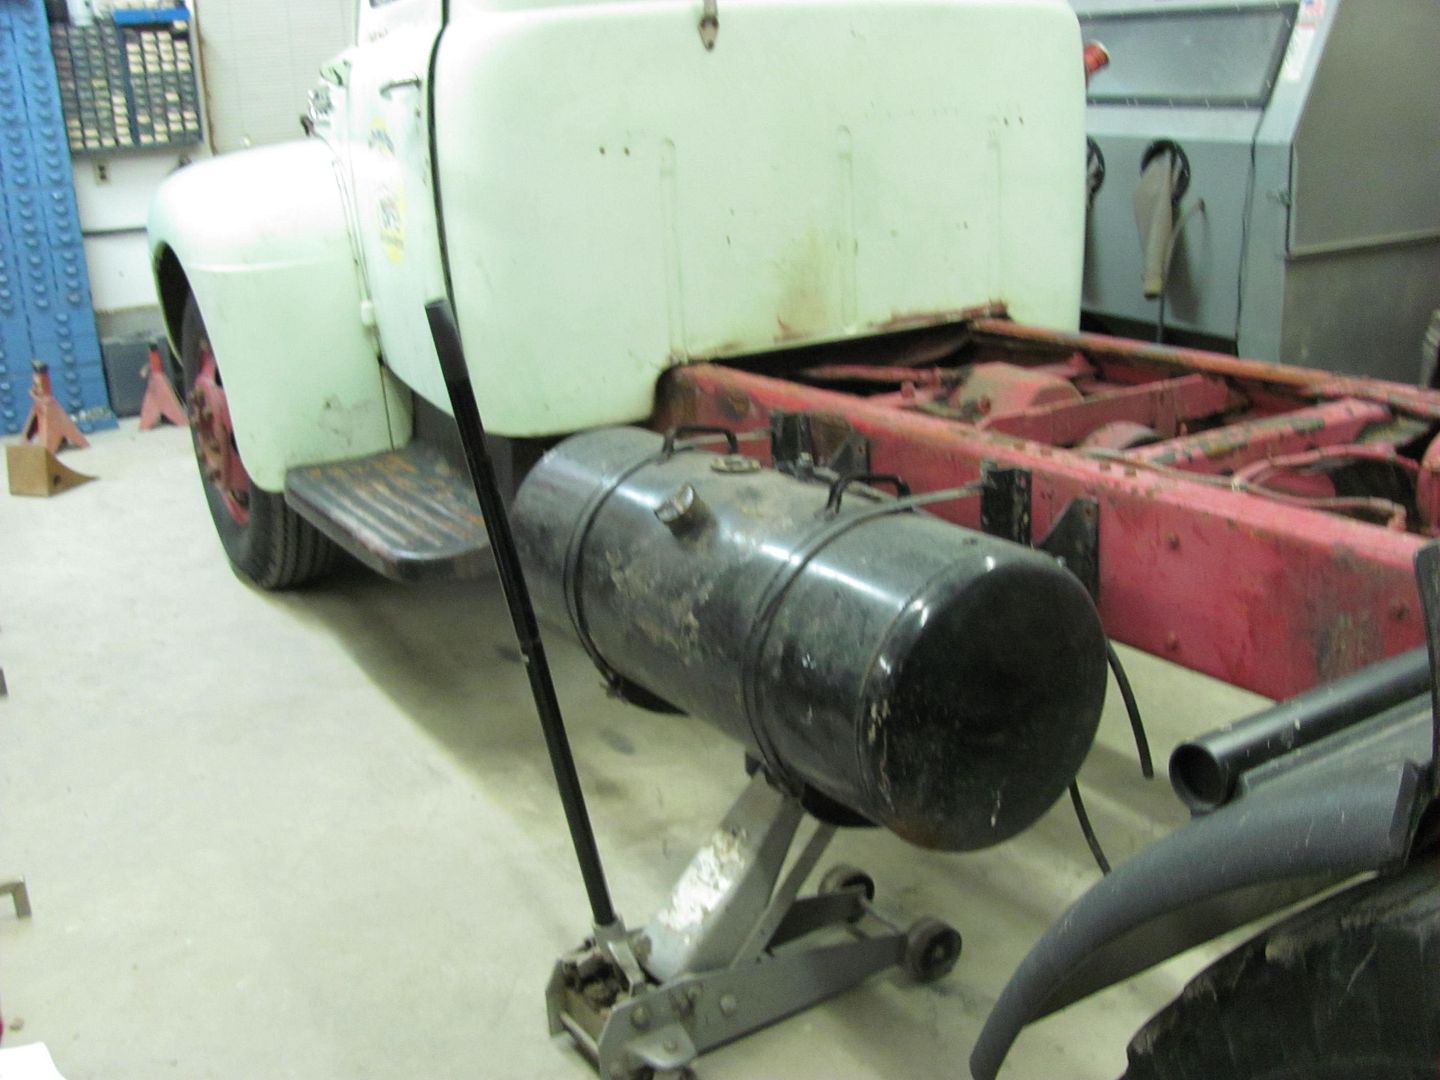
Recently though, I had been having trouble with the old girl running rough, just falling on it's face. Kinda takes the wind out of your sails as far as project enthusiasm goes. I was leaning toward a fuel pump issue, and when I pulled the inlet line to the fuel pump, the slight trickle was a good indicator of some sediment in the tank behind the seat. As the factory tank size limited your range anyhow, time to upgrade. We (the VP of ATHS and myself) went on a road trip to RLJackson truck salvage in Port Tobacco MD, and picked up a nice 33 gallon saddle tank version. That should about double the effective capacity/range.
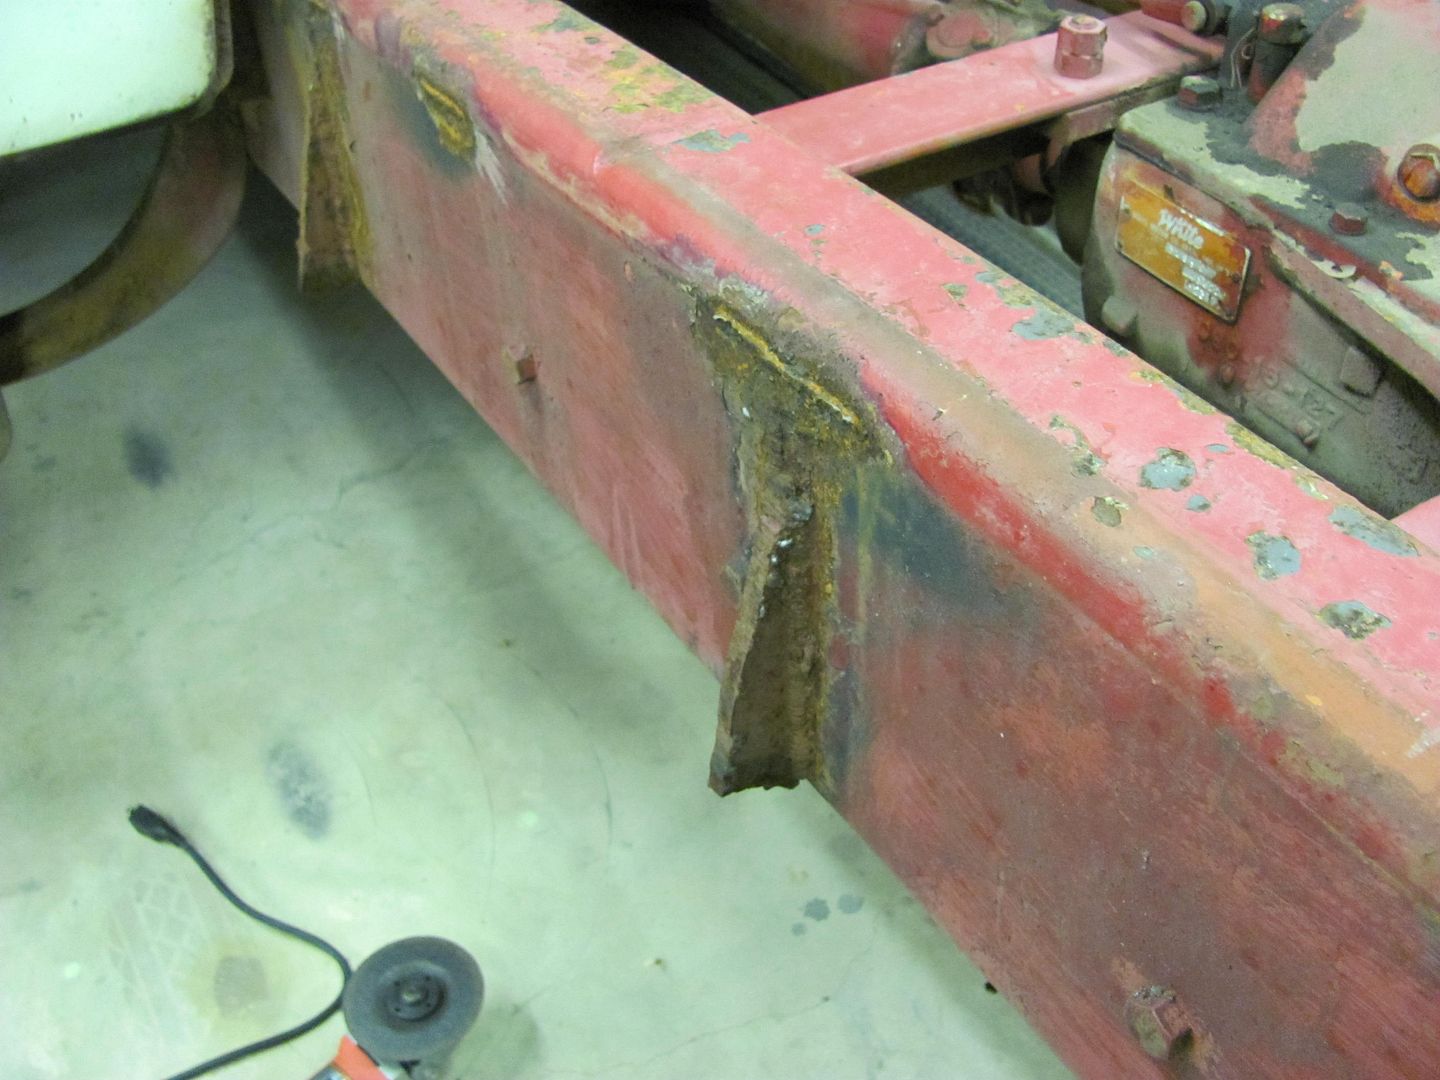
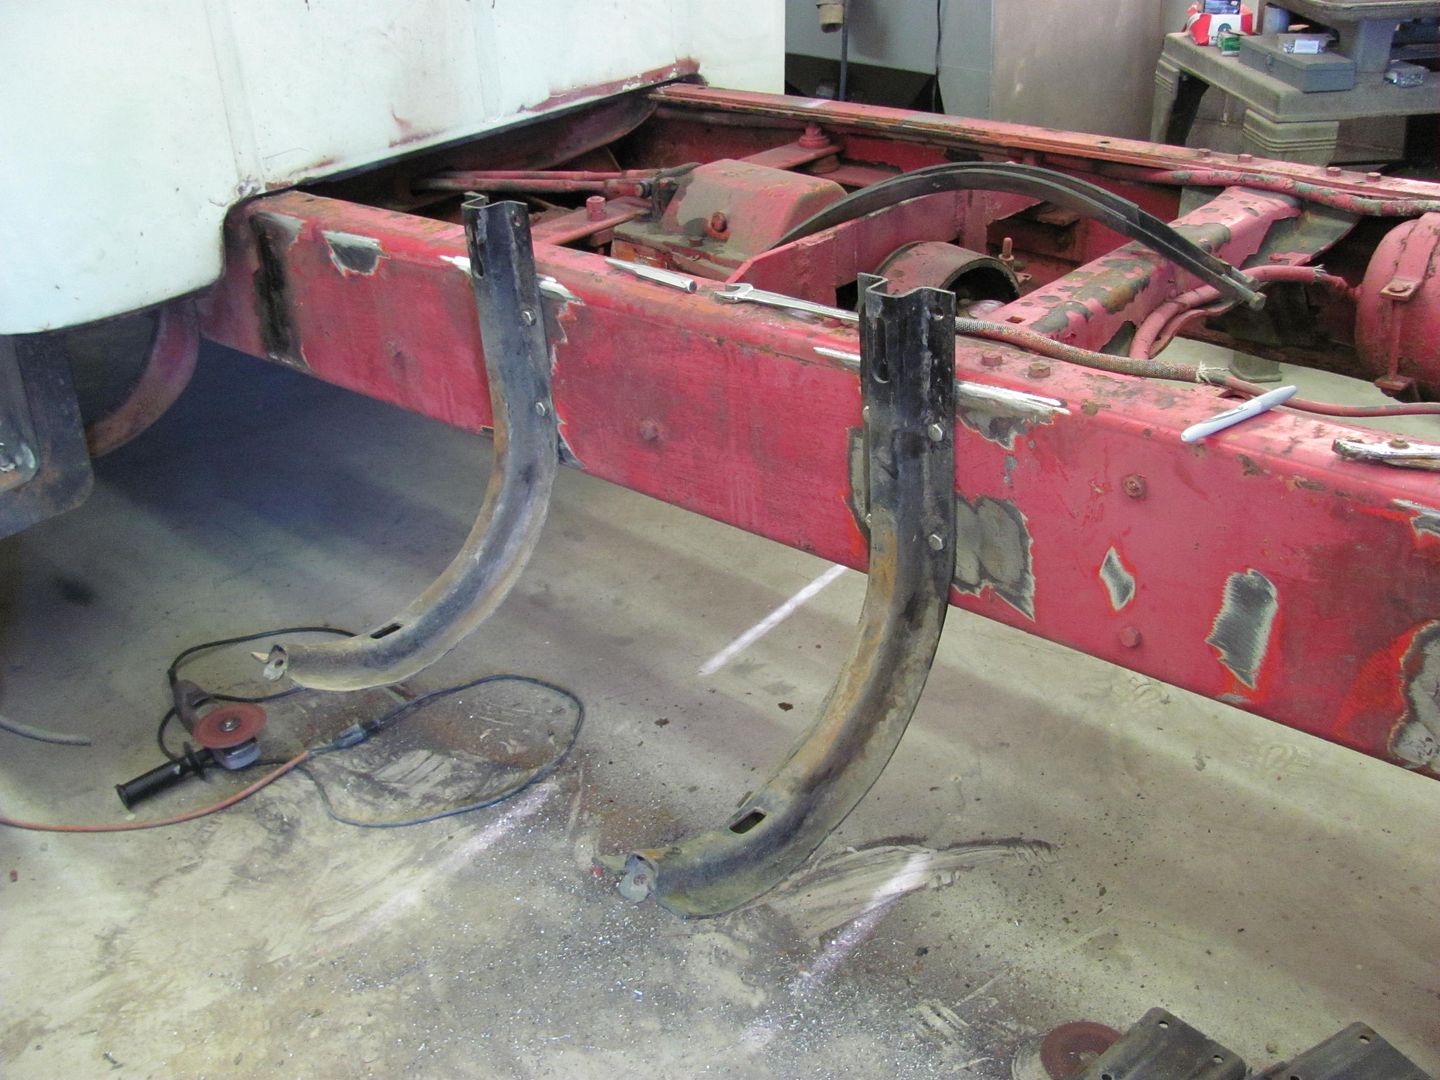
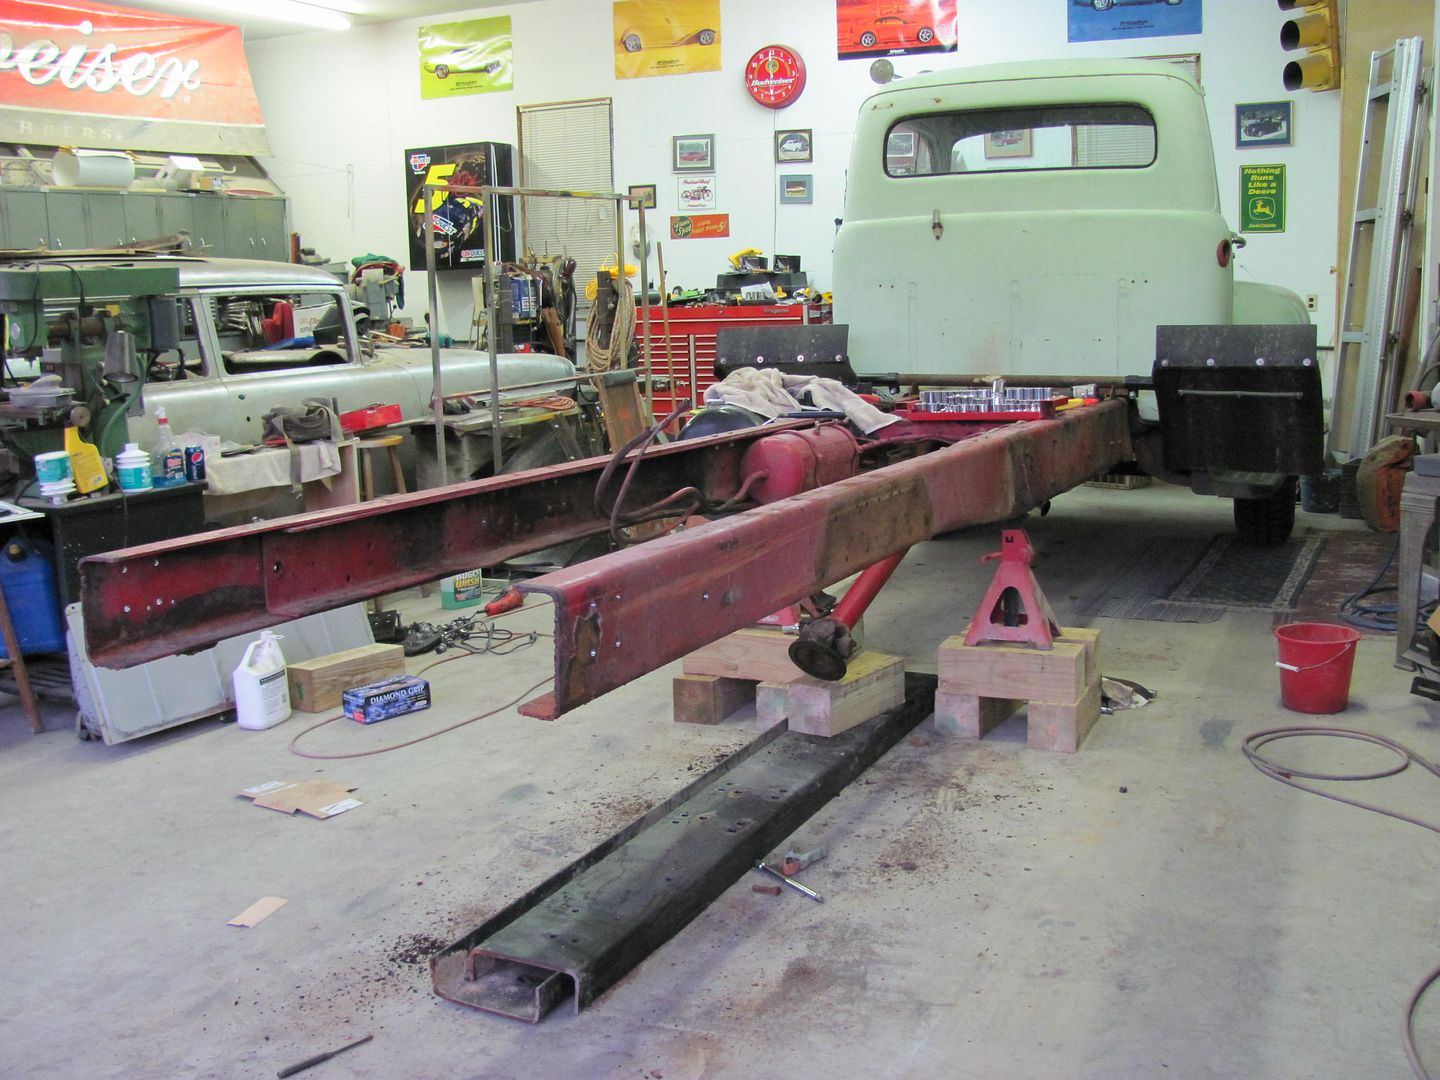
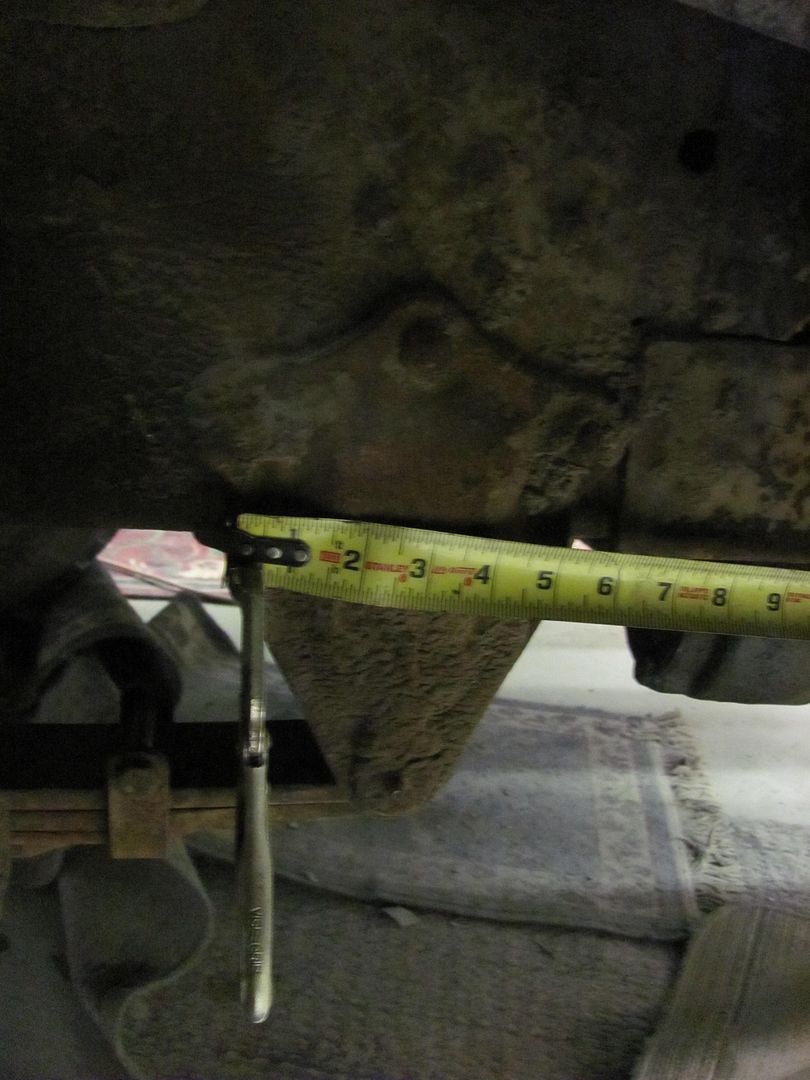
The truck's past history as a fire truck in the mountains of Oregon was evident as some reminders of the old body still remains on the frame, so first order of business is to clean those off .....

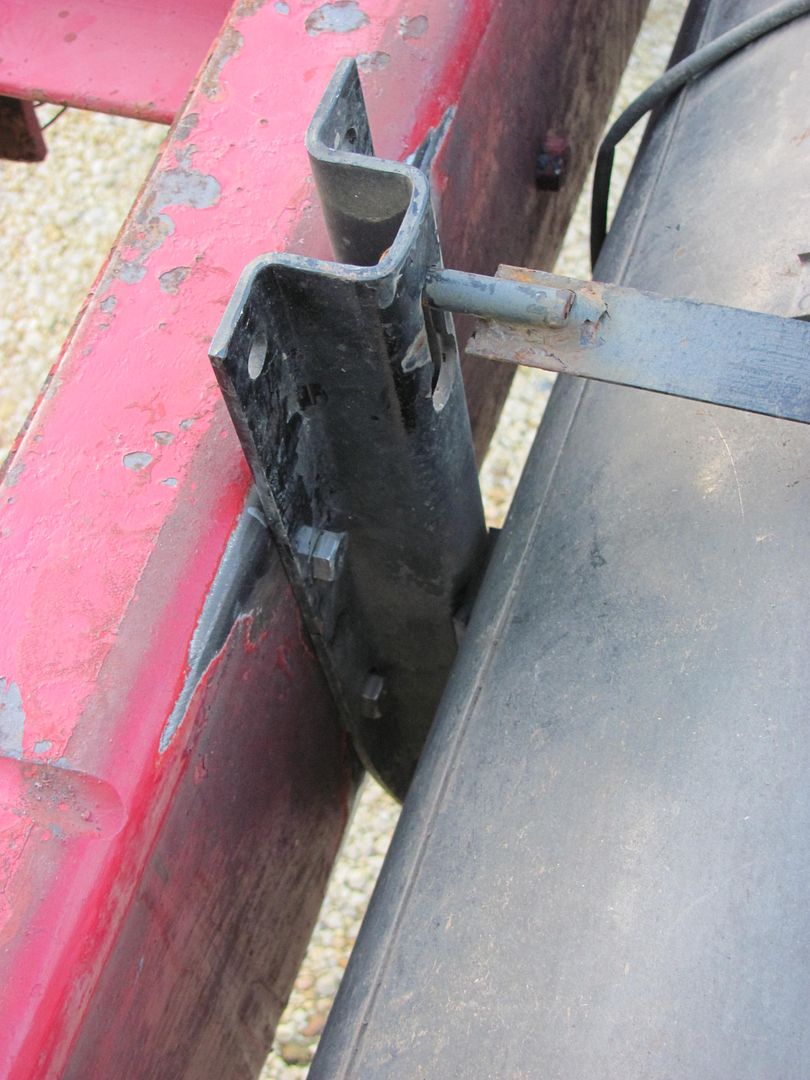
Test fitting....
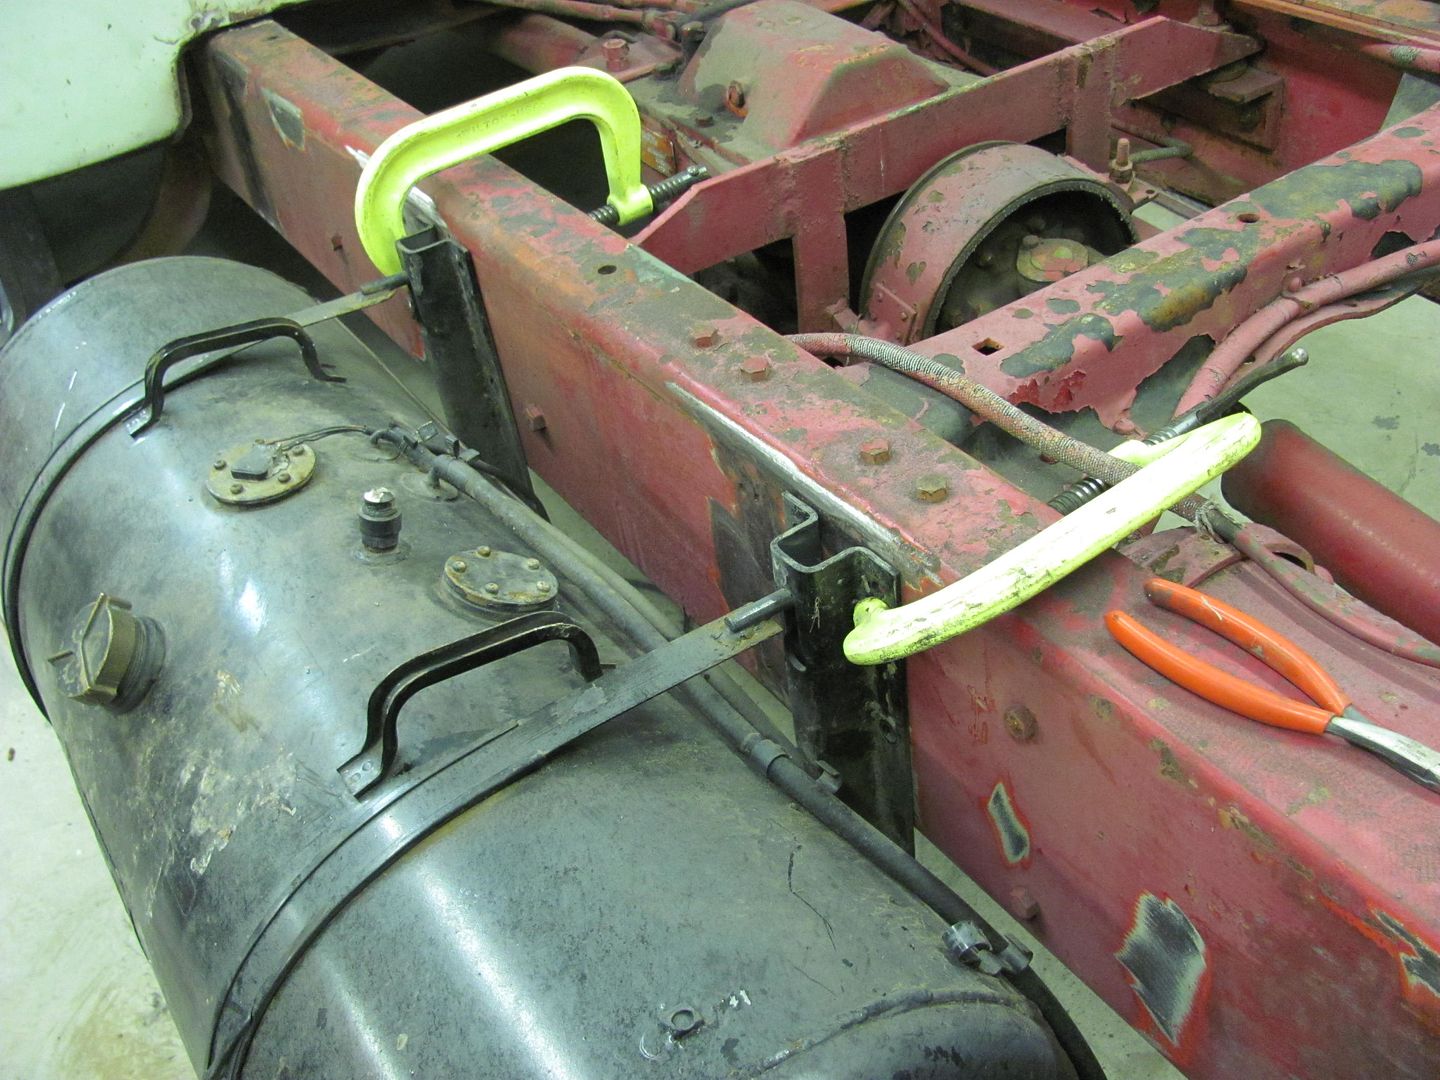
I did wind up moving the tank up a bit more, the top of the brackets are 3" above the frame. The frame on this is three thicknesses from the front cab mount back, and as the outer one was installed circa 1953 when the fire truck conversion was done, they aren't tempered. Even though the 18v Milwaukee was going through 3/4" or so, it was rather easy drilling.
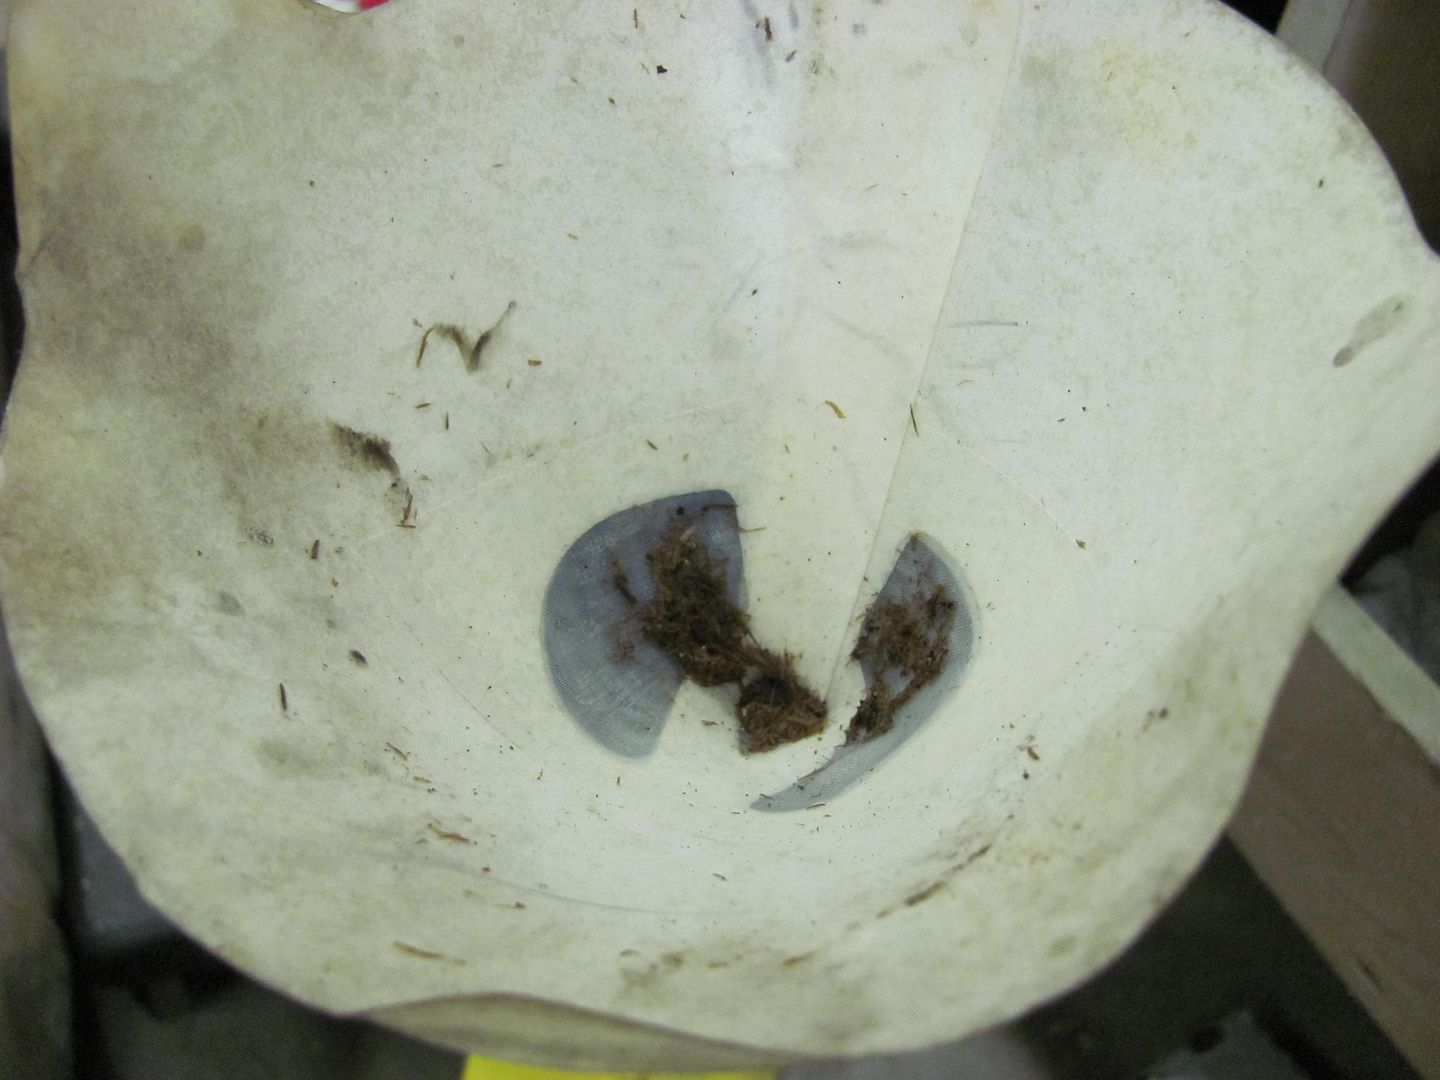
Drained the old tank and thought I'd use some paint strainers to keep from having the fuel flow issues with this tank. I think we may have found the problem...
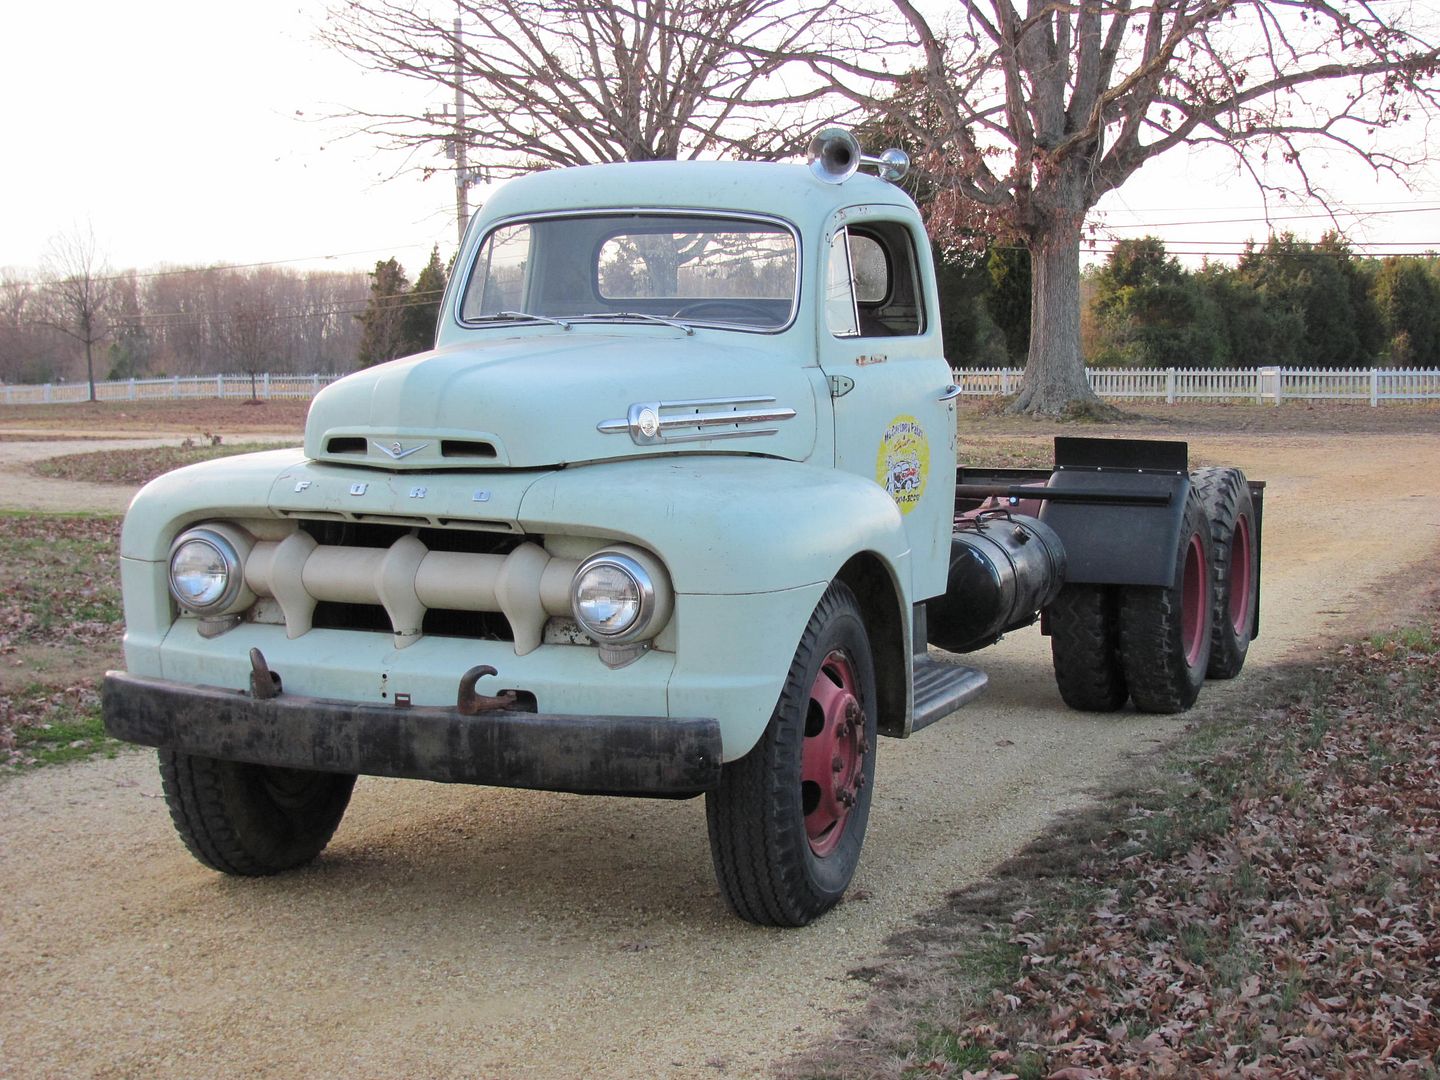
Got the old tank drained and removed, it will be a good time to vacuum out all the crevices back there behind the seat to keep the lower cab corners rust free.... Here it is after the test run (and fuel fill up)
One item crossed off the list, next will be to get started on the rear(s) swap.Last edited by MP&C; 02-11-2012 at 08:12 PM.
-
02-11-2012 08:21 PM #2
CHR Member
- Join Date
- Jun 2008
- Location
- Leonardtown
- Car Year, Make, Model: Walking
- Posts
- 1,228
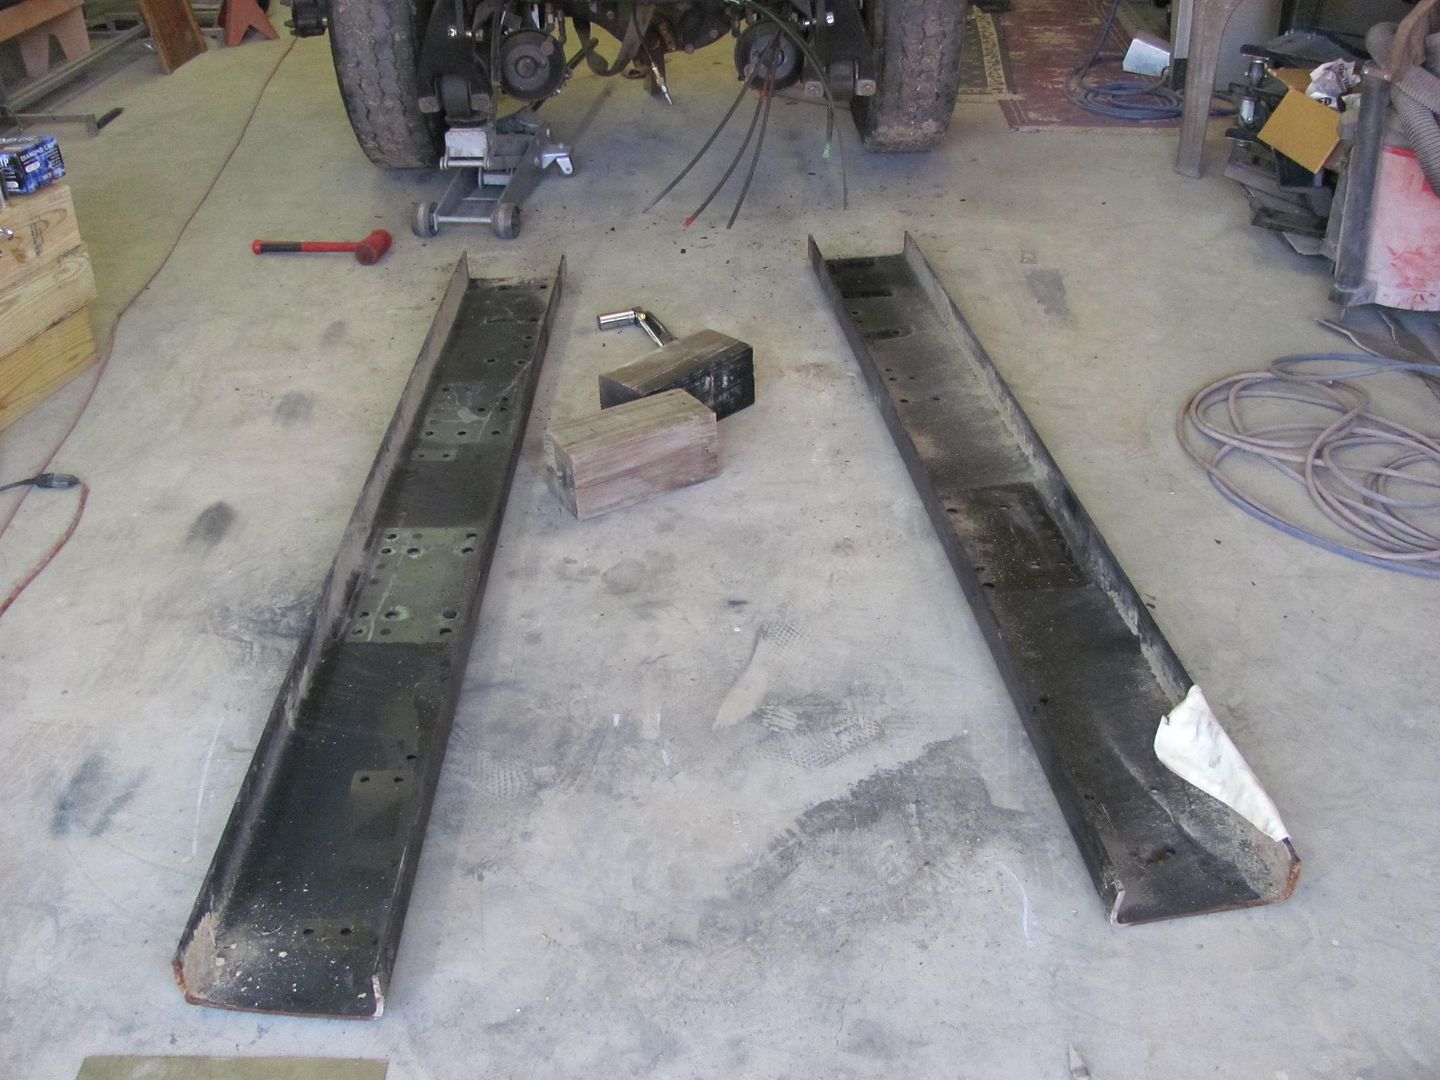
Finished loosening all the brackets from the bus frame rails, they will be clamped and used as a template on the F7 frame.
My 10 year old daughter came out in the shop to help, polished fingernails and all... Who was I to stop her......
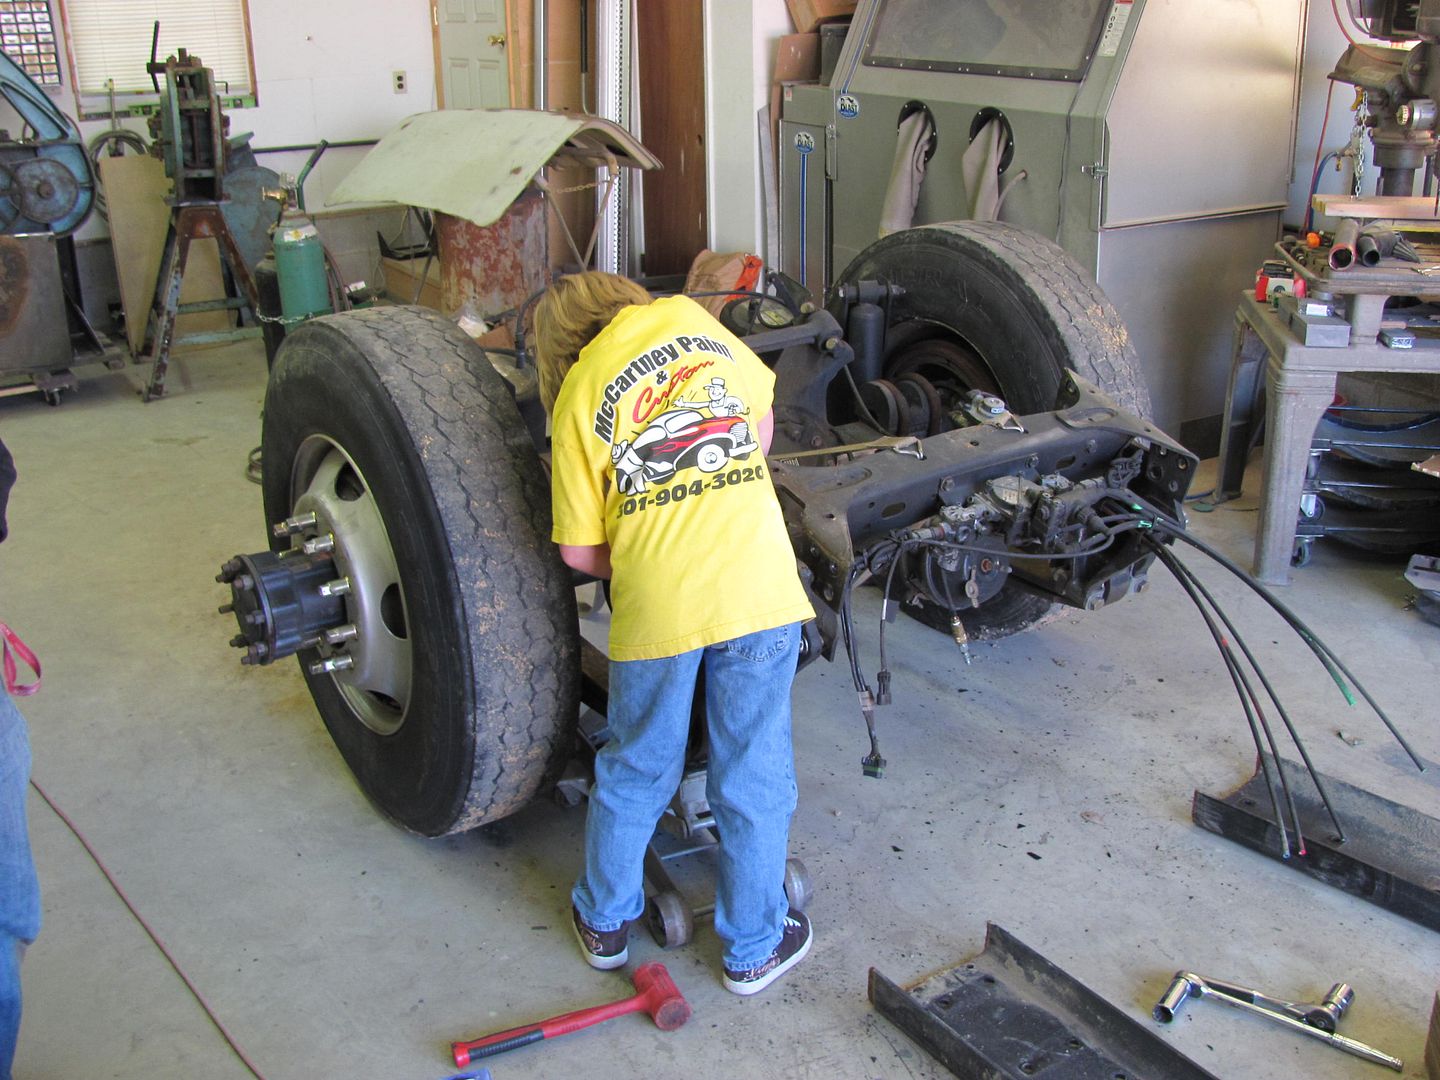
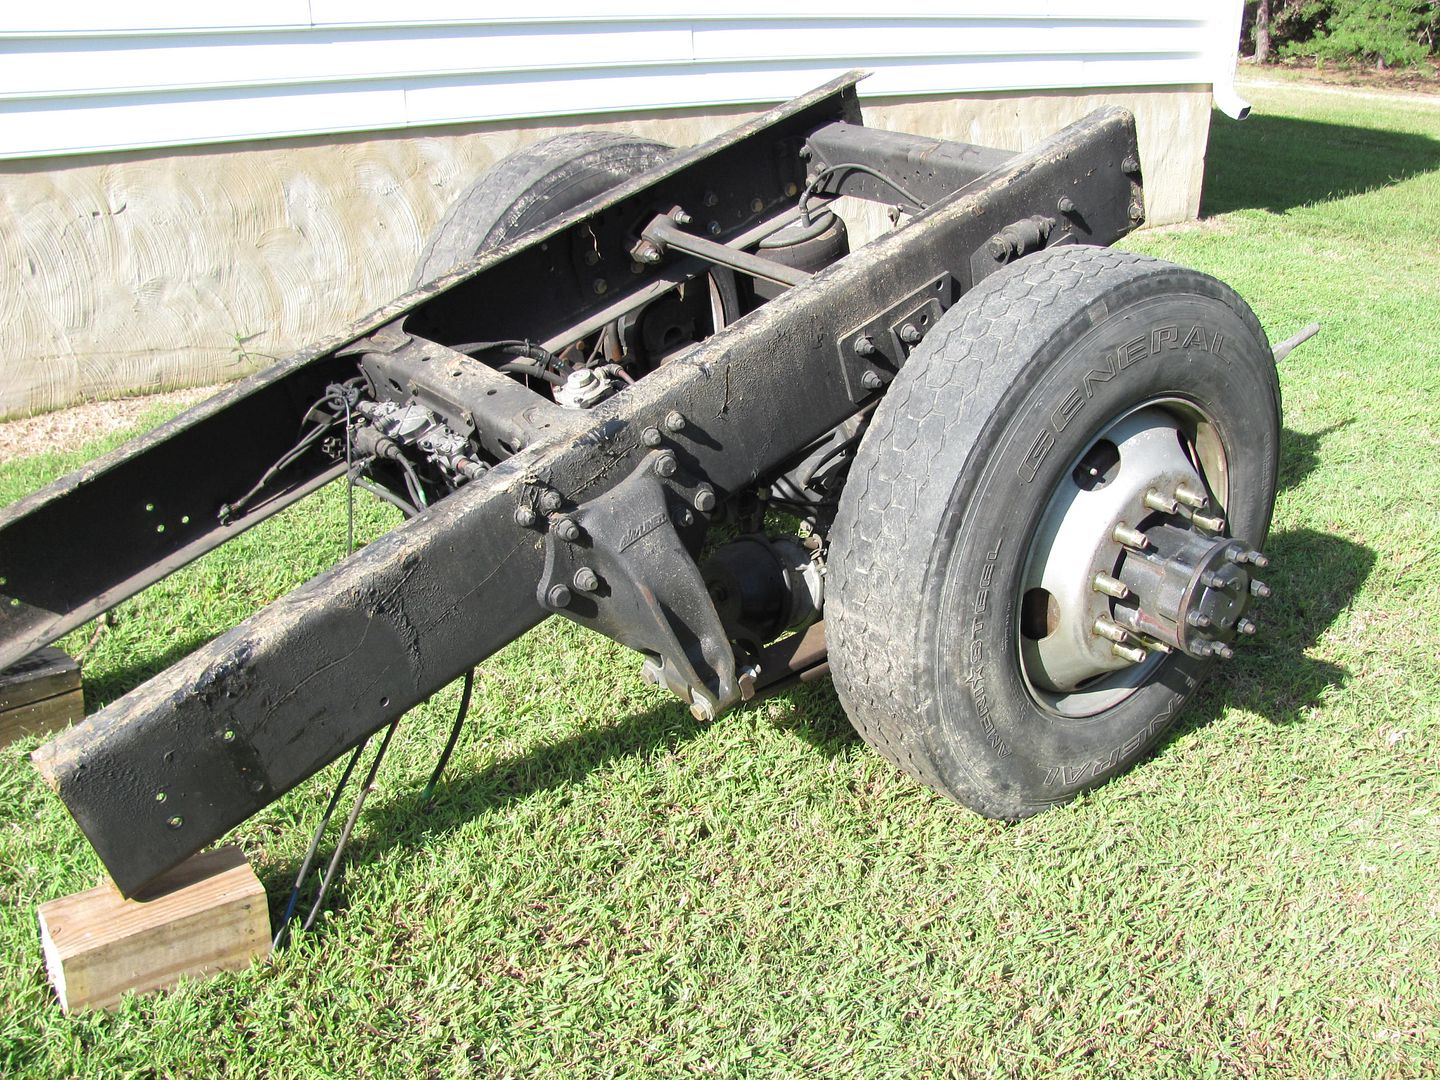
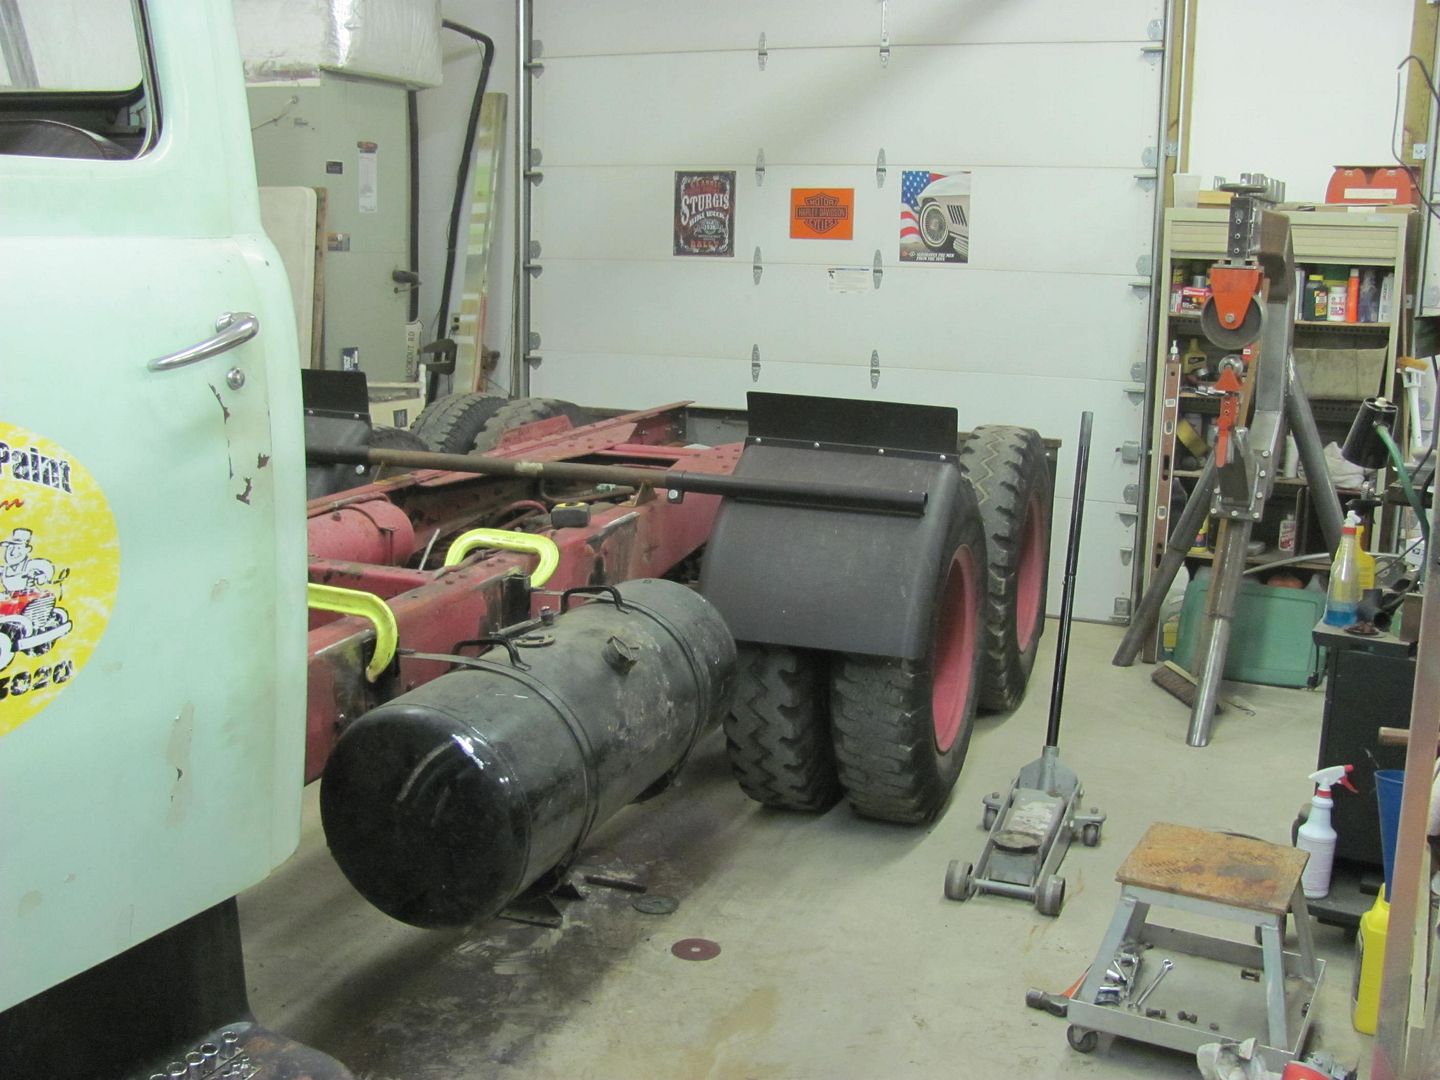
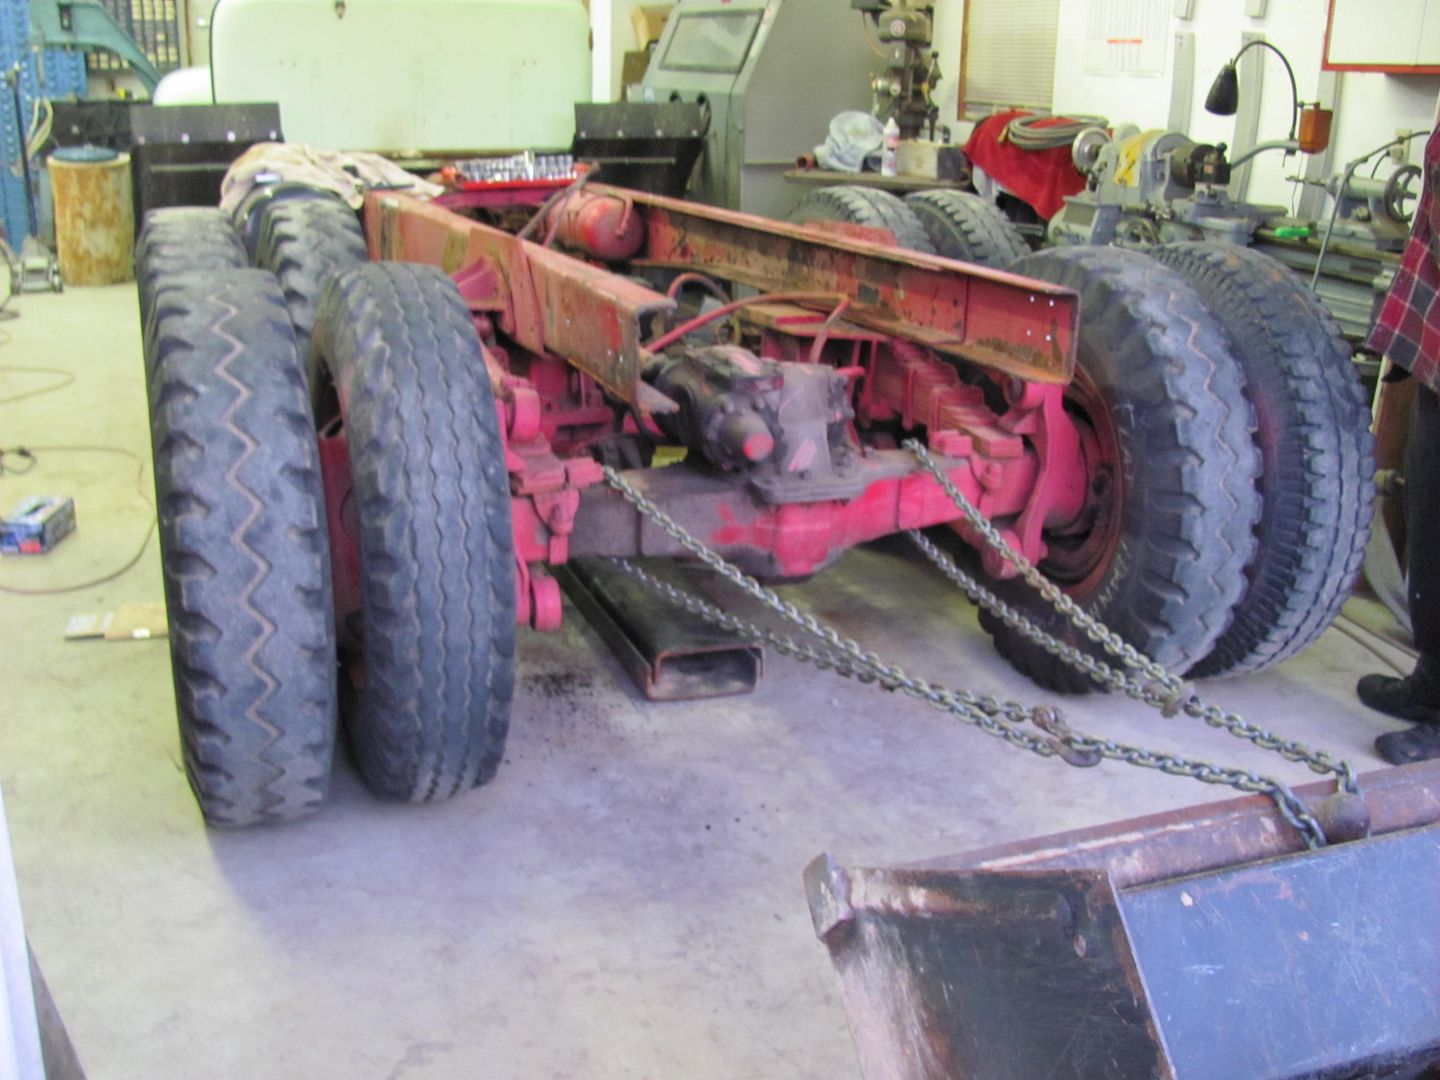
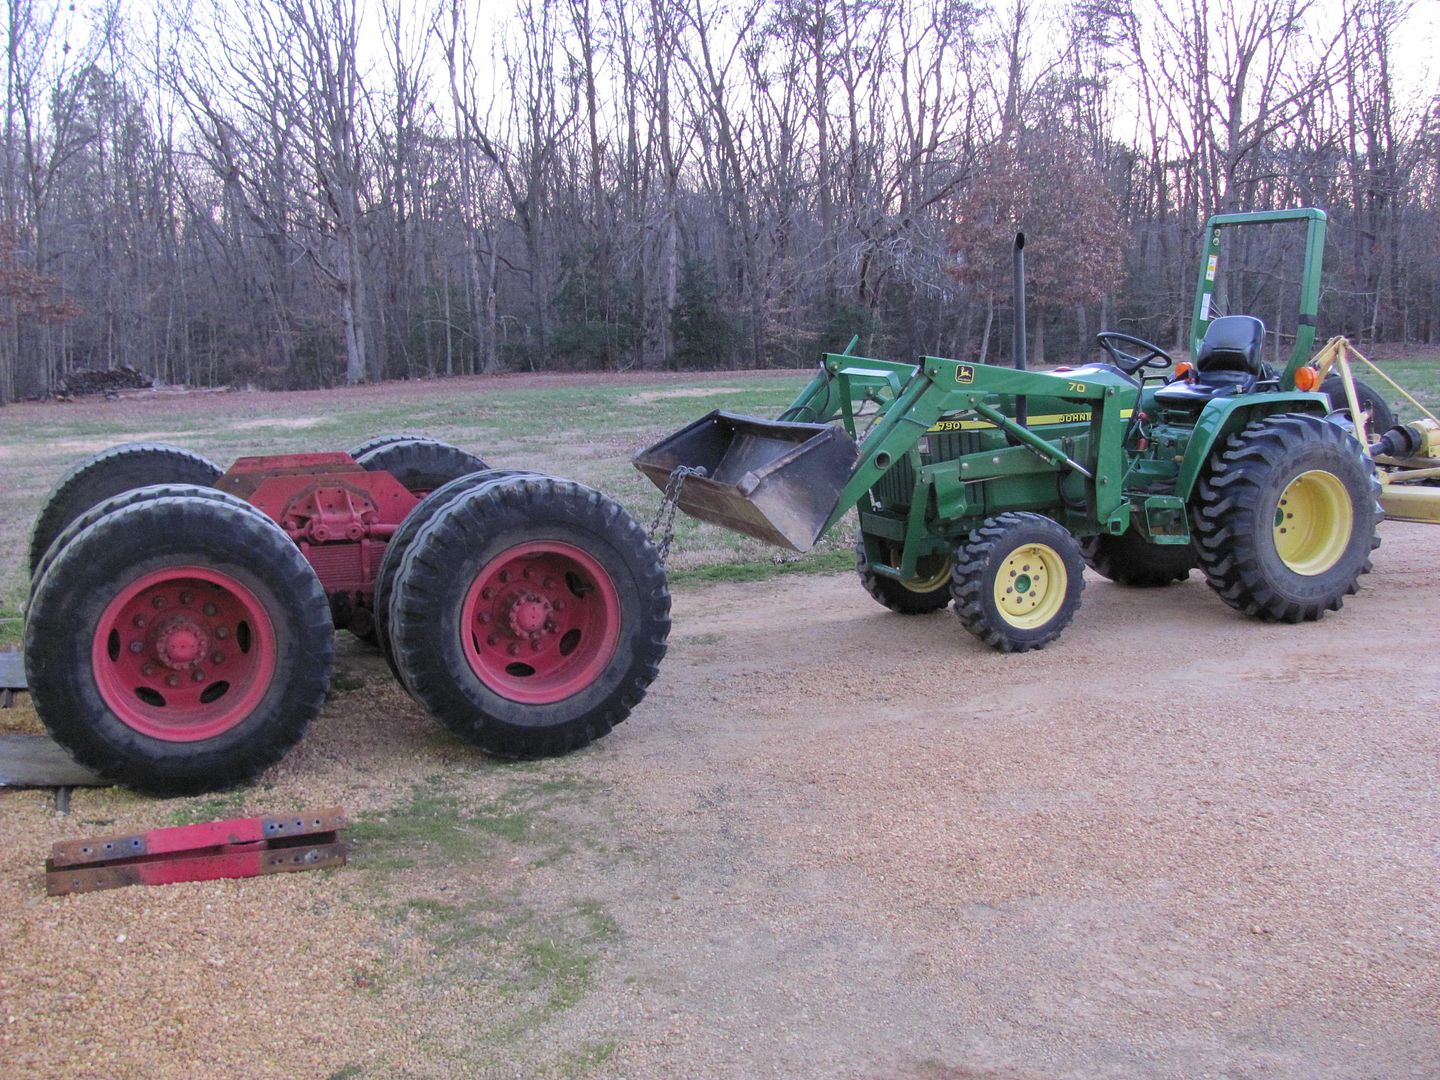
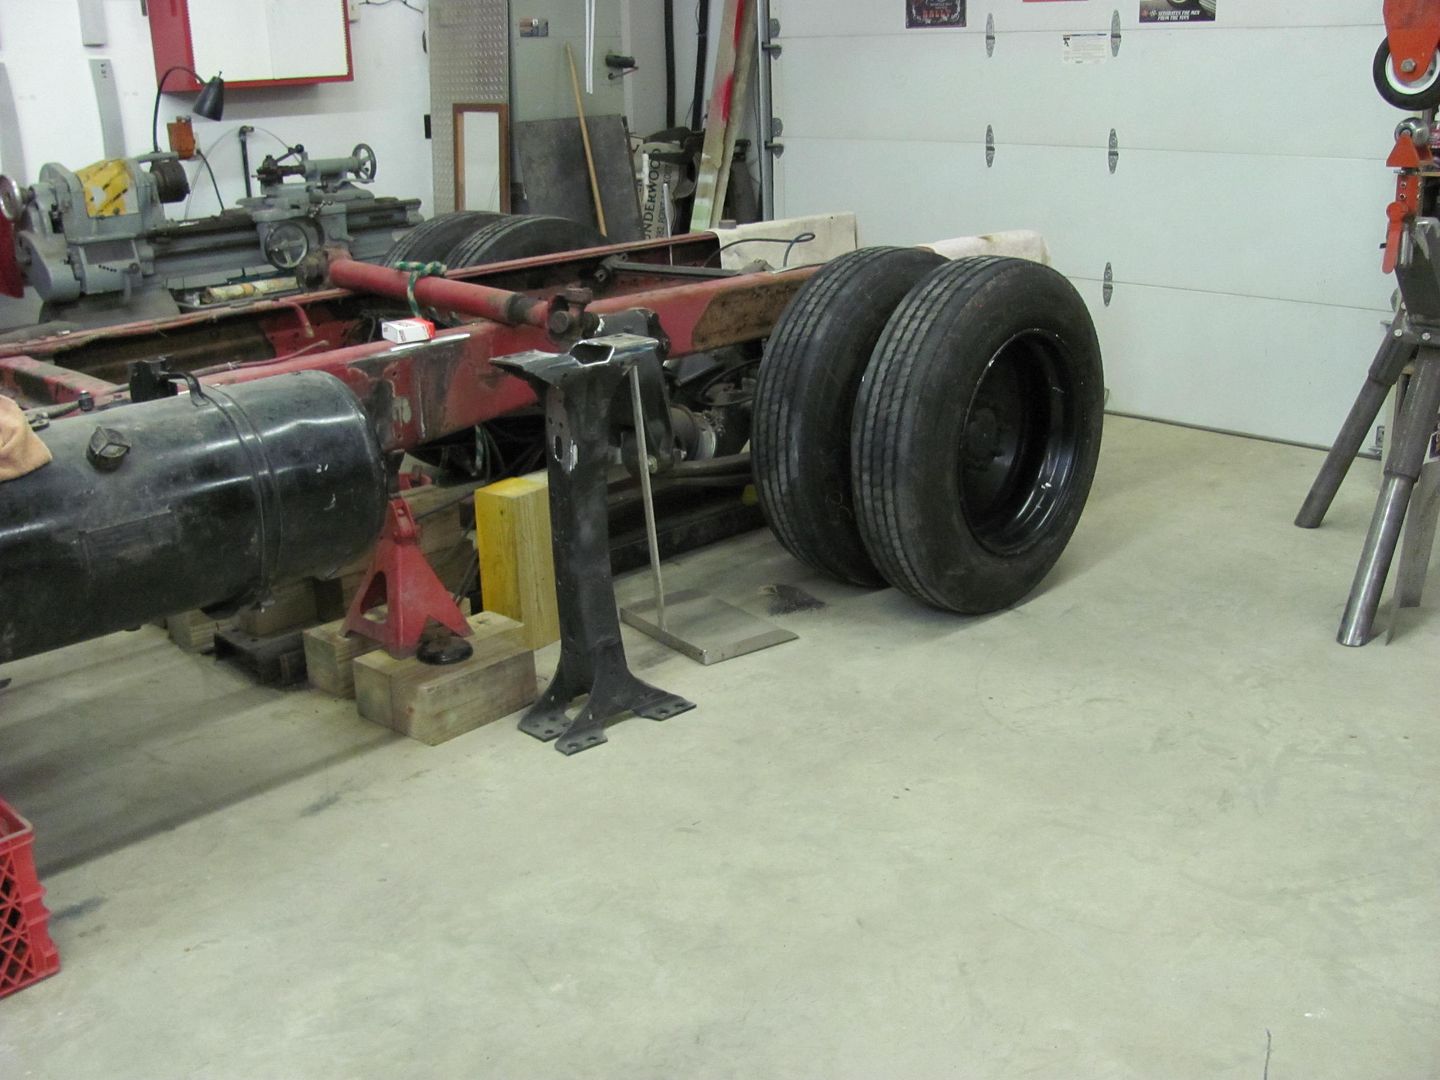
Then the rear was coaxed outside to make room for the truck...

Now most of the bolts holding the rears have been there since the early 50's. They were all fine thread bolts, most were double nutted, and most were in the top flange where it was inaccessible with an impact. Needless to say, we had a workout.
For the rear removal, I had to enlist my buddy Scott's help, he owns the motorcycle shop down the road that I do painting for every now and then... Here's the JD rear removal tool in use:

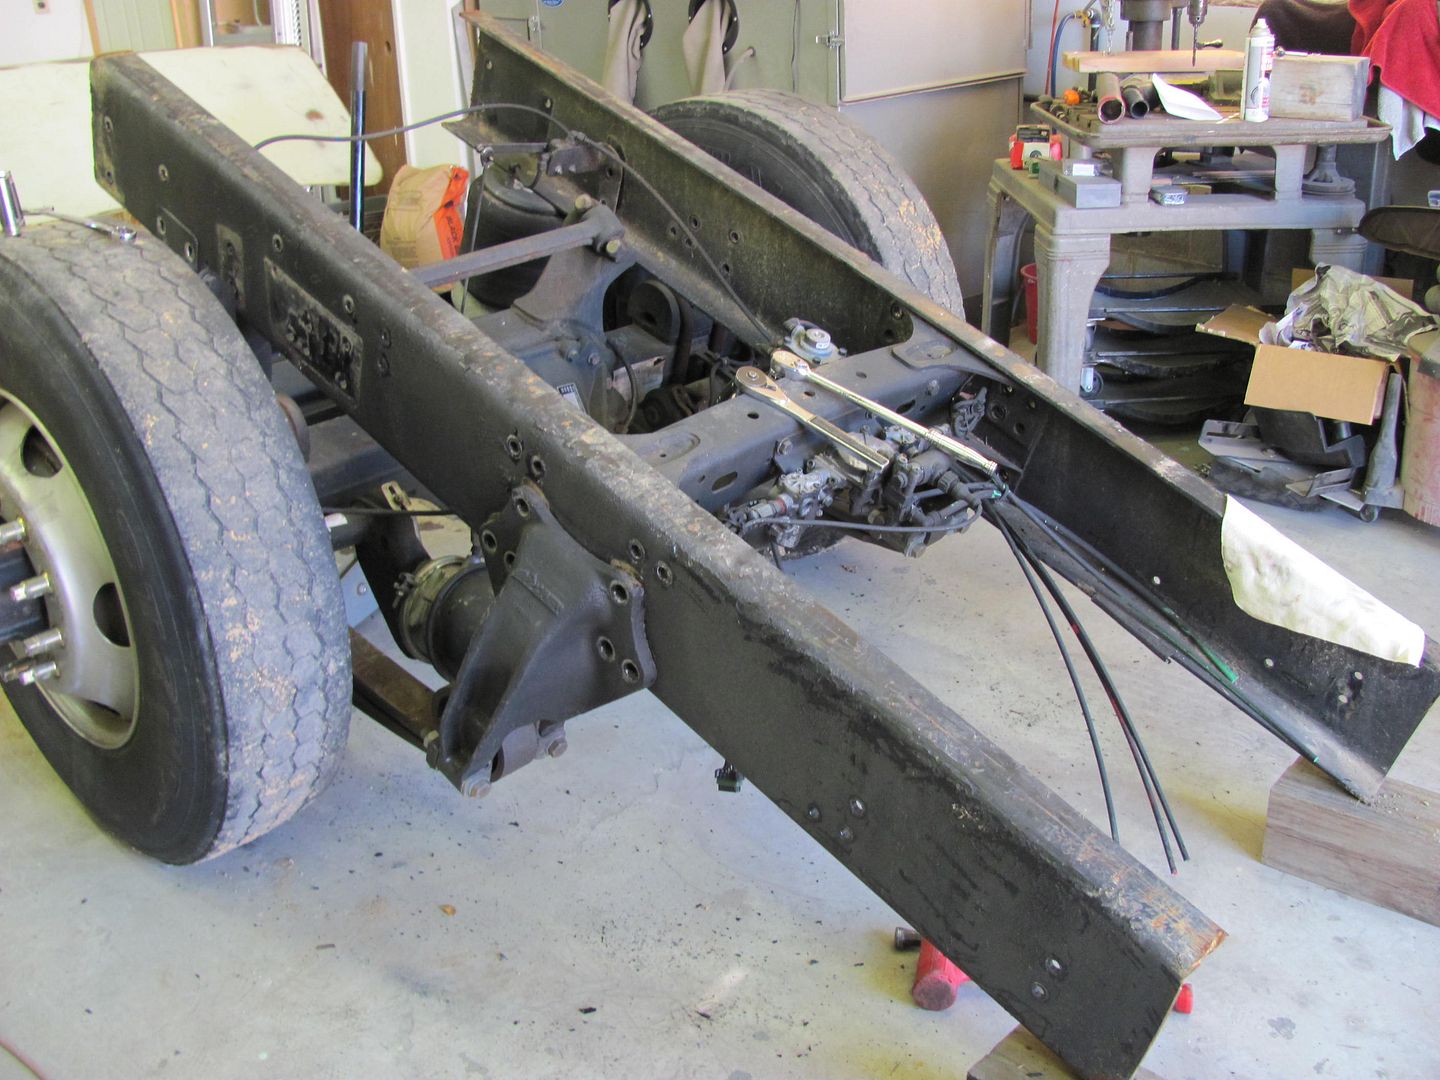
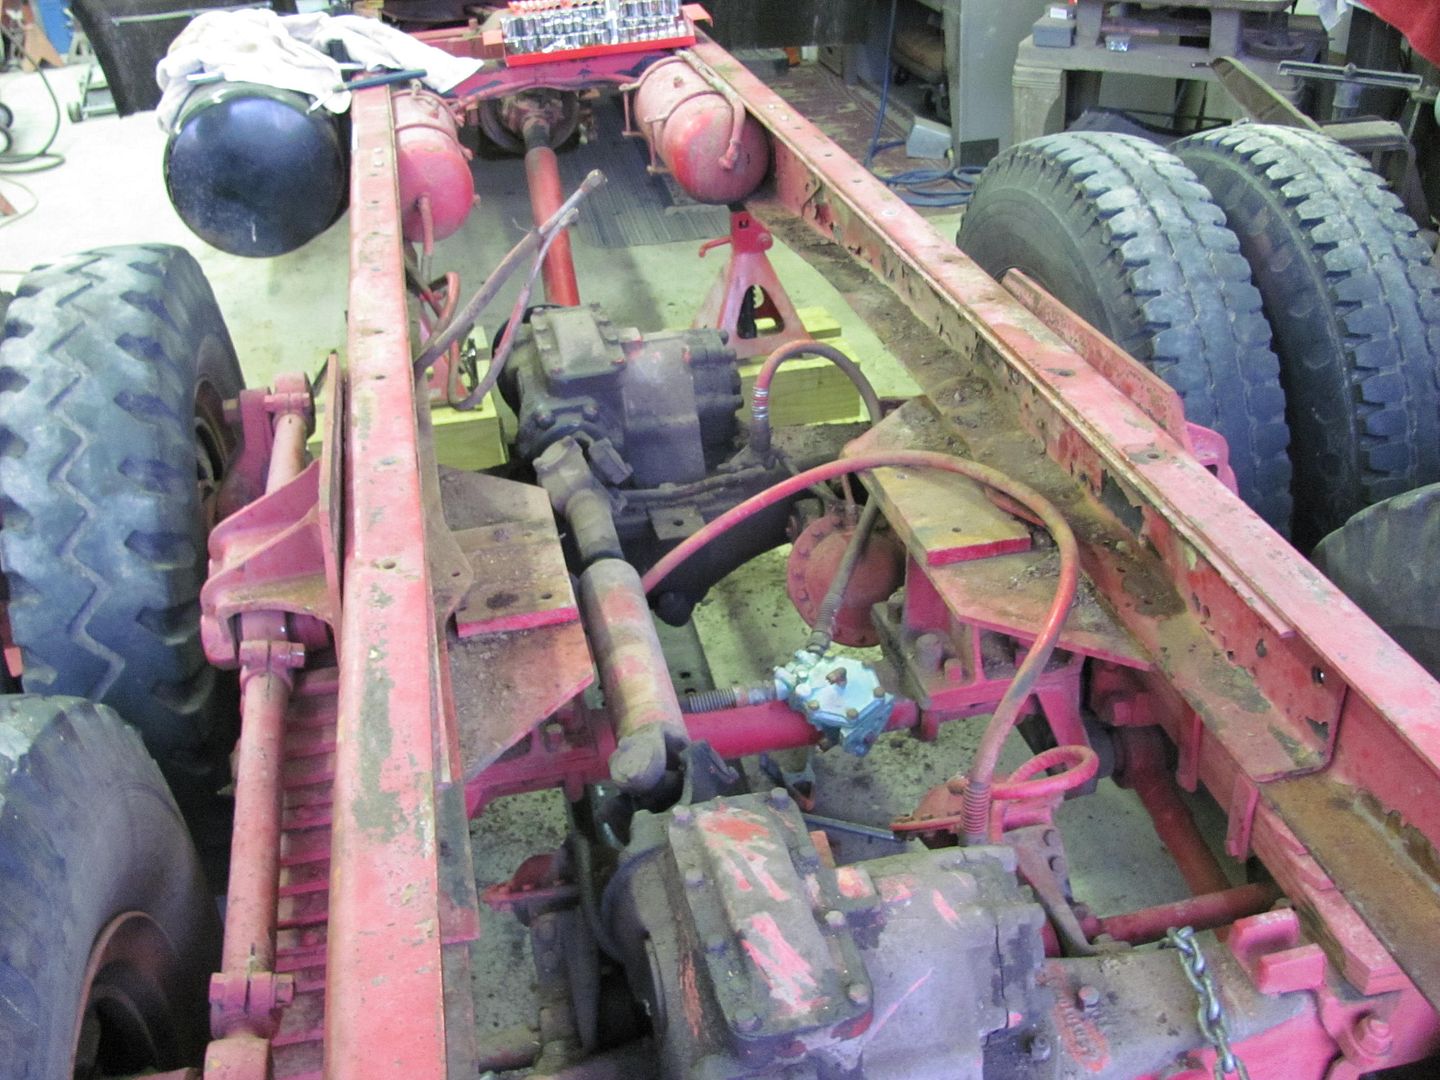
Looking bare...
We got the new rear pushed up in place..

-
02-11-2012 08:25 PM #3
CHR Member
- Join Date
- Jun 2008
- Location
- Leonardtown
- Car Year, Make, Model: Walking
- Posts
- 1,228
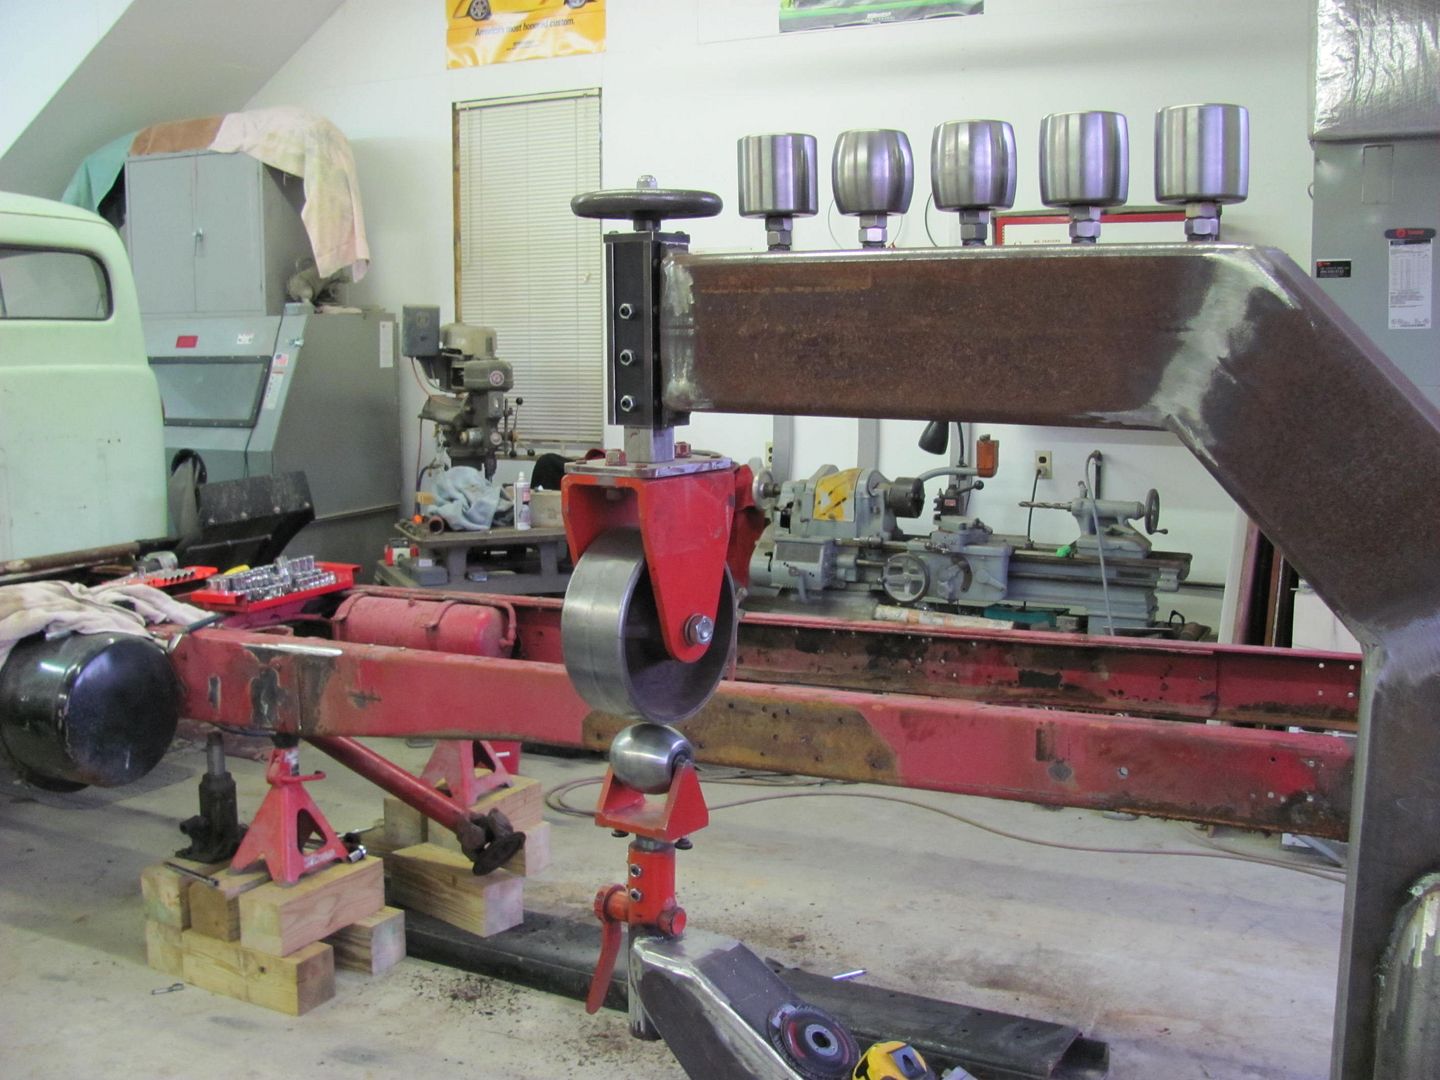
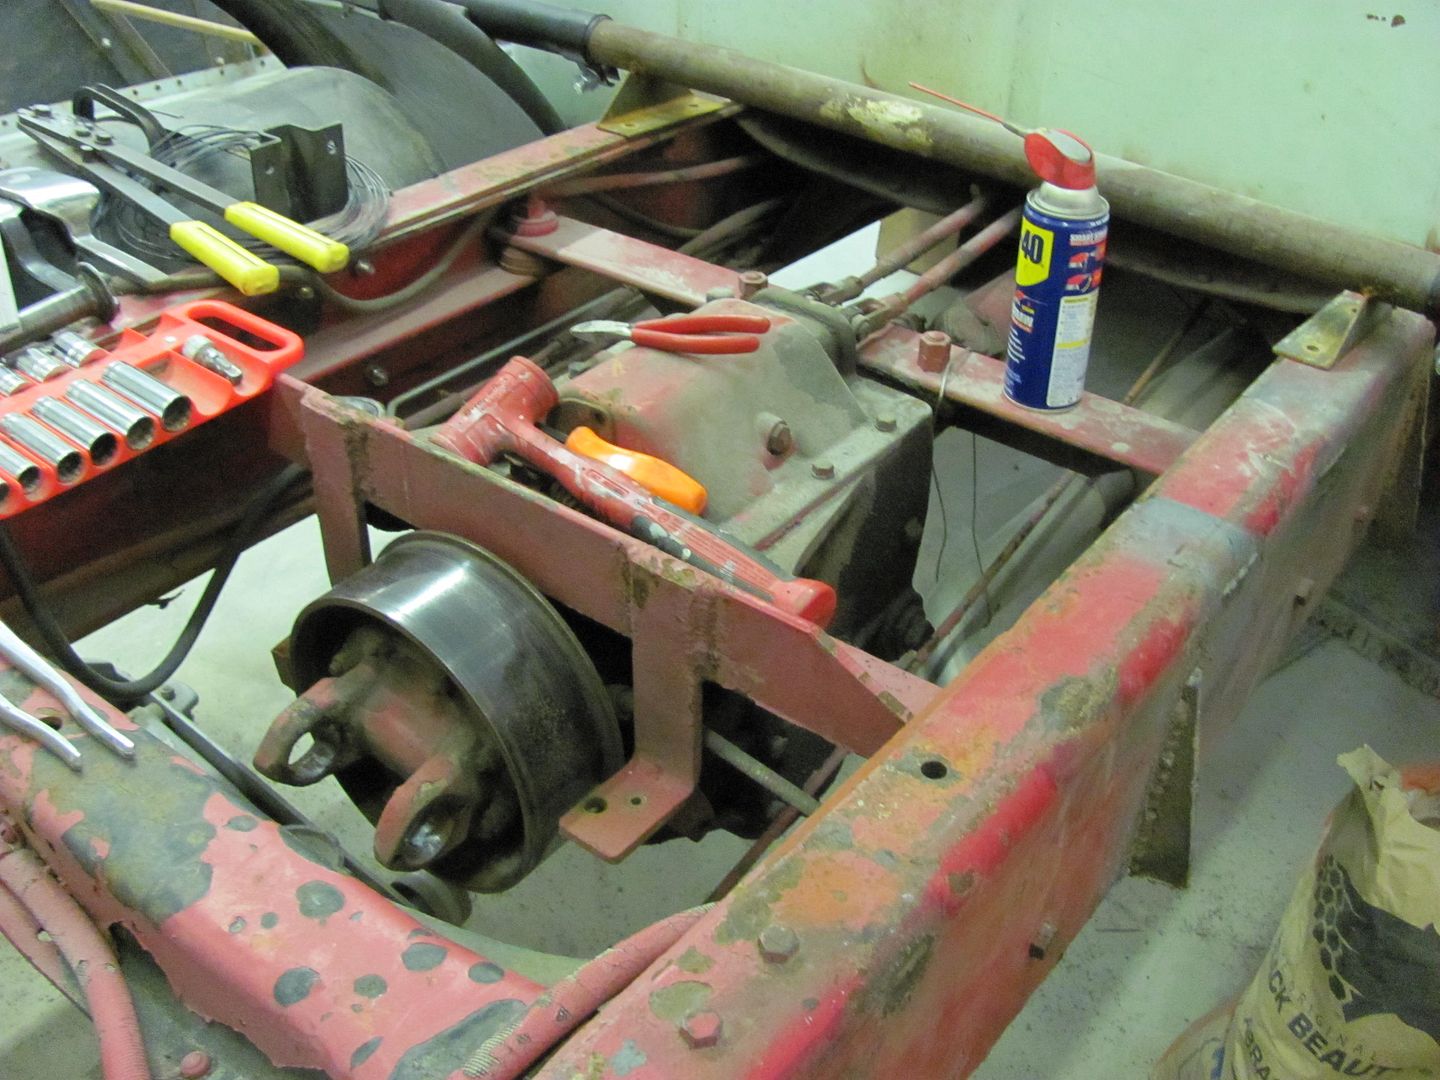
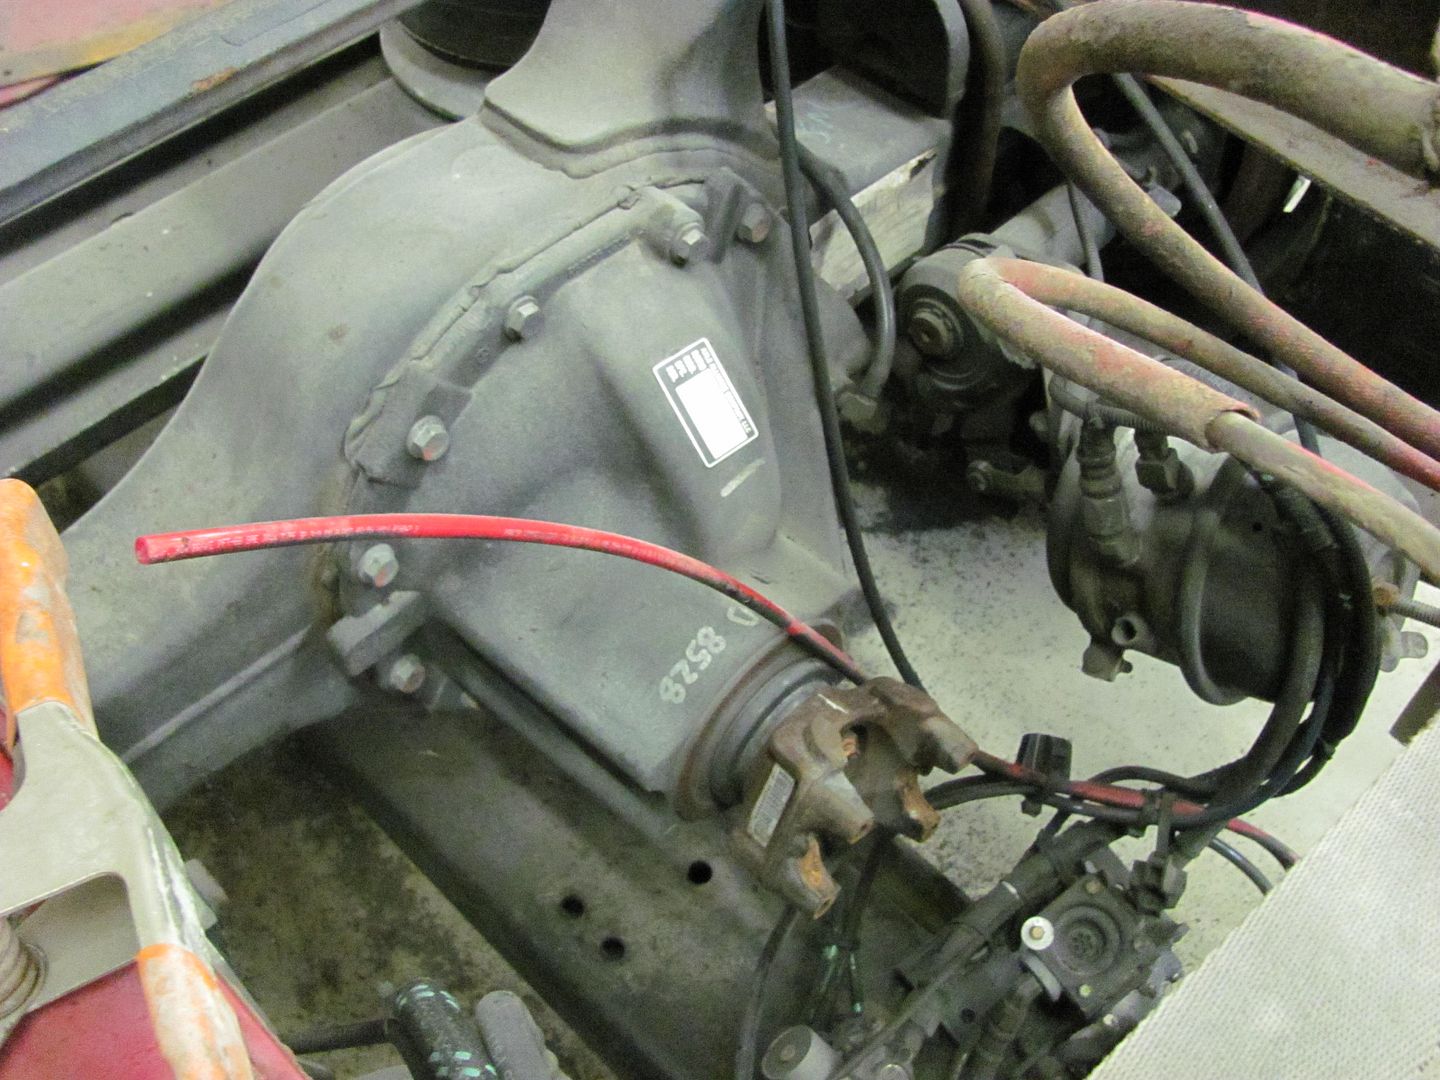
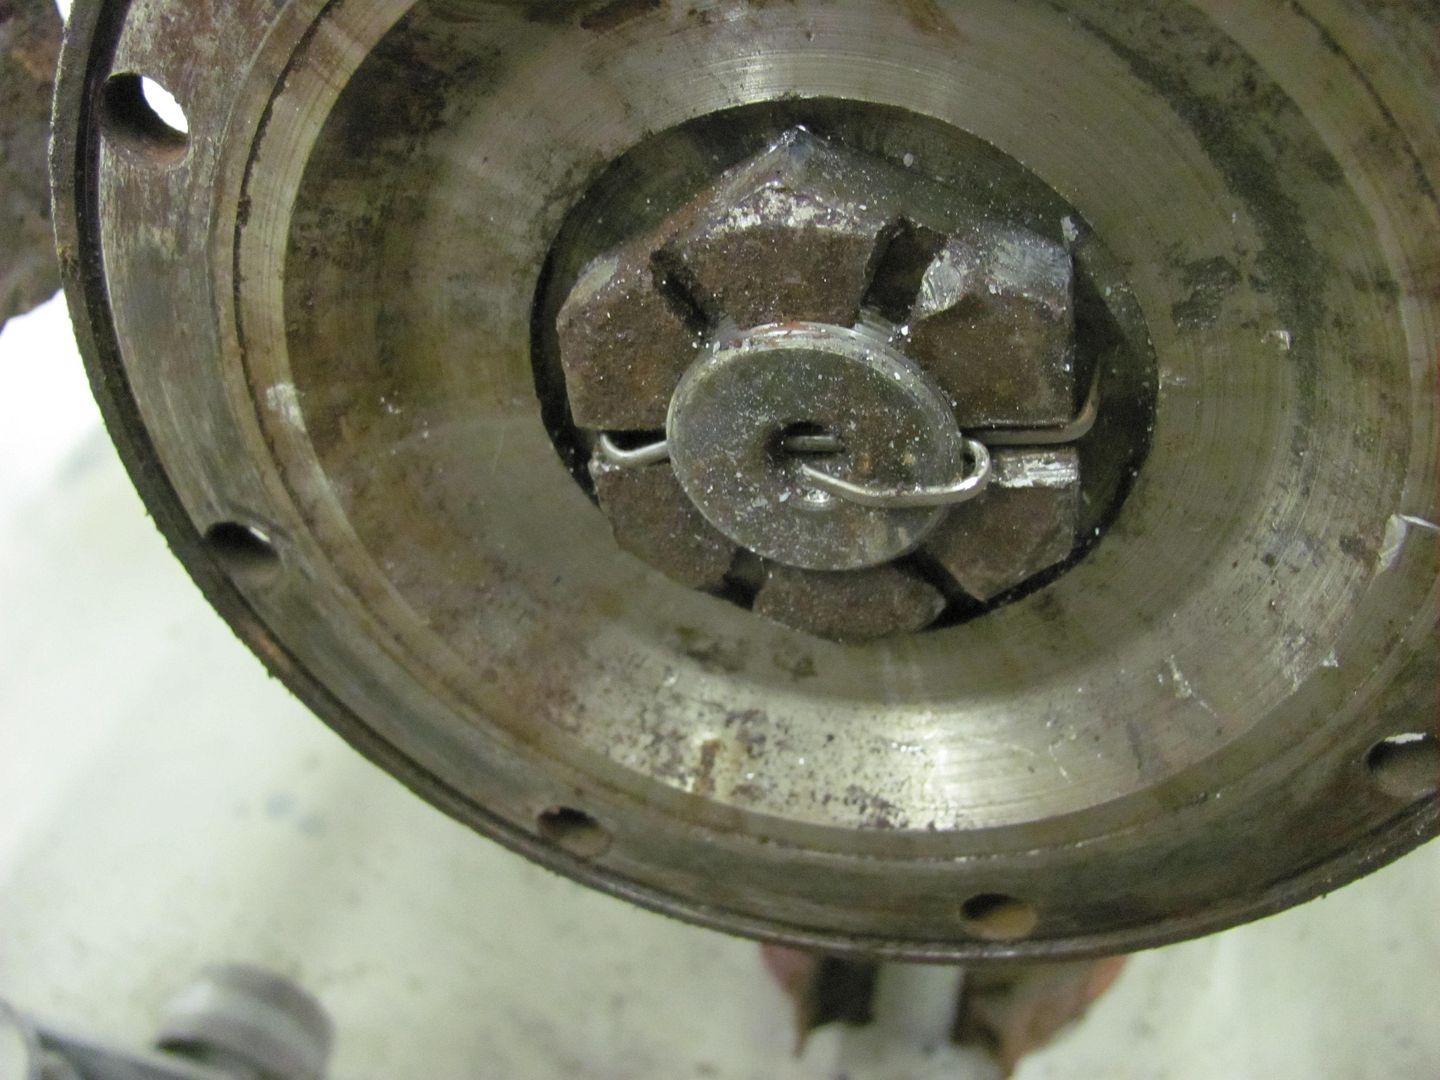
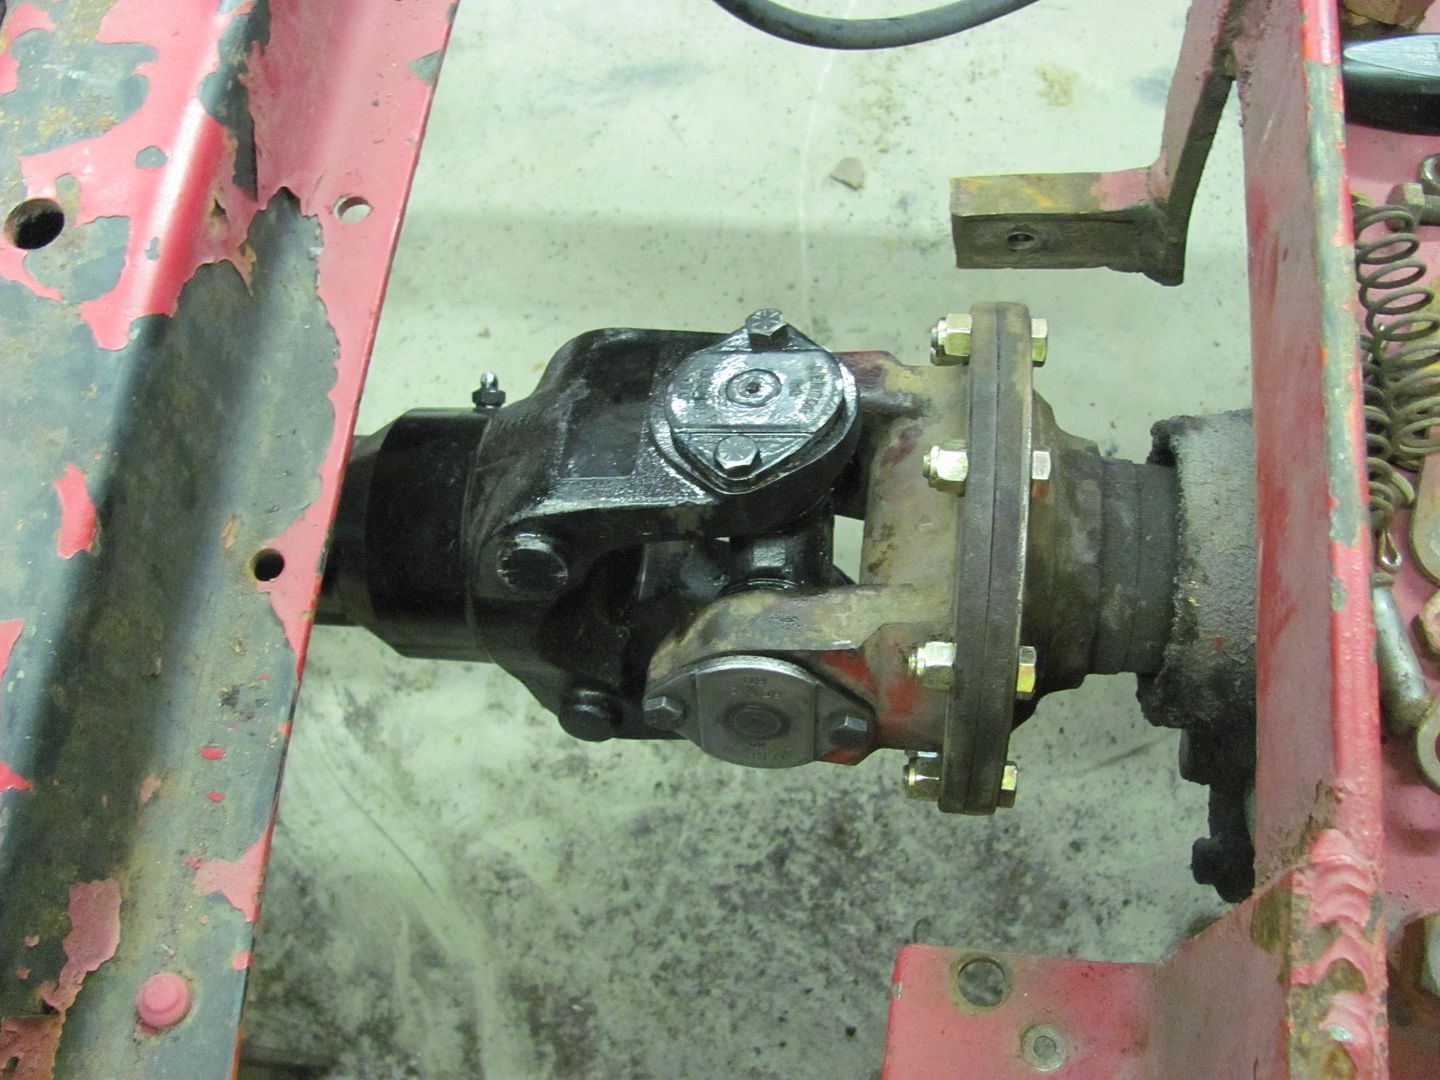
My next big hurdle is going to be getting the rear located and bolted up so all the air tanks and plumbing can be installed. The target location is for a 10' C-A dimension, although I do have some flexibility. At this point, I think I'm going to get the new driveshaft built first, and locate the rear around that. The White auxilliary trans has a bolt on yoke and incorporated the parking brake drum on its output. As the parking brake feature will not be needed with the modern air brakes, the drum will be removed and the yoke bolted up direct. All of the old u-joints were Spicer 1610 series with the bolt on caps...
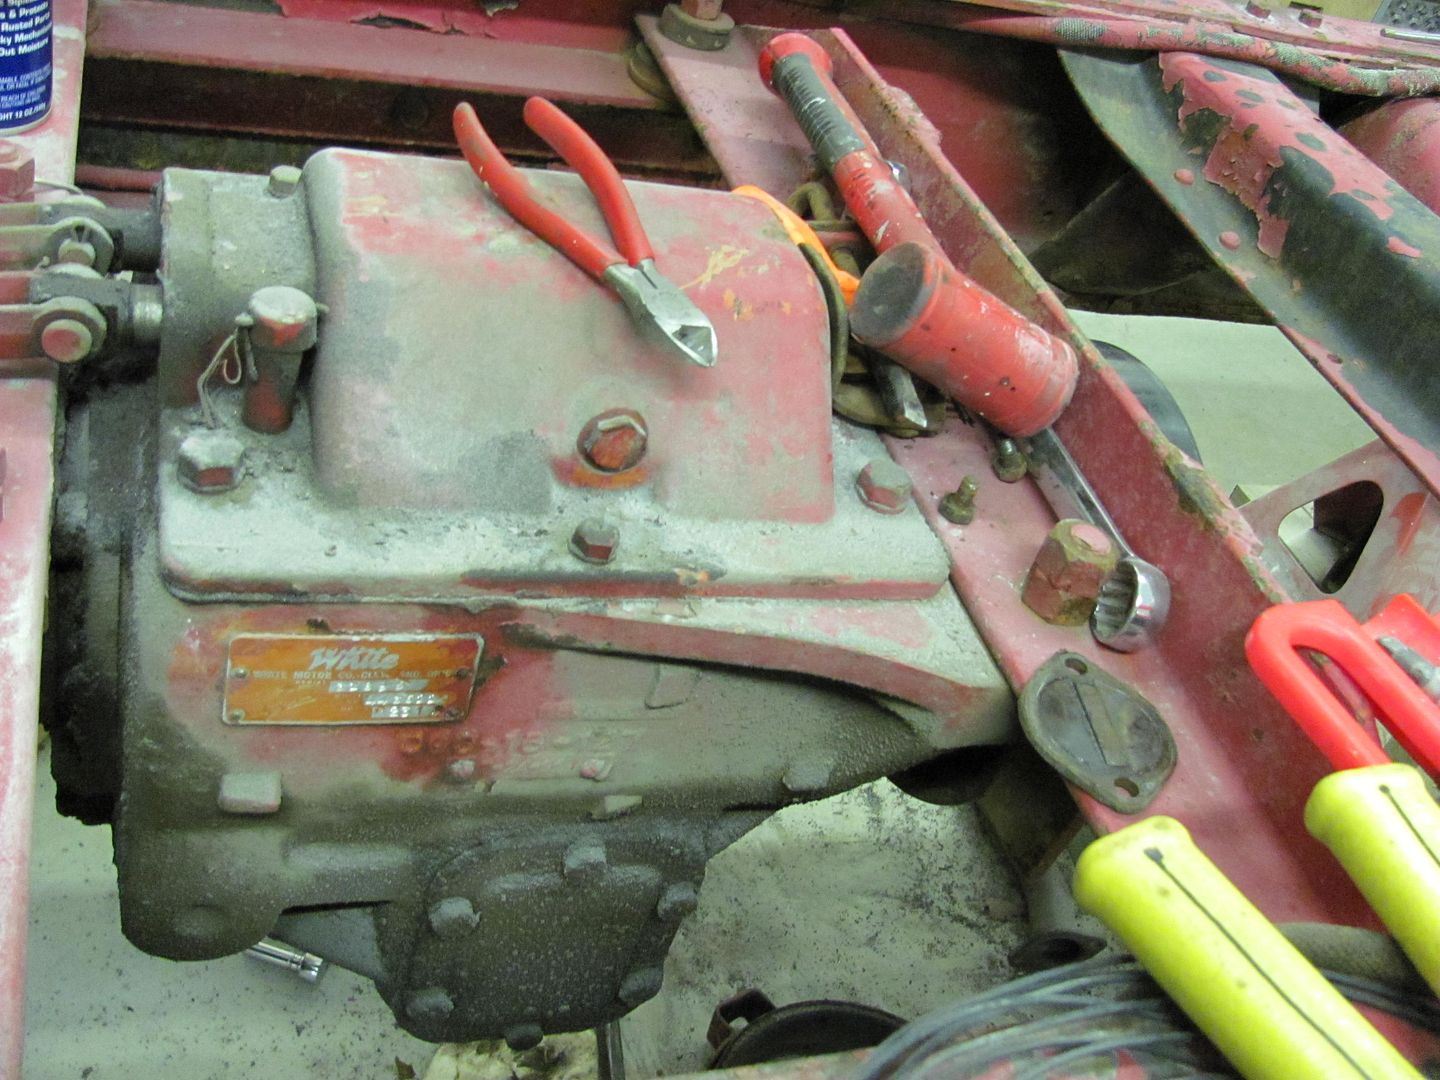
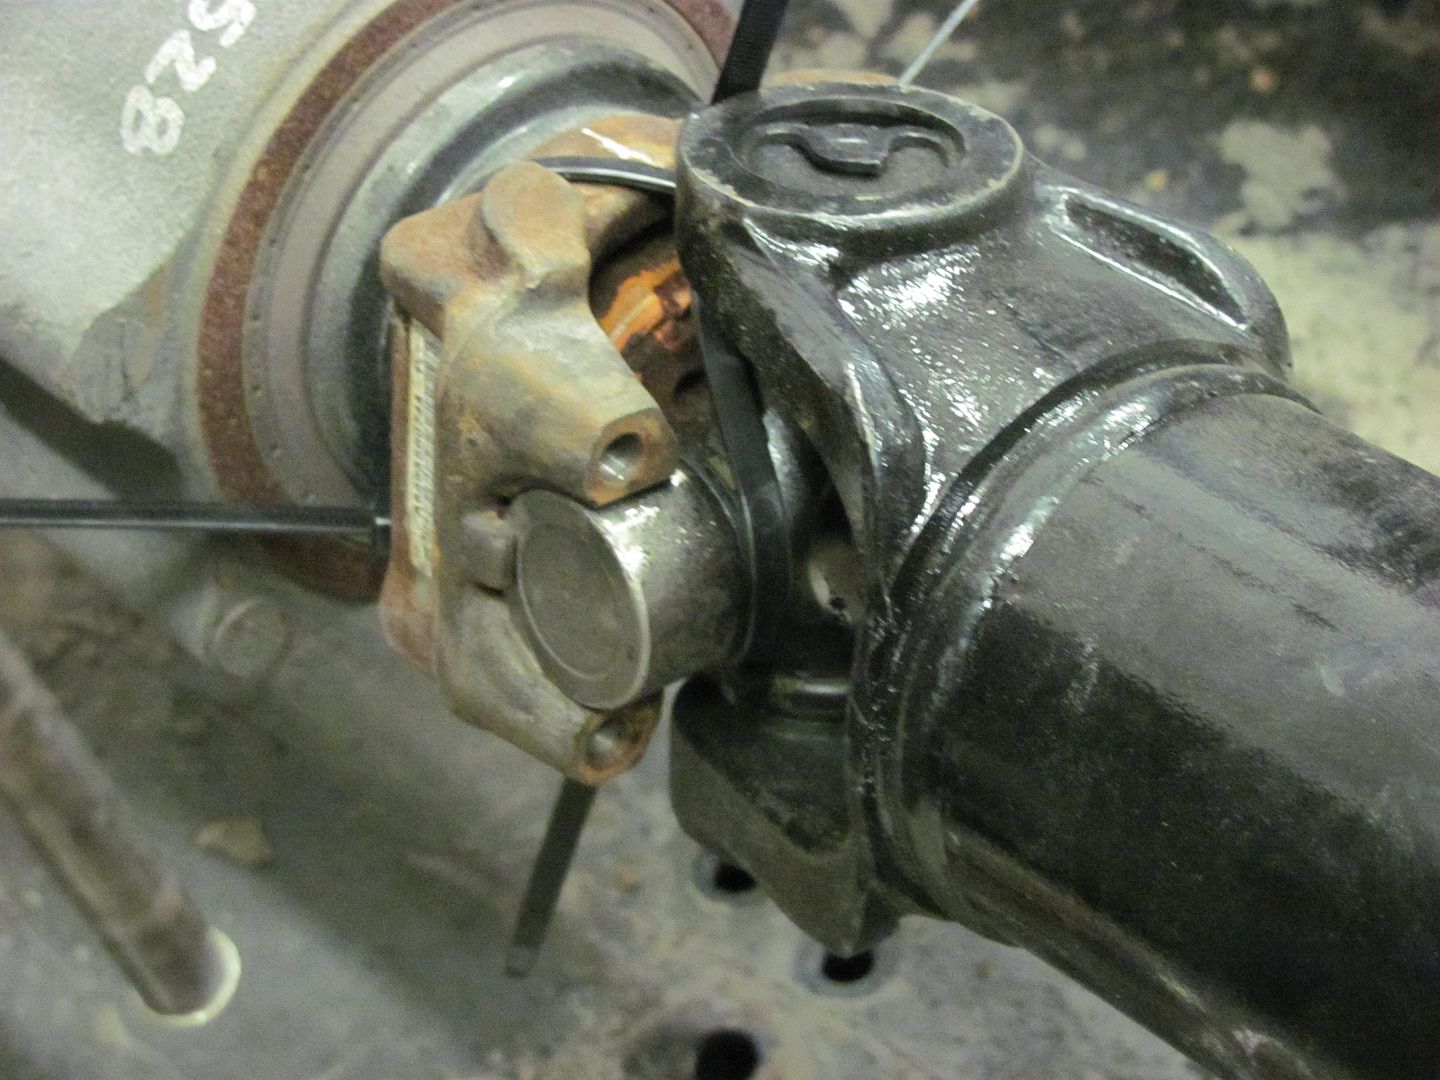
As the aux trans is fixed and its yoke has no provision for suspension travel, the old driveshaft had a slip yoke at the front, which we'll need for the new one as well...
The rear is out of a 2007 Peterbilt school bus chassis, and uses a Spicer SPL90 series u-joint, so the new driveshaft will need a mix of u-joints to get all these parts working together.

So until the driveshaft is done......
-
02-12-2012 02:40 AM #4
CHR Member
- Join Date
- Mar 2003
- Location
- SW Arizona
- Car Year, Make, Model: 68 Ply Valiant, 83 El Camino
- Posts
- 3,872
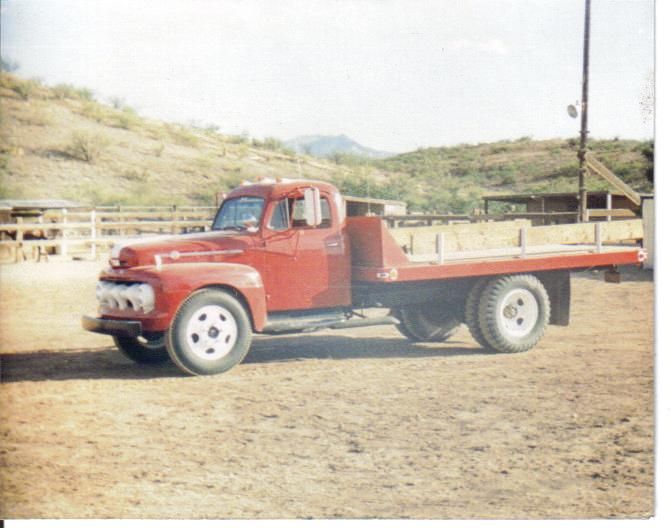
Neat project, is it an F7 or 8 and what engine is it running? It looks like you have a really solid truck to work with. Im really looking forward to watching this build come together.
I did an F6 20 years ago (pretty much everything stock except a 402 Big block Chevy with an Offy belllhousing to the original transmission. It was a ball to drive around.
I've NEVER seen a car come from the factory that couldn't be improved..... 
-
02-12-2012 06:11 AM #5
CHR Member
- Join Date
- Jun 2008
- Location
- Leonardtown
- Car Year, Make, Model: Walking
- Posts
- 1,228
Mike, nice looking F6! Mine is a 1952 F7, with the factory Lincoln 279 Y block. Underpowered to say the least. First year for the OHV engine. That BBC sounds fun to drive, how bad was the gas mileage? I'm going to see how this engine does with only turning one rear, if it still seems too underpowered it will likely get a diesel transplant.
-
02-12-2012 06:26 AM #6
CHR Member
- Join Date
- Mar 2003
- Location
- SW Arizona
- Car Year, Make, Model: 68 Ply Valiant, 83 El Camino
- Posts
- 3,872
The mileage wasn't horrible as I recall, but I never really checked it. It had the vacuum operated 2 speed rear end which was fun too.
I used it for a few years; hauling supplies to use around the property and moving cars to the local wrecking yard. It got to the point where I couldn’t justify the plates and insurance on it anymore, so it went away. It’s one I miss every once on a while.I've NEVER seen a car come from the factory that couldn't be improved.....
-
02-12-2012 07:18 AM #7
Banned
- Join Date
- Feb 2010
- Location
- Roch
- Car Year, Make, Model: 1985 high top Astro van
- Posts
- 2,520
Nice project you have going on.Like the background in the shots of the shop equipment.Looks like you have been there for awhile to acquire the sand blast cabinet with the vac,E-wheel,and all the machining equipment.
-
02-12-2012 07:28 AM #8
CHR Member
- Join Date
- Jun 2008
- Location
- Leonardtown
- Car Year, Make, Model: Walking
- Posts
- 1,228
Yes, I've been collecting for about ten years now. My restoration work, being a part time venture, normally sees portions of the proceeds returned to the business in the form of additional tooling/capabilities, so if the day job ever takes it in the crapper, I should have something to fall back on..
-
02-22-2012 06:00 PM #9
CHR Member
- Join Date
- Jun 2008
- Location
- Leonardtown
- Car Year, Make, Model: Walking
- Posts
- 1,228
Got a delivery today, surprised it showed up so fast....
the new one compared to the old..........
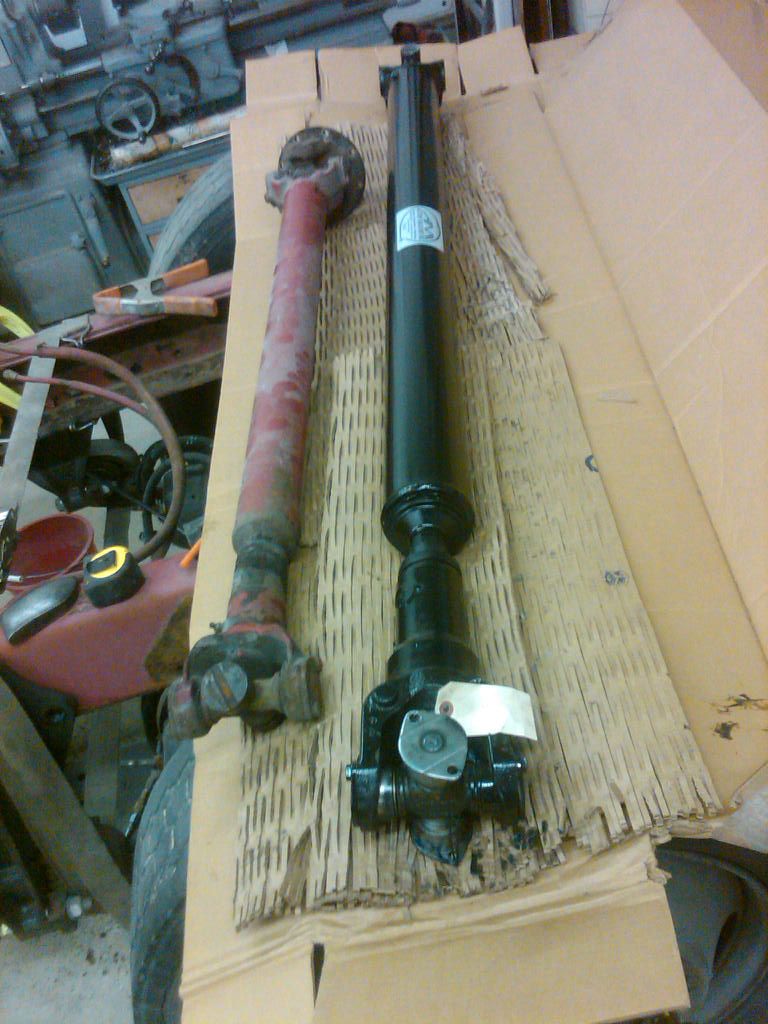
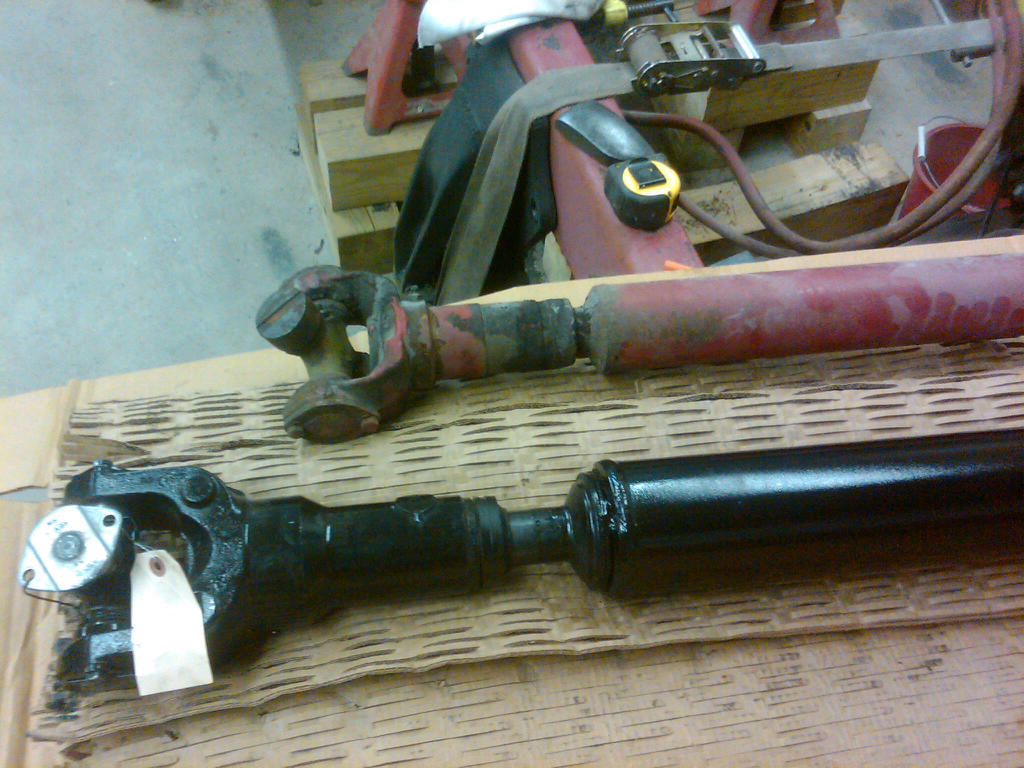
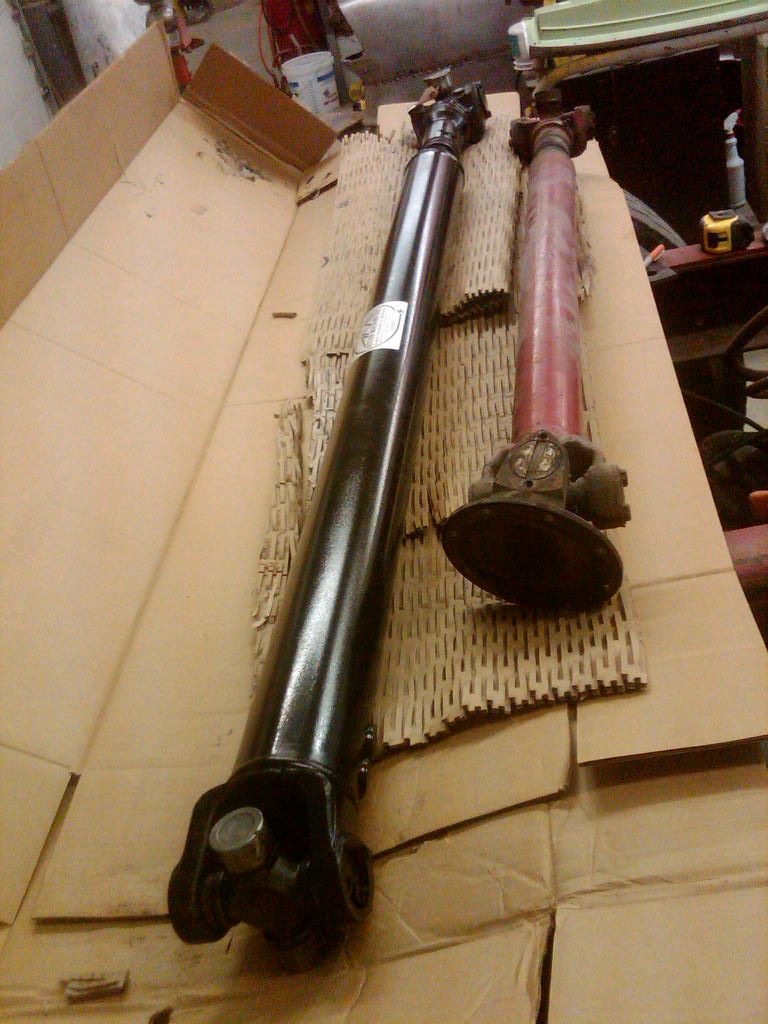
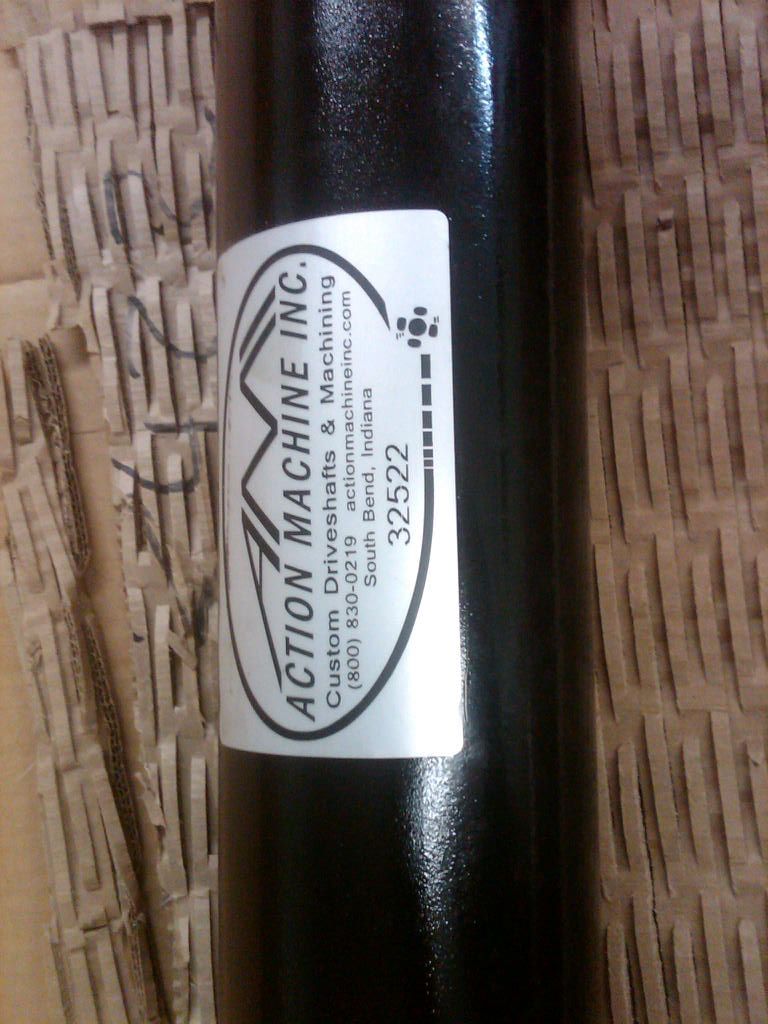
I just ordered this last Wednesday around noon. It was fabricated, balanced, and shipped, showing up today. Everything made exactly as I wanted. Couldn't ask for better...Robert
-
02-24-2012 11:03 AM #10
CHR Member
- Join Date
- Feb 2007
- Location
- SLC
- Car Year, Make, Model: 52 Chevy 2-door Sedan w/ a 350/350 combo
- Posts
- 341
I think this is such a cool build. Keep the pix coming!
Pride Runs Deep
-
02-25-2012 04:45 PM #11
CHR Member
- Join Date
- Jun 2008
- Location
- Leonardtown
- Car Year, Make, Model: Walking
- Posts
- 1,228
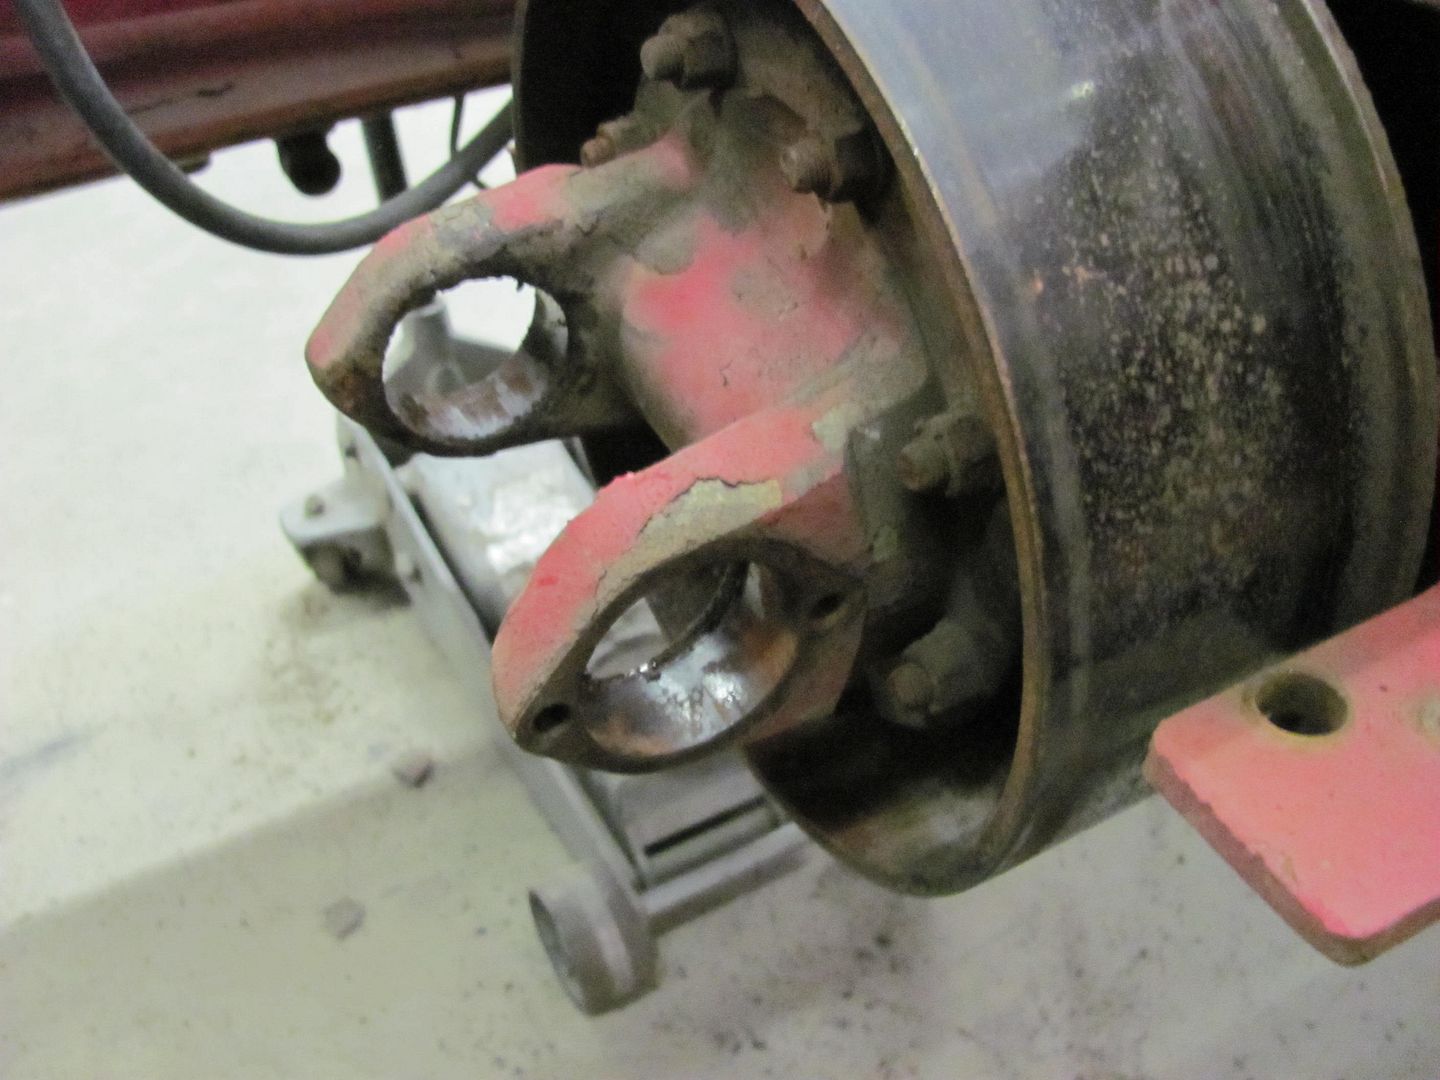
Moving a little farther along, time to remove some un-needed rotating mass. We won't need the parking brake drum on the driveshaft, so the yoke was unbolted to get it out of the way...

...as my luck usually runs, it isn't that simple. Now to remove the flange from the output shaft. Largest socket I have was about 2", just shy of what I needed. Called up my buddy who owns all the buses, and struck gold, picked up the right socket and got it removed..
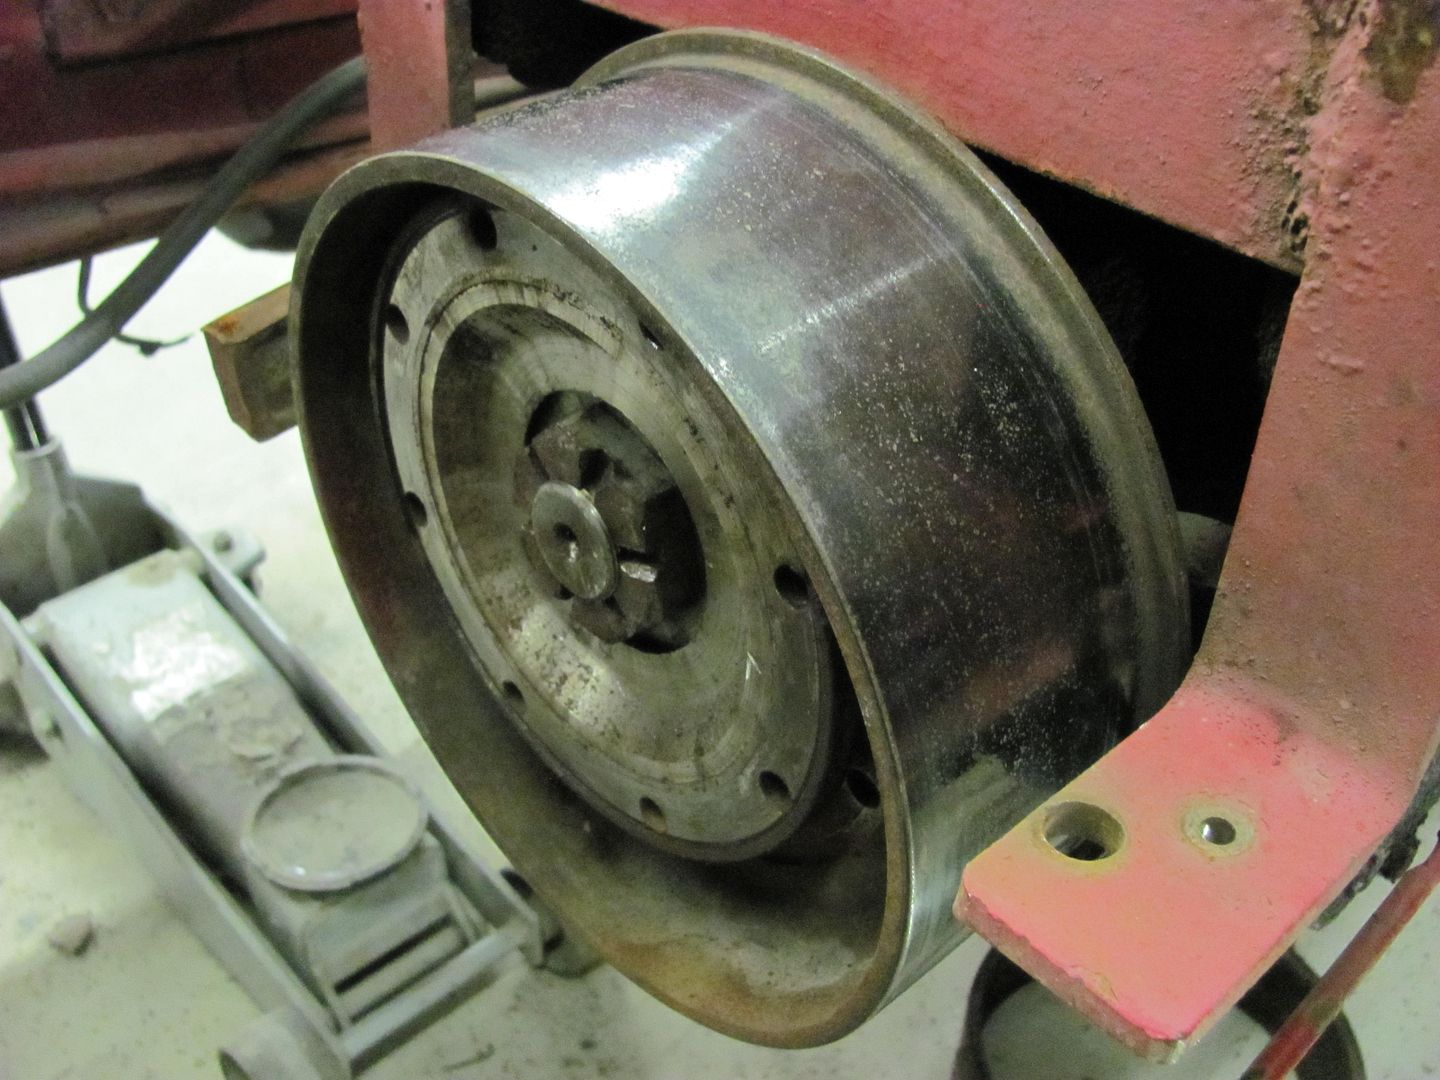
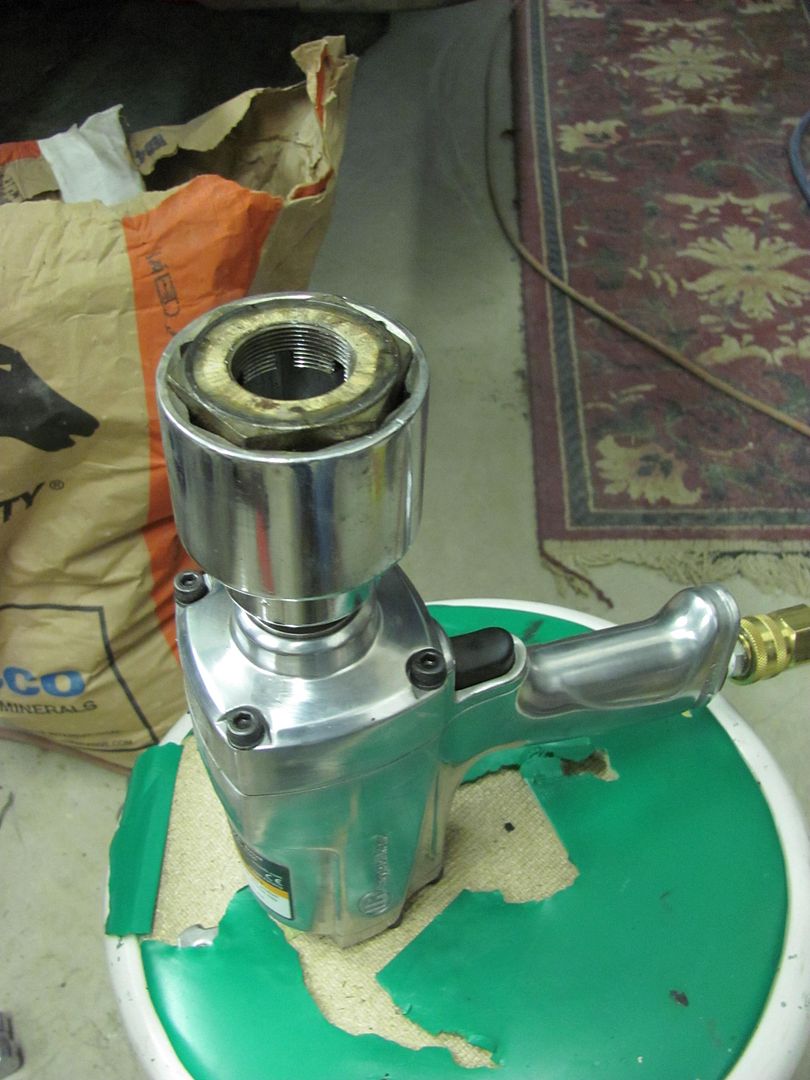
Parts is parts....

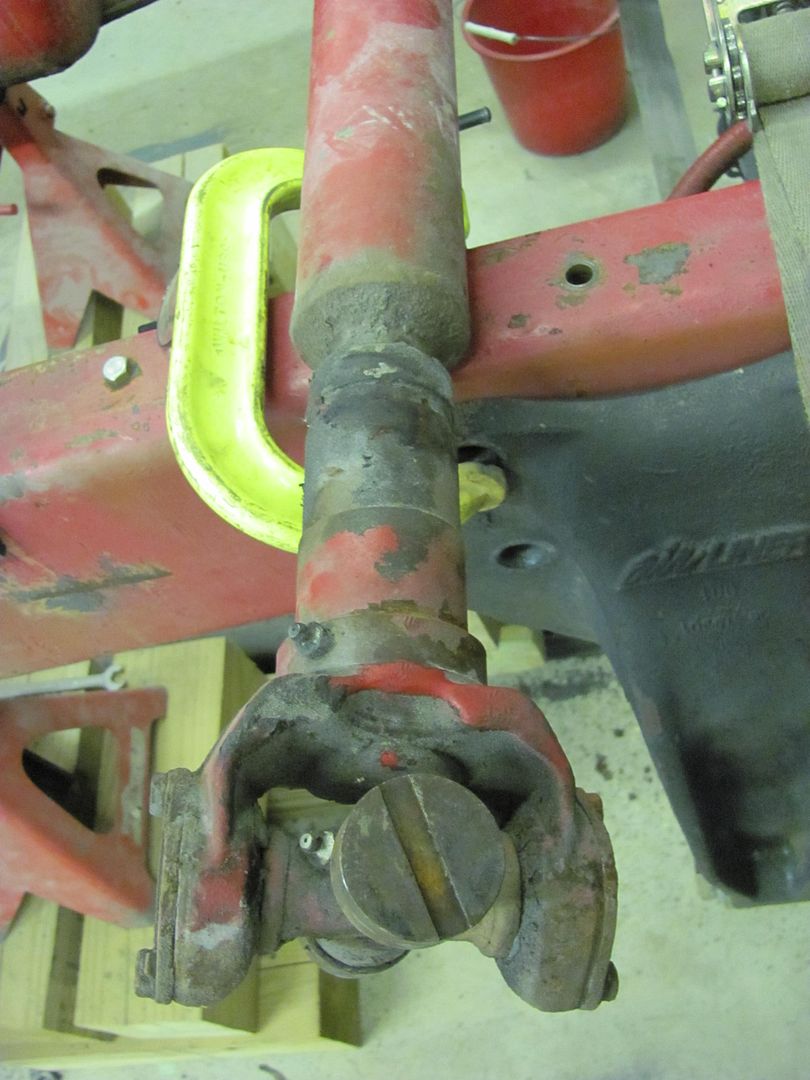
Re-installed, and using some new grade 8 hardware.....
Still waiting on the strap kit for the rear U-joint, so here's a temporary....
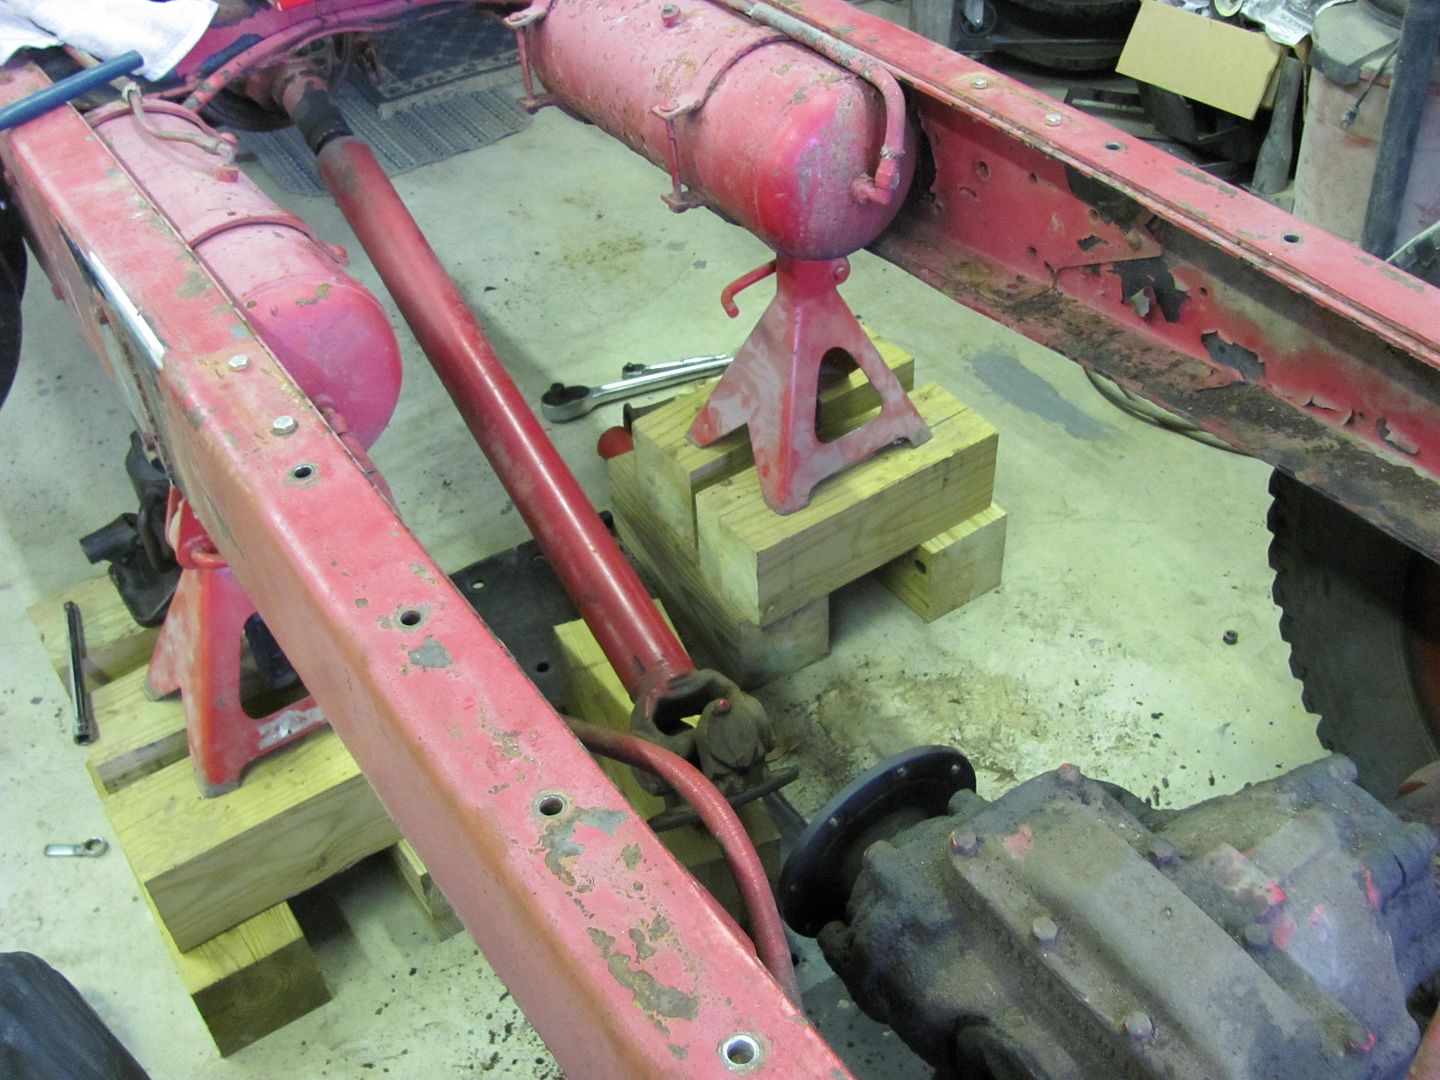
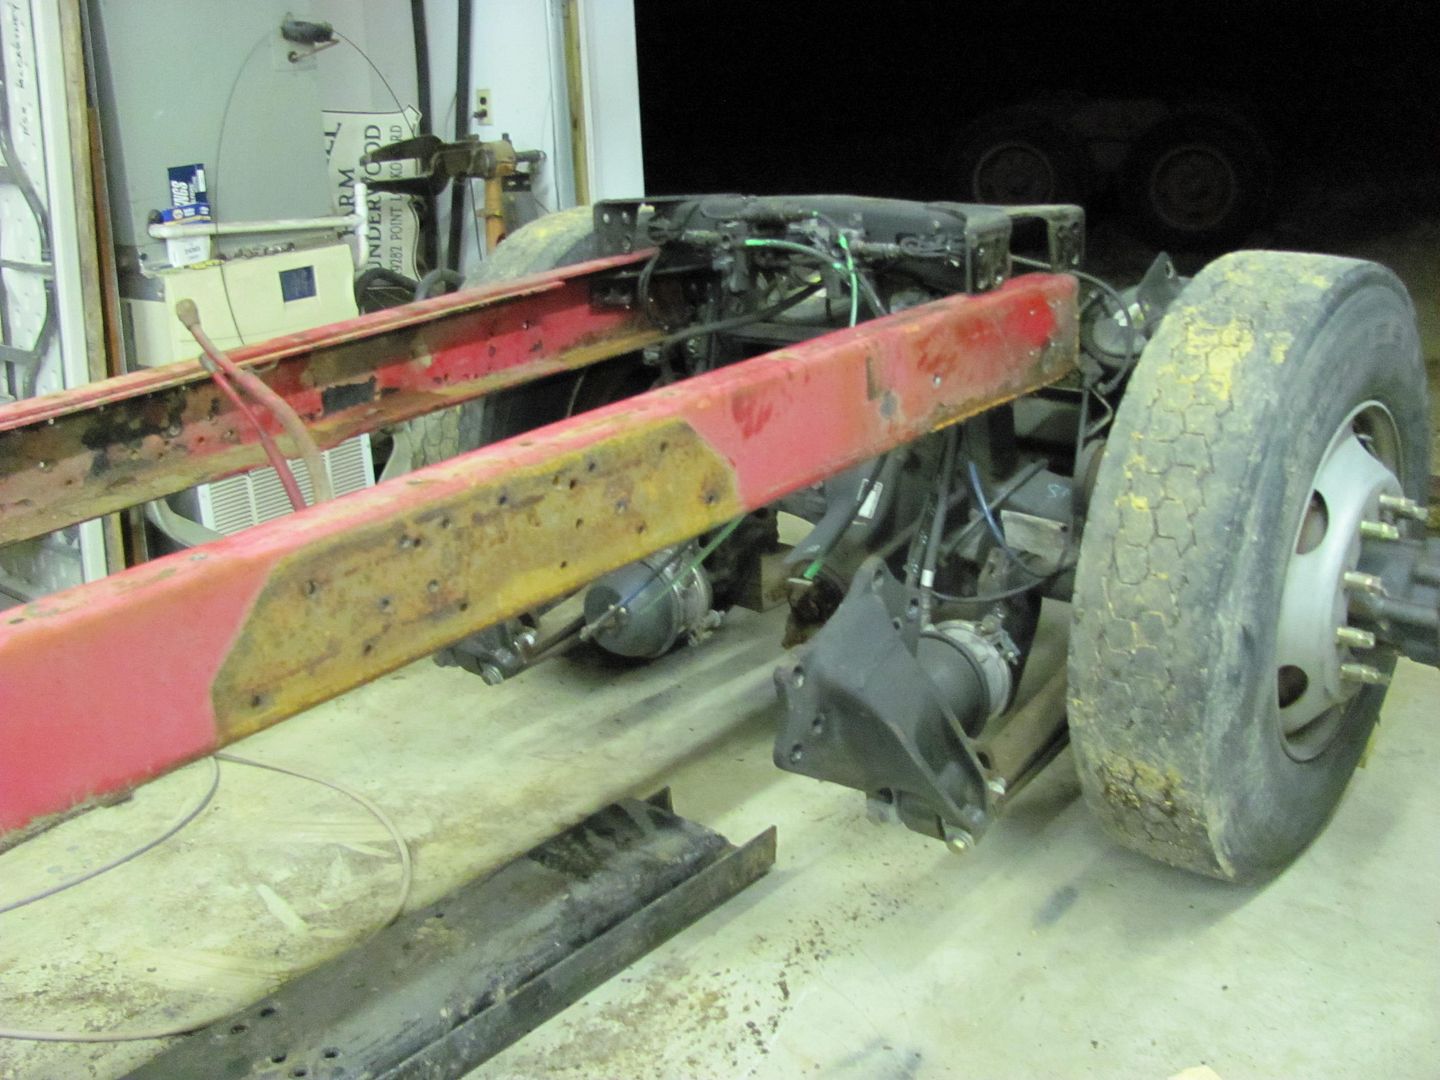
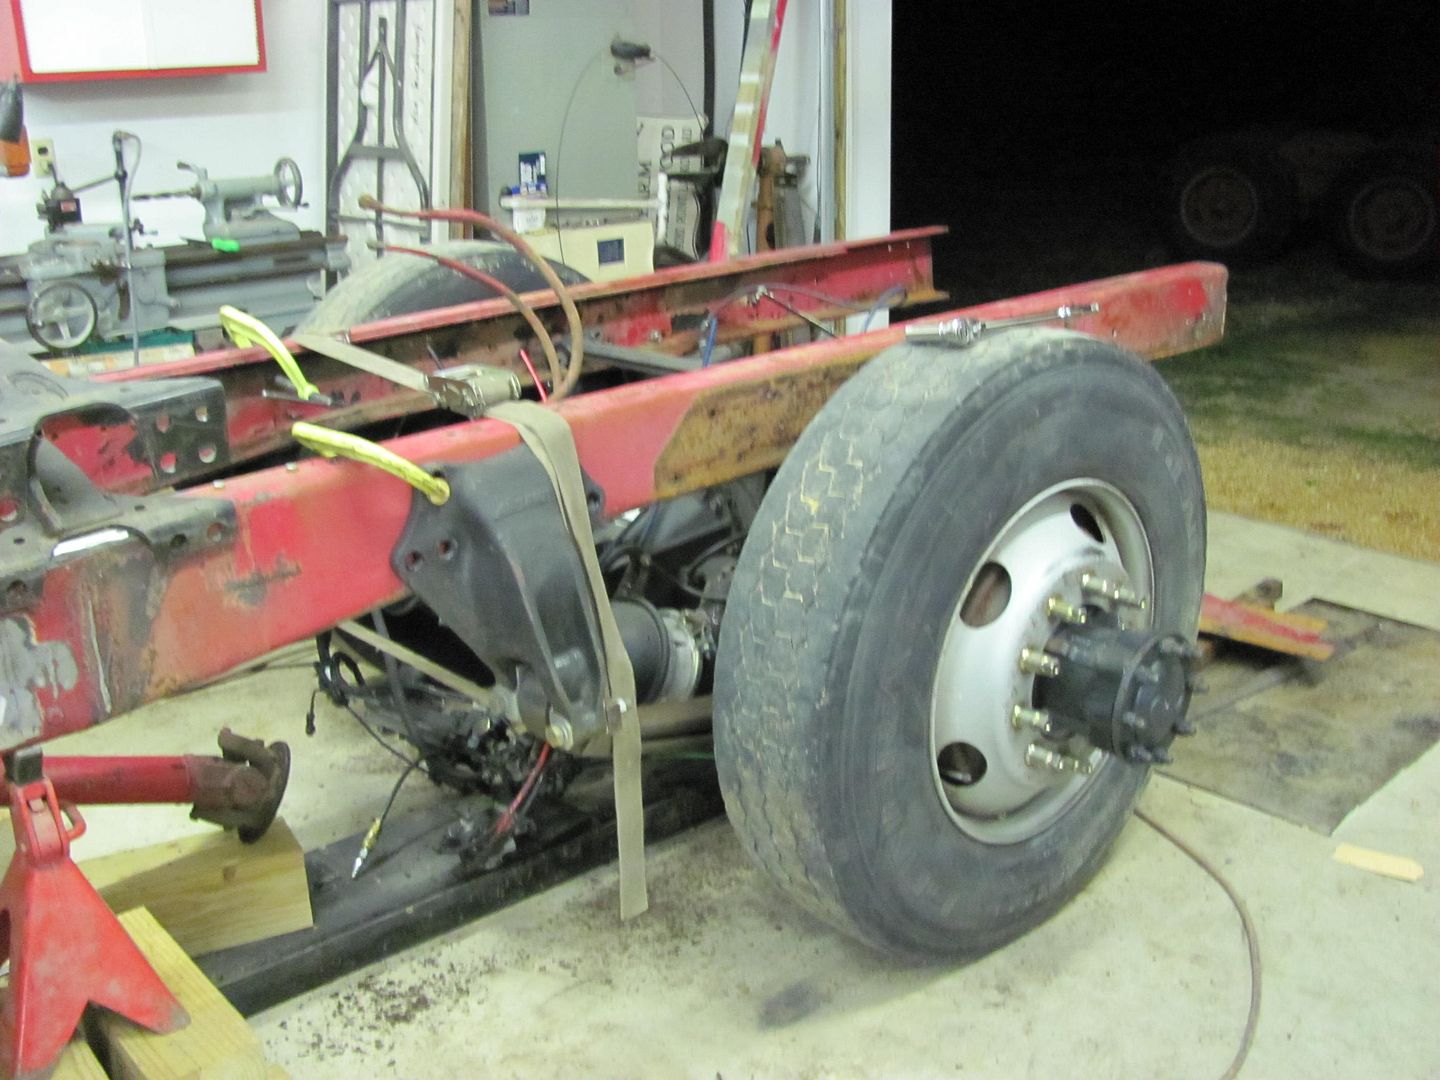
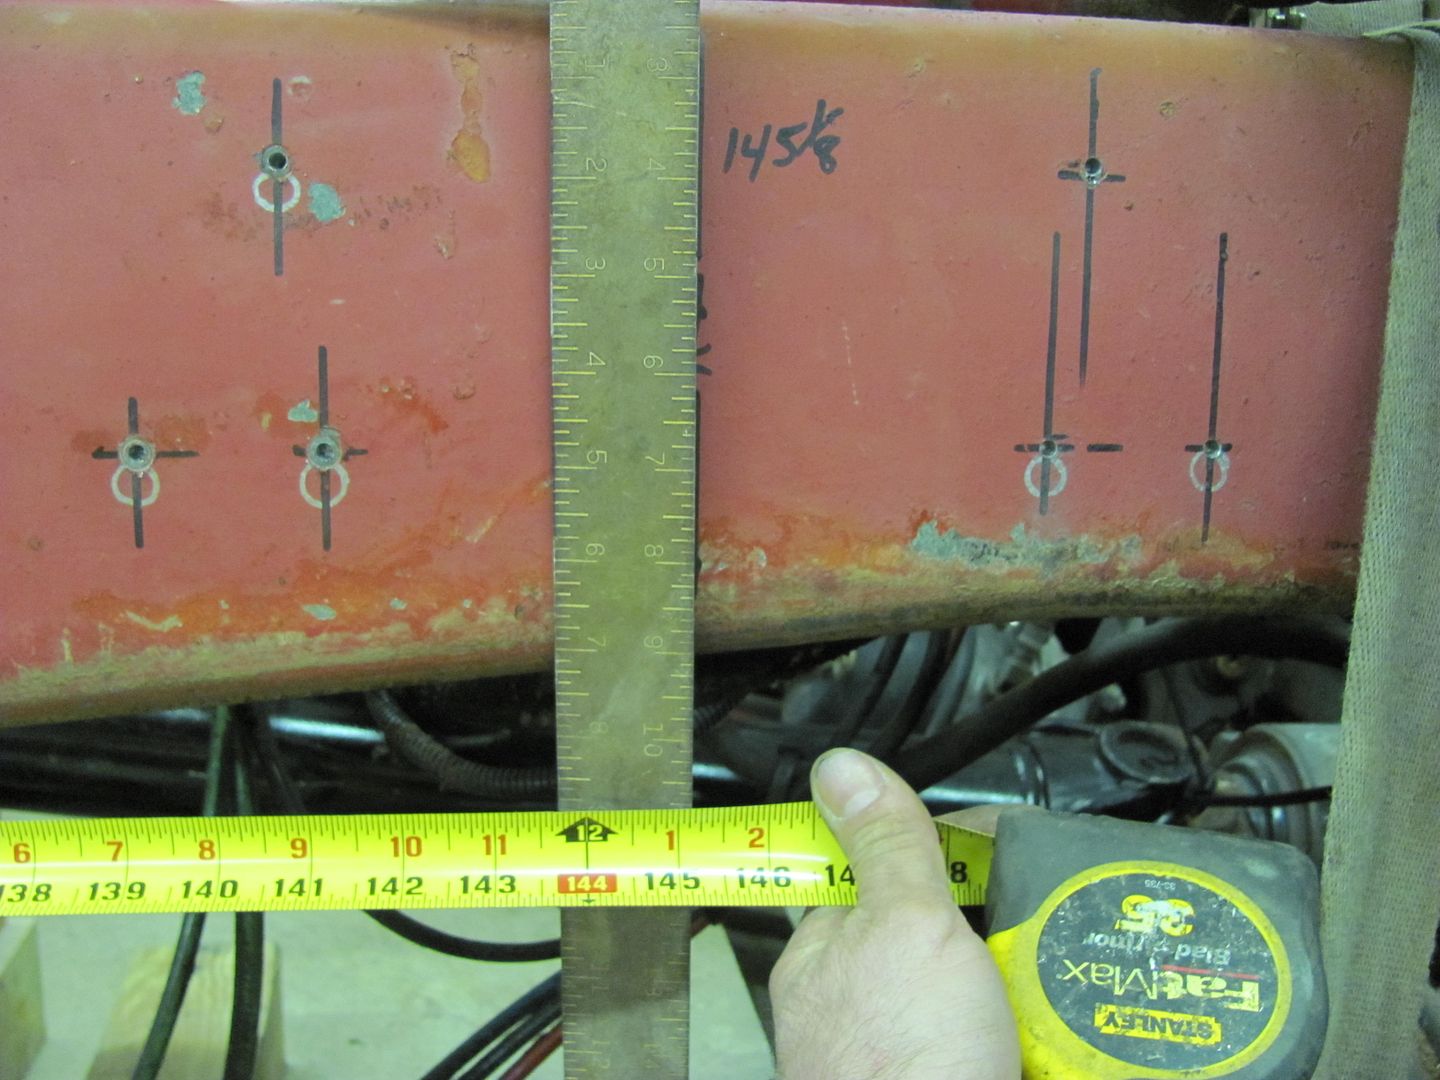
Adjusted the position of the rear, this looks like a good spot for it.....

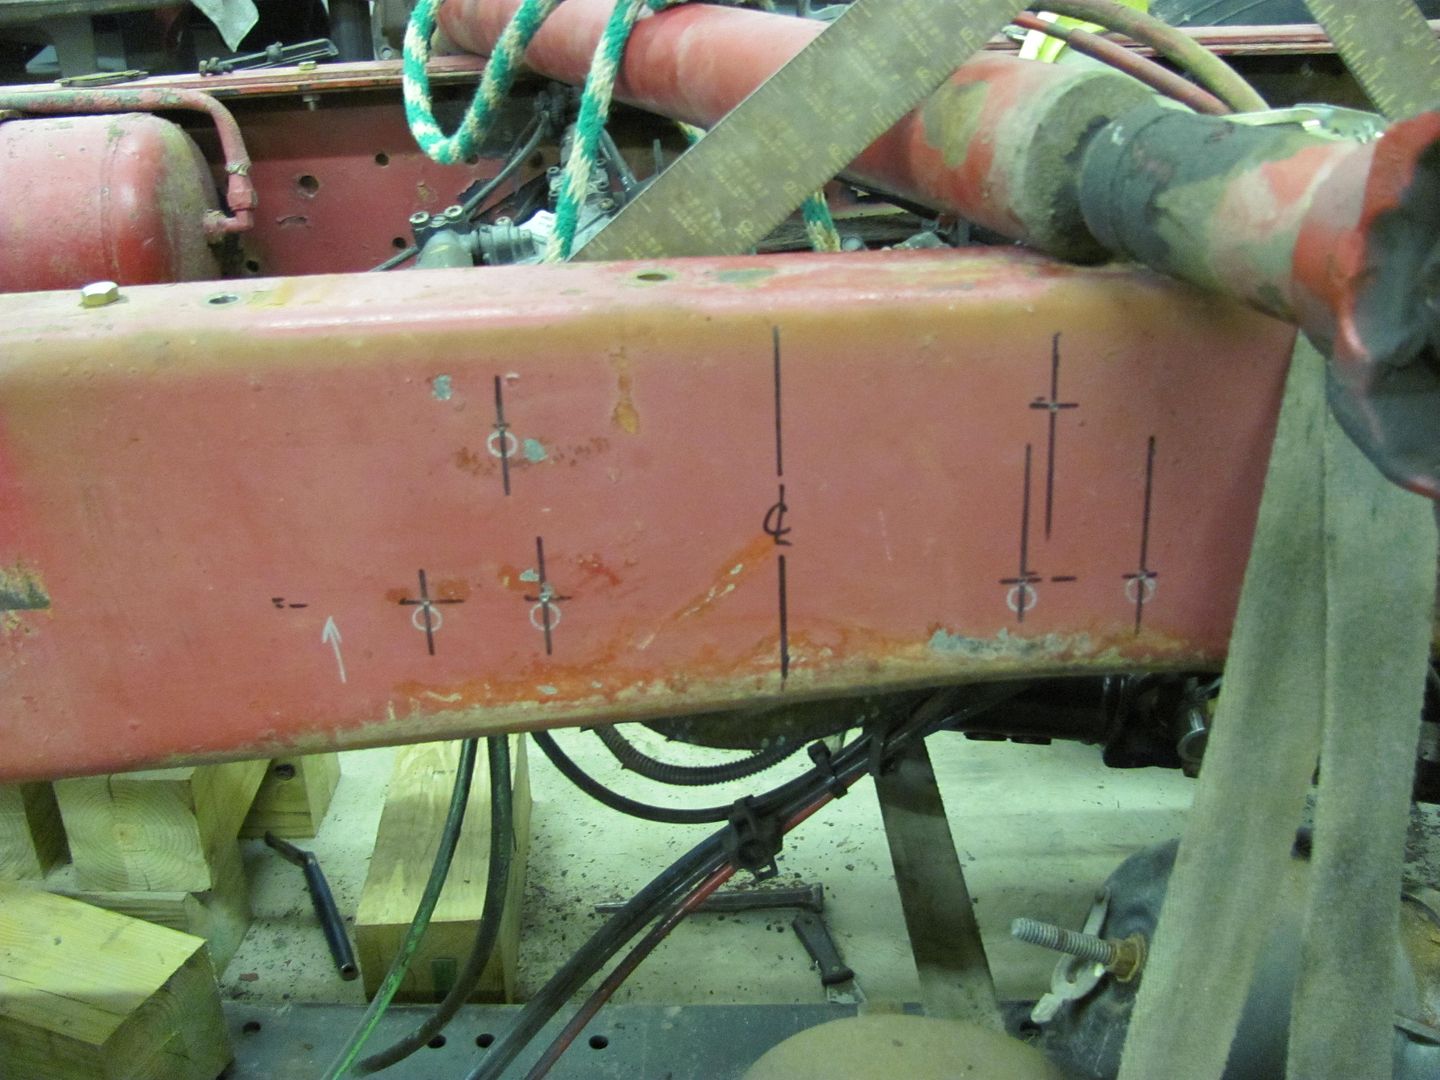
Marked some holes and then pulled a reference to mark the other side, using the leaf spring mount up front. The truck has triple frames, two added during the fire truck conversion, so I wanted to use something attached to the original frame for a reference...
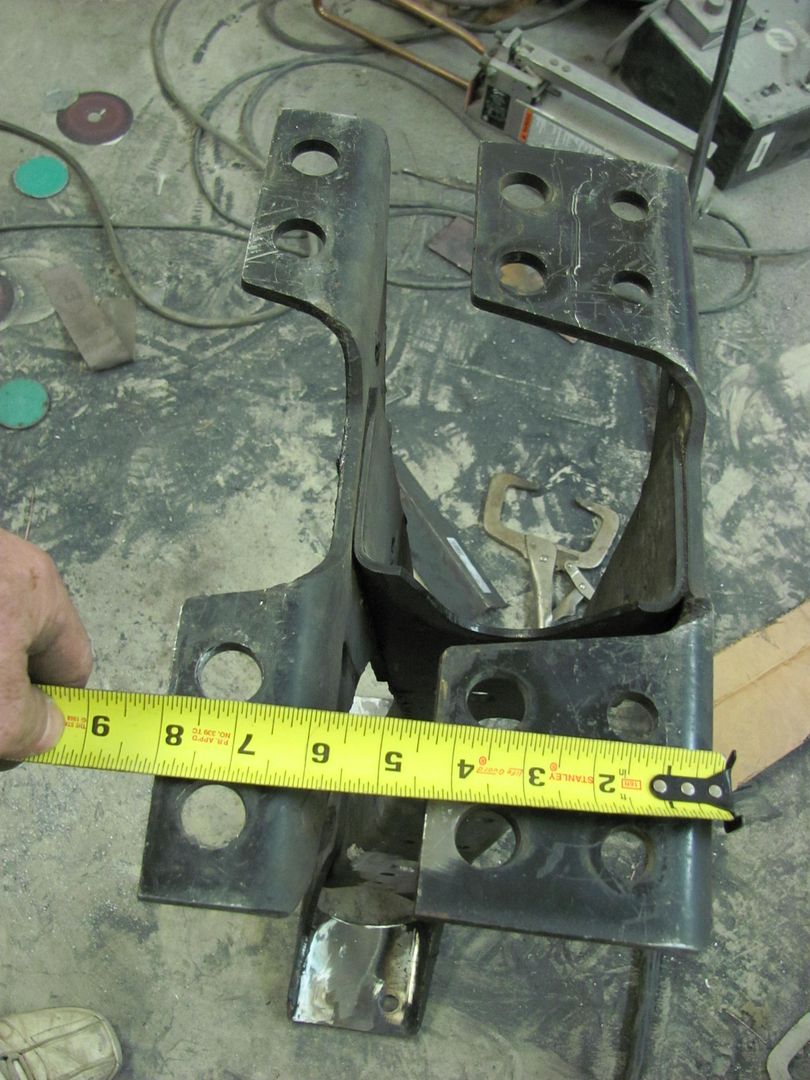
Bolted up, and trimmed the doubler plate that fits on the back side..


The original crossmember that spans between the two sides used to sit in a 11" high frame rail, where it will now reside is about 7" high and double framed. So the lower ears of the crossmember are cut off, trimmed, flipped over to the other side and rewelded. Previous holes were filled to accomodate a new location..


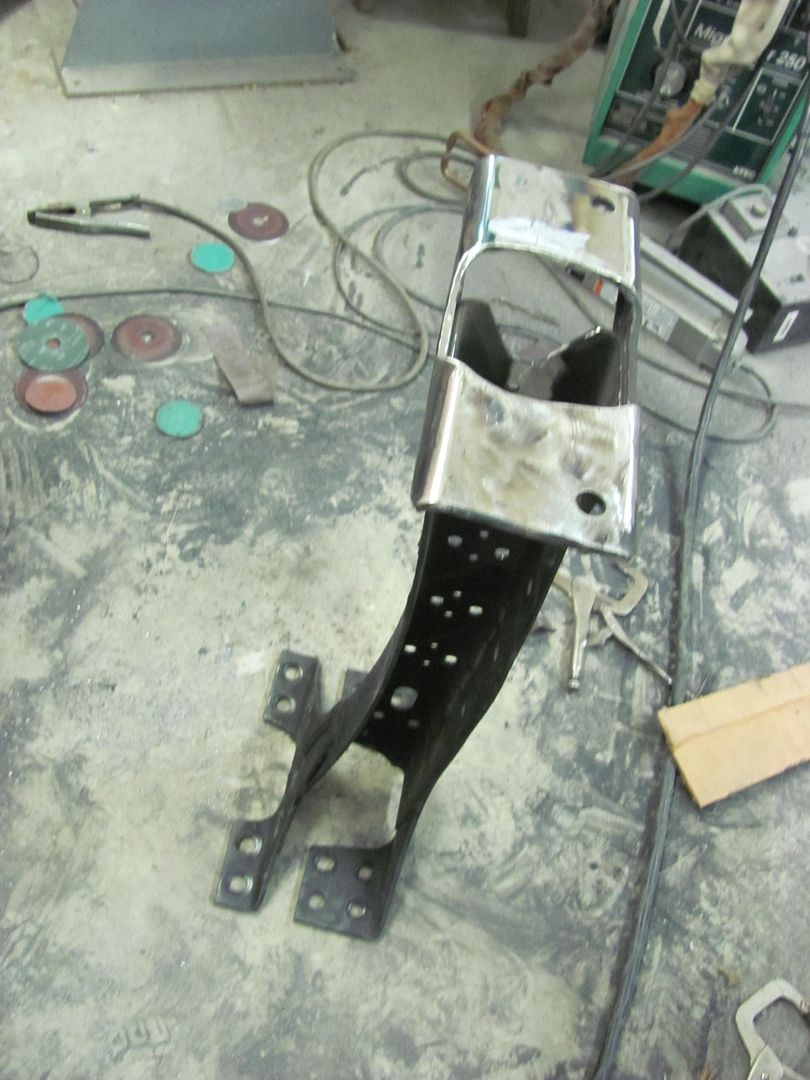
Eveything is attached to the frame using 3/4" bolts, so a bit larger set of transfer punches came in handy...

Robert
-
04-28-2012 05:37 AM #12
CHR Member
- Join Date
- Jun 2008
- Location
- Leonardtown
- Car Year, Make, Model: Walking
- Posts
- 1,228
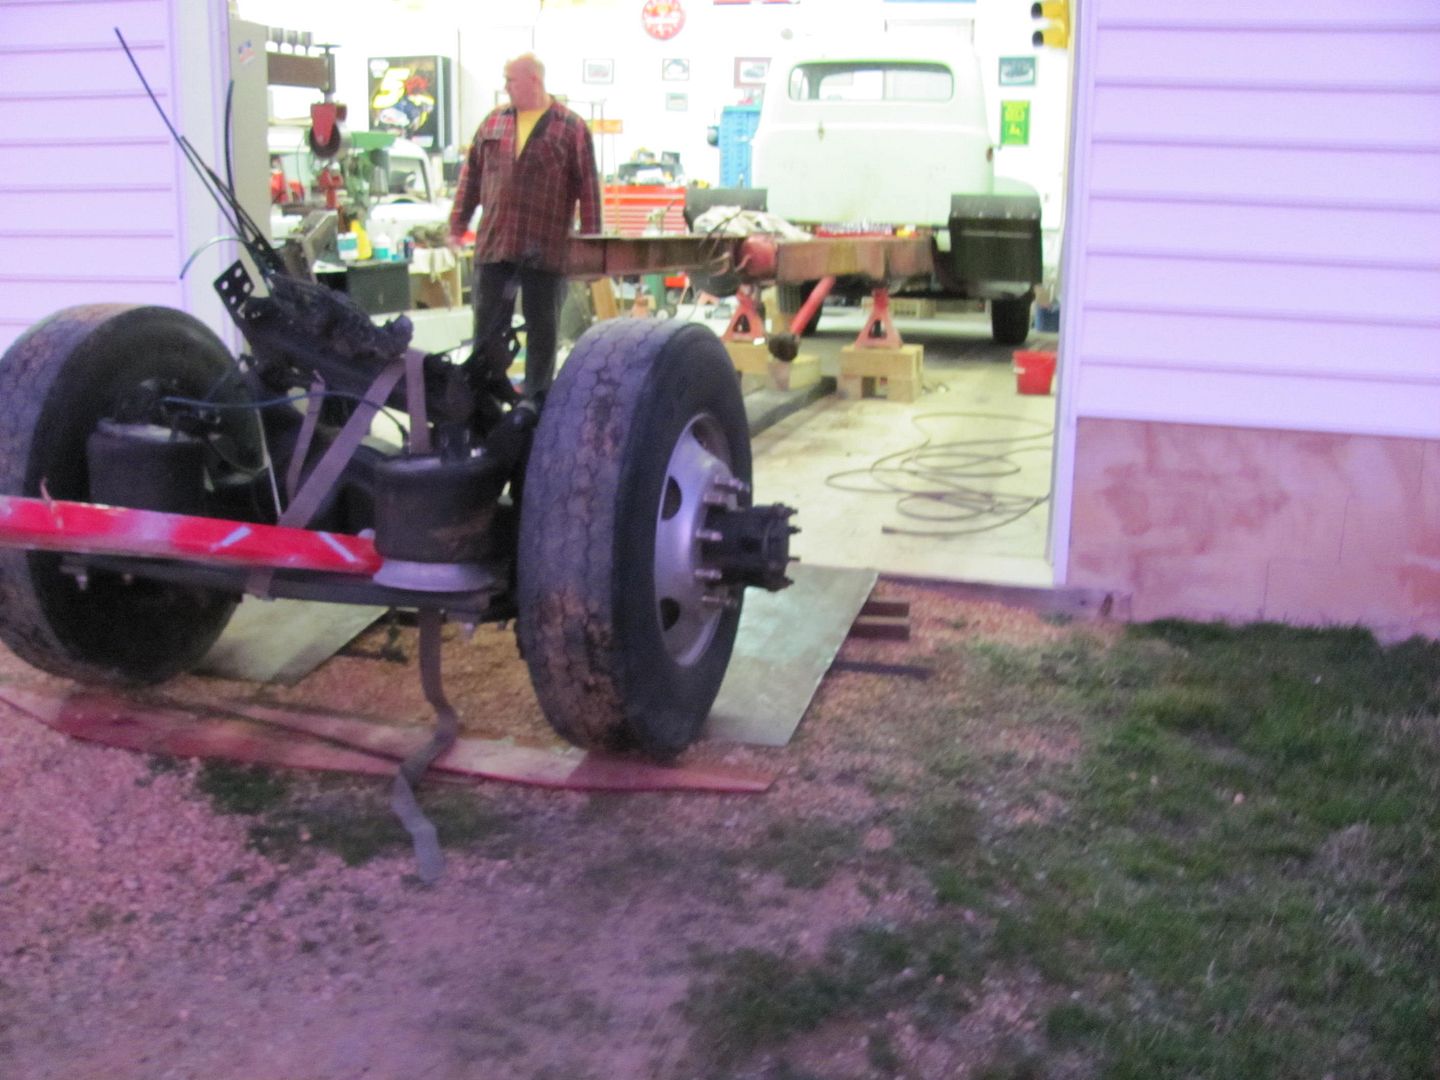
Not much to show but the truck did get some "new" shoes last weekend. I picked up some used RV tires for setup/fitment purpose. I plan on using 255/70R22.5's (eventually) but since they are about 400+ per tire new, these used ones will fit the bill while finishing the project. Where these are 235/80's, the diameter is close enough to get all the suspensions set up.
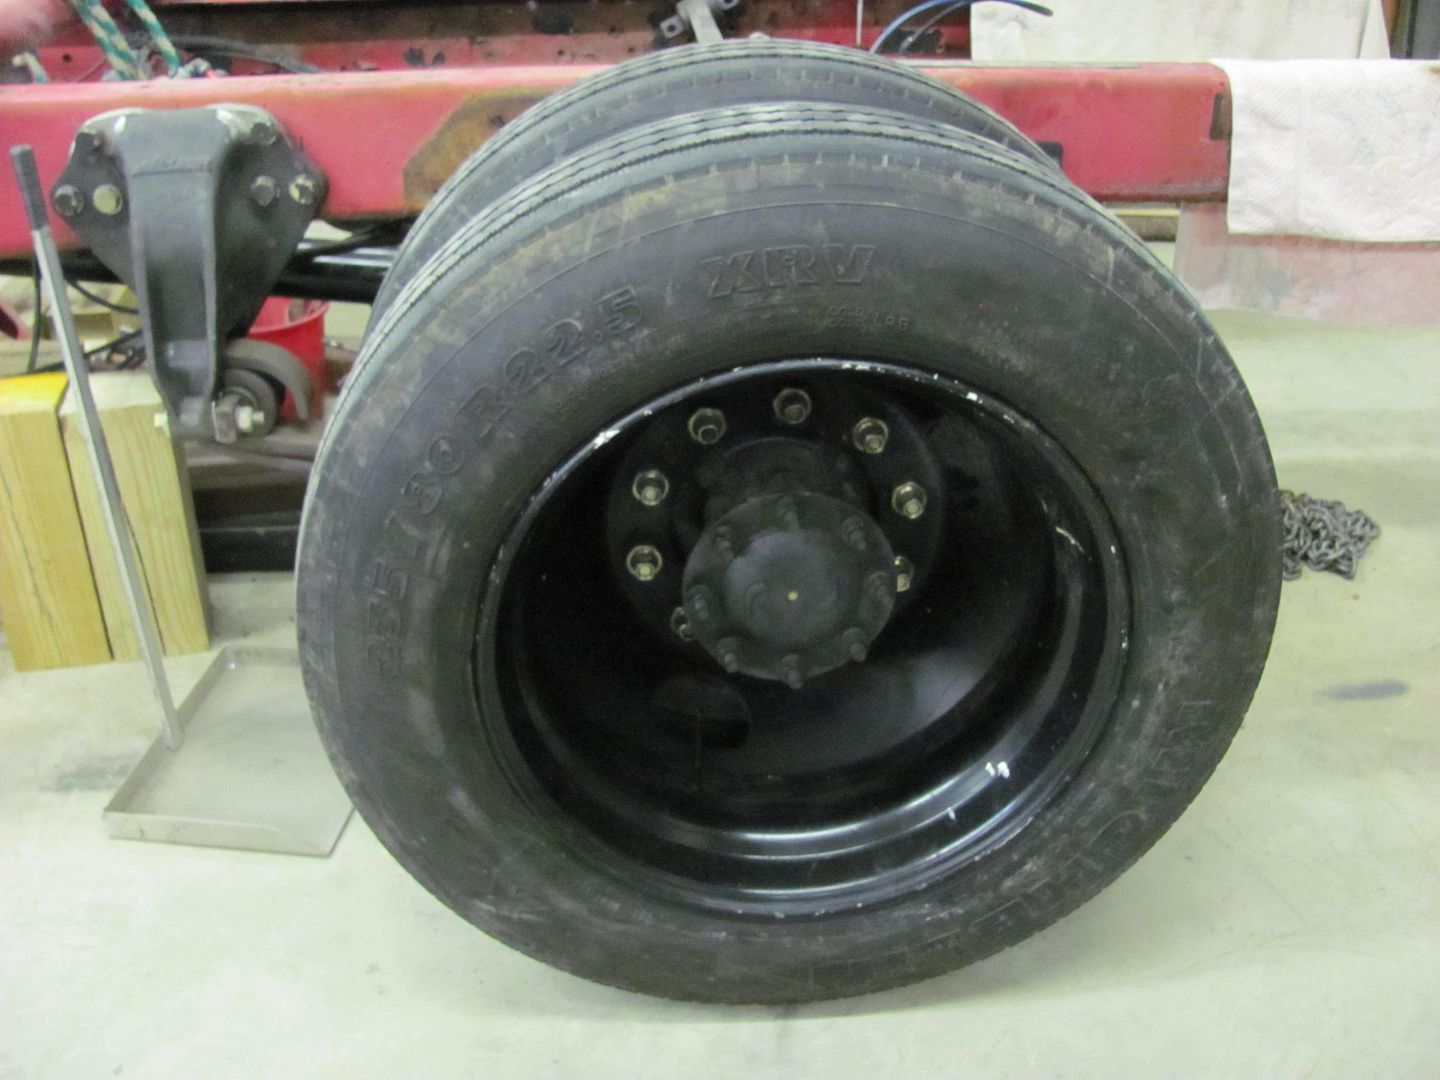

Robert
-
04-28-2012 08:36 AM #13
CHR Member
- Join Date
- Aug 2010
- Location
- Berryville
- Posts
- 486
Man, i just love you're work! You have a majestic sense of scale, huge! I can't wait to see it, will it be far enough along to take to the Jalopy showdown? Are you attending it?
-
04-28-2012 08:17 PM #14
CHR Member
- Join Date
- Jun 2008
- Location
- Leonardtown
- Car Year, Make, Model: Walking
- Posts
- 1,228
OJ, doubt I'll be there this year, I've got too much work backlogged. And as this one is mine, well, you know how that goes....Robert
-
01-07-2013 04:31 AM #15
CHR Member
- Join Date
- Jun 2008
- Location
- Leonardtown
- Car Year, Make, Model: Walking
- Posts
- 1,228
Sorry for such a long hiatus from the projects in the shop, The day job has sent me to UK quite a bit this past year, and things are just now starting to settle down. So while I was in the shop changing oil in the wife's vehicle this weekend, I did find time to get a couple of the u-bolts fitted up.
Here's the new ones:
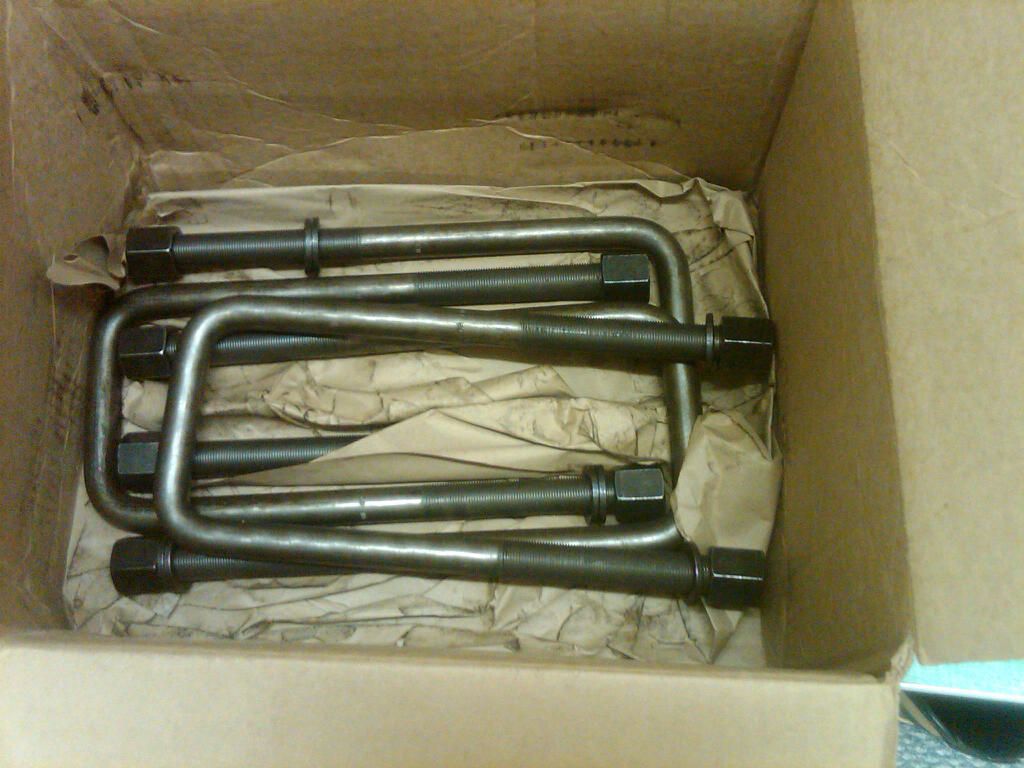
The ones that came with the rear would have had an interference issue with the frame when dumping the rear bags...
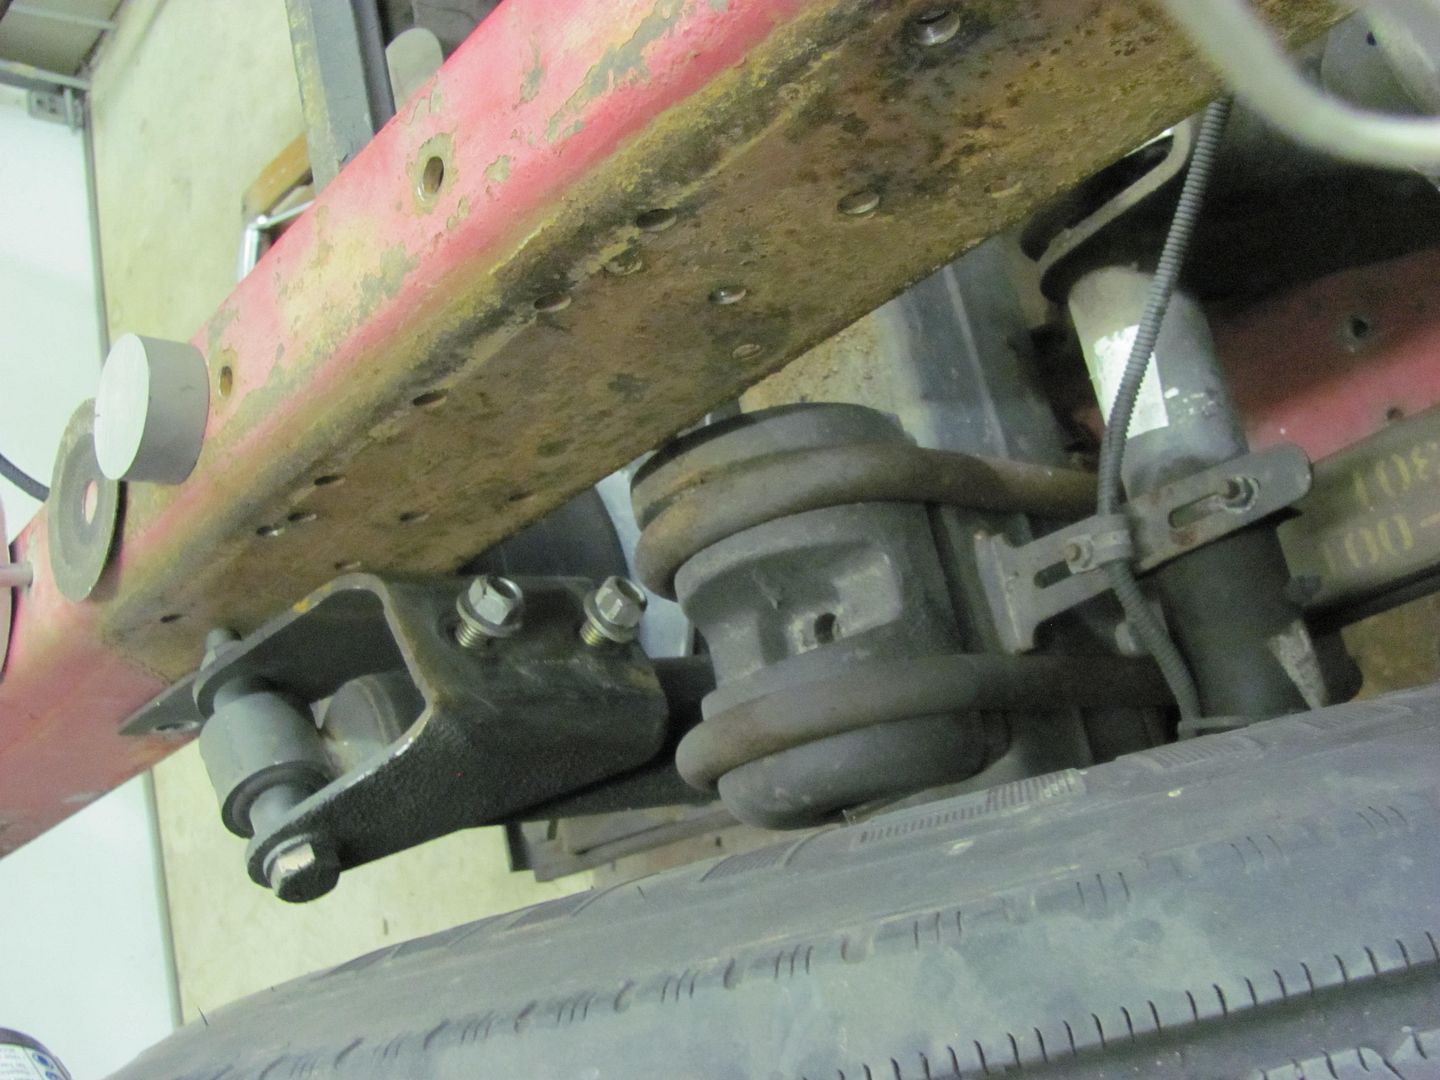
So here is the fix.... two changed, two to go.
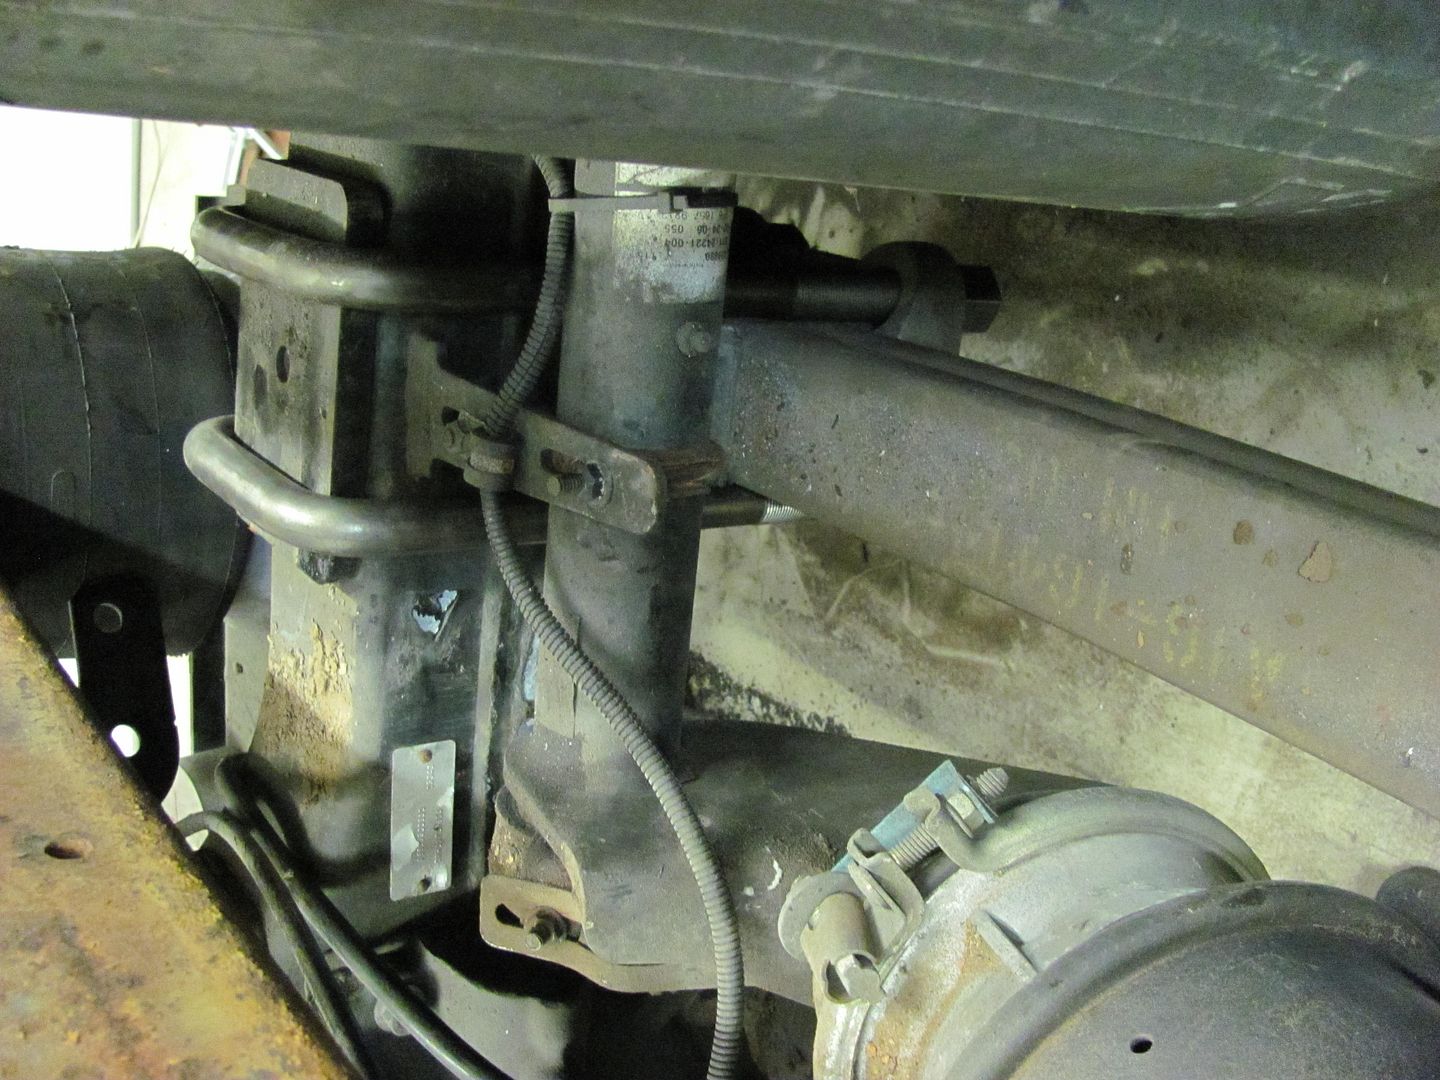
Robert
 Reply With Quote

Posting Permissions
- You may not post new threads
- You may not post replies
- You may not post attachments
- You may not edit your posts

Either return this forum to what was or get the HELL OUT!
Dead!